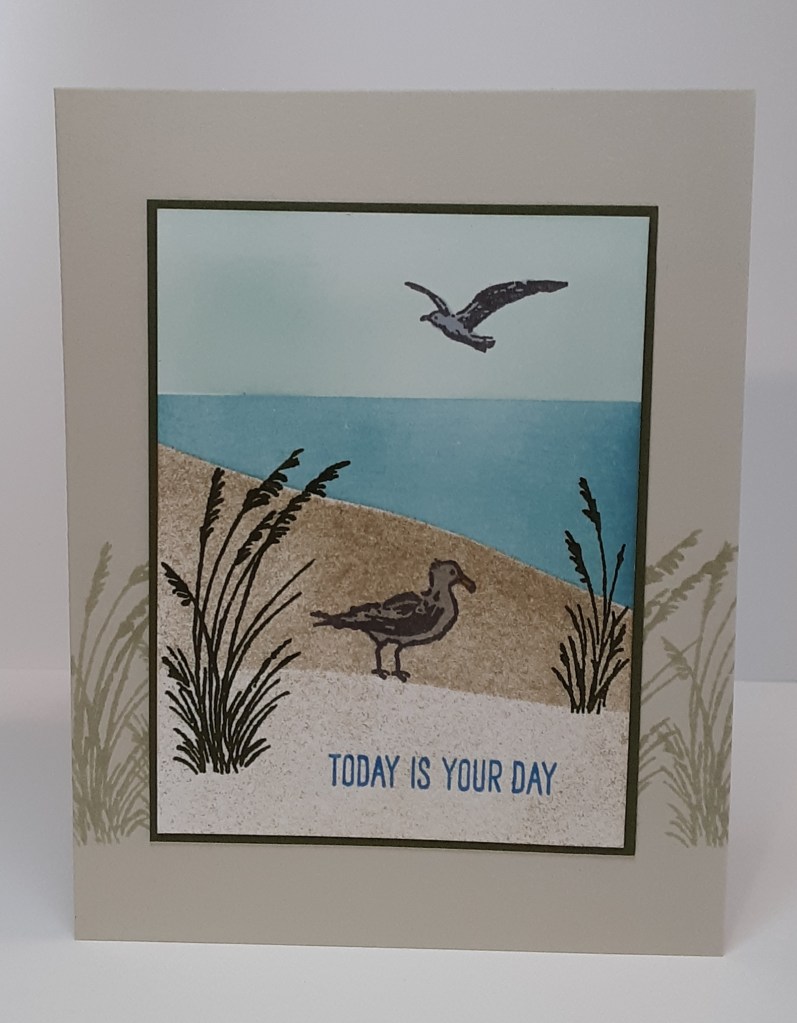
It’s Saturday, so I have another simple card. I’m using the same bundle (just the stamp set!) as last week to show how you can stretch a stamp set and create unique cards, even though you are using the same basic supplies. So, let’s get to it!
For the card base, I cut a piece of Basic Beige cardstock to 5½” x 8½” on my Paper Trimmer, scored and folded at 4¼”, and burnished with my Bone Folder. I cut a piece of Mossy Meadow cardstock to 3⅛” x 4⅛” to act as my mat. I cut a piece of Basic White cardstock to 3″ x 4″ for my focal image.
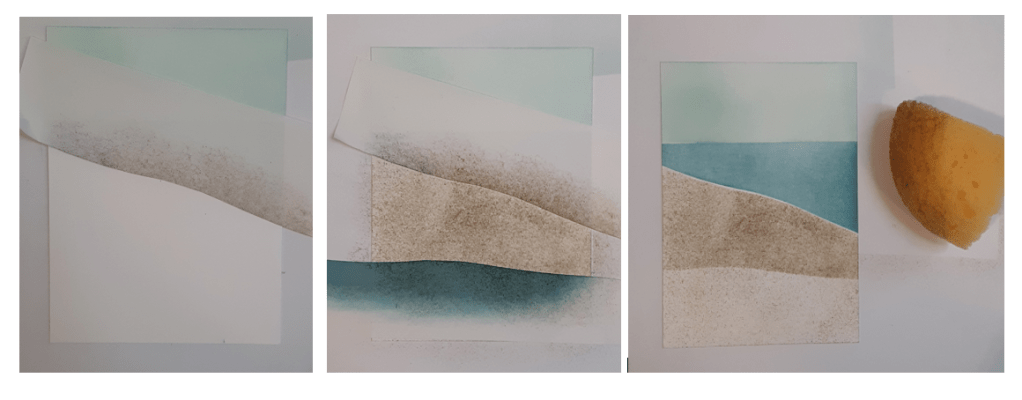
To create the focal panel, I masked and ink blended. First, I put down a piece of Masking Paper where I wanted my horizon to be located. A horizon is a straight line. I used a Blending Brush and Pool Party ink to create the sky. I removed the masking paper when I finished.
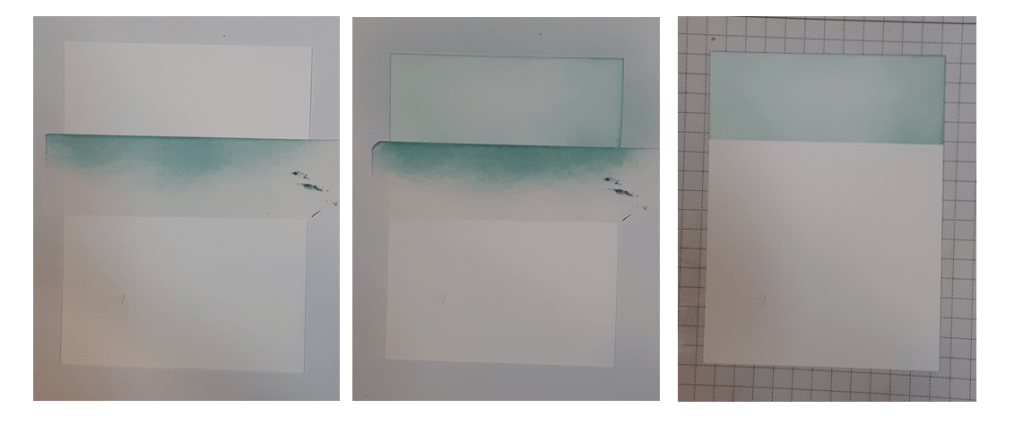
I let the ink dry before putting the masking paper on my inked portion. I also added a piece of masking paper where I wanted the shoreline to be. I used a pair of scissors to cut a curved line, since the shoreline isn’t perfectly straight. I used a Blending Brush and Balmy Blue ink to create the water. I came in from the sides and brushed back and forth to try to get that sort of movement on the paper.

Again, I let the ink dry before doing any more blending. Before starting on the sand, I had a choice to make. I could stamp the seagull first, mask it, and then add ink (Smoky Slate Stampin’ Blend). Or I could add ink and then stamp and color the seagull. Below is a comparison between masking and not masking the seagull. You may or may not notice a difference. The bottom pair was masked. So, if you like the second image better, create a mask by stamping the seagull on a scrap of masking paper, cutting it out, and mask the image after you stamp it, before adding the “sand” with Crumb Cake ink.
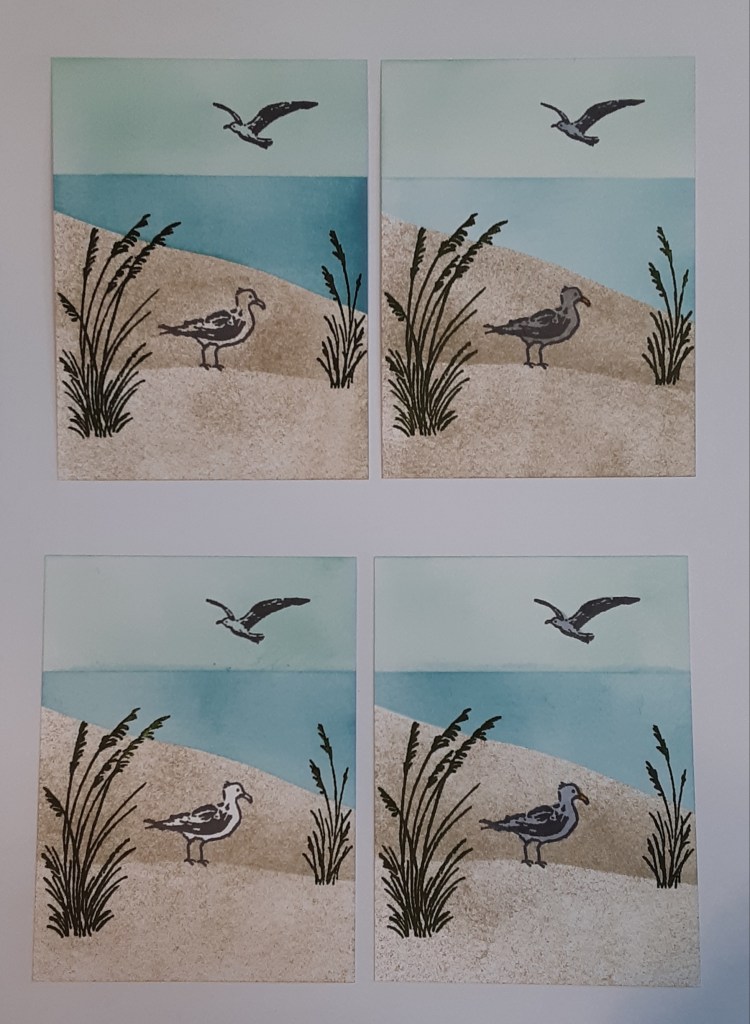
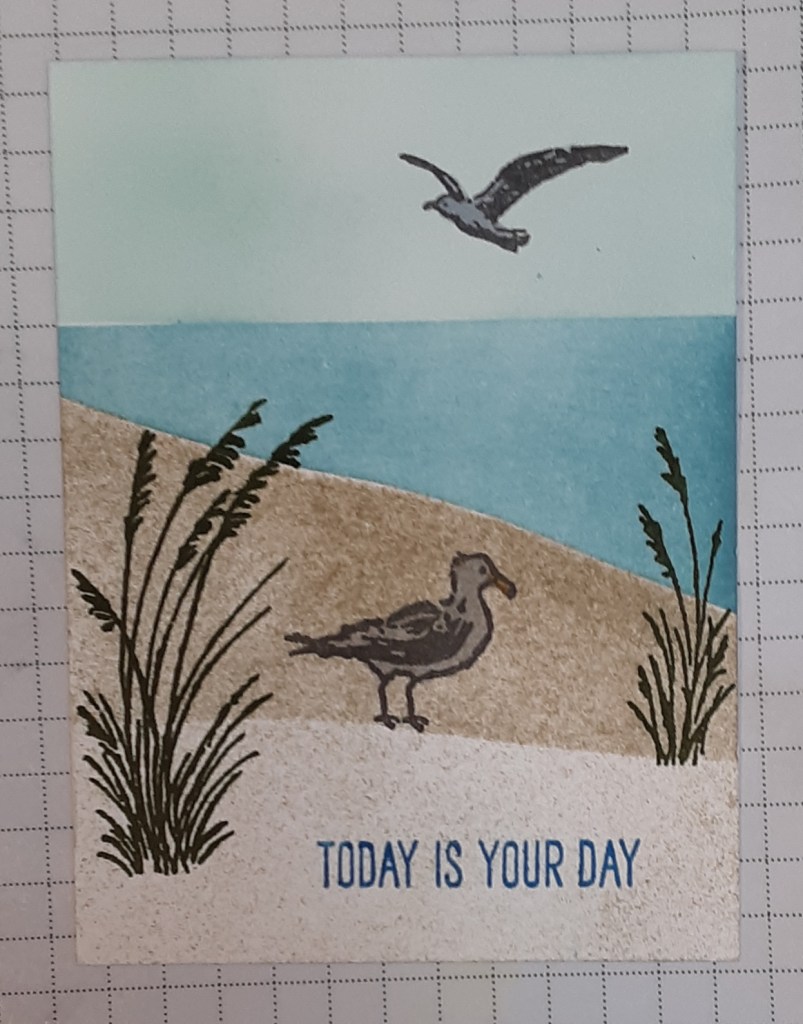
While waiting for the ink to dry, I stamped the flying seagull and the standing one from Relaxing Waterside stamp set with Basic Gray ink. I used a sponge and just pounced the ink to give it a sandy texture. I moved my masking paper down a little to make a little hill. I lined it up with my seagull’s feet. In the pictures below, I didn’t mask the bird first and added it after I inked my sand. I colored in the birds with my Smoky Slate Stampin’ Blend.
With the ink blending completed, I stamped the seagrass in Mossy Meadow ink, the larger on the left and the smaller on the right. I stamped Today is Your Day with Azure Afternoon ink.
I adhered my focal panel to my Mossy Meadow mat with my favorite adhesive (Multipurpose Liquid Glue or Stampin’ Seal).
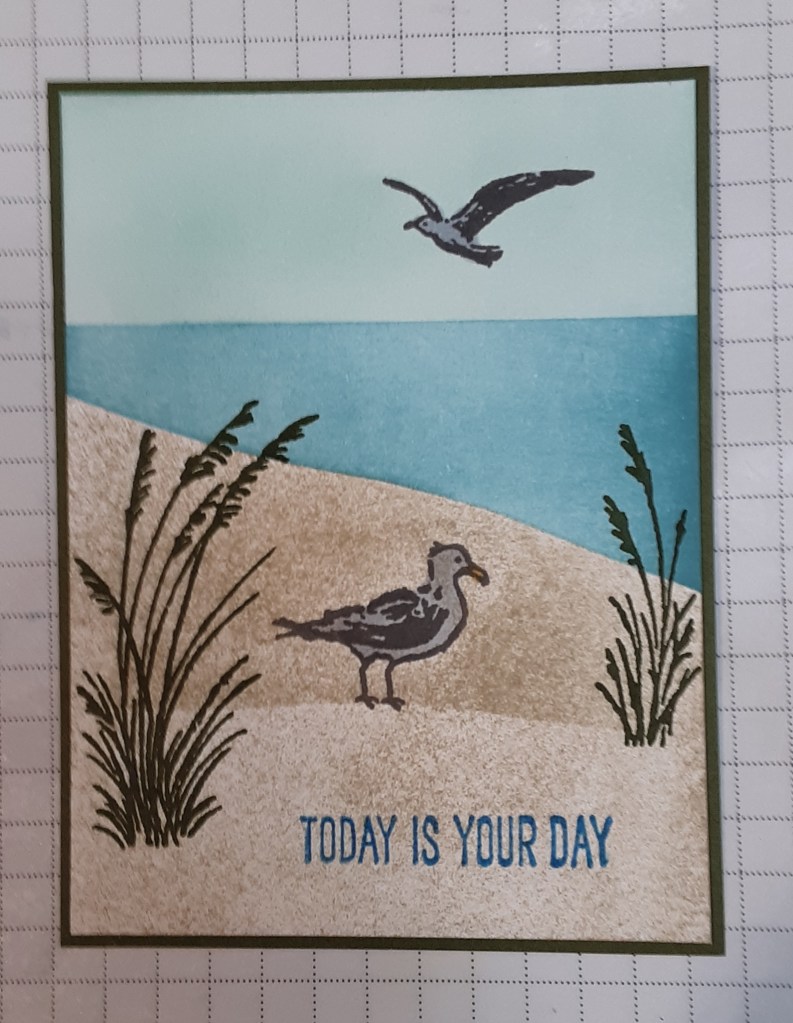
I cleaned my stamp off and used the larger seagrass with Basic Beige ink to add some seagrass to my card base. I positioned my focal image on my card without gluing to get an idea as to where I wanted the grass to be before stamping.

I added my panel to my card base.
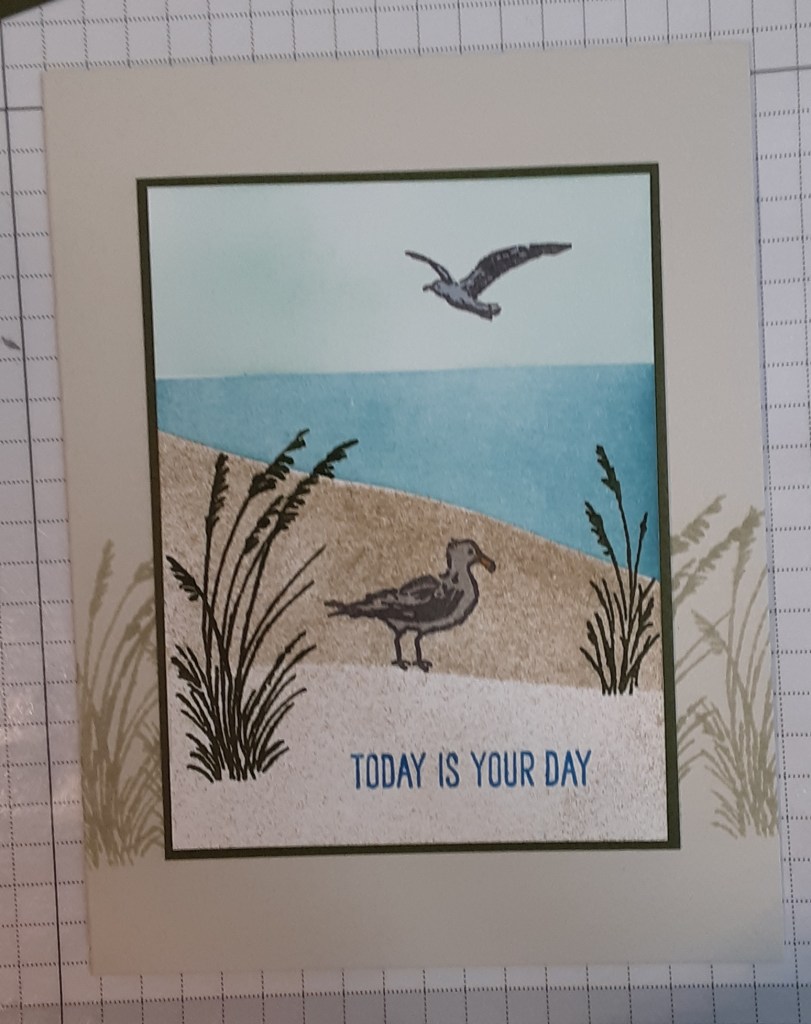
To finish the card, I stamped a greeting on a 4″ x 5¼” piece of Basic White cardstock and glued it inside the card.
I hope you liked this simple card.
For the complete supply list, click here.
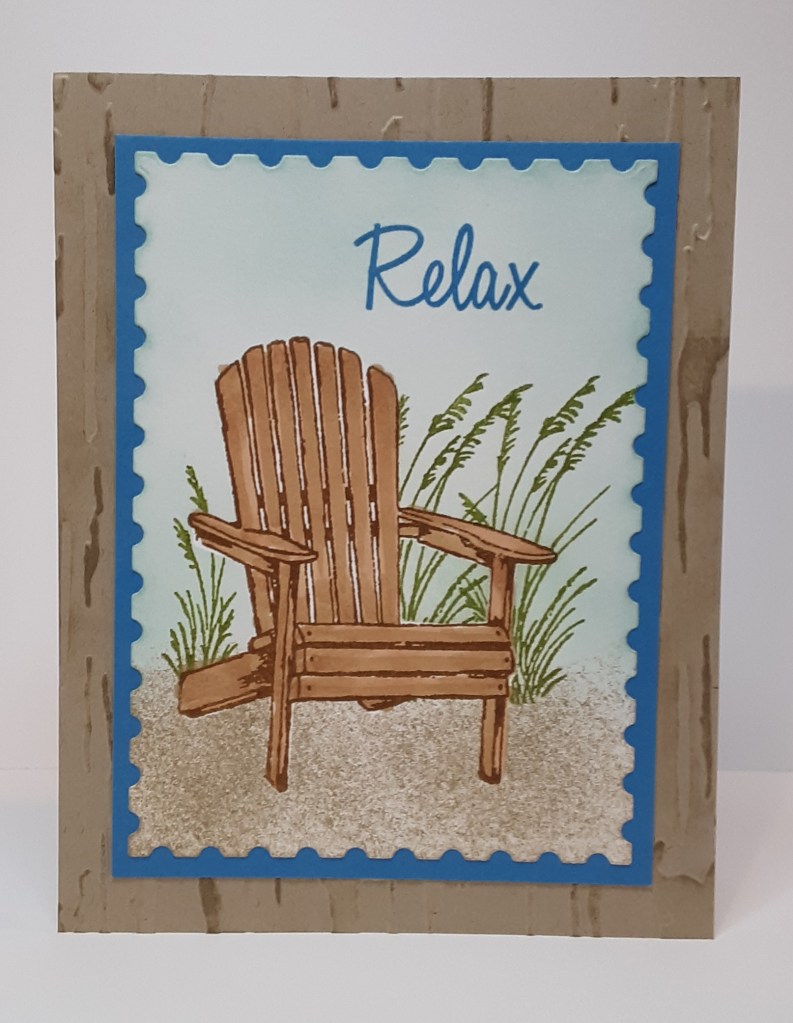
Last week’s card using Relaxing Waterside stamp set: