
It’s October, so I have to bring in the new month with a Halloween card. As a child, Halloween was a highlight of the year, right behind Christmas. We got to dress up and collect candy. What could be better? When we got home from trick or treating, we would spread our candy out on the family room floor and tally our candy bars and compare how many we each got. (There were seven of us, so that was a lot of candy!) Everyone had their favorite. My older brothers often stayed out the whole time and accrued quite a sackful. My dad liked Snickers, so I generously gave him some. Mom liked Reece’s Peanut Butter Cups, so that’s what I shared with her. All bets were off with my siblings, since they were able to get their own cache. My favorite was a Baby Ruth. Of course, back in the day, chocolate bars were something of a luxury. We mostly got Mary Janes, Tootsie Rolls, Smarties, and sour balls. We didn’t complain, though those were the last ones consumed. What was your favorite Halloween treat?
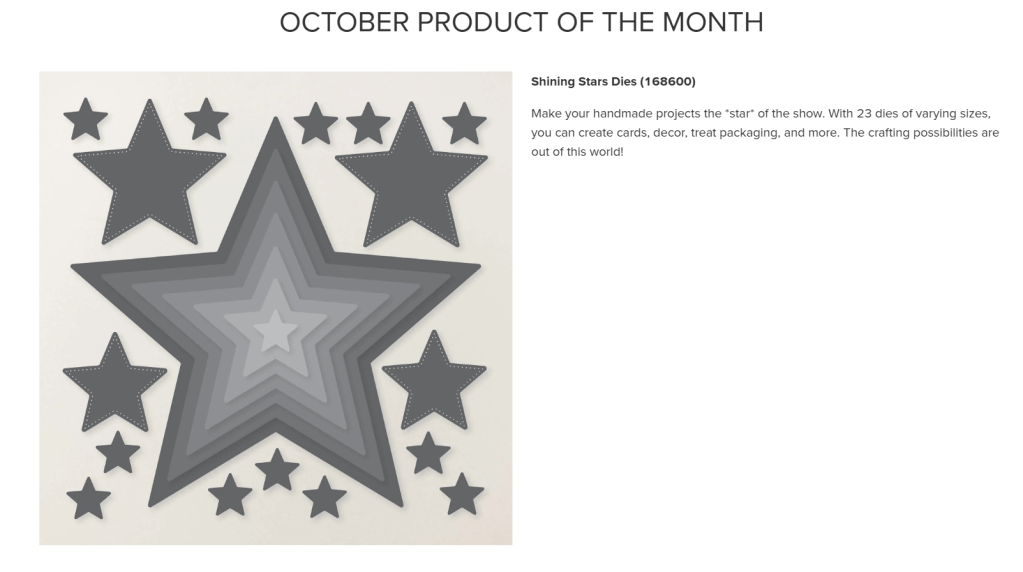
October has a new Product of the Month. Just $5 with a qualifying purchase.
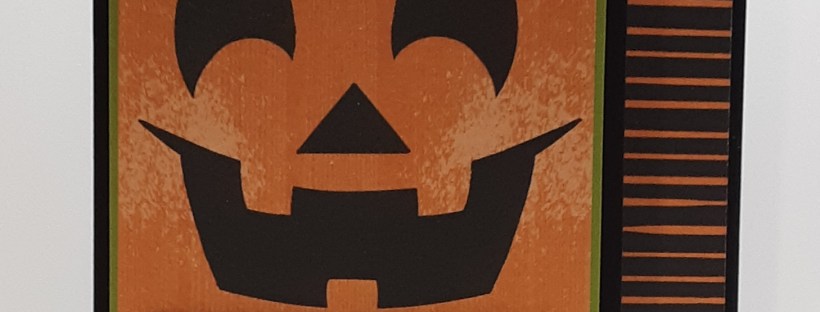
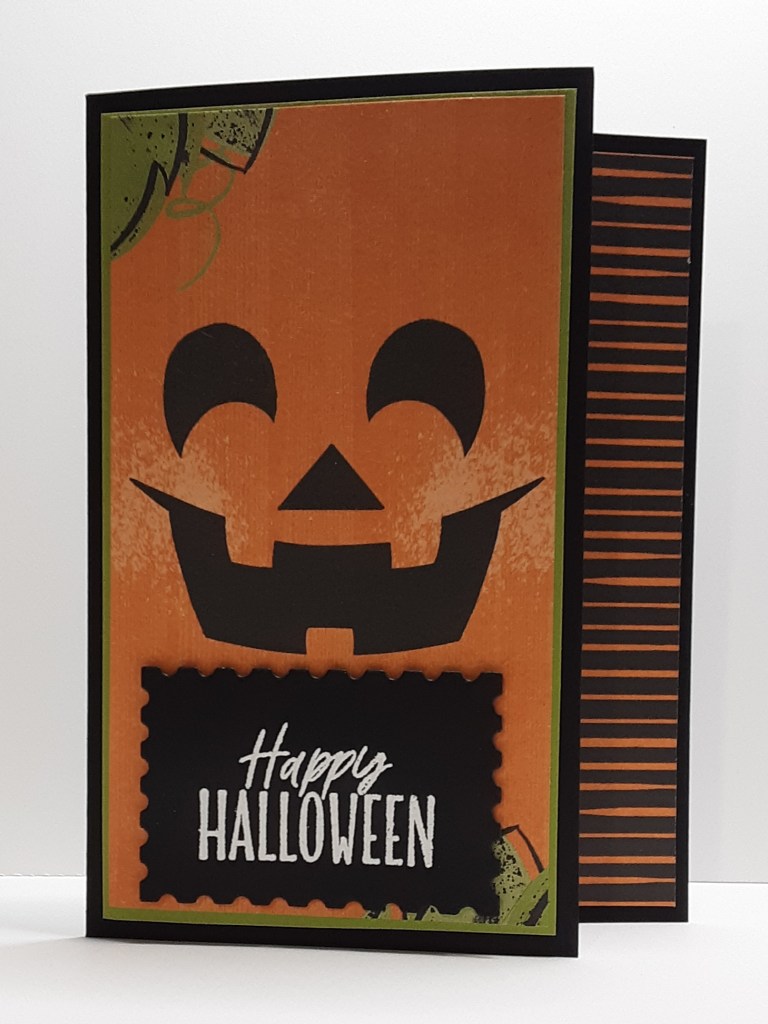
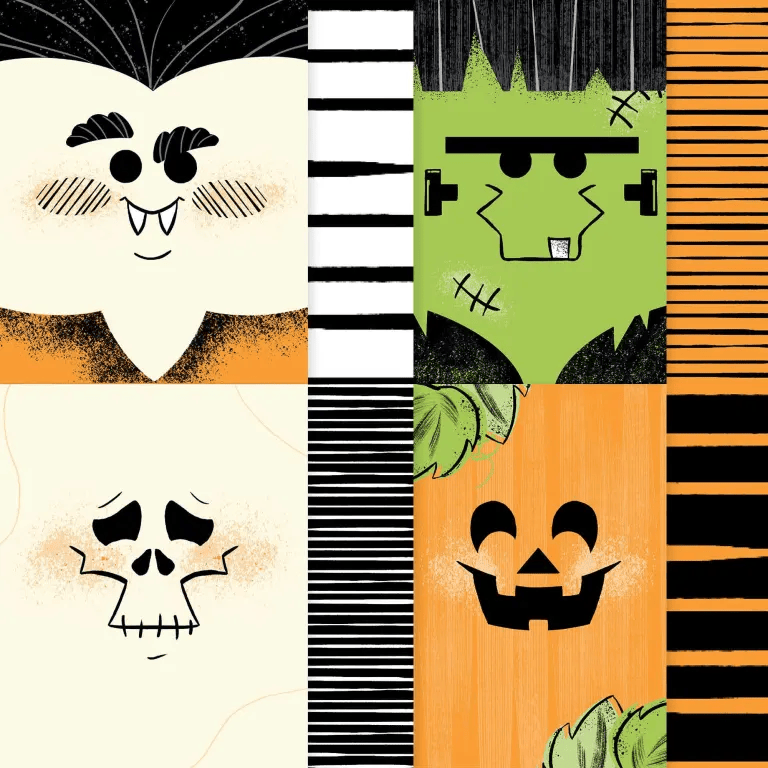
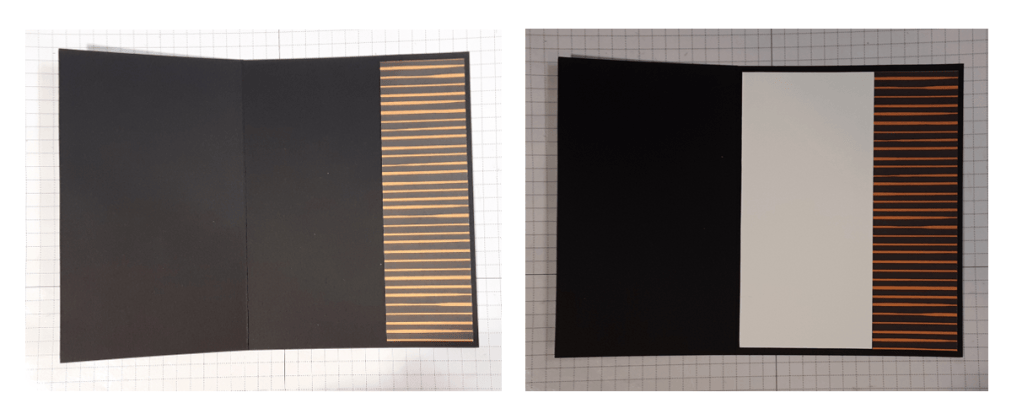
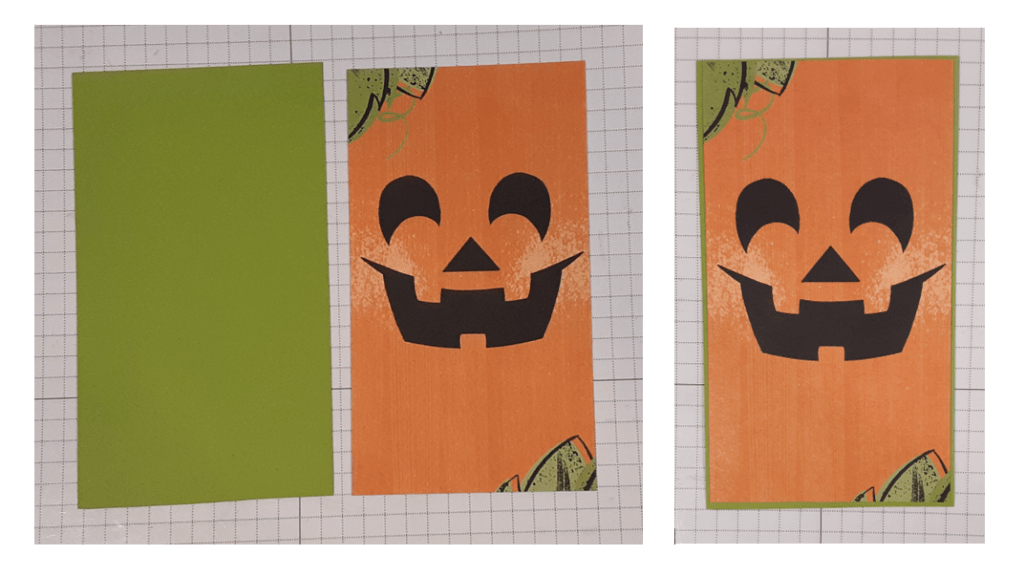
Now on to the card. To make the card base, I cut a piece of Basic Black cardstock to 5½” x 7½” on my Paper Trimmer, scored and folded at 4¼”, and burnished with my Bone Folder. The right side of the card is an inch shorter on the front so the inside of the card can peek through. I cut a piece of Granny Apple Green cardstock to 3″ x 5¼” to use as a mat. I cut a piece of Spooktacular DSP to 2⅞” x 5⅛”. Because the face is in the middle of the 6″ x 6″ piece, I cut 1-9/16″” from either side of the face. I trimmed from the top and bottom to get to 5⅛”. I used the reverse side of the cut off strips for the inside panel. I cut these strips down to 5¼” long.
I adhered my striped strip to the inside of my card on the right using my favorite adhesive (Multipurpose Liquid Glue or Stampin’ Seal). I cut a piece of Basic White cardstock to 5¼” x 2½” and glued it next to the striped piece.
I glued my face piece of DSP to my green mat piece. I adhered this to the front of my card.
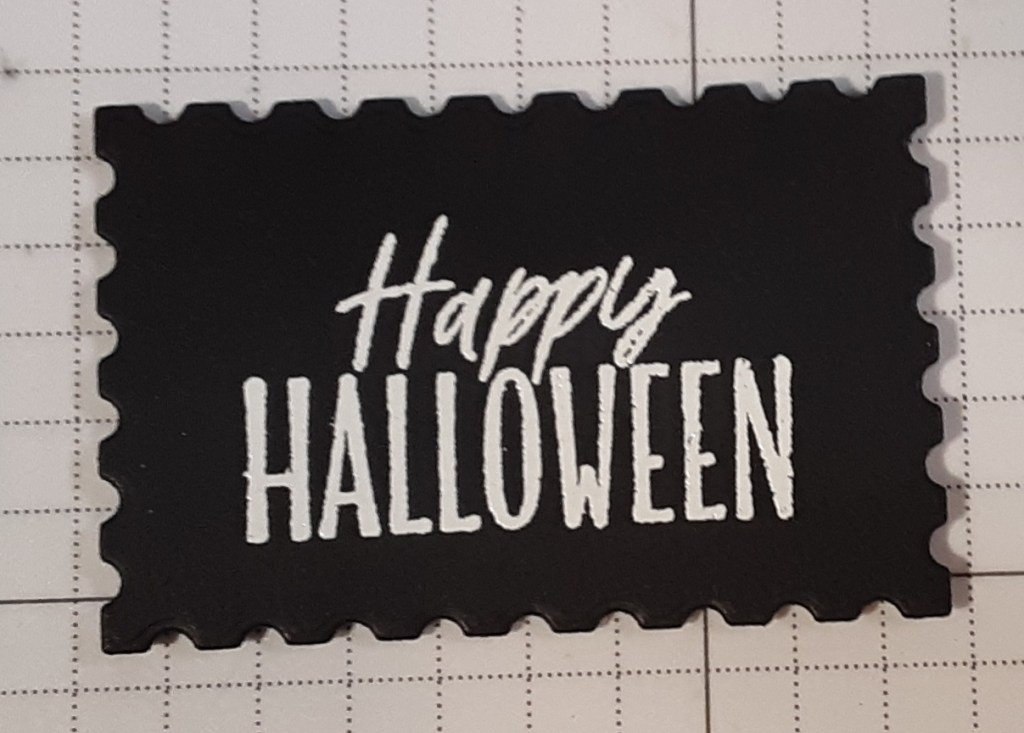
From Basic Black cardstock, I die cut a rectangle from Perennial Postage dies on my Stampin’ Cut & Emboss Machine. I stamped Happy Halloween from Oh My Fright Stamp Set in Versamark ink on my black rectangle. I sprinkled on white embossing powder from the Basics pack and heat set it with my Heat Tool. If you prefer not to emboss, you could stamp the sentiment in White ink. It won’t be as vibrant, but that’s okay.
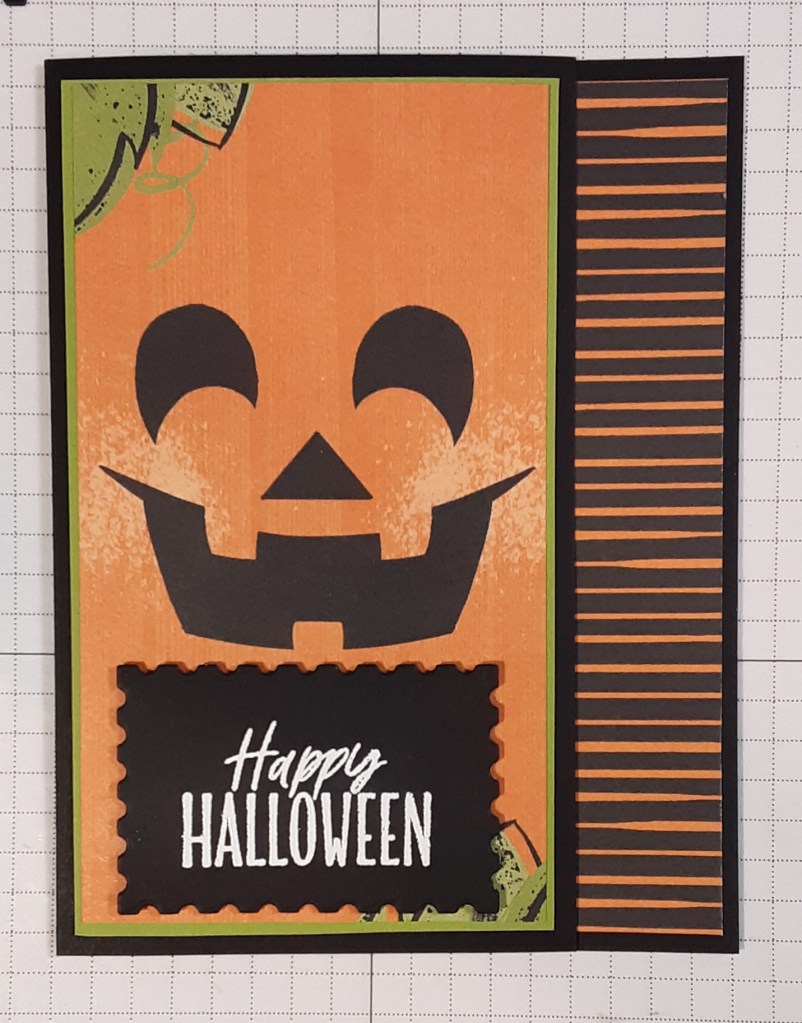
I added my sentiment to my card with Stampin’ Dimensionals.
To finish the card, I stamped a greeting on the inside of my card.
I hope you liked this card!
For the complete supply list, click here.
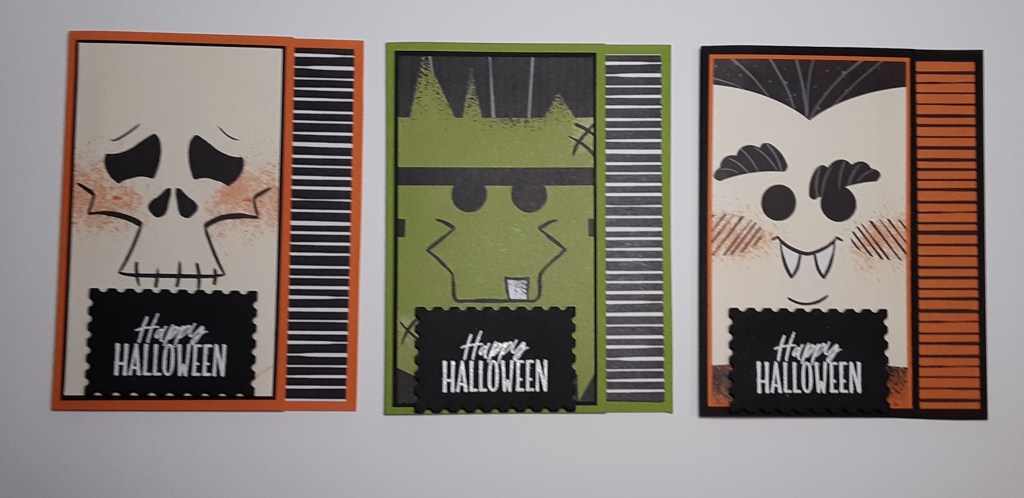
Below are pictures of other cards using the face images.
Images © Stampin’ Up!.

