
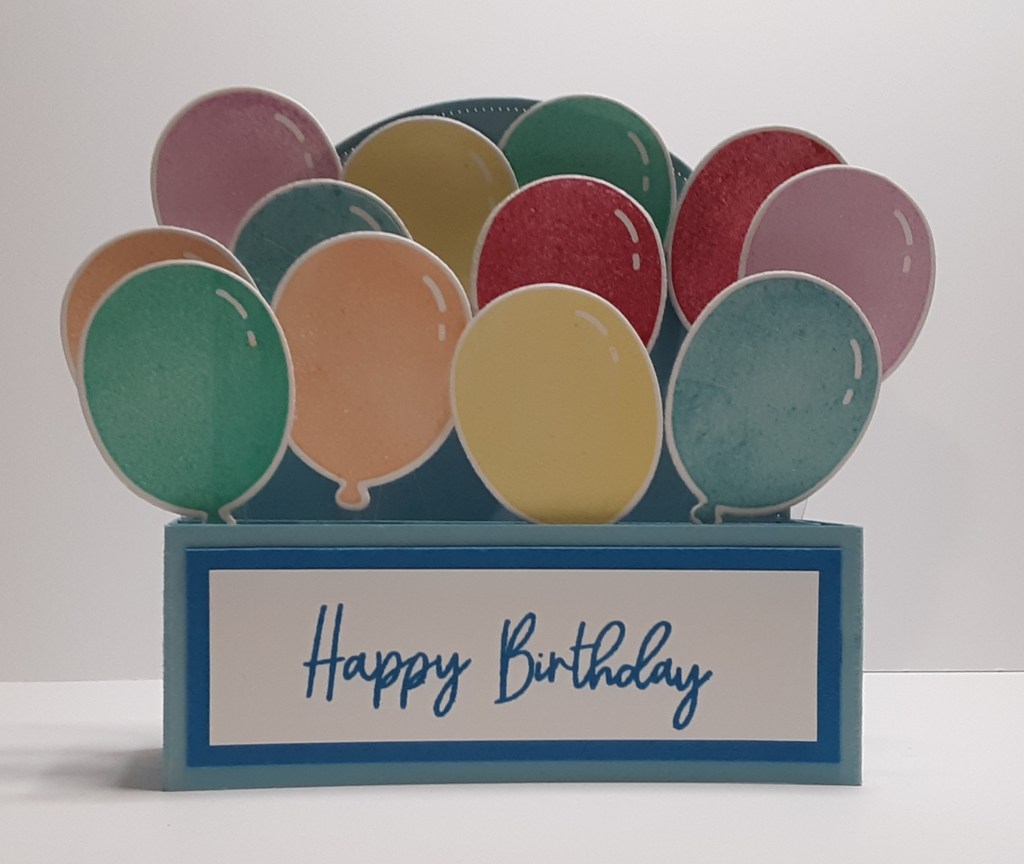
It’s Wednesday and today I have a fun card for you. It has been a while since I have made a card in a box, but I thought I would give it a try for today’s card. I decided to modify it a bit by eliminating the flaps on the side and front. I played with the design a tad and this is the simplest version that I could come up with. So, let’s get started.
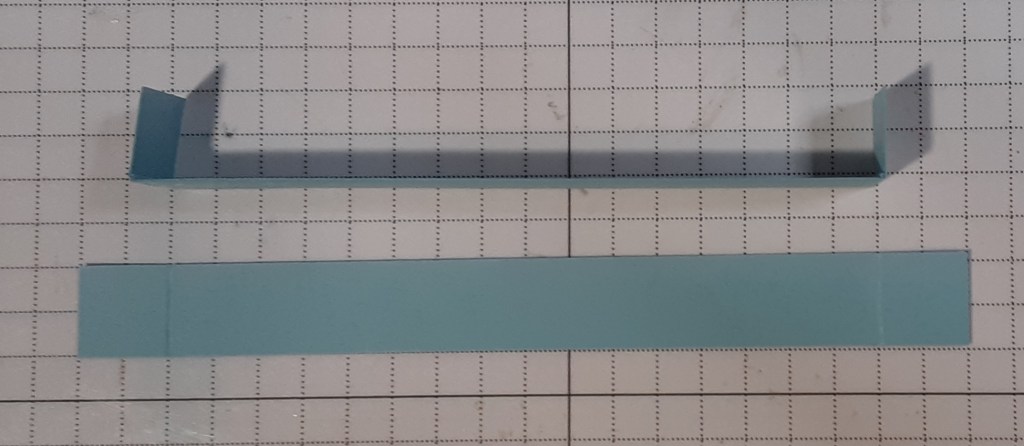
To make the card base, I cut a piece of Balmy Blue cardstock to 11″ x 1½” on my Paper Trimmer, scored and folded in at 1¼”, 5¼”, 6½”, and 10½” and burnished with my Bone Folder. I cut the largest arch from Everyday Arches dies from Balmy Blue cardstock on my Stampin’ Cut & Emboss Machine. I trimmed it down to be 4¼” tall. I adhered this to my “card base” with my favorite adhesive (Multipurpose Liquid Glue or Stampin’ Seal). I cut a piece of copy paper to 4¼” x 5½” to act as a size guide for my card.
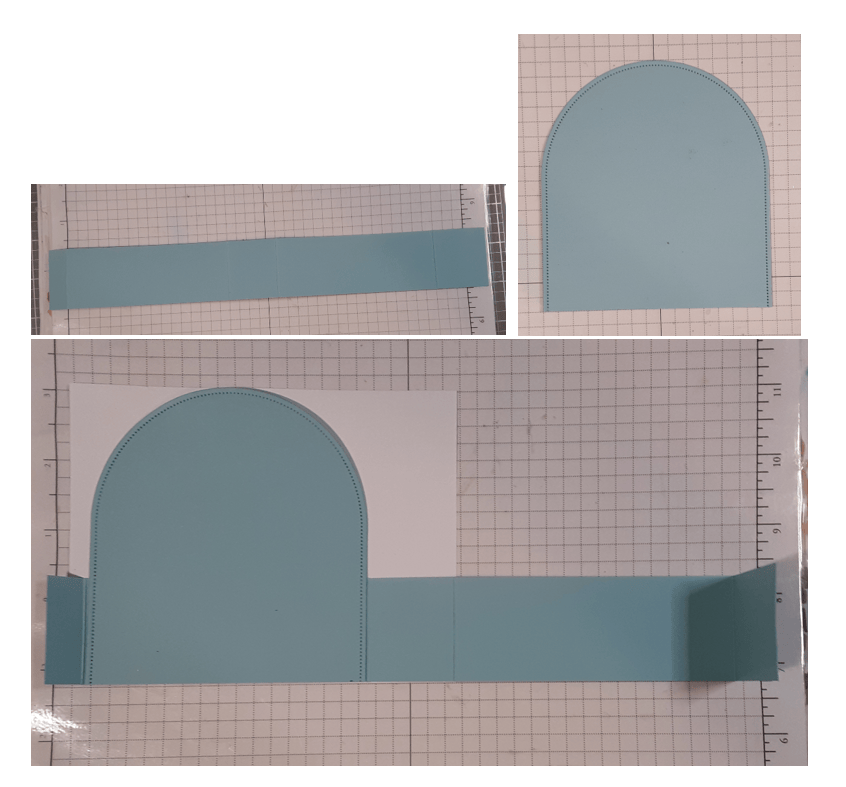
I folded in the ½” tab and applied glue. I folded back the long strip and adhered the end to the tab. My card is a little shorter than my guide and that’s ok. When the card is folded flat, it needs to stay contained within the guide.
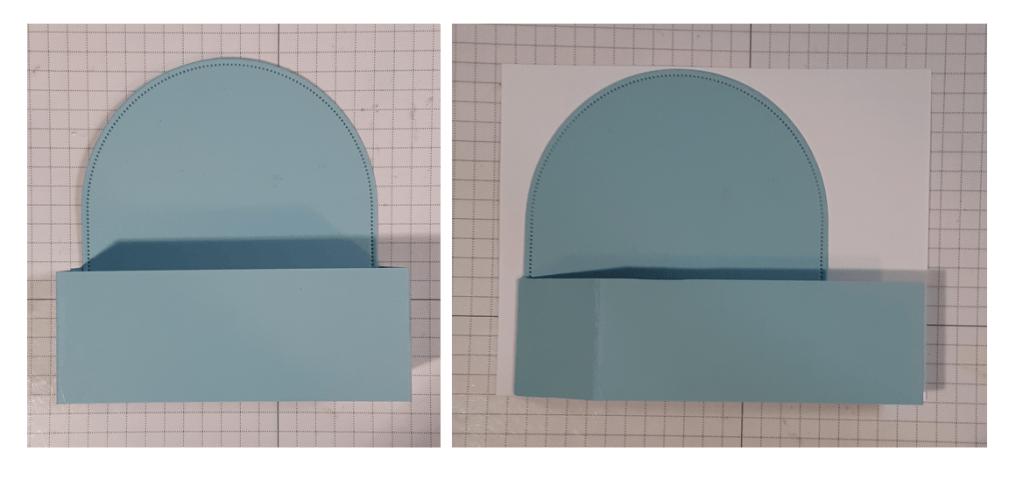
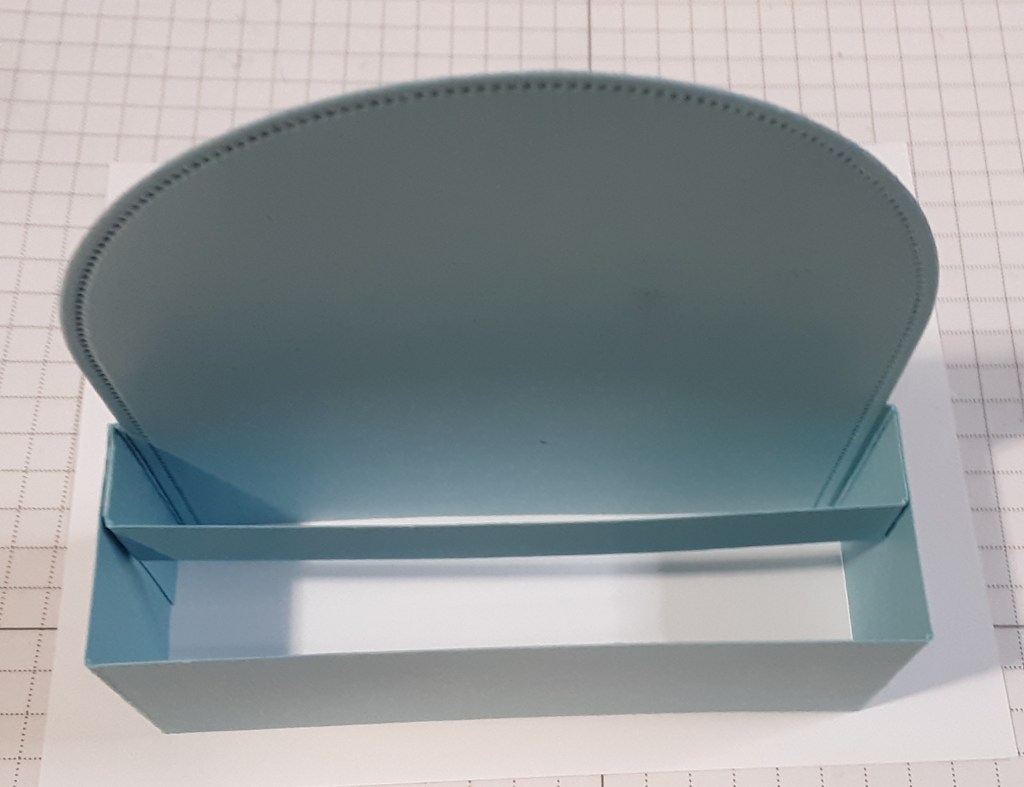
I cut two ½” x 5″ strips from Balmy Blue cardstock. You could cut them wider if you prefer to give you more to stick your balloons to. I scored each one ½” from each end and folded on the score lines. These will be the inner supports for my balloons.
I added glue to the tabs and put the first one even with the top of my modified box and the edges of the tabs up next to the back of the box where the arch is adhered. I added the second one in front of the first one. I flattened the box as I went to make sure it would flatten.
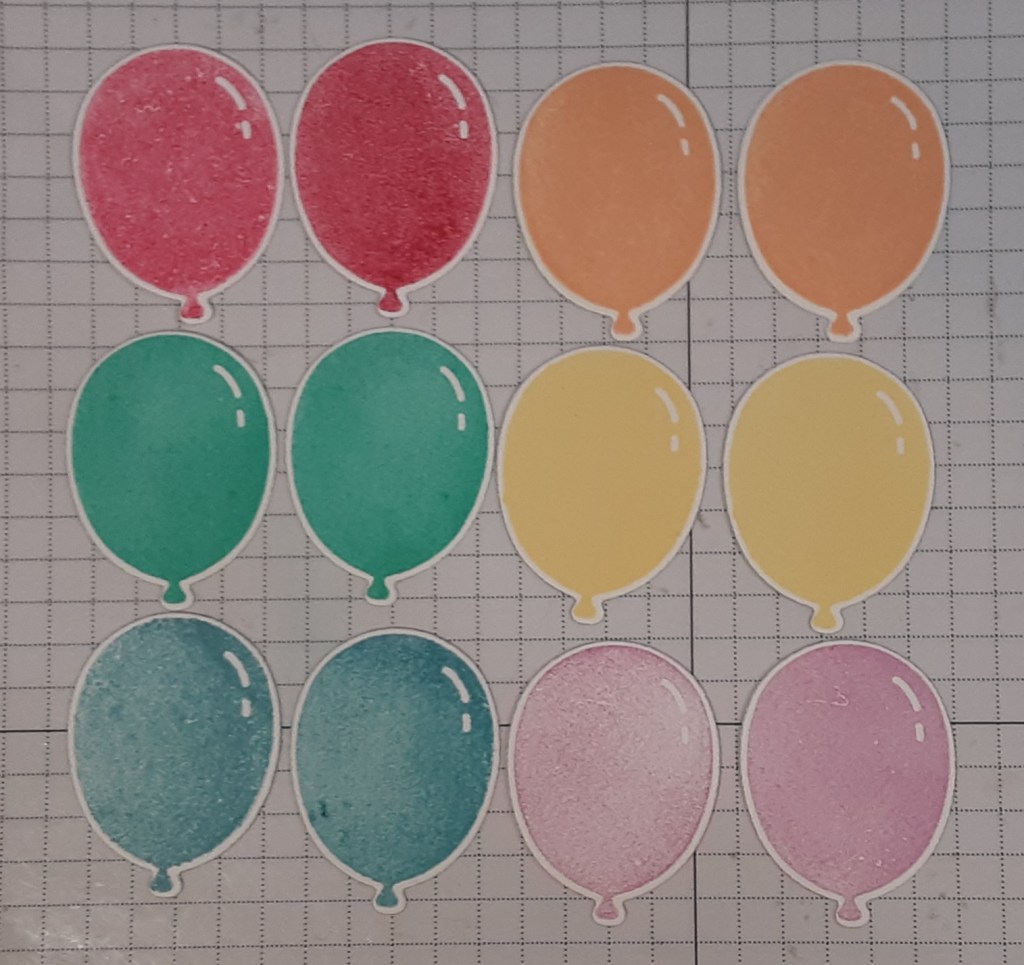
I stamped the smallest balloon from Balloon Festoon bundle twice each with Melon Mambo ink, Petal Pink ink, Lemon Lolly ink, Coastal Cabana ink, Balmy Blue ink, and Fresh Freesia ink on Basic White cardstock. With the more intense inks, you can stamp off, or use your Bone Folder and move the ink on the ink pad away from the center before stamping so the ink isn’t so intense. I did this with my Melon Mambo and Balmy Blue inks. I think I had recently reinked them and the color was more than I was looking for. You can choose any colors that you prefer. I die cut them with the coordinating die, the smallest in the die set. I had 12 balloons in the end.
I added the first four balloons to my card. I used my guide so that the balloons did not extend beyond an A2 card size. I glued two flat to the arch and popped two up with Stampin’ Dimensionals. I did move two of the balloons lower than what is in the picture for a little variety.
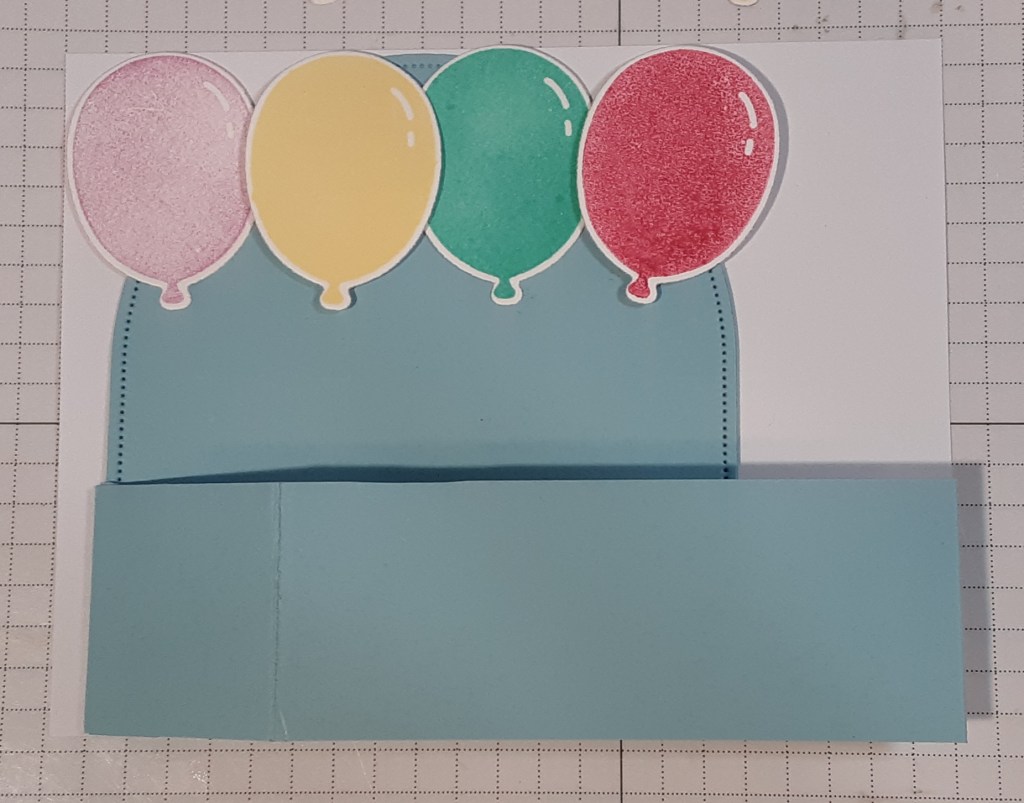
To add the balloons to my card, I cut eight strips from sturdy clear packaging, about ½” x 2½”, though I ended up cutting most of them down. (I used packaging from some readers.) I added Tear & Tape to the ends of my strips. I stuck these to my balloons. With my card flattened on my guide, I added more Tear & Tape to the strips and added them to the strips inside my card. Make sure your tape is no wider than your inside strip or the card won’t open properly. Vary the height to make them look more realistic.
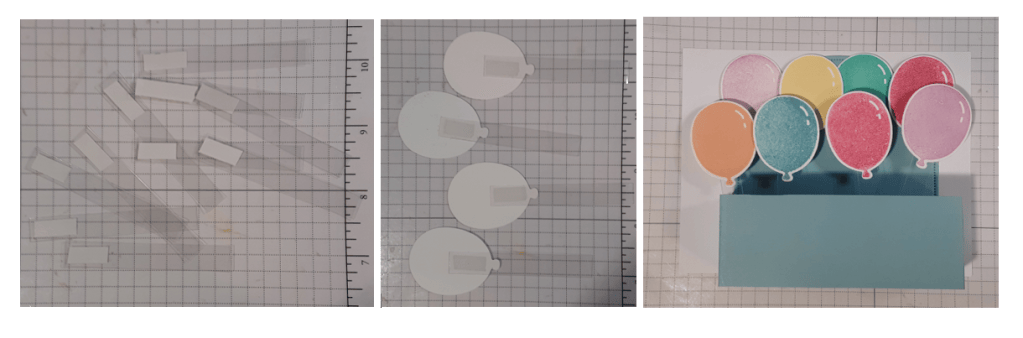
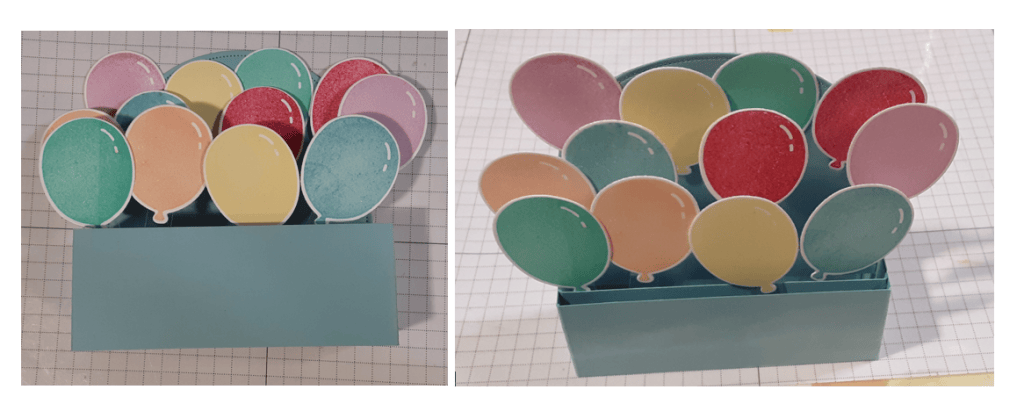
I repeated this for the front row of balloons.
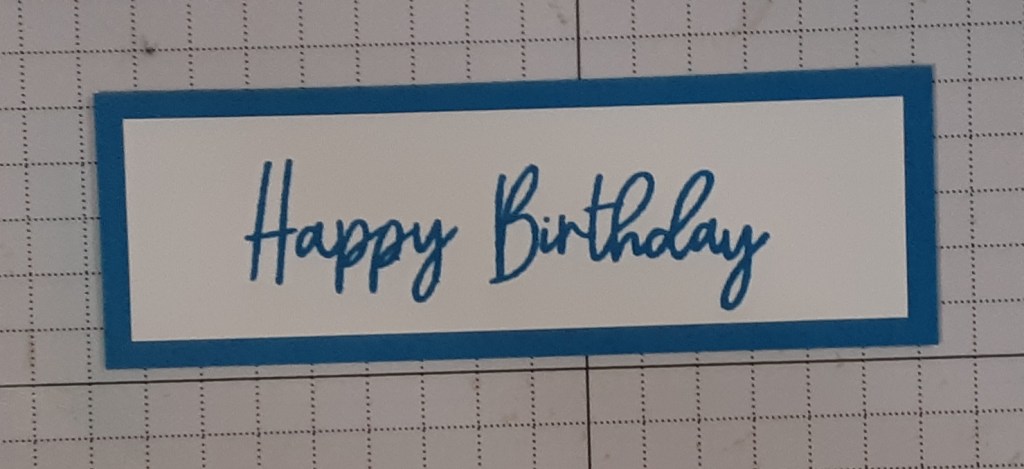
I stamped Happy Birthday from the stamp set with Azure Afternoon ink on a 1″ x 3½” piece of Basic White cardstock. I mounted this on a 1¼” x 3¾” piece of Azure Afternoon cardstock. I added this to the front of my card box.
To finish the card, I die cut the second largest arch from Basic White cardstock and cut it down to fit the back of my card. I stamped a sentiment and adhered it to my card.
I hope you liked this fun card!
For the complete supply list, click here.
Images © Stampin’ Up!.

