
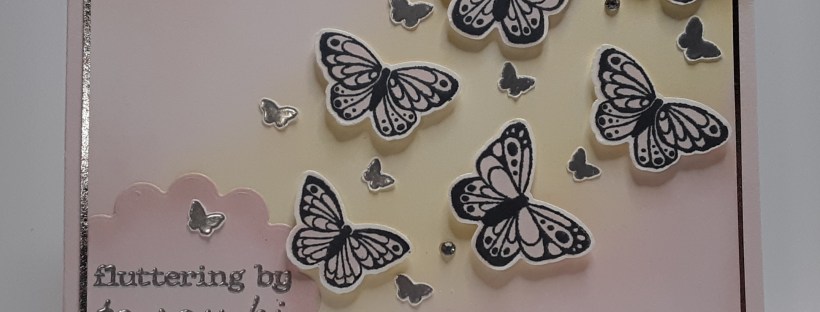
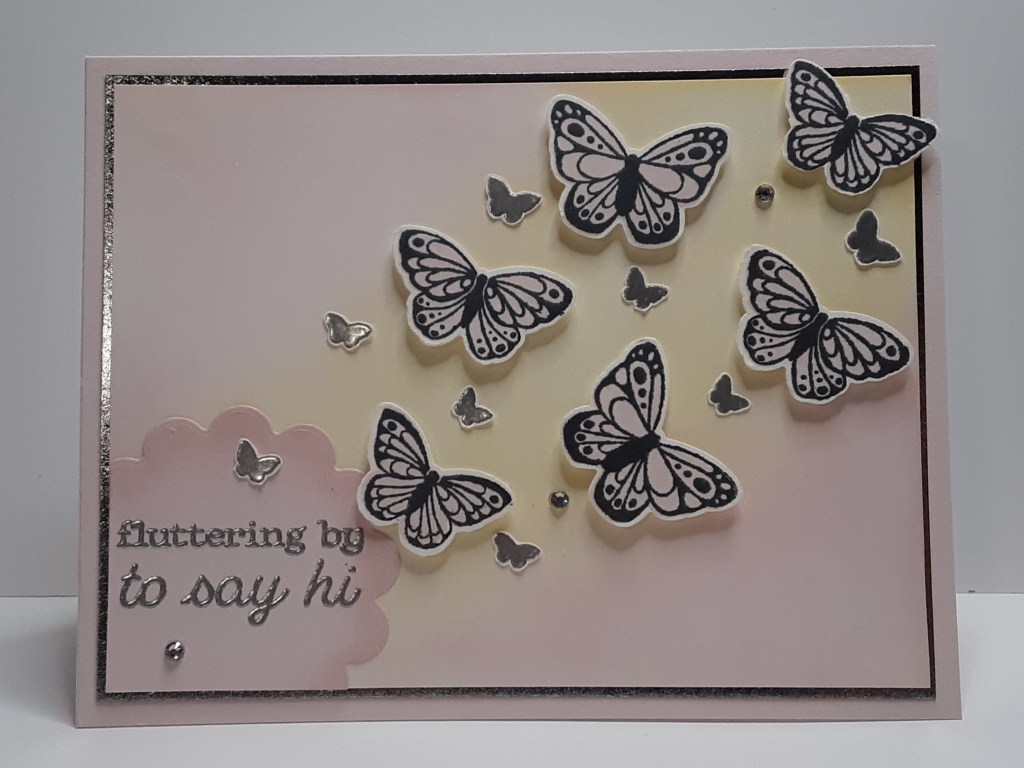
It’s Wednesday and I have another card for you. This card has been floating around in my mind for a couple weeks now and I finally put it on paper. When I make a card, sometimes the ideas I have work and sometimes they don’t. Some need a bit of tweaking. My first attempt on this one, I used a mask and made straight lines with the color I blended for the background. It looked too unnatural, so I thought I’d try it without the mask and maybe overlap the colors a bit. I really liked the softer look. I placed the butterflies so that it looked like they were moving toward the upper right hand corner.
Before getting started on the card, I want to invite you to comment on the September blog posts to be eligible to win a $25. gift card to Terry’s shop. This is in celebration of my second anniversary of writing Terry’s blog. Each post you comment on gives you another entry. I try to use products creatively with a variety of skill levels. I also try to make my instructions clear so that anyone can recreate my cards. Hopefully I have been successful and have inspired you to create your own cards. If you have any suggestions, I am open to them. One question I’d love to have an answer to is, would you like me to use retired products or would you prefer me to use available product?
Now on to the card. To make the card base, I cut a piece of Barely Blush cardstock to 5½” x 8½” on my Paper Trimmer, scored and folded at 4¼”, and burnished with my Bone Folder to make a top folding card. I cut a piece of Silver Foil Sheets to 4″ x 5¼” to act as a mat. To save on my silver foil cardstock, I cut the center from the piece to use on another project. I cut a piece of Basic White cardstock to 3⅞” x 5⅛” to create my background.
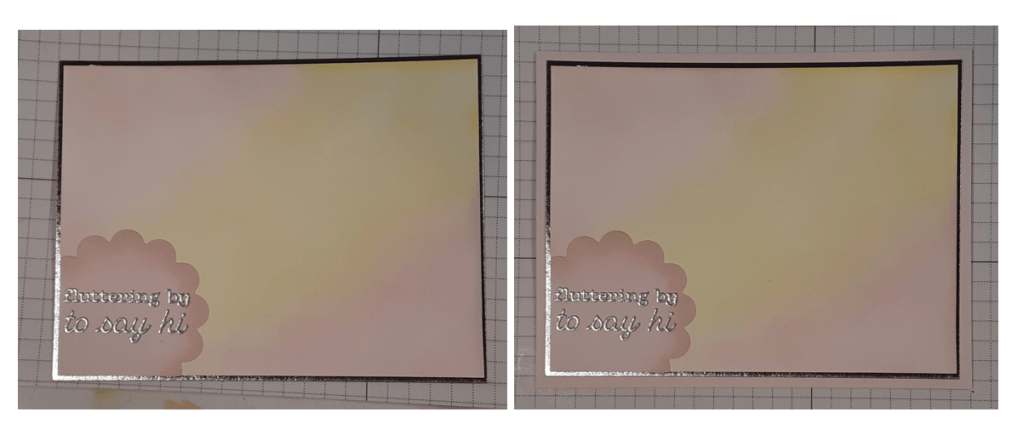
To create my background, I blended Barely Blush ink with a Blending Brush on the upper left and lower right corners of my cardstock. I added Lemon Lolly ink between the pink parts, overlapping slightly. I tried to make the yellow in the upper right wider than the lower left corner.
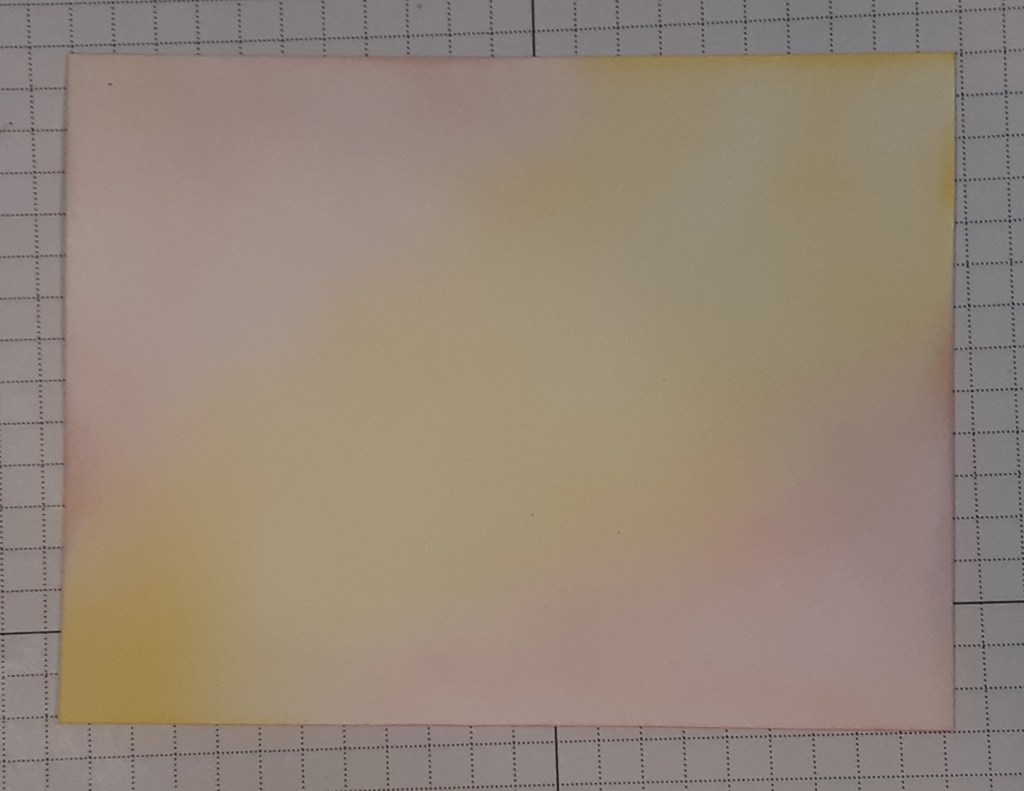
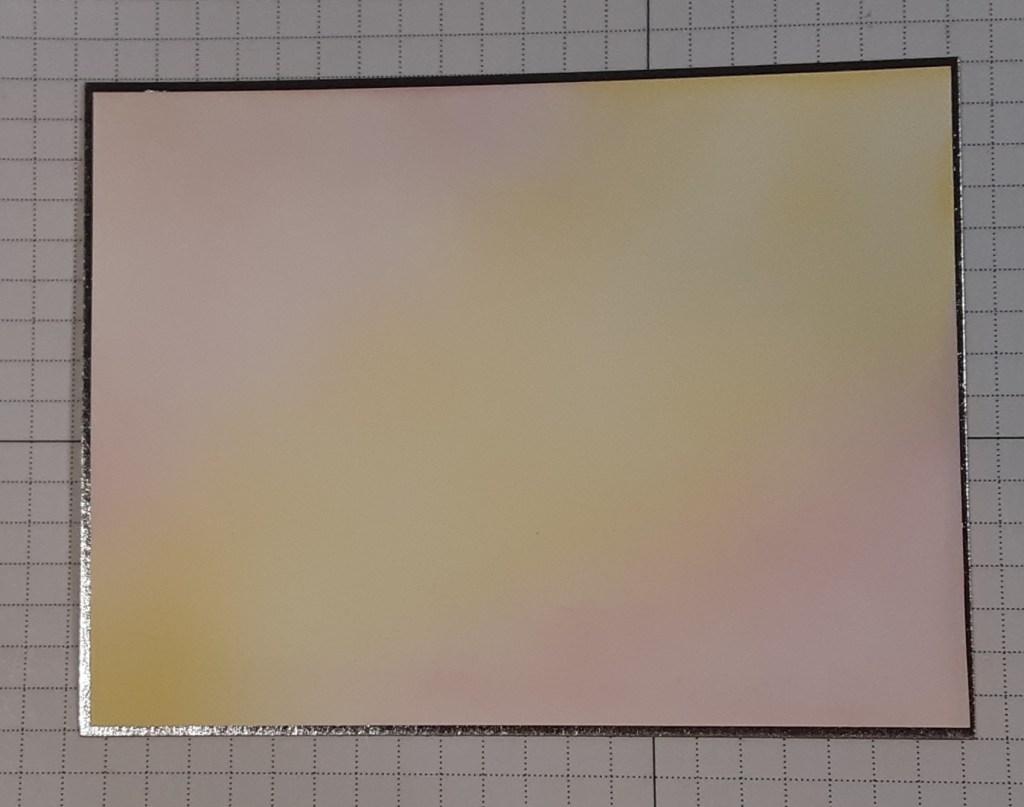
I adhered this to my silver mat with my favorite adhesive (Multipurpose Liquid Glue or Stampin’ Seal).
With my Scalloped Blooms dies, I die cut the third smallest scalloped circle from Barely Blush cardstock on my Stampin’ Cut & Emboss Machine. I cut it from the corner of my cardstock so it would fit in the corner of my paper. I added some Barely Blush ink around the edges with a Sponge Dauber. I added some antistatic powder to my piece before stamping Fluttering by to say hi from the All Aflutter bundle in Versamark ink. I sprinkled on some silver embossing powder from the Metallics Embossing Powder pack and heat set it with my Heat Tool. I glued this to my panel and then adhered the panel to my card base.
With Black ink, I stamped the detailed butterflies from the set. I stamped the filler in Barely Blush ink. Make sure the black ink is dry before adding the pink, or clean your stamp before stamping again to prevent contaminating your lighter ink pad. I stamped them twice for a total of six butterflies. I used the coordinating punch to cut them out.
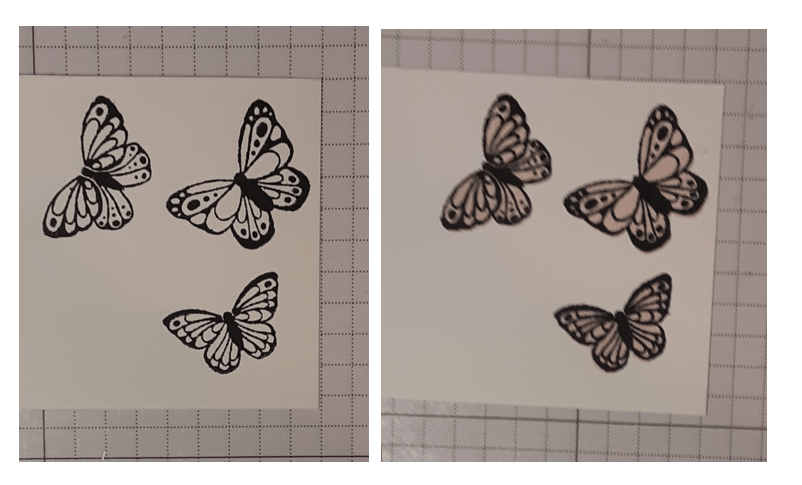
I also stamped the line of four butterflies on Basic White cardstock and heat embossed them, too. I made a total of eight tiny butterflies. I fussy cut them out.
I added my larger butterflies to my card with Stampin’ Dimensionals. I glued the small silver butterflies flat on the card.
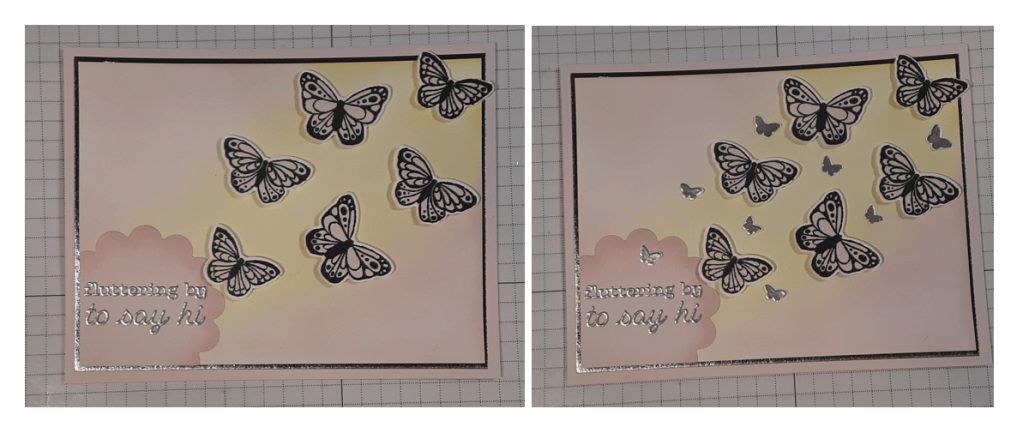
For a bit of sparkle, I added three Rhinestones to my card.
To finish the card, I stamped a greeting on a 4” x 5¼” piece of Basic White cardstock and glued it inside my card.
I hope you liked this card!
For the complete supply list, click here.
Images © Stampin’ Up!.


I love this! I will try to make one similar to that😊
LikeLike
Very pretty and flowing card . I would like you to use a combination of current and retired products. You are not so limited; more creative options .
LikeLike
I like the idea of using retired products too, especially dies and punches. This gives us more variety and a chance to use supplies that are in our inventory that we don’t rotate out. Great job.
LikeLike