
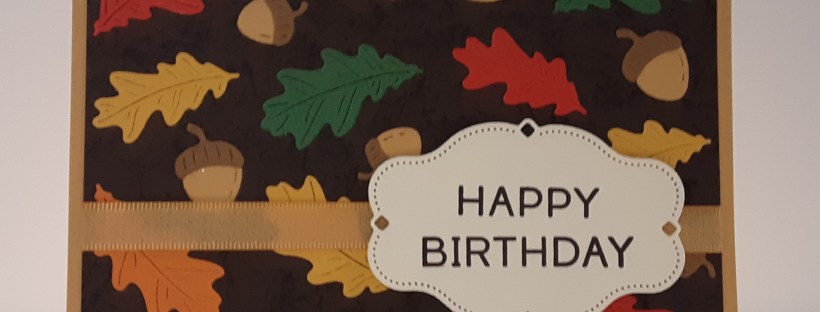
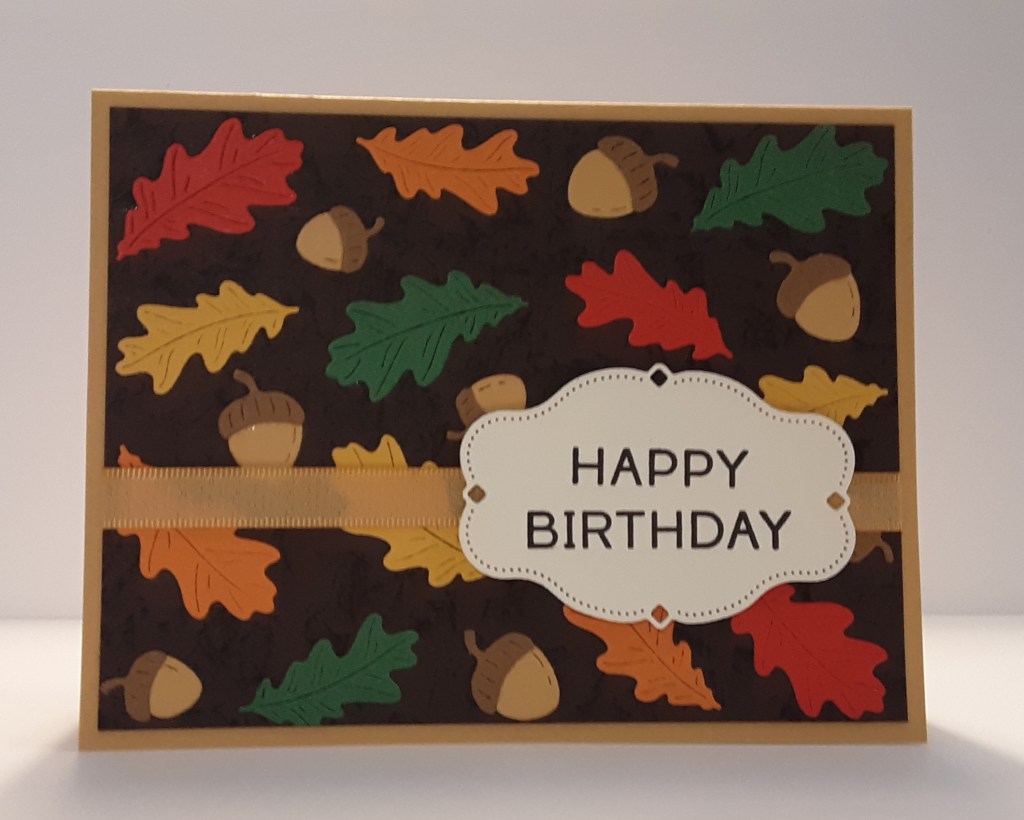
It’s Saturday, so I have a somewhat simple card. Once you get the die cutting finished, it’s a breeze. And I have a couple techniques that you may or may not be familiar with. The photo does not show the techniques, but in person, you can really see them. My daughter has told me a new phone would give me better pictures. She’s probably right. One of these days… Let’s get onto the card.
To make the card base, I cut a piece of Golden Glow cardstock to 5½” x 8½” on my Paper Trimmer, scored and folded at 4¼”, and burnished with my Bone Folder. I cut a piece of Early Espresso cardstock to 4¼” x 5½” for my background. I will trim it down later to 4” x 5¼”, so if you’d like to start with that, feel free.
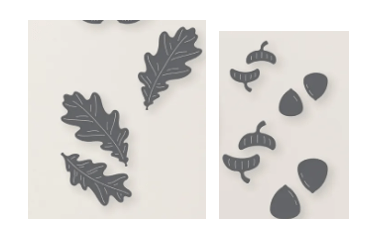
With the Sweet Words & Labels dies (get the bundle here), I die cut the leaves from Pumpkin Pie cardstock, Crushed Curry cardstock, Garden Green cardstock, and Poppy Parade cardstock. I cut the three leaves from each color. I cut the acorns from Golden Glow cardstock and the caps from Pecan Pie cardstock. I cut two sets of large and small acorns.
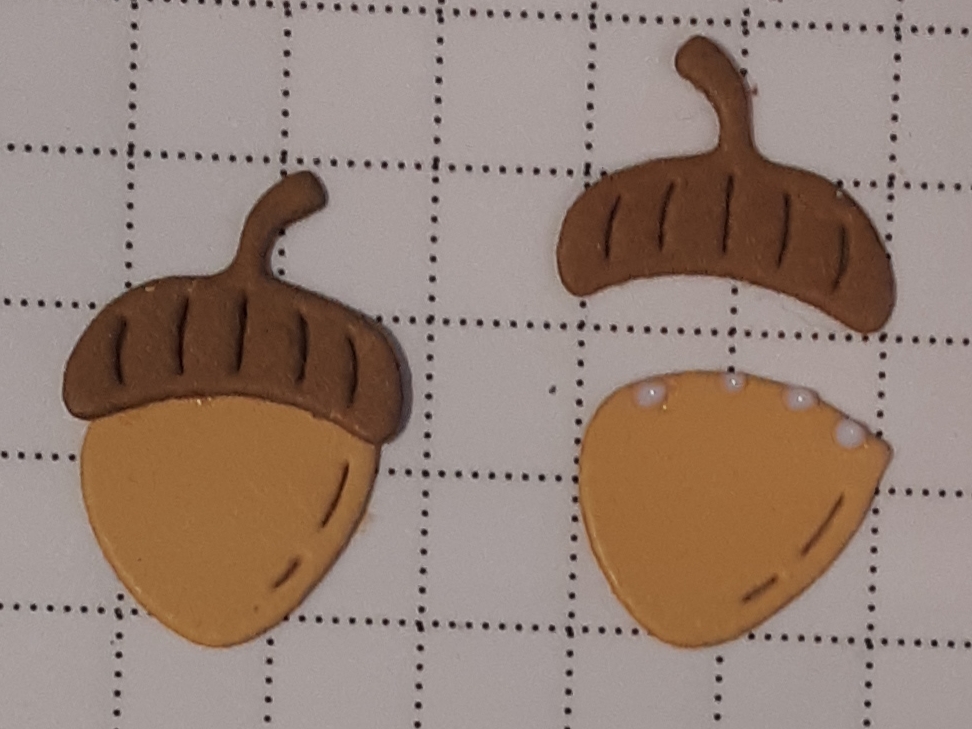
I glued my caps on my acorns with little dots of non-tacky glue. I used reverse tweezers to help me place the caps. I had a total of eight acorns.
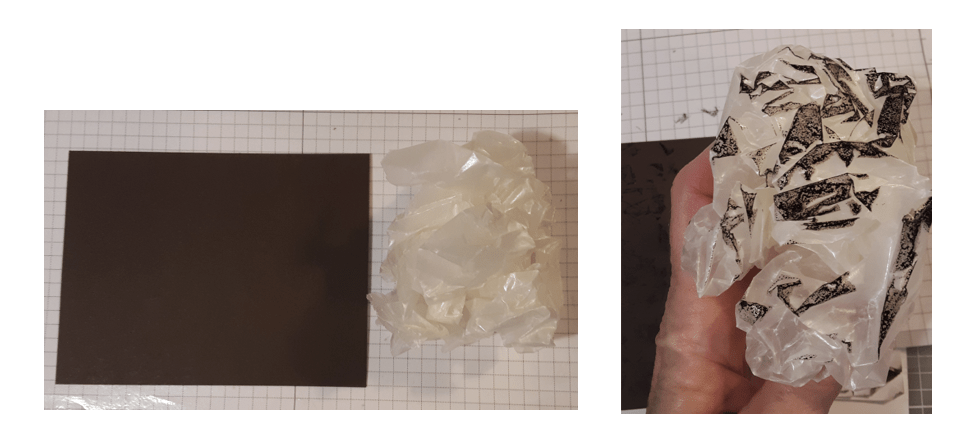
For my first technique, I decided to add some ink to my background, but I didn’t want to use a stamp. I got a piece of waxed paper and wadded it up loosely. I dipped it into my Early Espresso ink and daubed it on my cardstock. It doesn’t take much ink and can get messy if you get carried away. I recommend rotating your hand or your cardstock so you don’t get a pattern repeat (unless you want one!).
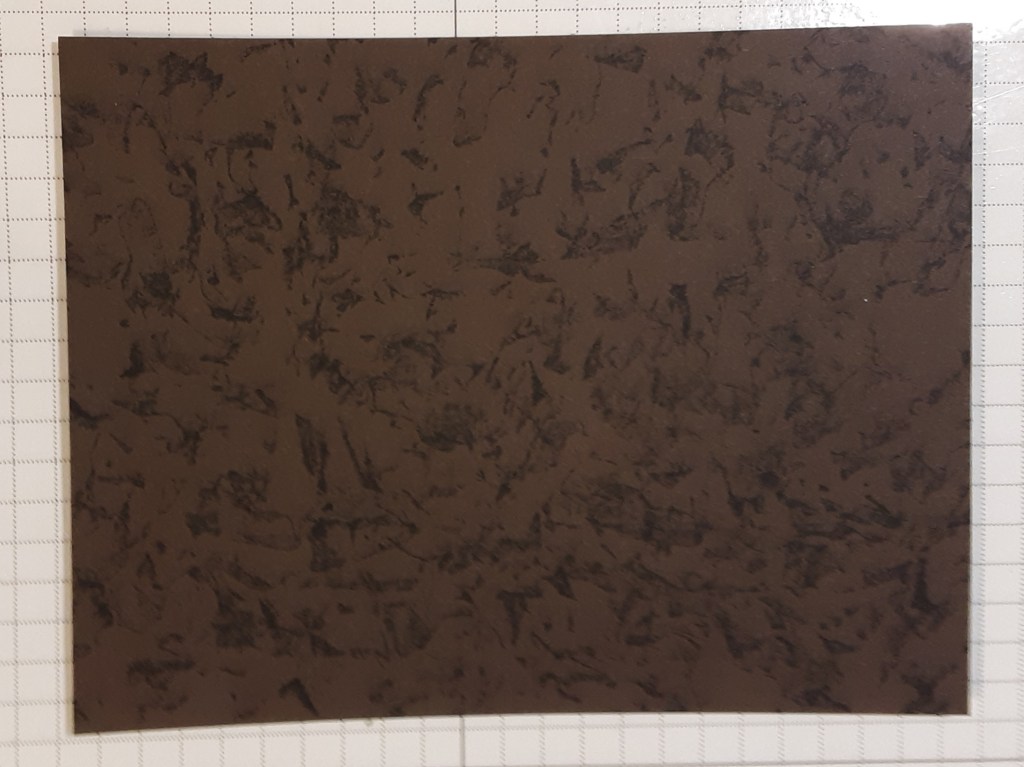
The tone on tone look fits with the leaves. Can you believe I did this in seconds with a piece of waxed paper?
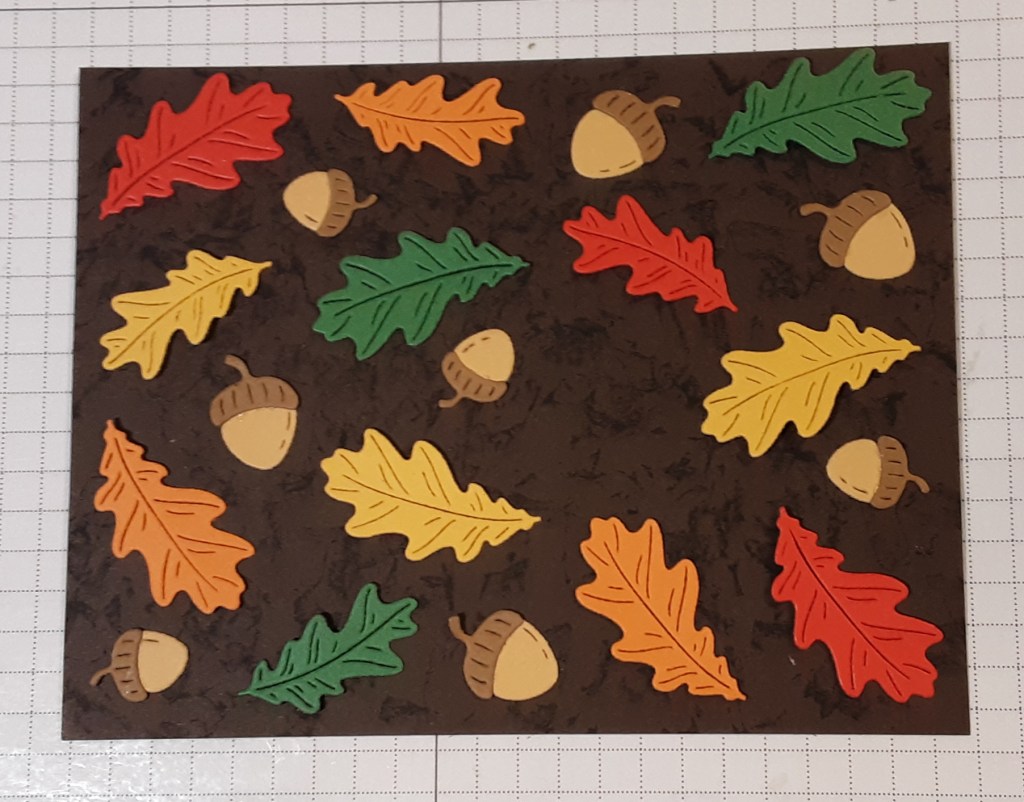
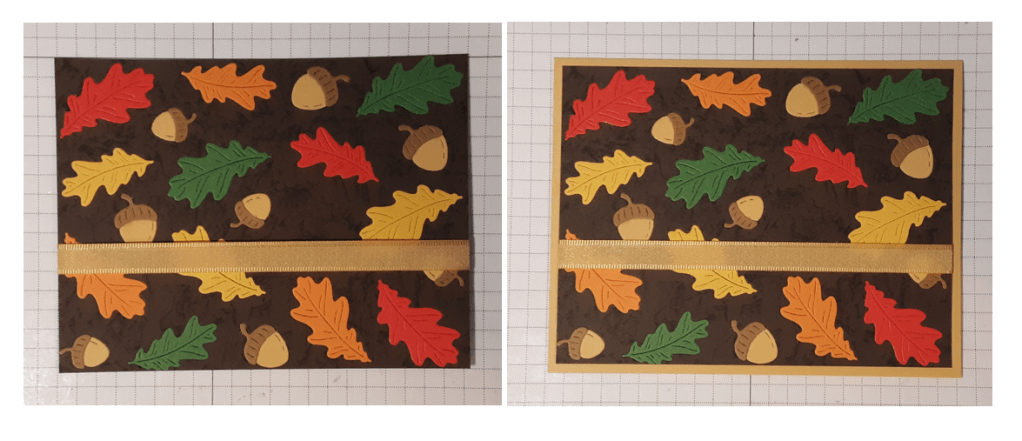
Next, I placed my leaves and acorns on my background. I wanted to position them where I wanted before glueing. When glueing, I recommend non-tacky glue or tape runner (Stampin’ Seal). There are die cut openings on the leaves and acorns and the glue will seep through. Since Multipurpose Liquid Glue dries tacky, this could be a problem. When placing your pieces, consider where your sentiment label will be located and you can skip putting anything there. As an aside, if you are feeling ambitious, add some color to the die cuts with a Sponge Dauber to give them some dimension. The second photo shows what the leaves look like inked. They should be inked before adhering.
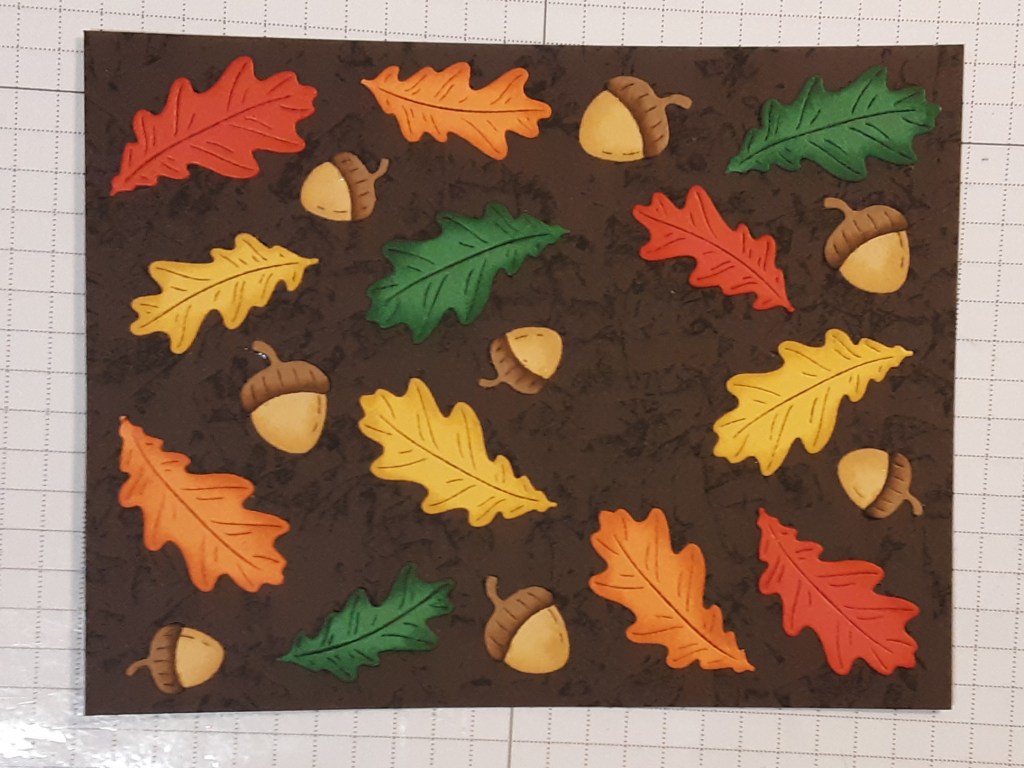
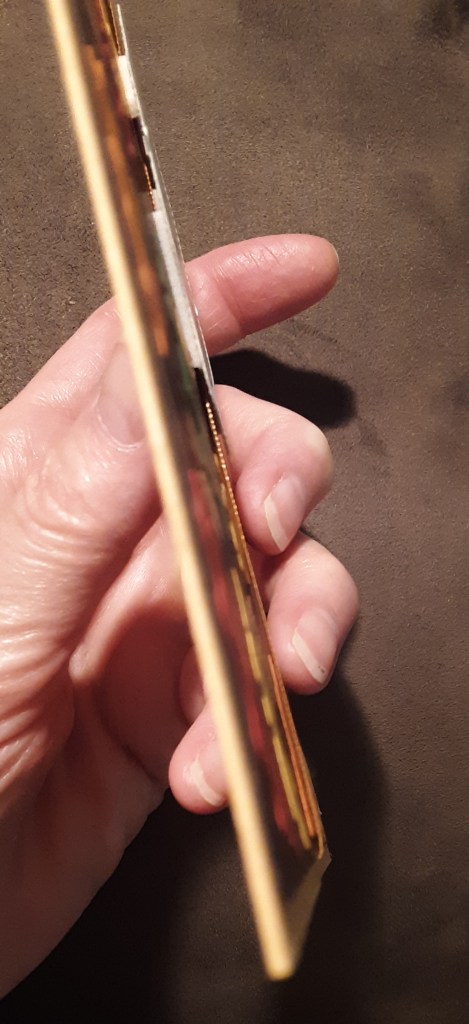
Once your pieces are glued on the background, we are ready for the second technique. With my die cutting machine (one of them anyway), I have a flexible mat. I placed my flexible mat on the base plate, put my background on it face up, and put my top plate on, and ran it through my machine. (I used my Anna Griffin Empress machine). What happens is the leaves are pressed into the cardstock and the surface is almost smooth. I took a picture of the side view of my card and the leaves are not sticking up. Hopefully you can see what I mean. You can see my Stampin’ Dimensionals and my ribbon, but the leaves are mostly flat. I’m not sure a new phone would provide a better picture because of the angle.
I trimmed my background down to 4″ x 5¼”. I added a piece of Golden Glow ribbon with Mini Glue Dots, and adhered the panel to my card base. Any glue will work for this.
I stamped Happy Birthday from Words & Wishes stamp set in Early Espresso ink on Very Vanilla cardstock. I die cut this out using a label from Sweet Words & Labels die set.
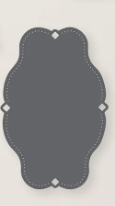
I added my label to my card with Stampin’ Dimensionals.

To finish the card, I stamped a greeting on a 4” x 5¼” piece of Very Vanilla cardstock and glued it inside my card.
I hope you liked this card!
For the complete supply list, click here.
Images © Stampin’ Up!.

