
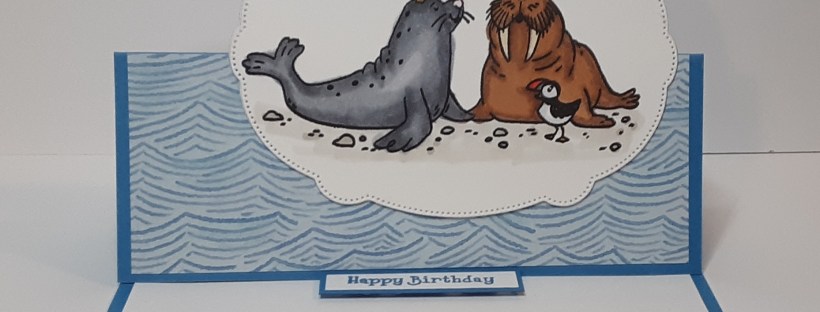
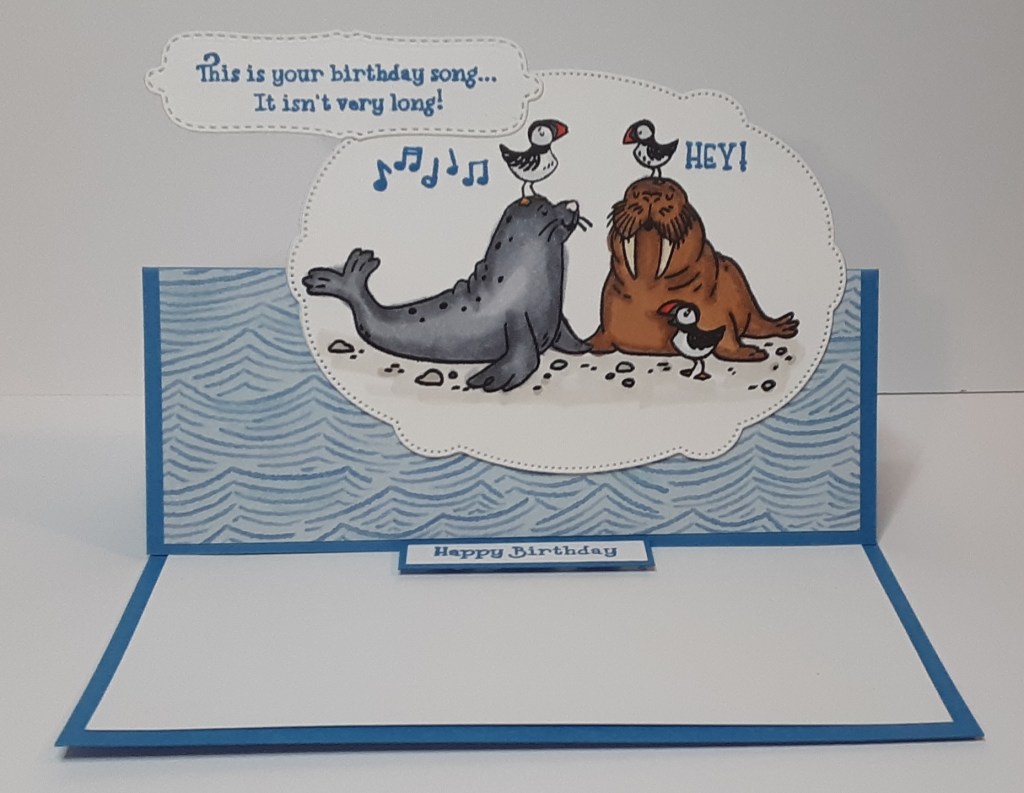
It’s Wednesday and I have a fun-fold card for you today. I am using the Birthday Song stamp set, but a different image. When I first saw the animals in this image, I thought both of the aquatic mammals were walruses, but no! One is a walrus and the other a seal. All walruses have tusks, male and female. The birds are puffins, kind of like the penguins of the northern hemisphere. Penguins are only in the southern hemisphere. I could go on…
Starting today, Stampin’ Up! is offering double rewards with a minimum purchase of $20. Instead of 10%, you will earn 20% to spend on your next purchase, or you can save them for up to a year. With the new catalog and Online Exclusives release coming September 1, there will be so much to choose from. You can also take advantage of the cardstock and DSP sale. Sounds like a win-win to me!

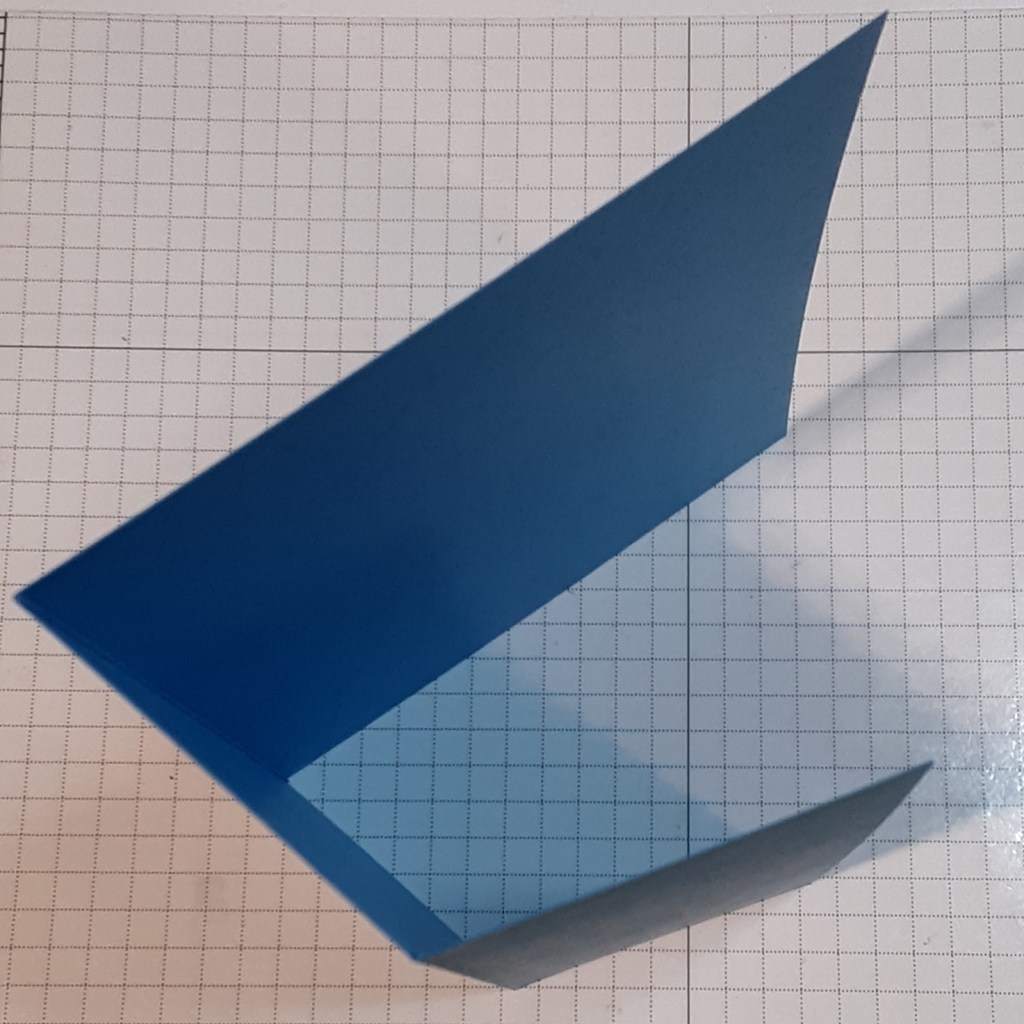
Now on to the card. For the card base, I cut a piece of Azure Afternoon cardstock to 5½” x 8½” on my Paper Trimmer, scored and folded (both mountain folds) at 4¼” and 2⅛”, and burnished with my Bone Folder.
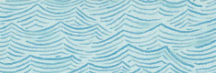
I cut a piece of Basic White cardstock to 2″ x 4″. I cut a piece of Waterside Retreat DSP to 2″ x 4″, also.
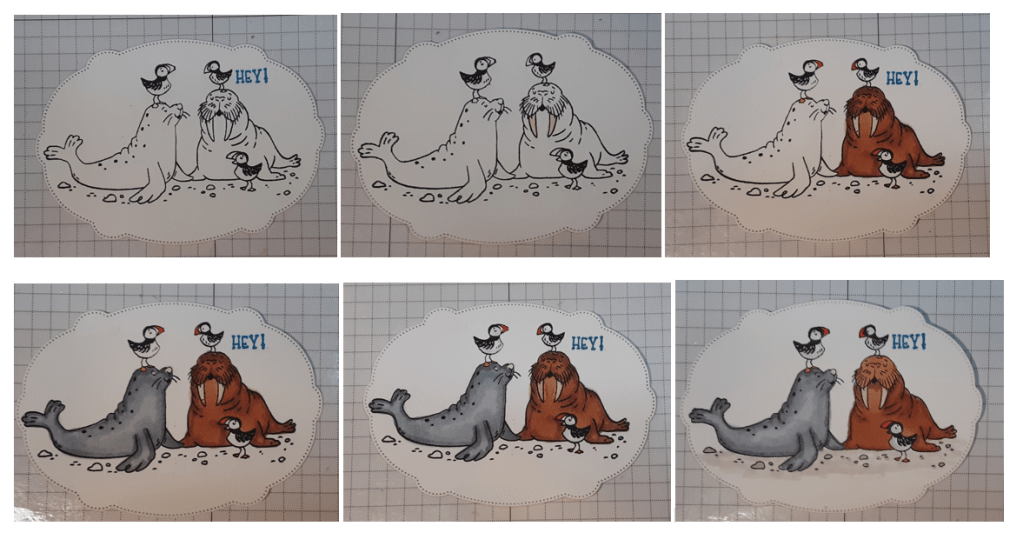
With the Sweet Words & Labels dies, I cut the second largest label from Basic White cardstock on my Stampin’ Cut & Emboss Machine. I also cut the smaller oblong label. I stamped the walrus/seal image from Birthday Song stamp set with Black ink on the larger label. I stamped Hey! in Azure Afternoon ink above the walrus. I stamped This is your birthday song… in Azure Afternoon ink on the smaller label. I colored in my images with Stampin’ Blends. Here are some suggested colors: Smoky Slate, Medium, Medium Light, Light, Poppy Parade, Pumpkin Pie, Ivory, and Gray Granite.
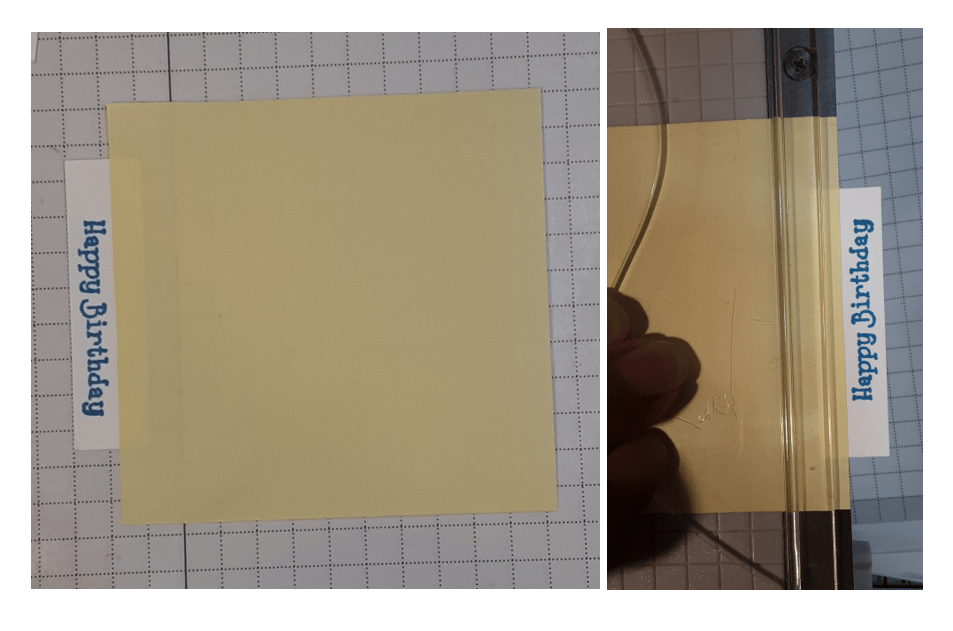
I stamped Happy Birthday in Azure Afternoon ink on a strip of Basic White cardstock. To cut a strip that is narrow, I put a Post-It note where I want to cut, line up the edge of the Post-It on my guillotine trimmer, and cut.
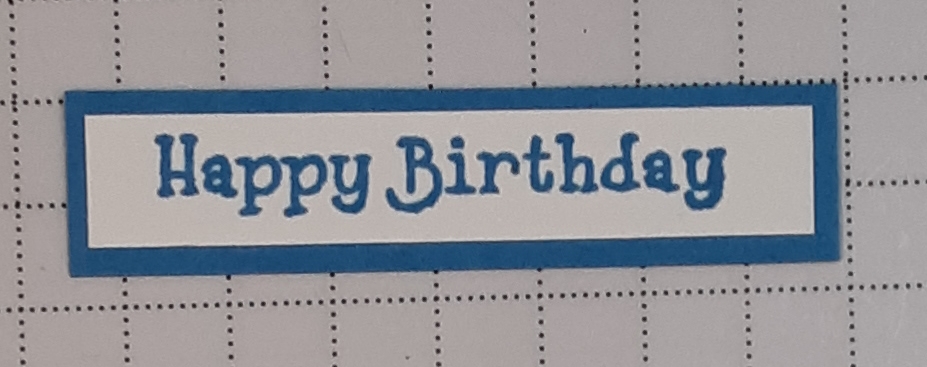
I adhered my sentiment strip to a strip of Azure Afternoon cardstock and trimmed it down.
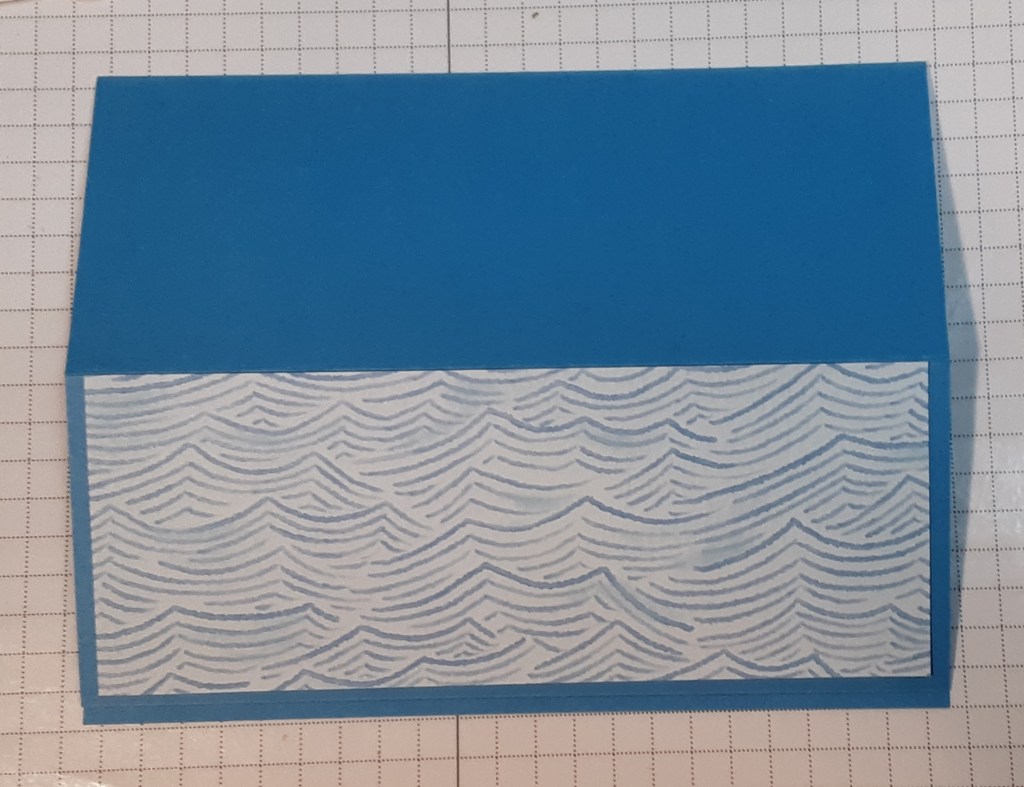
I adhered my DSP to the lower part of my card front, lining the upper edge along the fold line using my favorite adhesive (Multipurpose Liquid Glue or Stampin’ Seal).
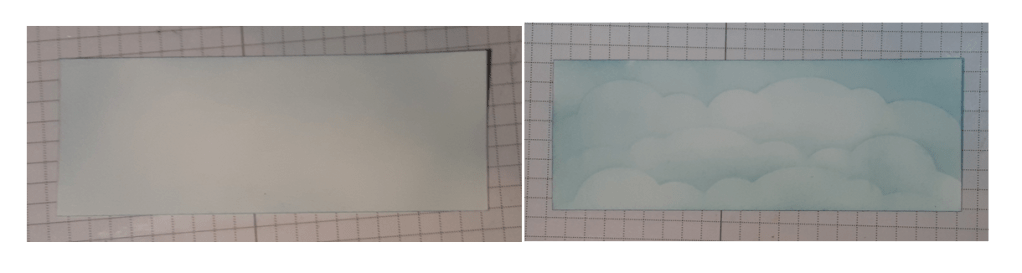
For the white piece, I added some Balmy Blue ink with my Blending Brush. I decided to add some clouds, so I used a stencil I had. You could also use Masking Paper that you cut to form clouds. I glued this above the water DSP.
I die cut an additional label to glue to the back of my colored in label to hide where the ink soaked through. You could skip this part if you prefer. To add the focal image, only put glue on the lower half of the label, below where it will meet the fold line. I added my sentiment label to my larger label.
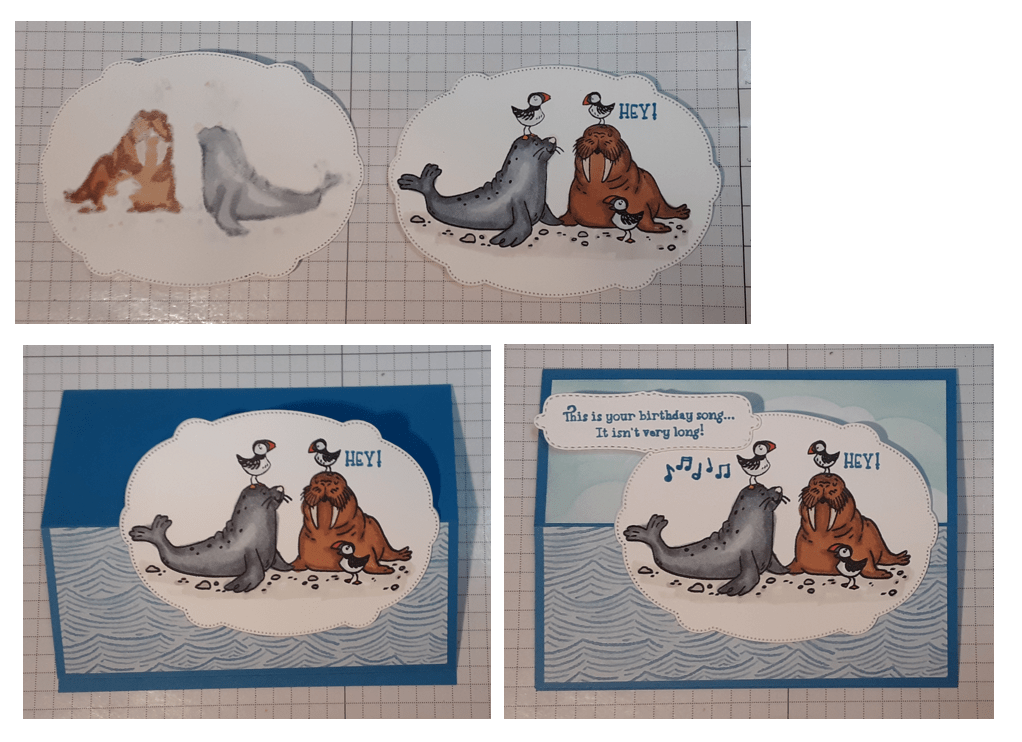
To finish the card, I cut a 4” x 5¼” piece of Basic White cardstock and glued it inside my card. I added my sentiment with Stampin’ Dimensionals to act as a stopper when the front of the card is tucked behind it.
I hope you liked this card!
For the complete supply list, click here.
Images © Stampin’ Up!.

