
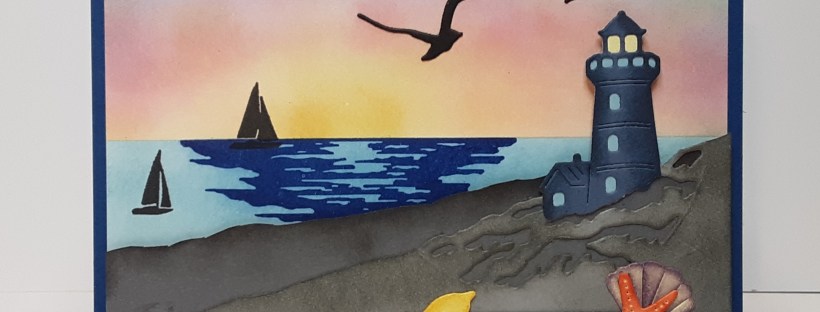
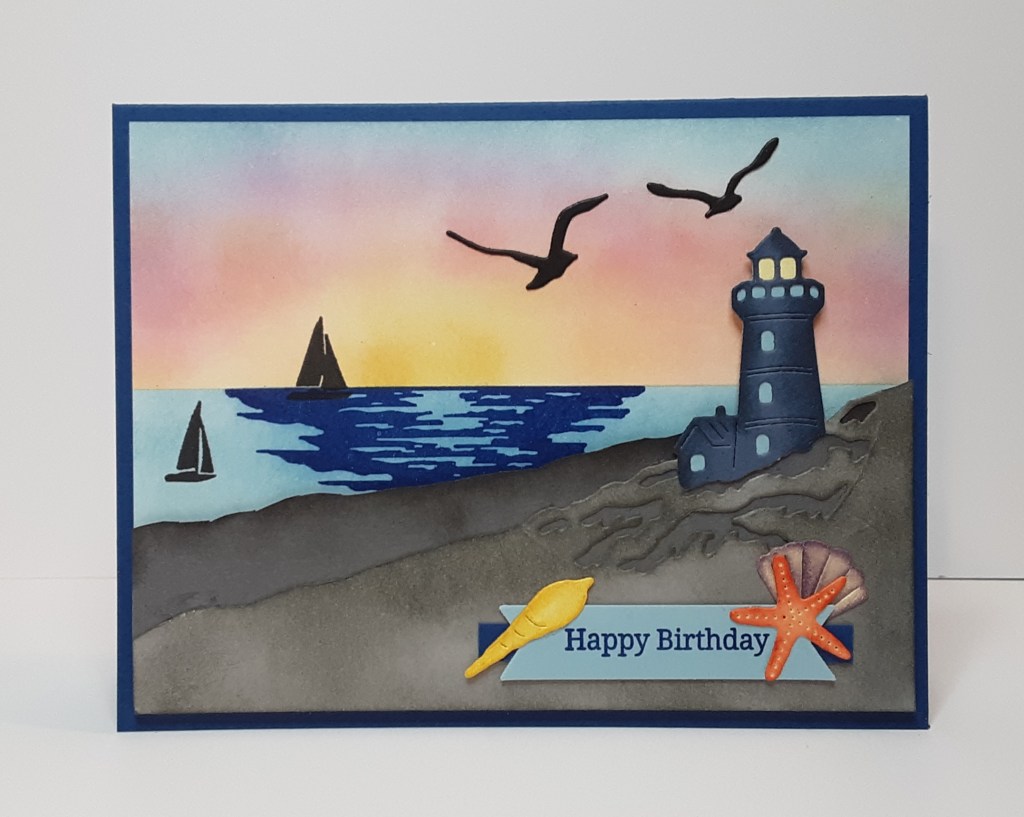
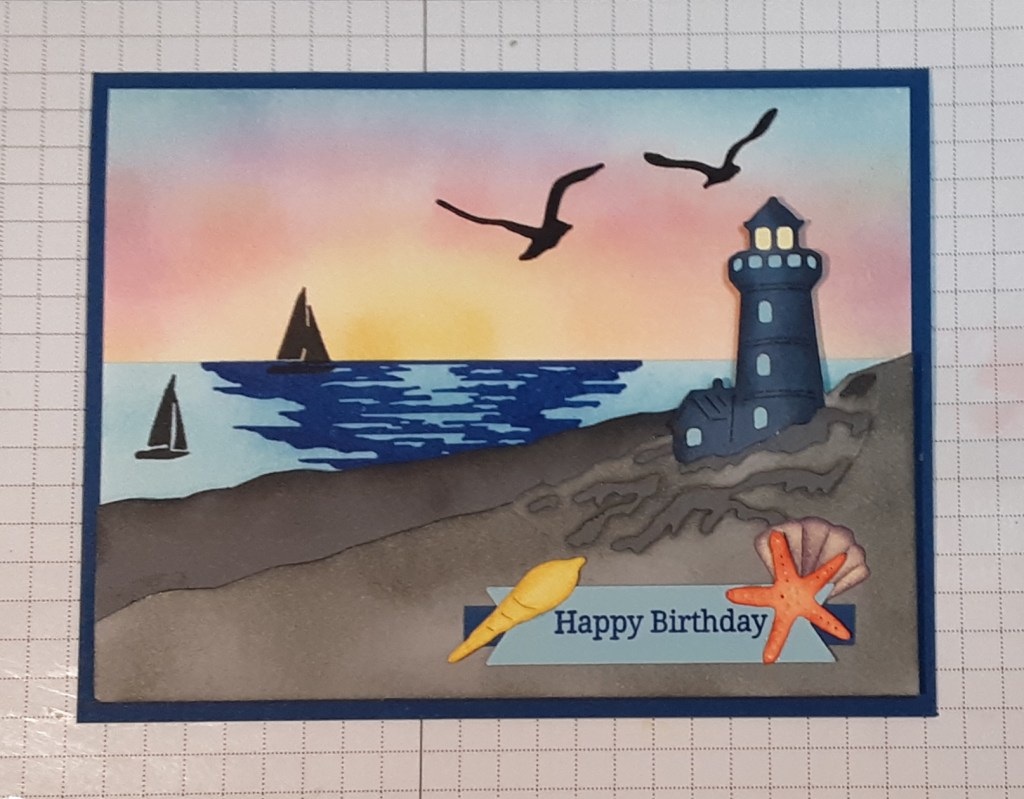
It’s Wednesday and I have another card for you. I used the Sunset Coast bundle to create this pretty card. I used a few techniques to give my card some depth and color. Let me show you how I did it.
But first, let me remind you of Stampin’ Up!’s cardstock and DSP sale going on now through the end of August. All available cardstock, two-tone cardstock, and DSP are 15% off. Time to stock up! I used several colors in today’s card.
Now on to the card. To make the card base, I cut a piece of Blueberry Bushel cardstock to 5½” x 8½” on my Paper Trimmer, scored and folded at 4¼”, and burnished with my Bone Folder. I cut a piece of Basic White cardstock to 4″ x 5¼” for my background.
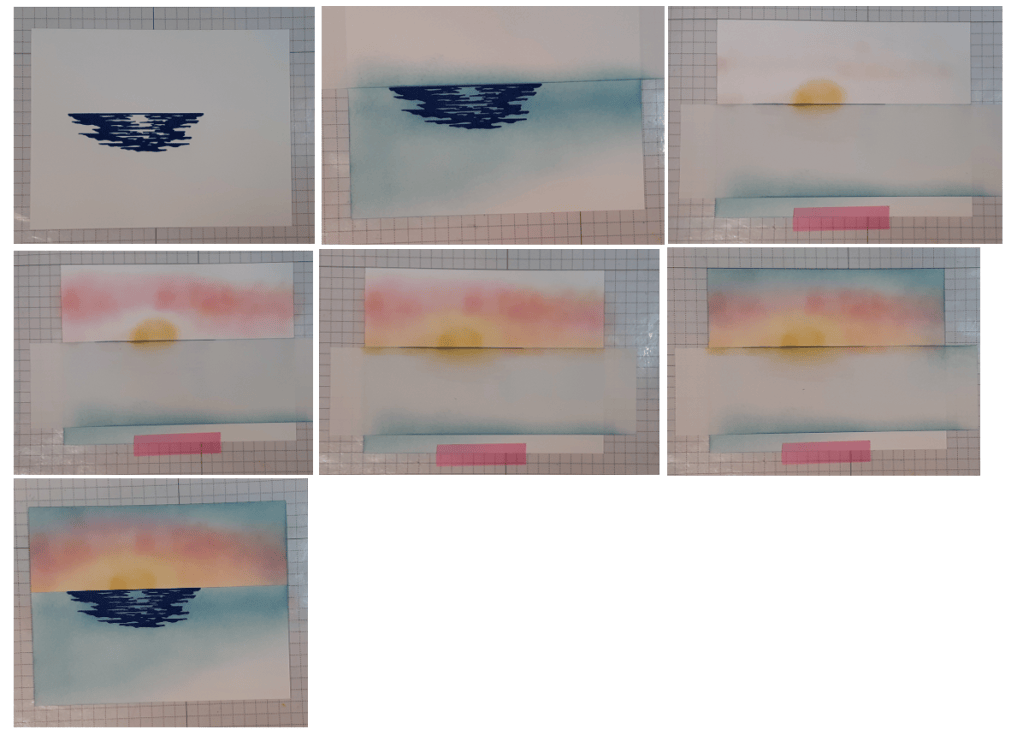
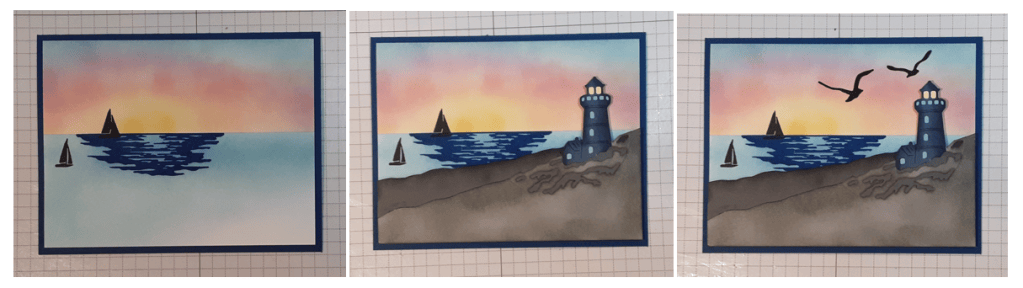
To make the background, I stamped the water image from Sunset Coast bundle in Blueberry Bushel ink where I wanted my horizon to be. I put Masking Paper above the water to mask where the sky would be. I used my grid lines on my Grid Paper to make sure my horizon was straight. I blended Balmy Blue ink with my Blending Brush below the masking paper. I moved my masking paper to cover my water. With a Small Blending Brush and Daffodil Delight ink, I ink blended the sun and a little of the space around it. With another blending brush, I added Melon Mambo ink, tapped off on my work mat so it wouldn’t be too dark, around my sun. I added a little more yellow, blending the colors as I went. Finally, I added Balmy Blue ink to the top of the piece.
I stamped the sailboats in the water with Black ink.
I cut a piece of Smoky Slate cardstock to 5¼” x 4″. I placed my lighthouse die from the bundle so that my lighthouse would be where I wanted it on the final card. I ran this through my Stampin’ Cut & Emboss Machine. I trimmed the circle frame off with my scissors and extended the rocky coastline. With a Sponge Dauber I applied Smoky Slate ink to the edges.
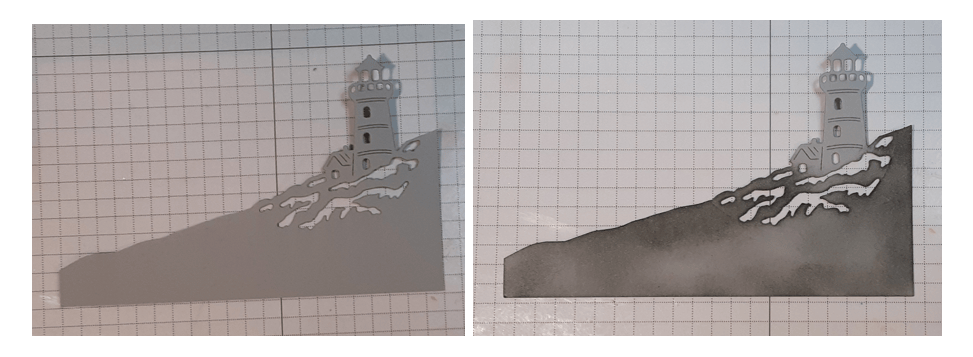
With a piece of Basic Gray cardstock 5¼” wide, I cut a piece that would peek out behind my lighthouse piece. I applied Basic Gray ink with a sponge dauber.
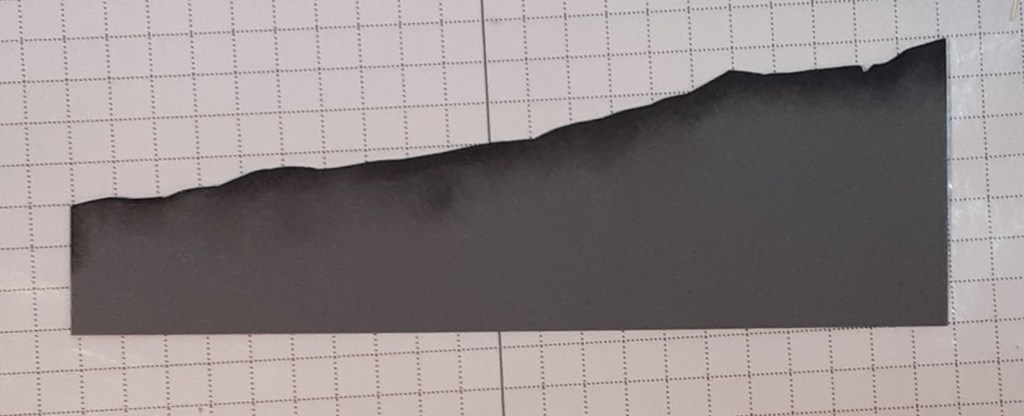
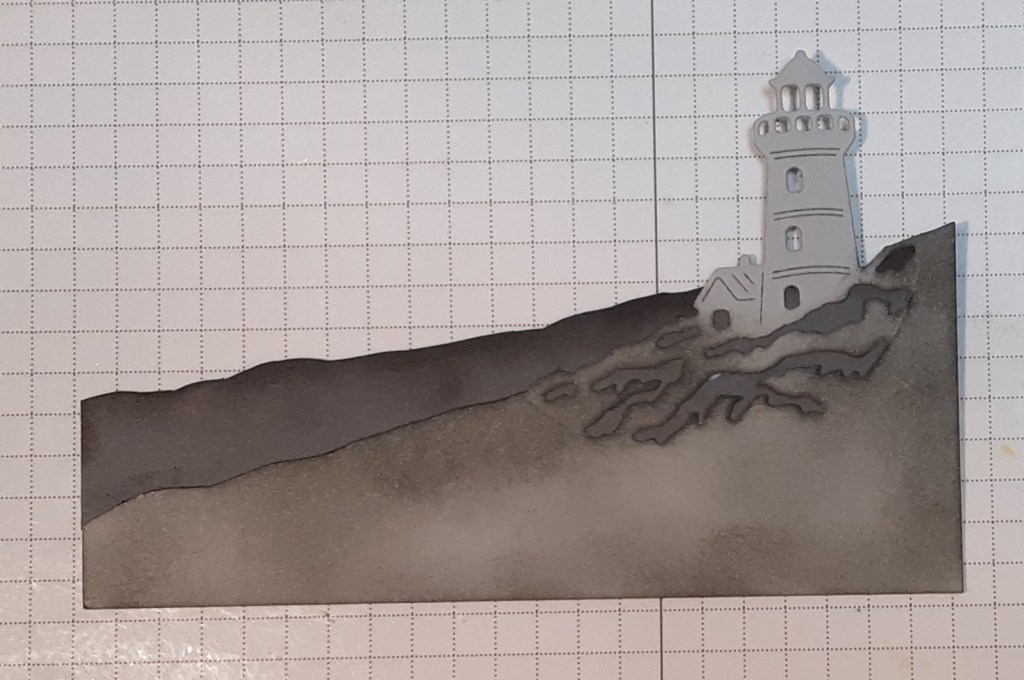
I adhered the two pieces together using my favorite adhesive (Multipurpose Liquid Glue or Stampin’ Seal) so that the darker gray peeks out behind the lighter one.
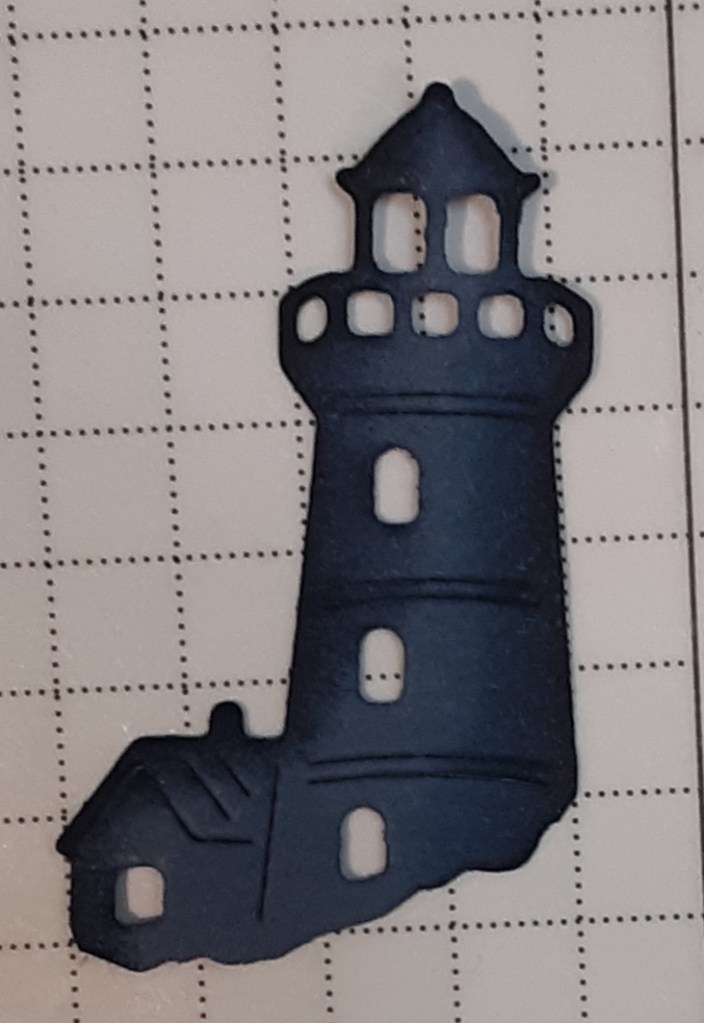
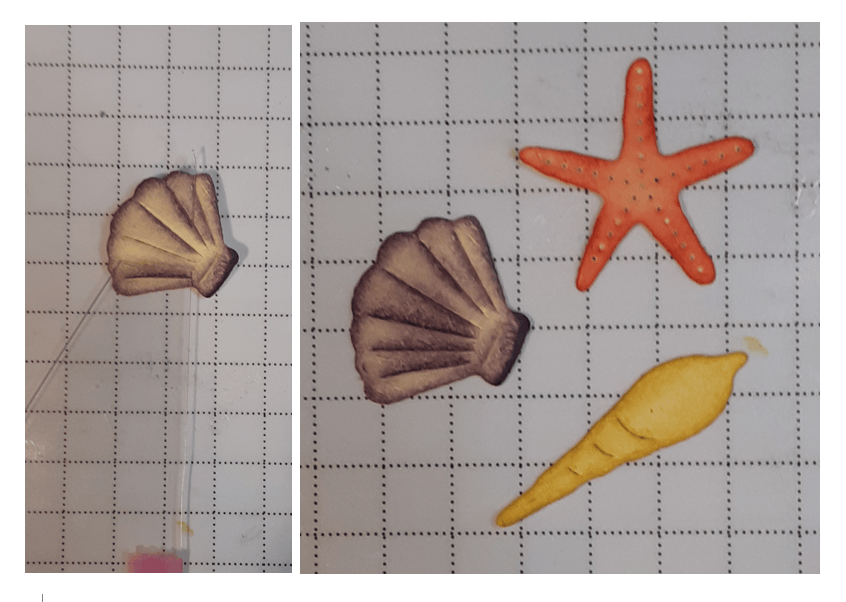
With Misty Moonlight cardstock, I cut out the lighthouse and house part of the die. I trimmed off any excess from die cut piece. I also cut out the seashells from Lemon Lolly cardstock, and the birds from Basic Black cardstock. I used a sponge dauber to add Misty Moonlight ink to the lighthouse edges to make it look curved.
For the starfish, I smooshed on a bit of Flirty Flamingo ink with a sponge dauber and then used Poppy Parade ink to the edges. For the long skinny shell (not sure what it is called), I blended Daffodil Delight ink along the edges. For the clam shell, I added Highland Heather ink. I used the little tool I made (a clear piece of packaging cut in a triangle) to add ink to the cut lines in the shell by sliding the narrow tip through the slits and brushing ink on.
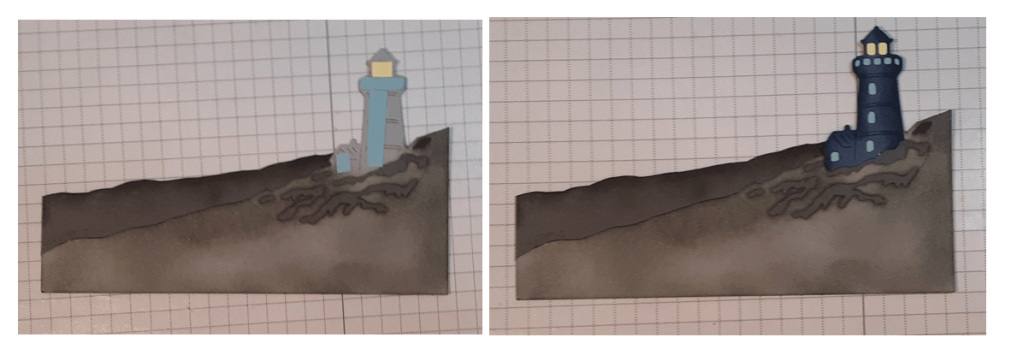
I cut bits of Balmy Blue cardstock and Lemon Lolly cardstock and glued them to my gray lighthouse, covering the window openings. This allowed the colors to peek through the openings when I added my blue lighthouse on top. So much easier than piecing those tiny pieces.
I adhered my ink blended background to my card base. I added my lighthouse panel to my card base with Stampin’ Dimensionals. I added two of the die cut birds.
I stamped Happy Birthday from Banner Sayings bundle in Blueberry Bushel ink on Balmy Blue cardstock. I punched it out with the coordinating banner punch. I cut a ¼” x 2½” strip of Blueberry Bushel cardstock. I glued my banner to the strip. I added the shells to either end to add a bit of color.
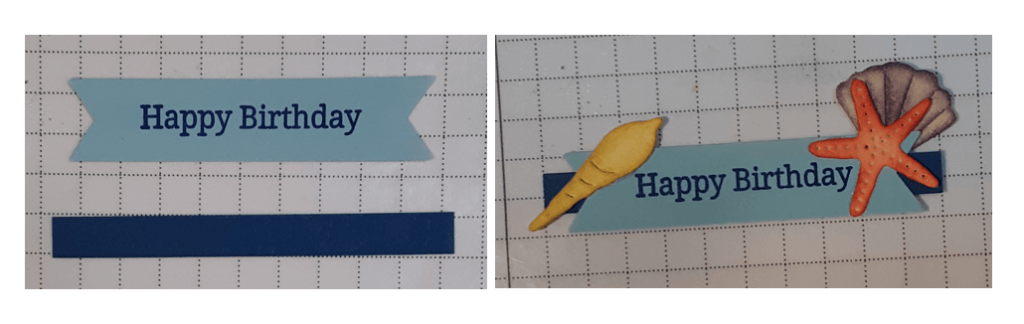
I glued this to my card.
To finish the card, I stamped a greeting on a 4” x 5¼” piece of Basic White cardstock and glued it inside my card.
I hope you liked this card!
For the complete supply list, click here.
For further inspiration:
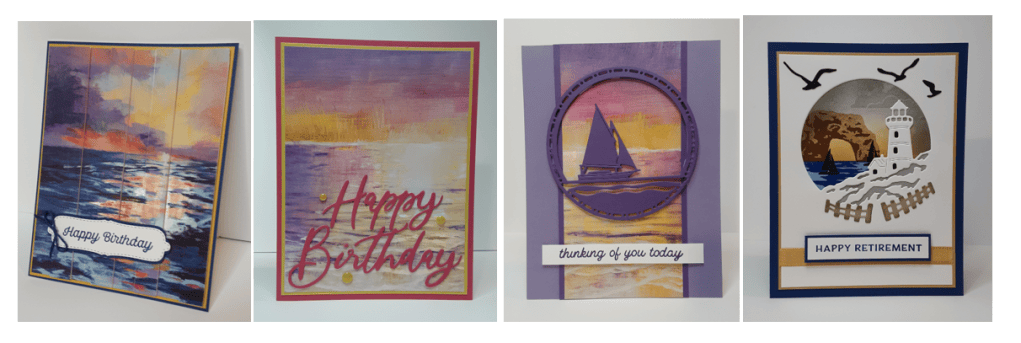
Images © Stampin’ Up!
 stampinfunwithterry.net