
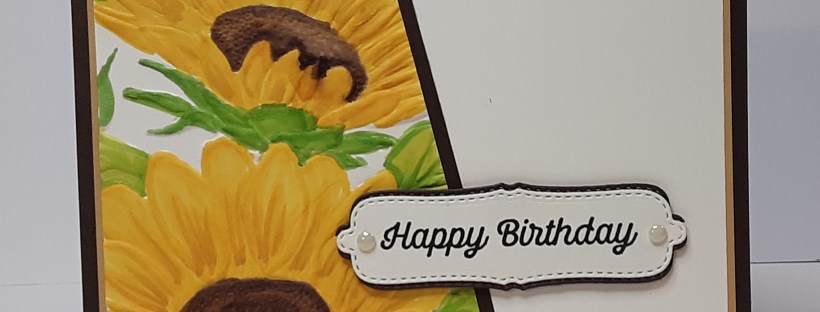
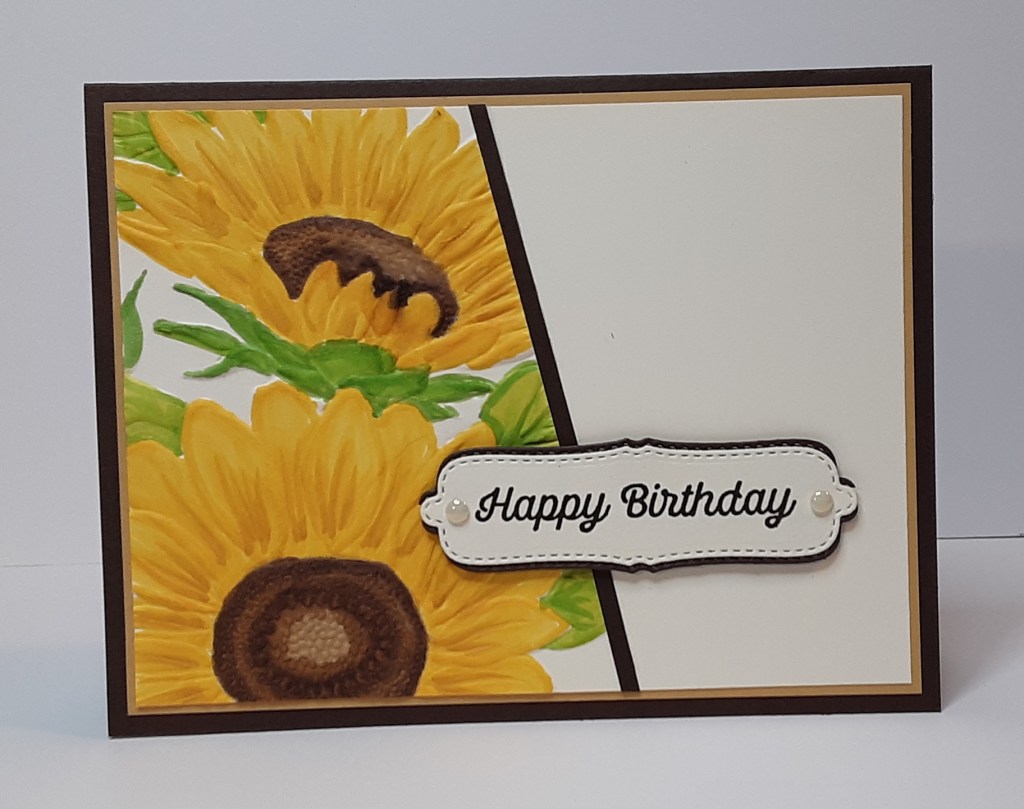
It’s Wednesday, so I have another card. This card uses a technique that I haven’t really tried before so I thought I would give it a go. I also thought that I would dip my toe into the upcoming fall season by using the Sunflower 3D Embossing Folder. It is still summery enough, but it does nudge what is to come.
To make the card base, I cut a piece of Early Espresso cardstock to 5½” x 8½” on my Paper Trimmer, scored and folded at 4¼”, and burnished with my Bone Folder. I cut a piece of Golden Glow cardstock to 4” x 5¼” to act as a mat. I cut a piece of Very Vanilla cardstock to 4¼” x 5½” for my focal image. This will be much bigger than I need, but I wanted to make sure to get parts I wanted and to allow for stretch and shrinkage when I put it through my embossing folder.
I marked 2¼” up from the lower left and upper right-hand sides in the portrait orientation with a pencil. On my trimmer, I cut the line diagonally from mark to mark. I put one piece (they are the same) in my Sunflower 3D Embossing Folder and ran it through my Stampin’ Cut & Emboss Machine. I left the other piece smooth.
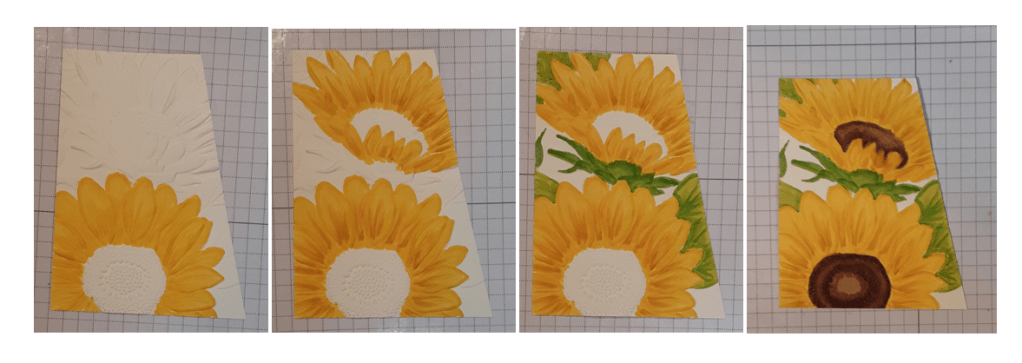
Initially, I thought I would create a stencil and ink blend the color on. This did not work out for me. The flowers on the folder were too big and the windows in the stencil would not have left enough material to hold the stencil together. Plan B was to color the raised images with Stampin’ Blends.
I colored the flower petals with Daffodil Delight Stampin’ Blends and Golden Glow Stampin’ Blends. Next, I colored the leaves with Granny Apple Green Stampin’ Blends. I colored the flower centers with SU200 and SU400. It was a little tricky to see where to color (my eyesight is lamentable) and trying to stay on the raised areas. There are a couple blurry spots where I went over a little. I think I would like to try coloring it with colored pencils because they would give me a little more control. But I do like the blending capabilities of the markers.
I placed my pieces (embossed and plain) down and glued them together using my favorite adhesive (Multipurpose Liquid Glue or Stampin’ Seal). I made sure I had a width of 5⅛”. The pieces overlapped about ⅜” because I cut them bigger than I needed. When I had my width established, I trimmed from the top and bottom to make an overall piece of 5⅛” x 3⅞”. This fit perfectly on my Golden Glow mat.
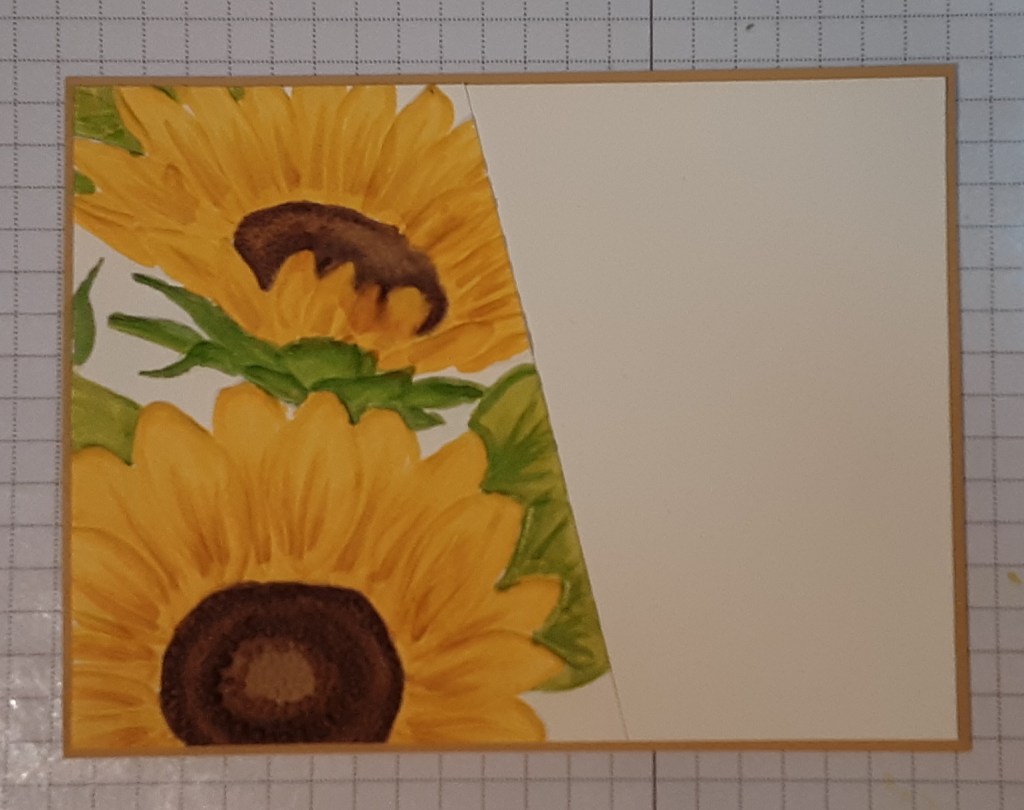
Because the embossed piece overlapped the plain piece, I decided to add a ⅛” strip of Early Espresso cardstock to separate the sides. I consulted with my friend Diane and she agreed that it looked better with it than without.
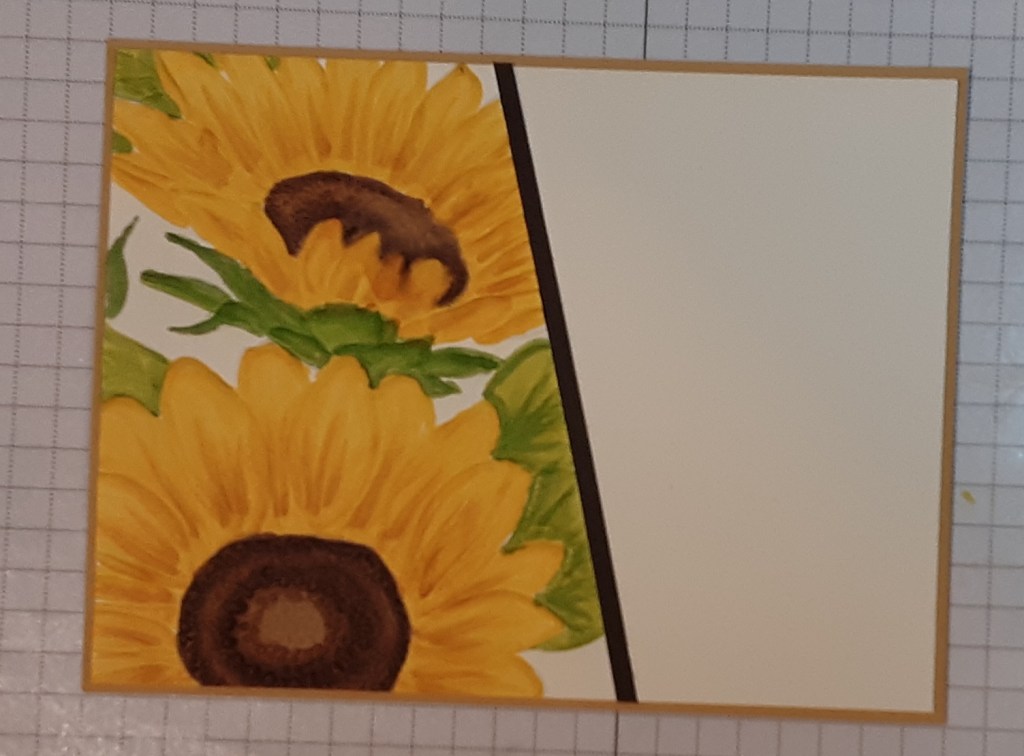
I added this panel to my card base.
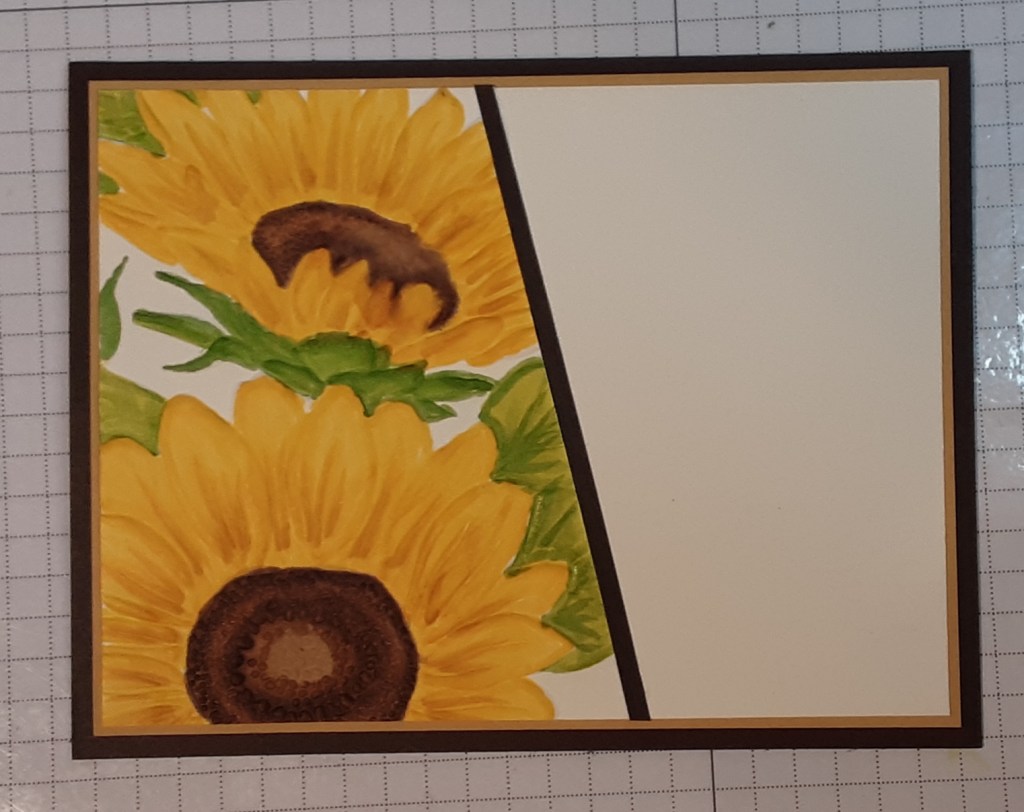
On a scrap of Very Vanilla cardstock, I stamped Happy Birthday from BBQ Masters stamp set in Early Espresso ink. I die cut this out with the small label die in Sweet Words & Labels. I cut an additional label from Early Espresso cardstock. I cut the brown one in half horizontally and offset the sentiment. I added this to my card with Stampin’ Dimensionals.
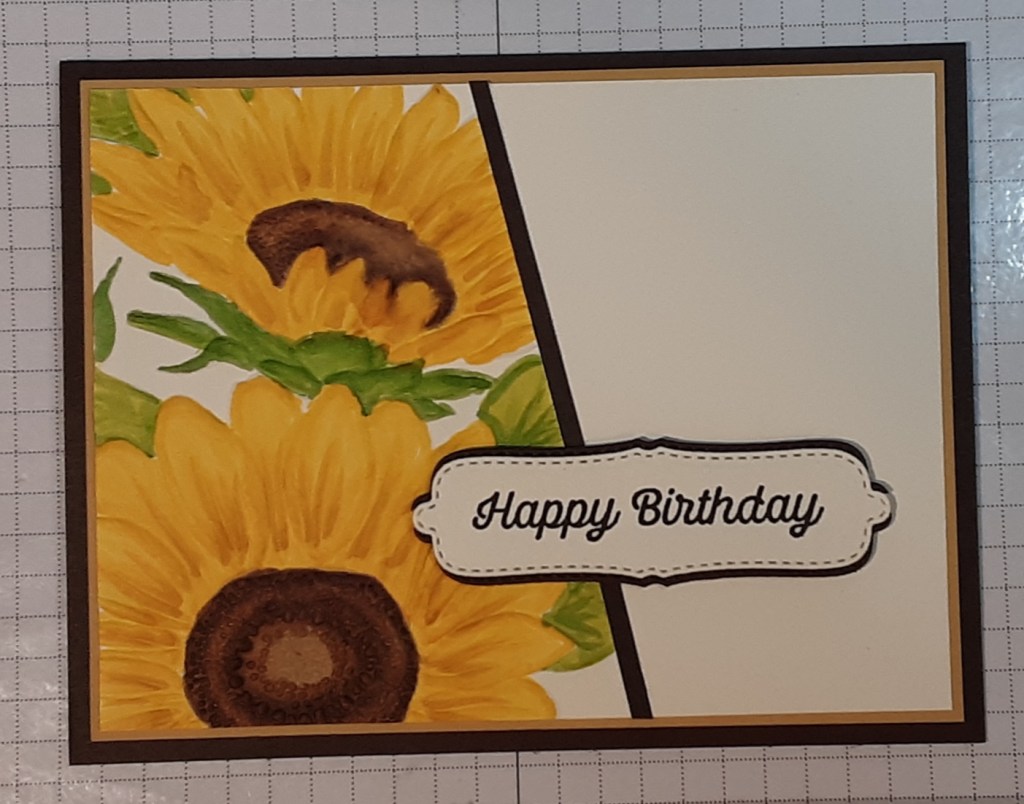
For a bit of shine, I added two Antique Pearls to my sentiment label.
To finish the card, I stamped a greeting on a 4” x 5¼” piece of Very Vanilla cardstock and glued it inside my card.
I hope you liked this card.
For the complete supply list, click here.
Images © Stampin’ Up!
 stampinfunwithterry.net