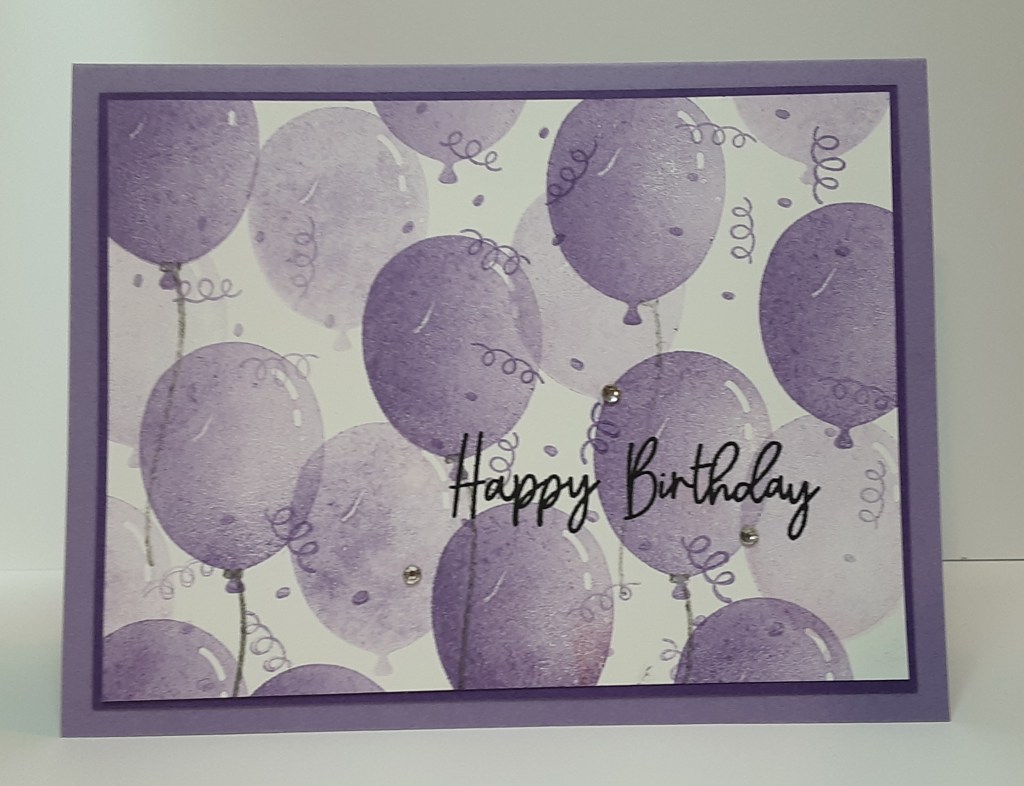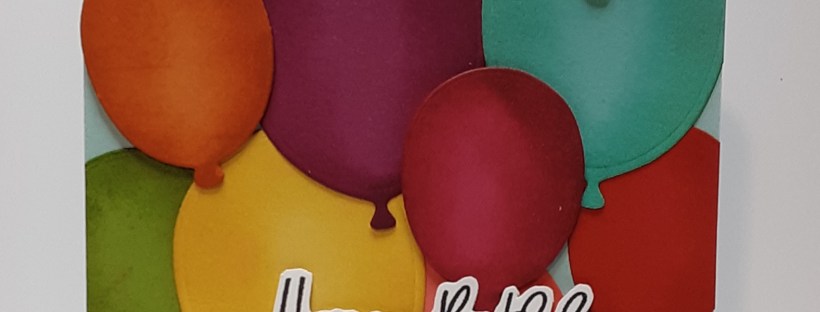

It’s Wednesday and I have a fun and colorful card using the Balloon Festoon bundle but today my focus is more on the dies. Previously, I made a card with the stamps. I’ll post that at the end of the blog.
Have you checked out the new Online Exclusives for July? Many new fun products are offered. They are mostly fall and Christmas related. I am having a hard time wrapping my head around fall and Christmas, especially with the temperatures exceeding 100° F. I tend to be a last-minute Lucy and miss out on some seasonal products.
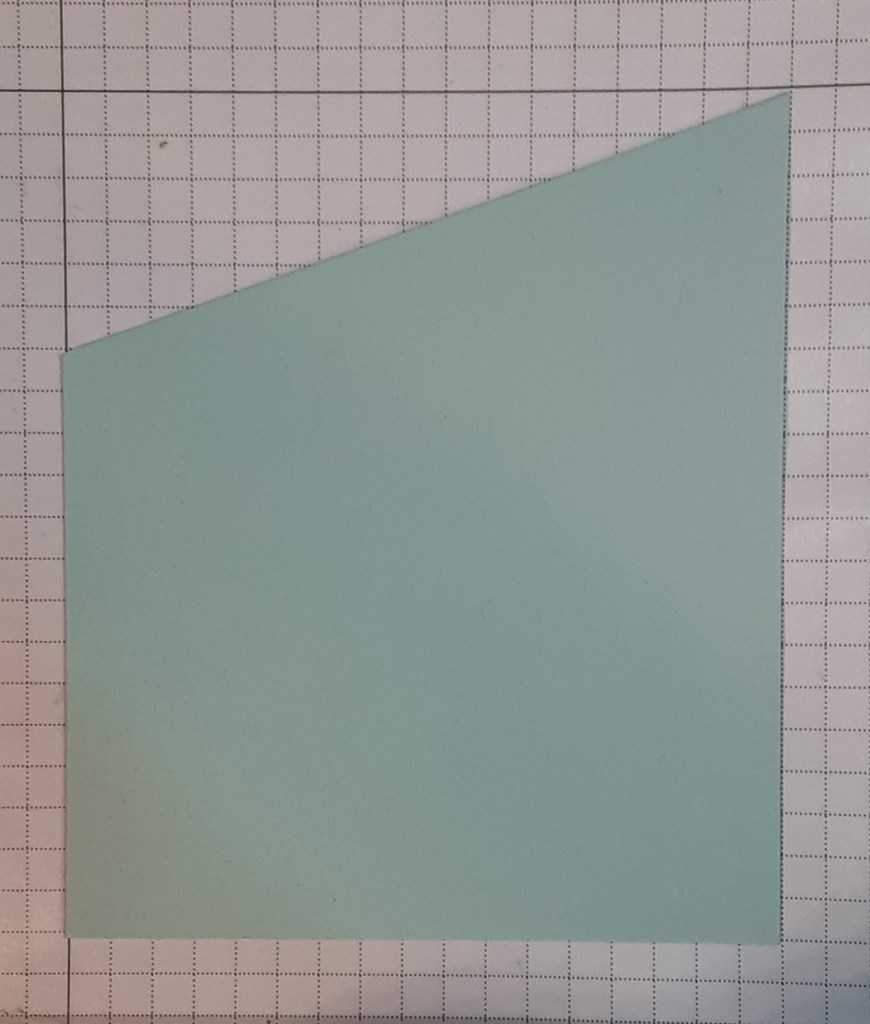
Now on to the card. For the card base I cut a piece of Pool Party cardstock to 5½” x 8½” on my Paper Trimmer, scored and folded at 4¼”, and burnished with my Bone Folder. Next, along the fold line, I made a pencil mark 2″ from the top. On the side where the card opens, I marked ½” from the top. I lined up the pencil marks on my paper trimmer and cut the top section from the card base at an angle. I guess I could have started with a 5″ x 8½” and marked at 1½”. Learn from my mistakes. 🙂
With all the Brights cardstocks, (Melon Mambo, Flirty Flamingo, Poppy Parade, Pumpkin Pie, Daffodil Delight, Lemon Lime Twist, Granny Apple Green, Coastal Cabana, Azure Afternoon, and Berry Burst), I die cut out the smallest and second smallest balloons from the Balloon Festoon bundle on my Stampin’ Cut & Emboss Machine. I didn’t actually use them all, but it was nice to have them on hand. With Sponge Daubers, I applied the coordinating Brights Ink Colors (Melon Mambo, Flirty Flamingo, Poppy Parade, Pumpkin Pie, Daffodil Delight, Lemon Lime Twist, Granny Apple Green, Coastal Cabana, Azure Afternoon, and Berry Burst) to the balloons, with the heaviest concentrations of ink along the edges to help the balloons look rounder. You could also use Small Blending Brushes to apply the ink.

I began positioning my balloons on my card front before gluing. I started with a random placement with the balloons going every which way. I decided to make them into more of a balloon bouquet. I opted not to forgo the strings.
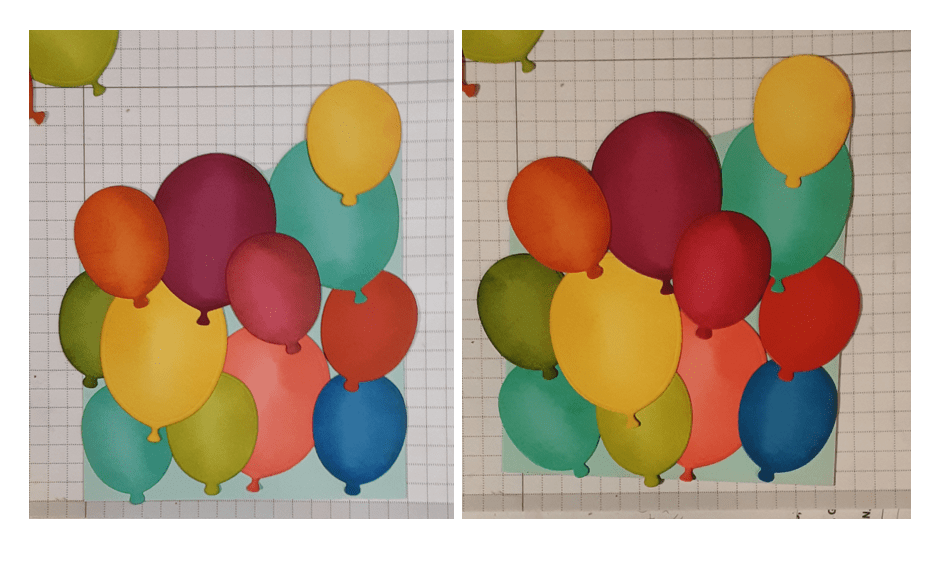
When I was satisfied with the placement, I began gluing some of the balloons down with my favorite adhesive (Multipurpose Liquid Glue or Stampin’ Seal). I kept three out to pop up with Stampin’ Dimensionals. When adding the popped-up balloons that extend over the edge, it may be easier to apply the Dimensionals to the card rather than the balloon so that the adhesive doesn’t accidentally extend beyond the edge of the card. After placing all the balloons on the card, I trimmed any balloons that extended off the sides or bottom.

From the stamp set, I stamped Happy Birthday in black ink on Basic White cardstock. I fussy cut the sentiment out. I adhered this to the card with Stampin’ Dimensionals.
To finish the card, I stamped a greeting on a 4” x 4” piece of Basic White cardstock and glued it inside my card.
I hope you liked this fun colorful card!
For the complete supply list, click here.
For further inspiration: