

It’s Saturday, so I have a simple card. This card is being featured at Terry’s current class until Tuesday. What a great reason to stop by her studio today! If you can’t make it this weekend, you can always order a kit. This stamp and die bundle is actually not available until Wednesday when the new Online Exclusives for July go live. A little bit of a sneak peek. There are many cute new products available in the July release and you’ll want to check them out. Now on to the card.
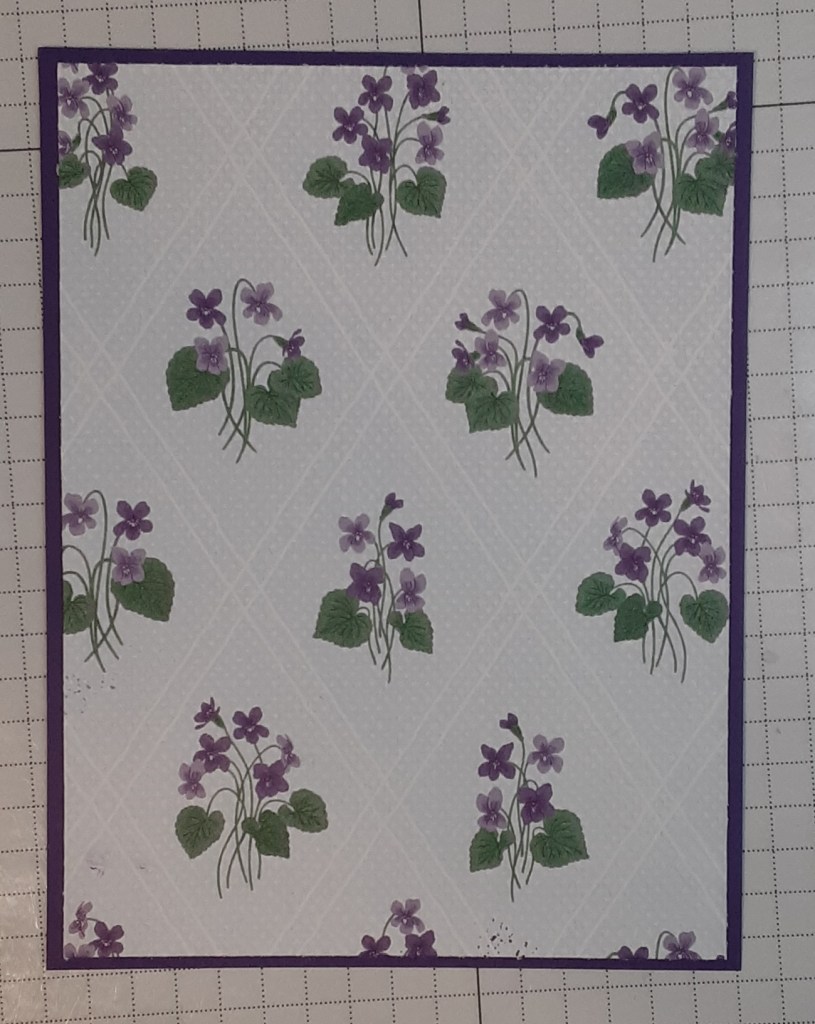
To make the card base, I cut a piece of Fresh Freesia cardstock to 4¼” x 11” on my Paper Trimmer, scored and folded at 5½”, and burnished with my Bone Folder. I cut a piece of Gorgeous Grape cardstock to 4” x 5¼” to act as a mat. I cut a piece of Violet Dreams DSP to 3⅞” x 5⅛” for my background. I adhered my DSP piece to my mat with my favorite adhesive (Multipurpose Liquid Glue or Stampin’ Seal), and then glued this panel to my card base.
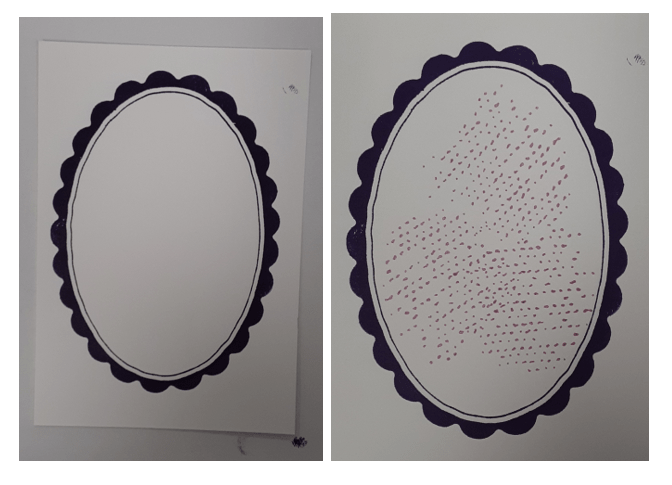
On a piece of Basic White cardstock, I stamped the scalloped oval frame from Framed Violets bundle in Gorgeous Grape ink. With Fresh Freesia ink, I stamped the scatter stamp in the middle of the oval. I cut it out with the coordinating die on my Stampin’ Cut & Emboss Machine. The frame is not symmetrical, so you may have to turn it to make it line up.
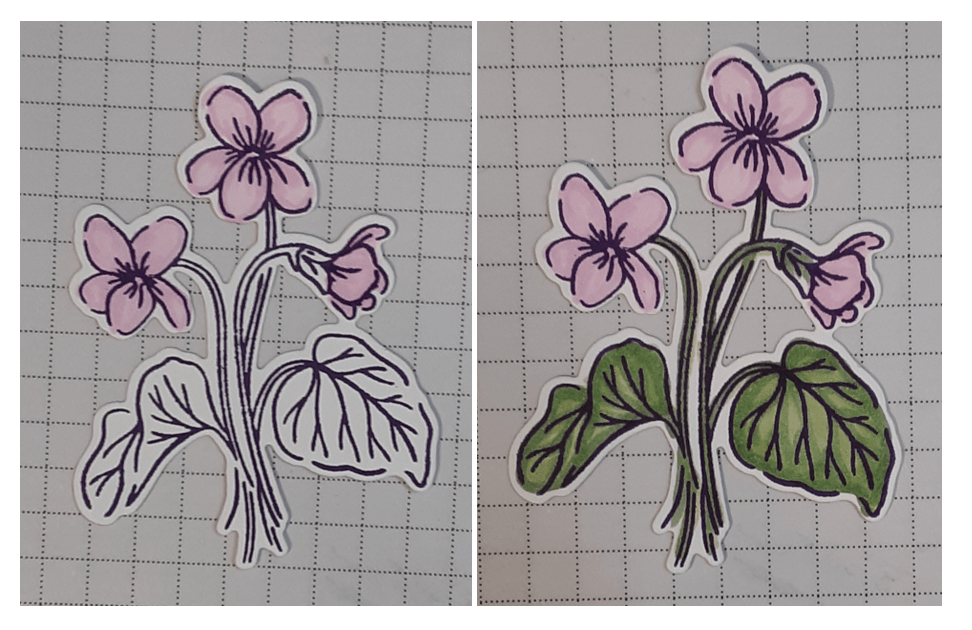
I stamped the flower image in Gorgeous Grape ink on a separate piece of cardstock. I colored in the blossoms with Fresh Freesia Stampin’ Blends and the leaves and stems with Peaceful Pines Stampin’ Blends. I cut this out with the coordinating die.
I glued the frame flat on my card front. I added the flower image with Stampin’ Dimensionals.
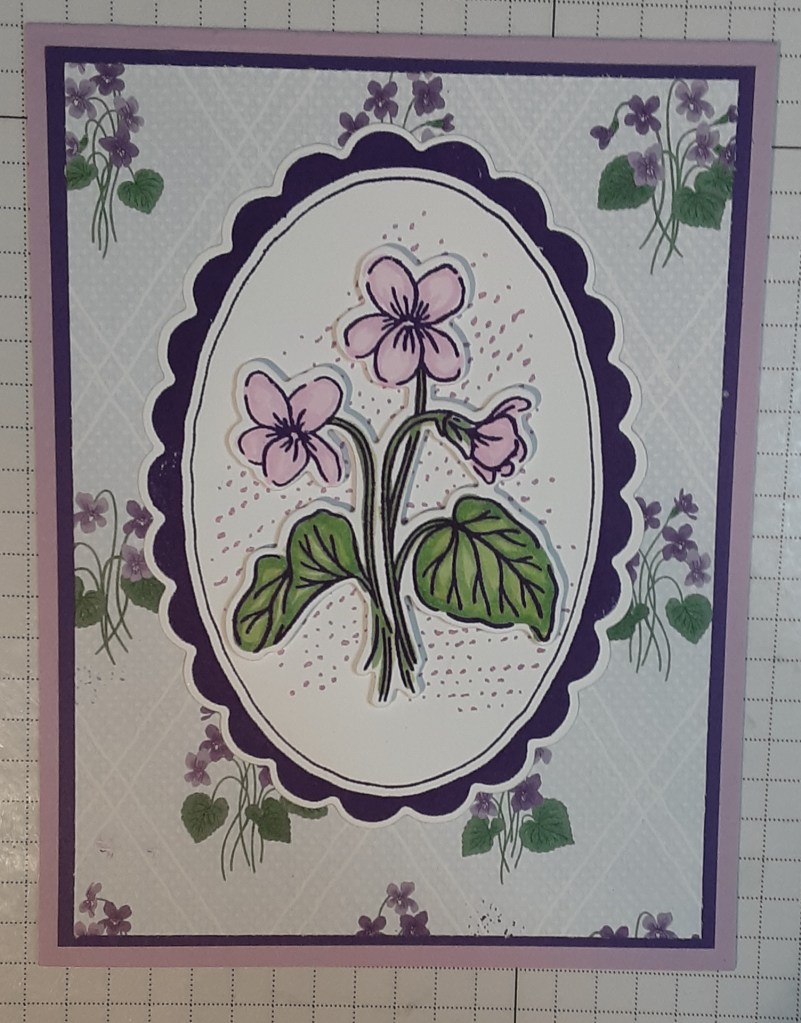
I tied a bow with Fresh Freesia ¼” Satin Ribbon and added it to my card with a Mini Glue Dot on the stems of the flowers.
I stamped Sending my Love from the Banner Sayings bundle in Gorgeous Grape ink on a scrap of Basic White cardstock and punched it out with the coordinating punch. At Terry’s class, she used a retired With Sympathy stamp. This was the closest current stamp I had. You can always check your stash for a more appropriate sentiment. I added this to my card with Stampin’ Dimensionals.
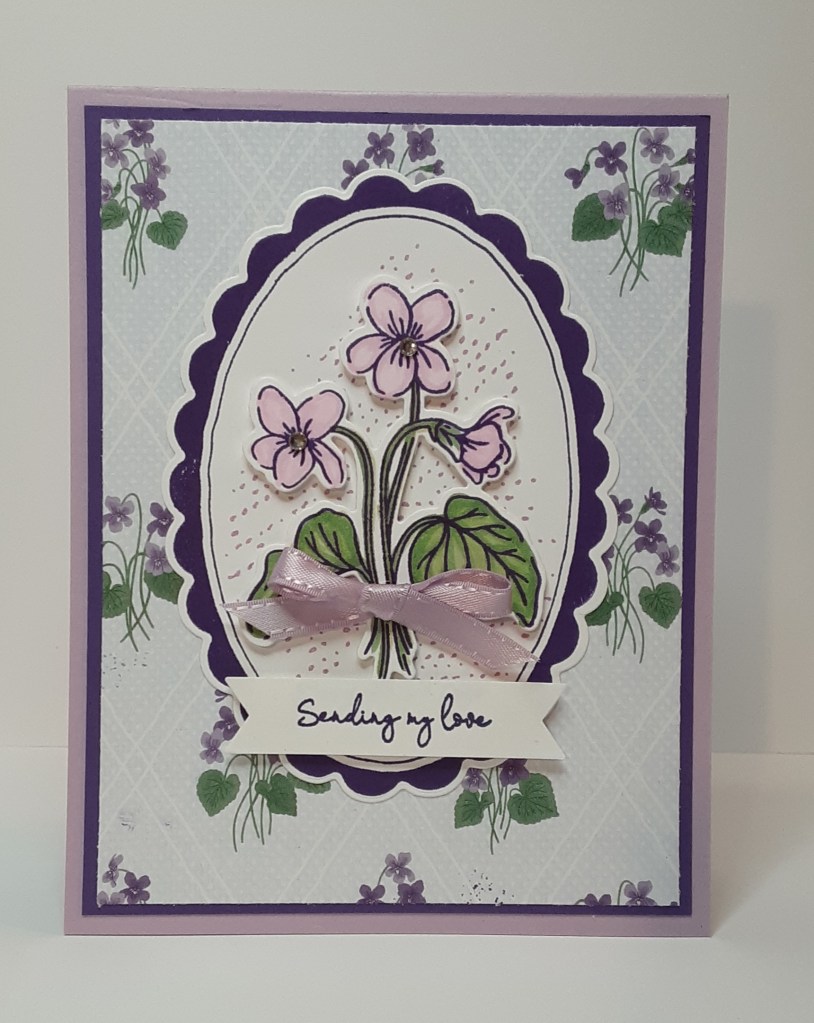
For a little sparkle, I added a Rhinestone to the center of each of the two flowers.
To finish the card, I stamped a greeting on a 4” x 5¼” piece of Basic White cardstock and glued it inside my card.
I hope you liked this simple card!
For the complete supply list, click here.
