
It’s Wednesday and I have a fun card for you. I have been meaning to make this card for a couple weeks now and have finally had the opportunity to make it. My friend Diane and I are at Red River Gorge for our annual card retreat with my mom and three of her friends. They play Bridge and we make cards. It was great having Diane’s expert advice on the making of this card. Her nephew Saban races sprint cars, so she is very familiar with the sprint car community. I am more of a casual Nascar fan. I love going to the races and cheering for my favorite driver, but I don’t know the ins and outs and behind the scenes aspects of the whole process like she does. The cars in the set are Formula 1, so we are using our creative license once again. I apologize ahead of time for the quality of the photos. The lighting here was not great for photography. Now on to the card.
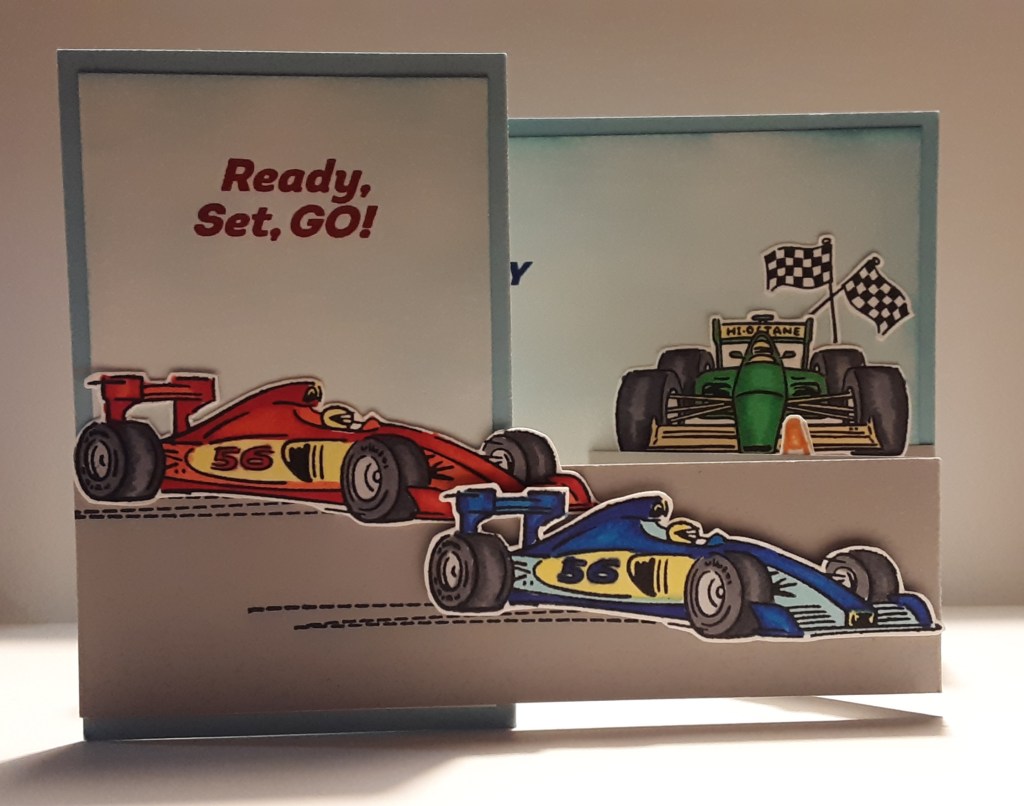
To make the card base, I cut a piece of Balmy Blue cardstock to 4¼” x 11” on my Paper Trimmer, scored and folded at 5½” and 2¾”, and burnished with my Bone Folder. I cut a Smoky Slate cardstock strip to 11″ x 1½”, scored and folded at 5½” and 2¾”, and burnished to make the Z-fold part of the card.
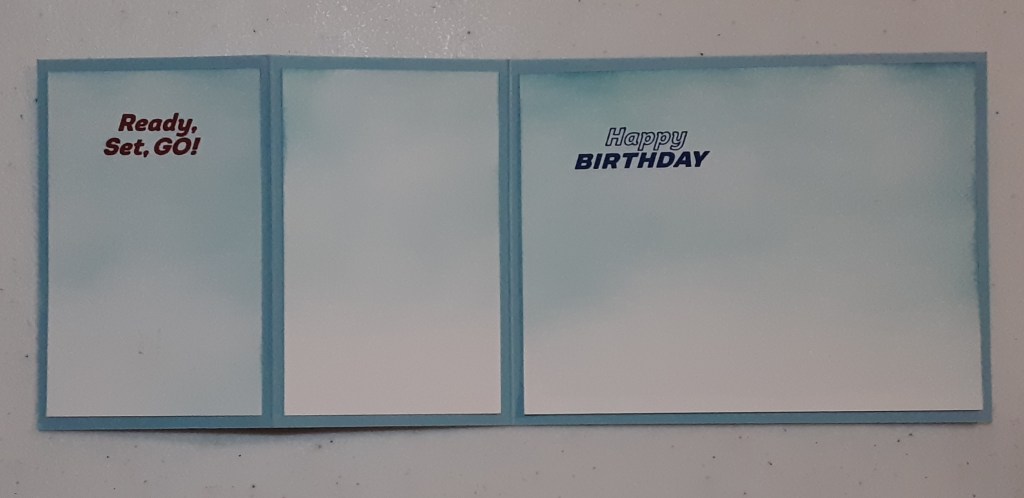
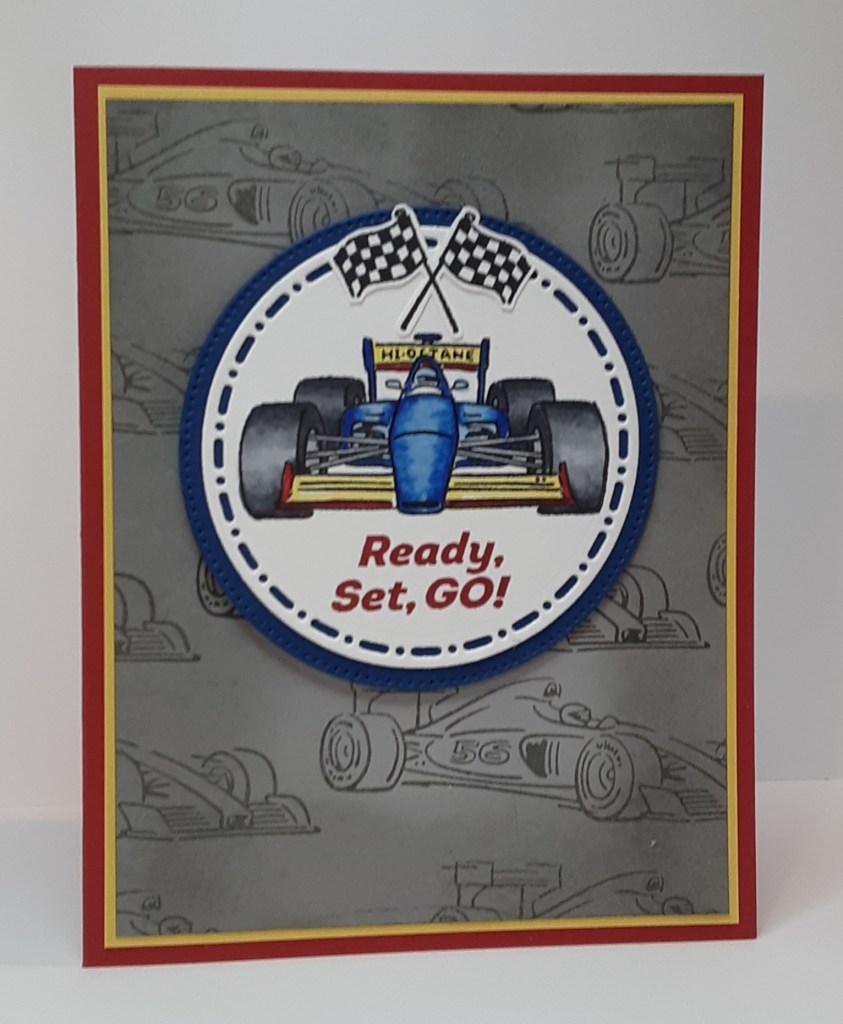
I cut a piece of Basic White cardstock to 5¼” x 4″ and two pieces to 2¾” x 4″. I used a Blending Brush and Balmy Blue ink to create a sky background on all three pieces. On one of the smaller pieces I stamped Ready, Set, Go! in Real Red ink from Ready, Set, Go! stamp set. On the larger piece, I stamped Happy Birthday in Blueberry Bushel ink.

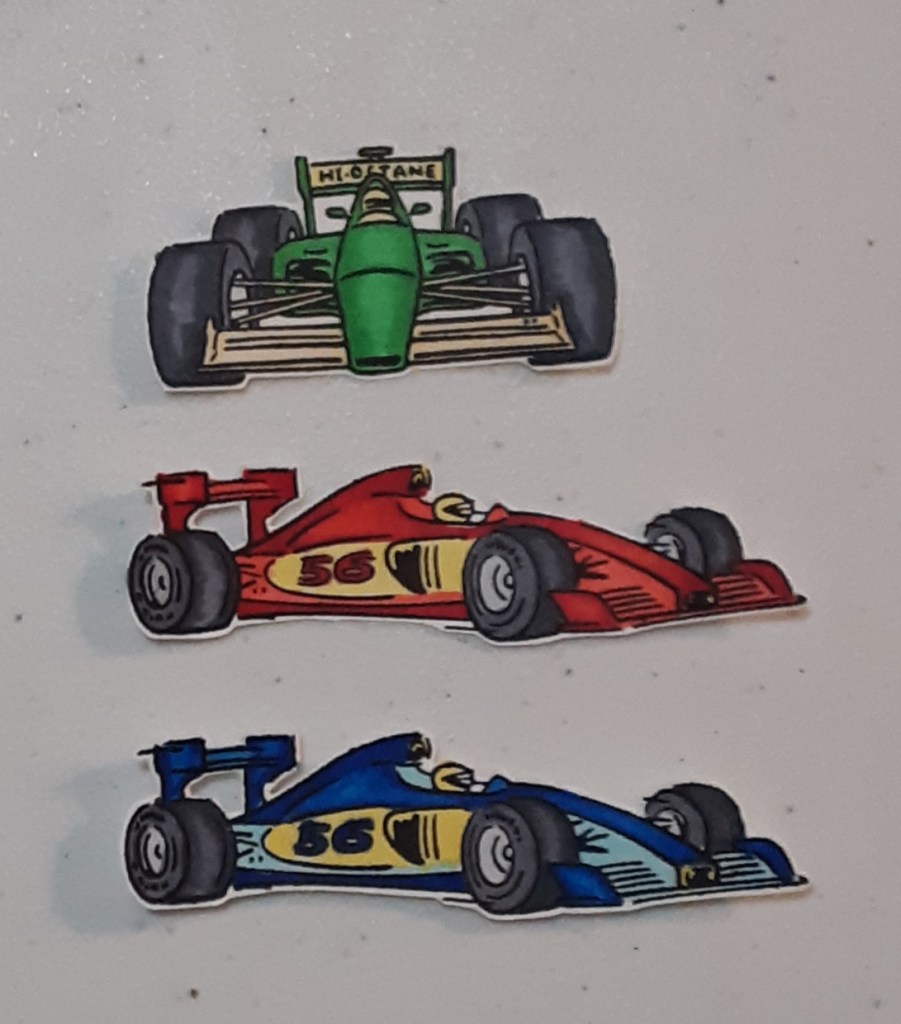
On Basic White cardstock, I stamped the side view race car twice in black ink, and the front view race car once. I used Stampin’ Blends to color in my race cars. Some color suggestions are: Shy Shamrock (Last Chance), Shaded Spruce, Real Red, Daffodil Delight, Blueberry Bushel, Smoky Slate, and Basic Black. I fussy cut the cars.
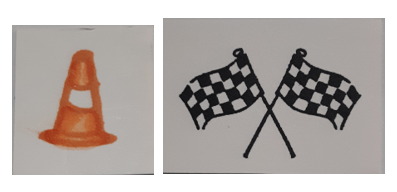
Again, on white cardstock, I stamped the pylon four times with Timid Tiger ink. I colored the pylons in with my Pumpkin’ Pie Stampin’ Blends. I stamped the checkered flag with black ink on white cardstock. I fussy cut the pylons and checkered flag.
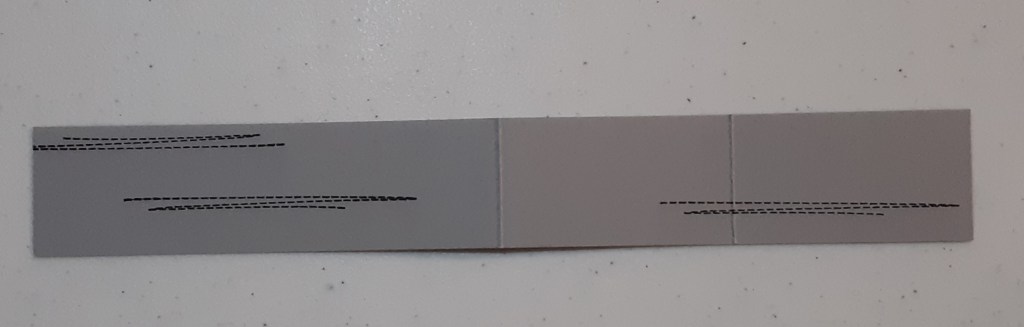
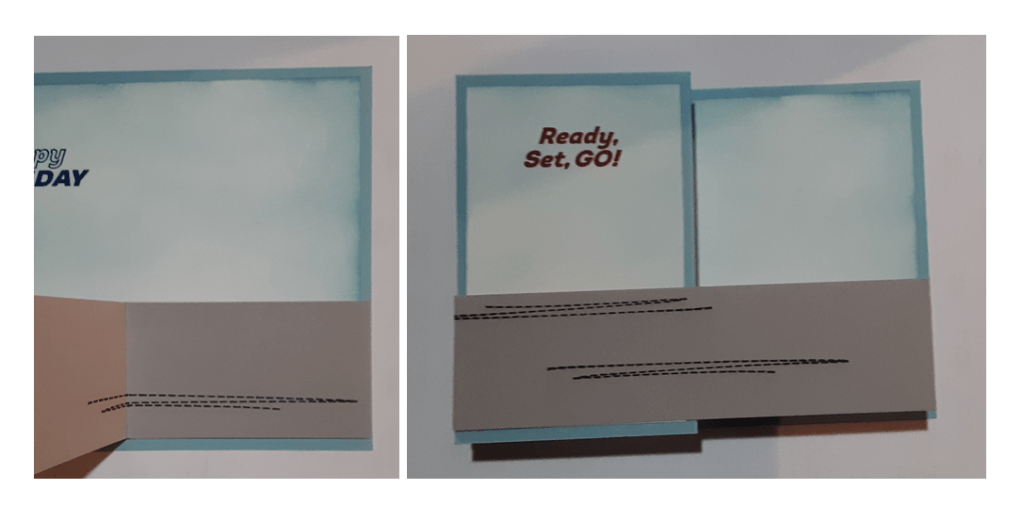
On the gray strip, I stamped the tire lines in black ink.
I glued my ink blended panels to my card with my favorite adhesive (Multipurpose Liquid Glue or Stampin’ Seal).
I glued the 2¾” folded end to the right side of my card. Then I added glue to the wider side of the strip making sure I didn’t add any glue beyond 2¾” from the edge or the card won’t open.
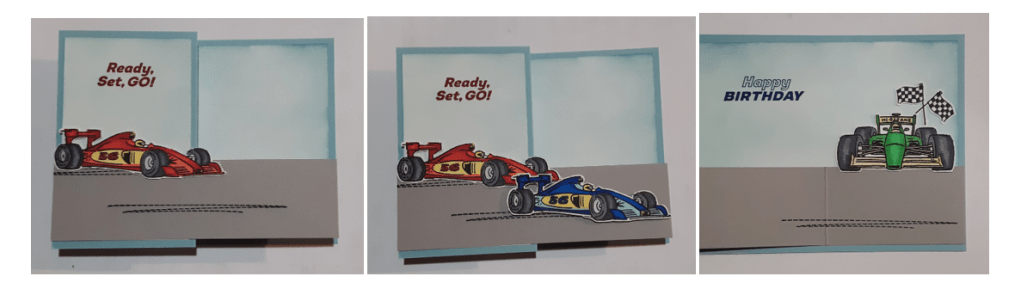
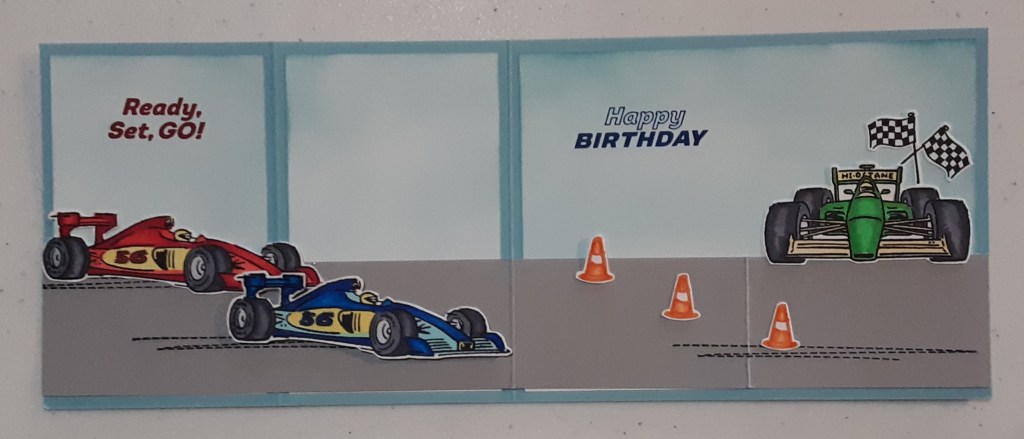
I glued the red car to my card front. I added the blue car with Stampin’ Dimensionals. I glued the green car inside the card. I added the checkered flag behind the green car.
I glued two of the pylons back-to-back. The back of the pylon would show from the front of the closed card. I glued this to the gray strip and added the other two pylons to the card to make the “winner’s circle.”
If you don’t want to sign the card under the Happy Birthday or in the blank spot, you could add a 5¼” x 4″ piece of white cardstock to the back of the card.
I hope you liked this card!
For the complete supply list, click here.
Additional inspiration:
Images © Stampin’ Up!
