
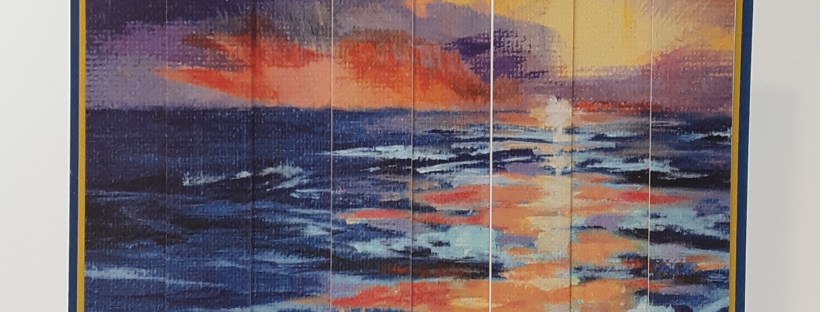
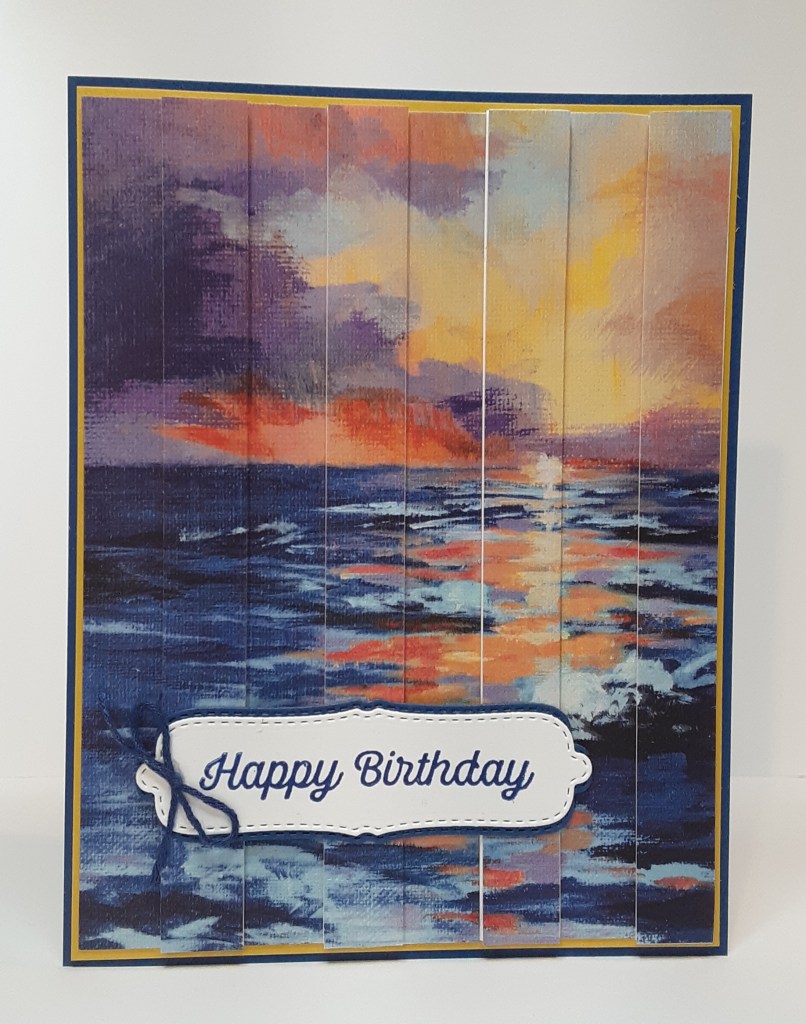
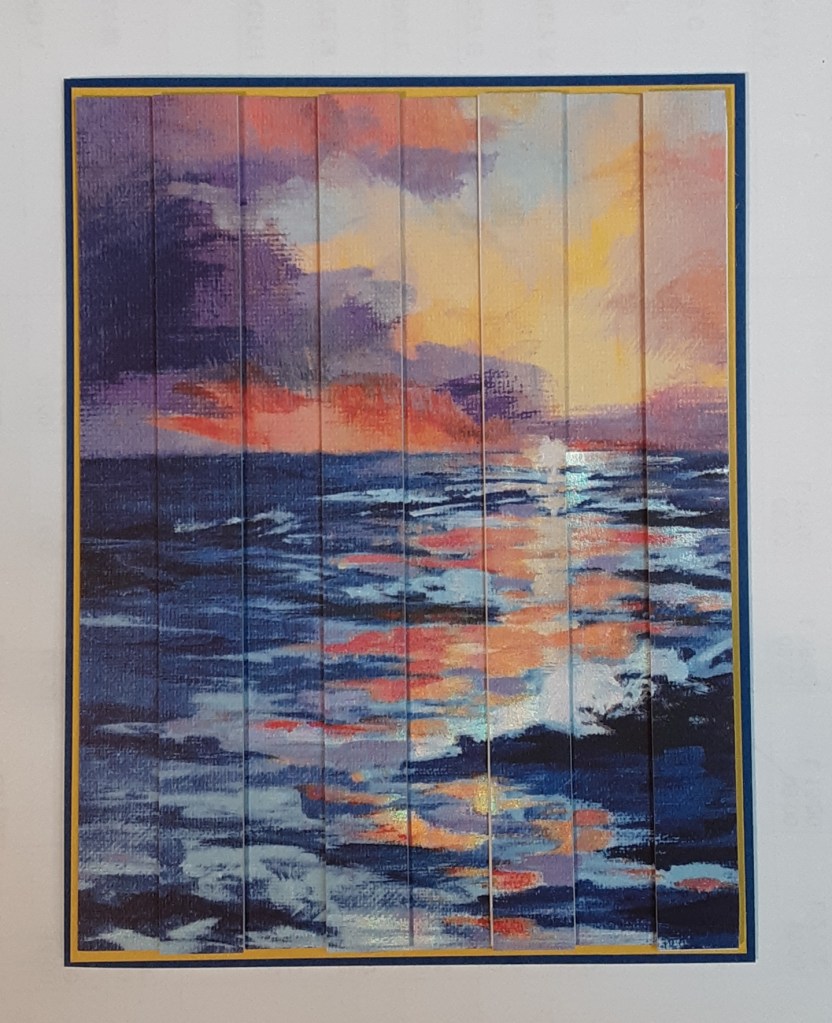
Today I have another card using the Scenic Coast DSP. This paper is so beautiful! The photo does not do it justice at all. It has an iridescent shine on the water under the sun, and it shimmers. Here is another angle. You can compare the colors on the water.
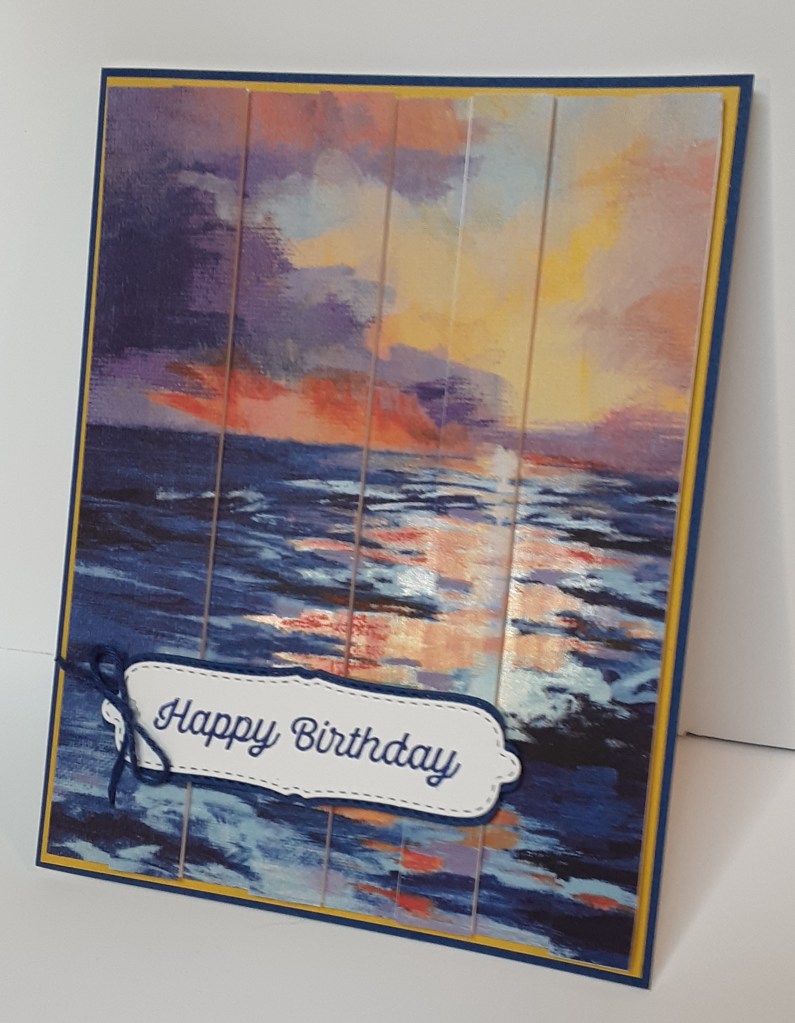
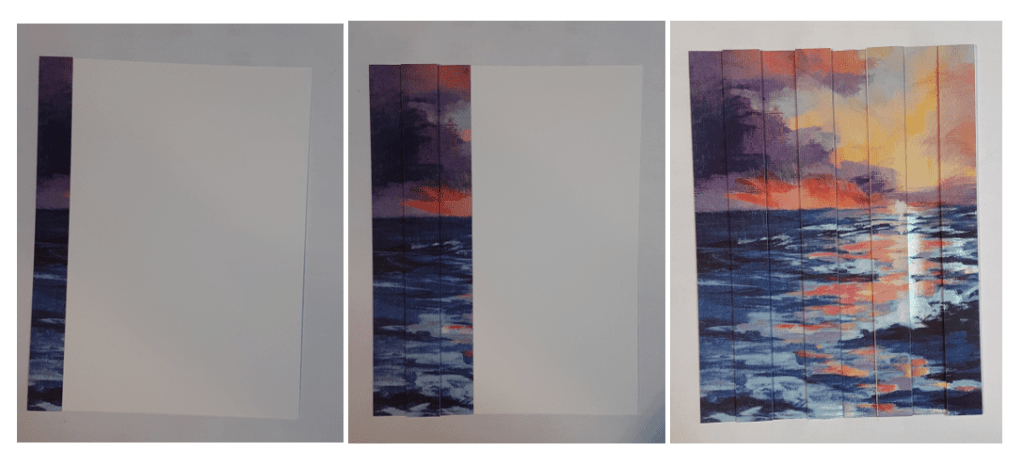
This card uses the Faux Louver technique. It alternates strips with some glued flat and others popped up. There are a couple of ways this can be accomplished. I’ll show you how I did it and tell you about the others.
For my card base, I cut a piece of Blueberry Bushel cardstock o 5½” x 8½” on my Paper Trimmer, scored and folded at 4¼”, and burnished with my Bone Folder. I cut a piece of Crushed Curry cardstock 5⅜” x 4⅛” to act as a mat. I cut a piece of Scenic Coast DSP to 4” x 5¼”. I got this by cutting 2″ from the right side of the 6″ x 6″ piece and ¾” from the top. I cut the DSP piece into eight 5¼”. strips.
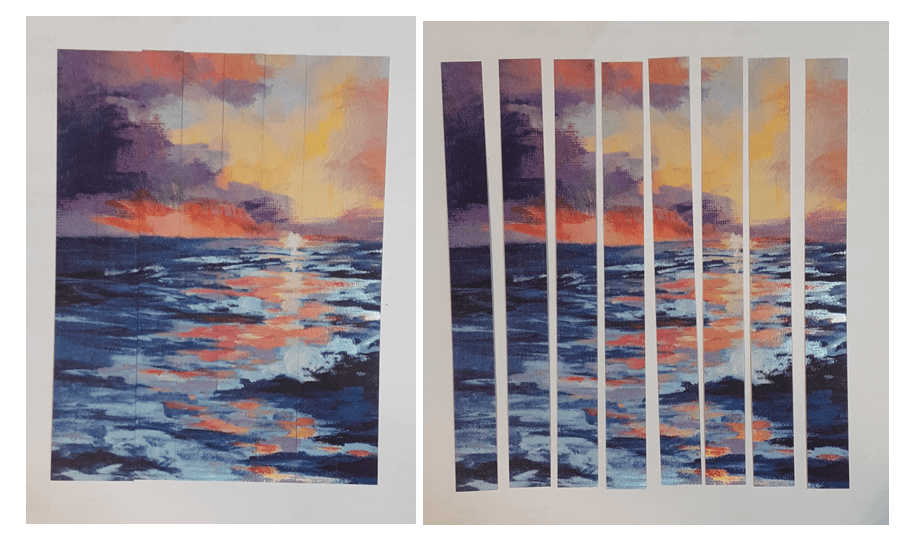
I also cut some strips from some scrap cardstock I had on hand to 5¼” x ½”. I cut about 12 and glued them together, stacked in sets of three for four strips altogether. (I hope that made sense!) I tried to make sure that the strips were even and no bigger than the DSP strips. I didn’t want it to show when I glued the DSP on top of the stack. You could also use Stampin’ Dimensionals instead of the stacked strips. I wanted to use the stacked strips because I thought it would be easier to position the strips on my paper.
I cut a piece of copy paper to 4″ x 5¼”. I used this piece to glue my strips down, one at a time. I started by gluing my first strip flat on the copy paper. Next, I added a stacked strip. I alternated the flat and popped up strips to give the faux louver effect. Because I added stacked strips to the backs of my DSP strips, I was able to butt the strips together to keep the pattern going straight. With Dimensionals, you need to be more careful. Alternatively, you can use three pieces of the DSP and cut one into strips. You make two cards out of three pieces of DSP, but it is easier to match the design when you’re putting the strip on top of the solid design. I trimmed off any excess copy paper.
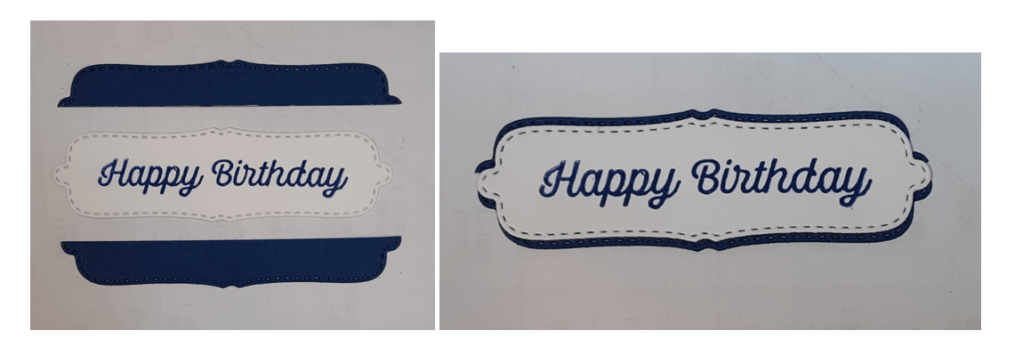
For the sentiment, I stamped Happy Birthday from BBQ Master stamp set in Blueberry Bushel ink on Basic White cardstock. I die cut this out with the small narrow label from Sweet Words & Labels die set on my Stampin’ Cut & Emboss Machine. I cut an additional label from Blueberry Bushel cardstock. I cut this one in half. I adhered the two labels together with my favorite adhesive (Multipurpose Liquid Glue or Stampin’ Seal).
I adhered my DSP panel to my Crushed Curry mat. I adhered this panel to my card base. The borders are very narrow.
I added my sentiment to the card.
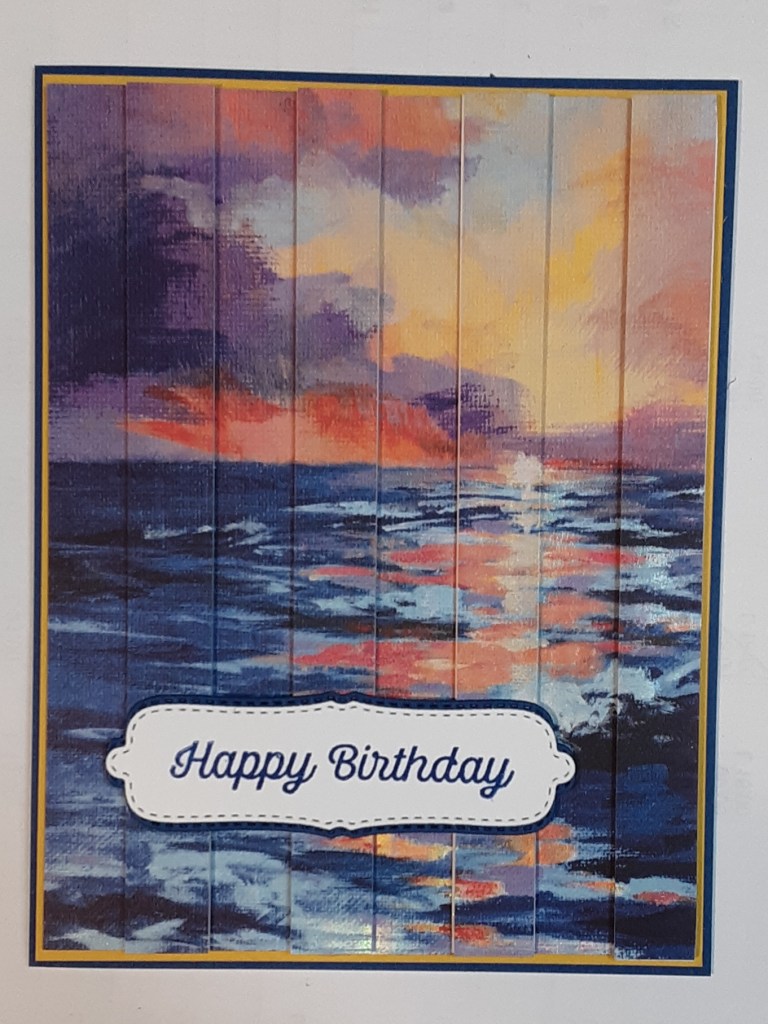
For a bit of whimsy, I added a bow made from DMC embroidery floss and added it to my sentiment label. I think a narrow ⅛” piece of blue ribbon from your favorite hobby store would also work.
I hope you liked this card and give it a try!
For the complete supply list, click here.

