
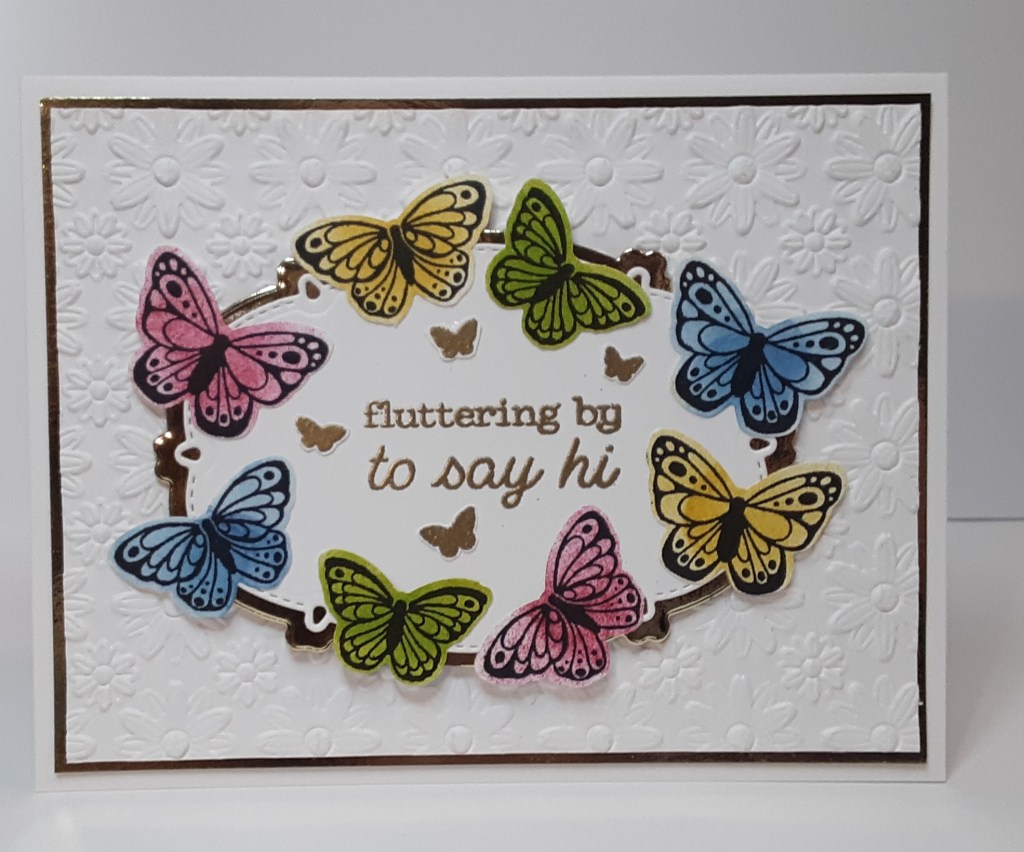
It’s Saturday, so today I have a simple but pretty card using the All Aflutter bundle. This bundle has a punch that punches out three butterflies at one time. The stamps coordinate with the punch for ease of use. The beautiful Lazy Daisy Embossing Folder offers some fun texture in the background. It will probably be my go-to embossing folder for a while. It’s been chilly here in southwest Ohio this week and I think the butterflies are hunkering down until this next week. It’s supposed to go from frost warnings this week to 90° next week. Ah, the vagaries of spring! Now onto the card.
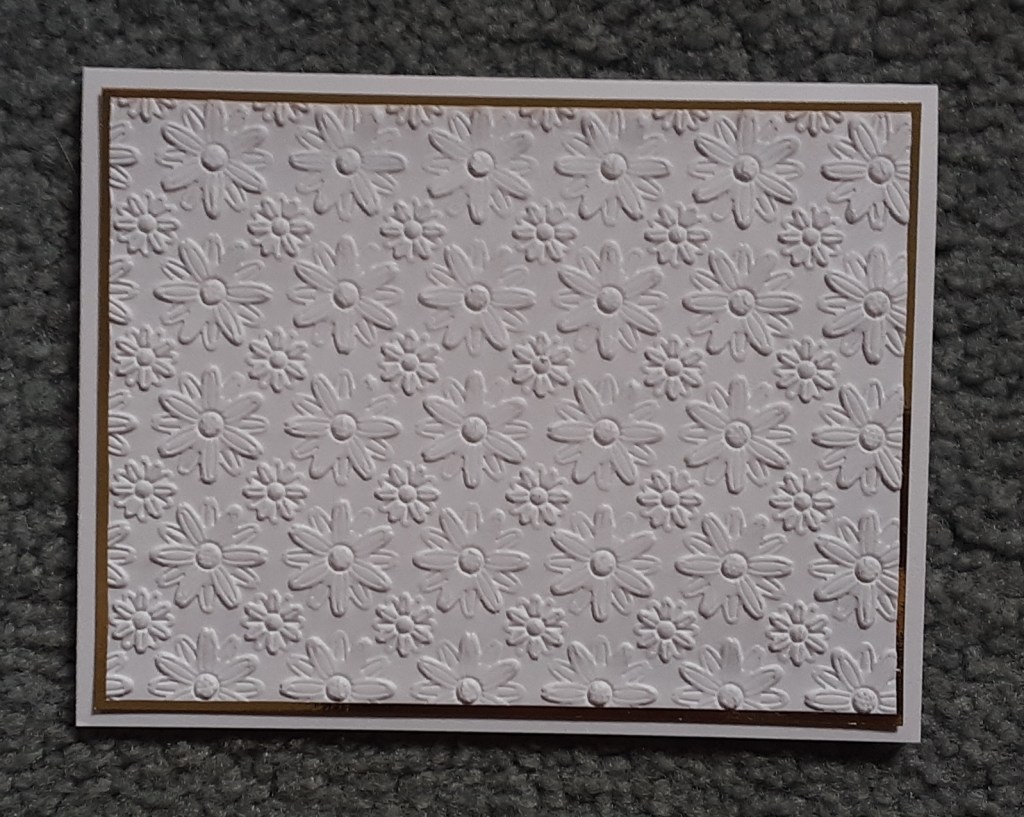
To make the card base, I cut a piece of Thick Basic White cardstock to 5½” x 8½” on my Paper Trimmer, scored and folded at 4¼”, and burnished with my Bone Folder. I cut a piece of Gold Foil Sheets to 4 x 5¼” to act as a mat. I cut a piece of Basic White cardstock to 4 x 5¼” and ran it through the Lazy Daisy Embossing Folder on my Stampin’ Cut & Emboss Machine. I trimmed it down to 3⅞” x 5⅛”.
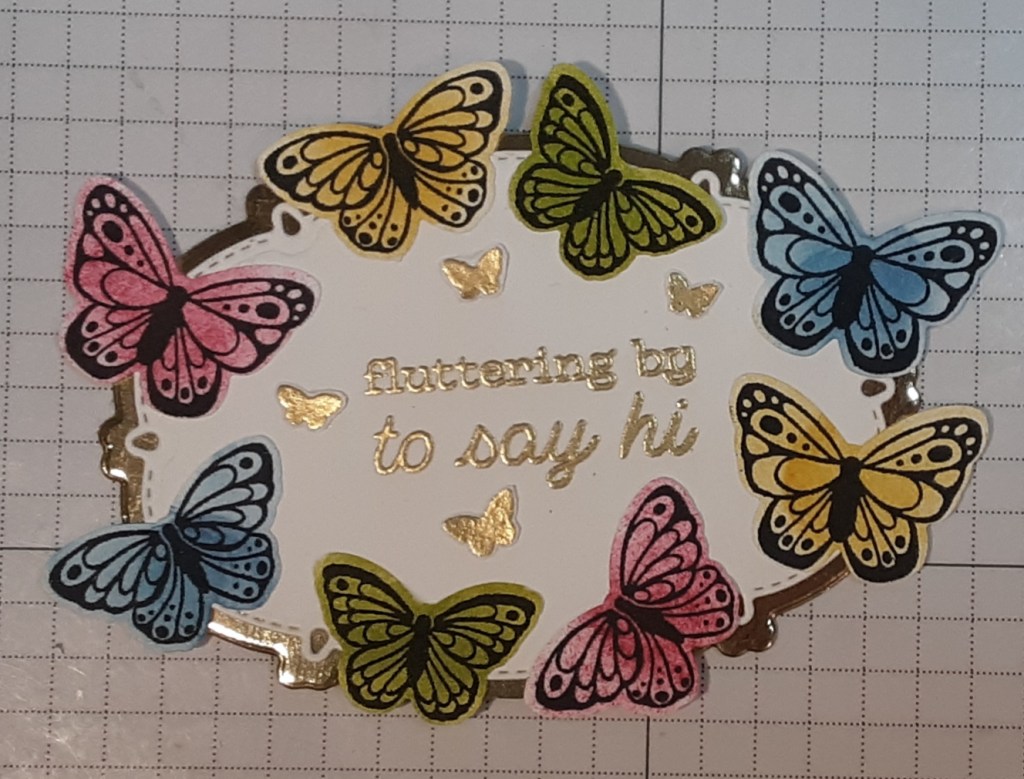
From the Gold Foil piece, I die cut the label from Sweet Words and Labels dies. This is bundled with the Sweet Words and Labels stamp set. I like to get the most use out of my foil papers.
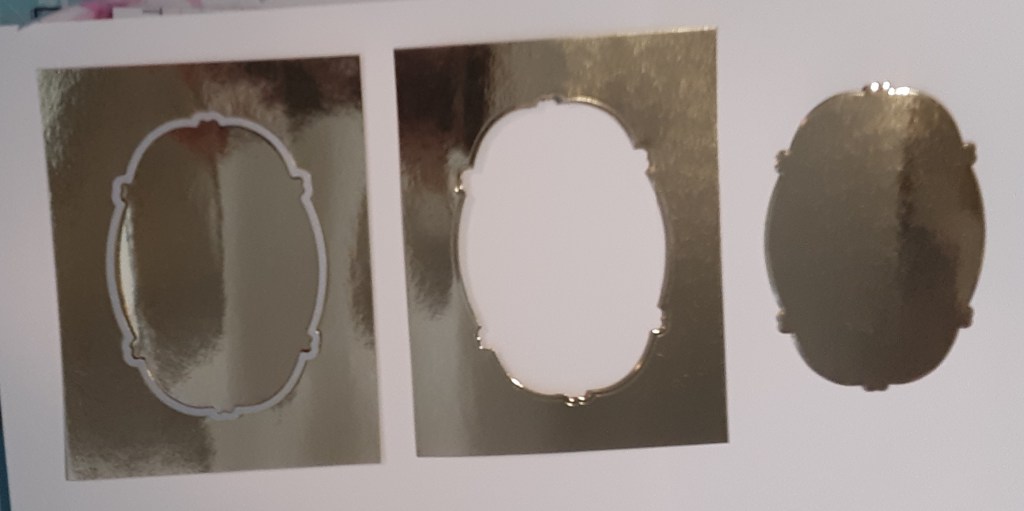
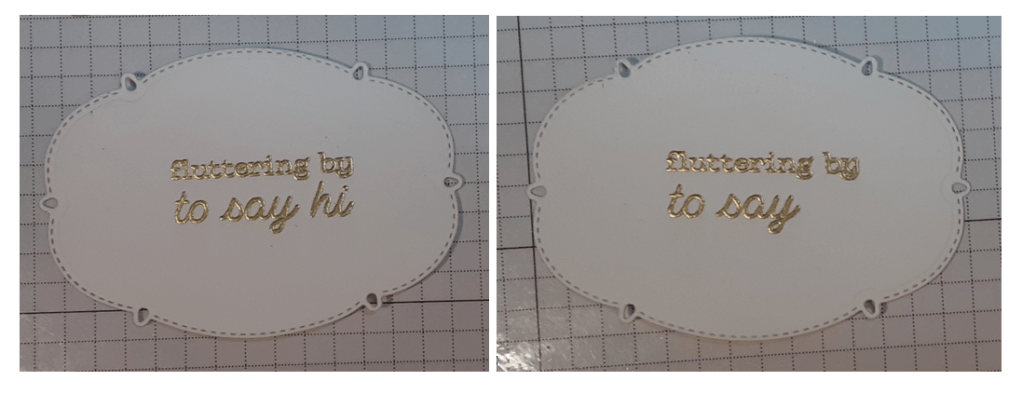
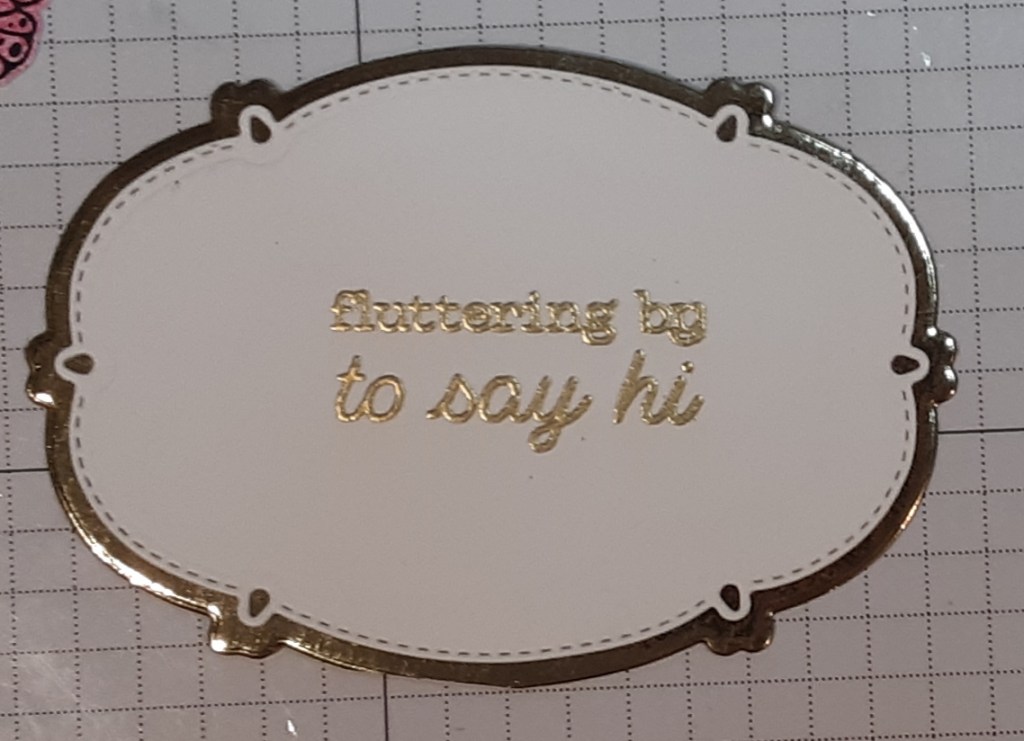
I die cut the next smaller label from Basic White cardstock. I stamped fluttering by to say hi from the All Aflutter bundle with Versamark ink in the center of the label. I sprinkled Gold Embossing Powder from the Metallics Basics pack and heat set with my Heat Tool. For a little variation, I stamped fluttering by to say by masking off hi before stamping. I thought I would finish the thought inside the card with a Happy Birthday, Thank You, or Congratulations. On a small scrap of white cardstock, I stamped the quartet of little butterflies with Versamark ink and embossed them with gold embossing powder, also.
I adhered this to the gold label with my favorite adhesive (Multipurpose Liquid Glue or Stampin’ Seal).
I also adhered my embossed panel to the gold mat, leaving a narrow border
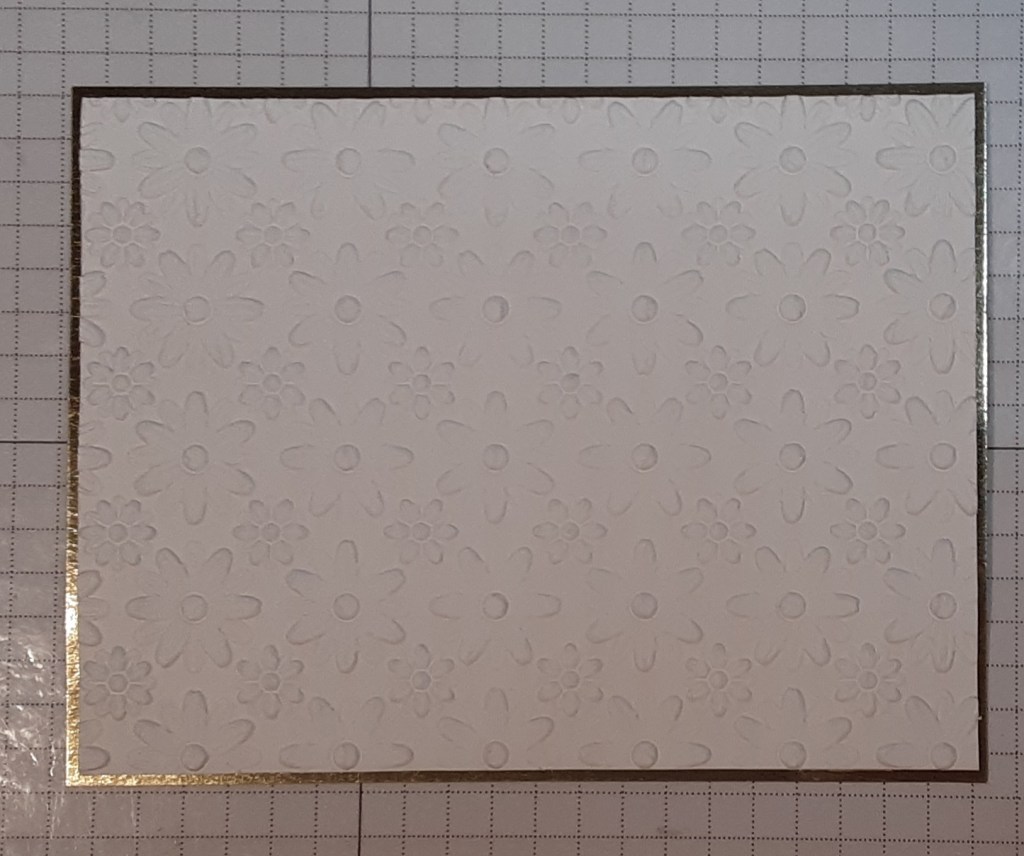
I adhered this panel to my card base. You can see how gorgeous this embossing folder is in the picture below.
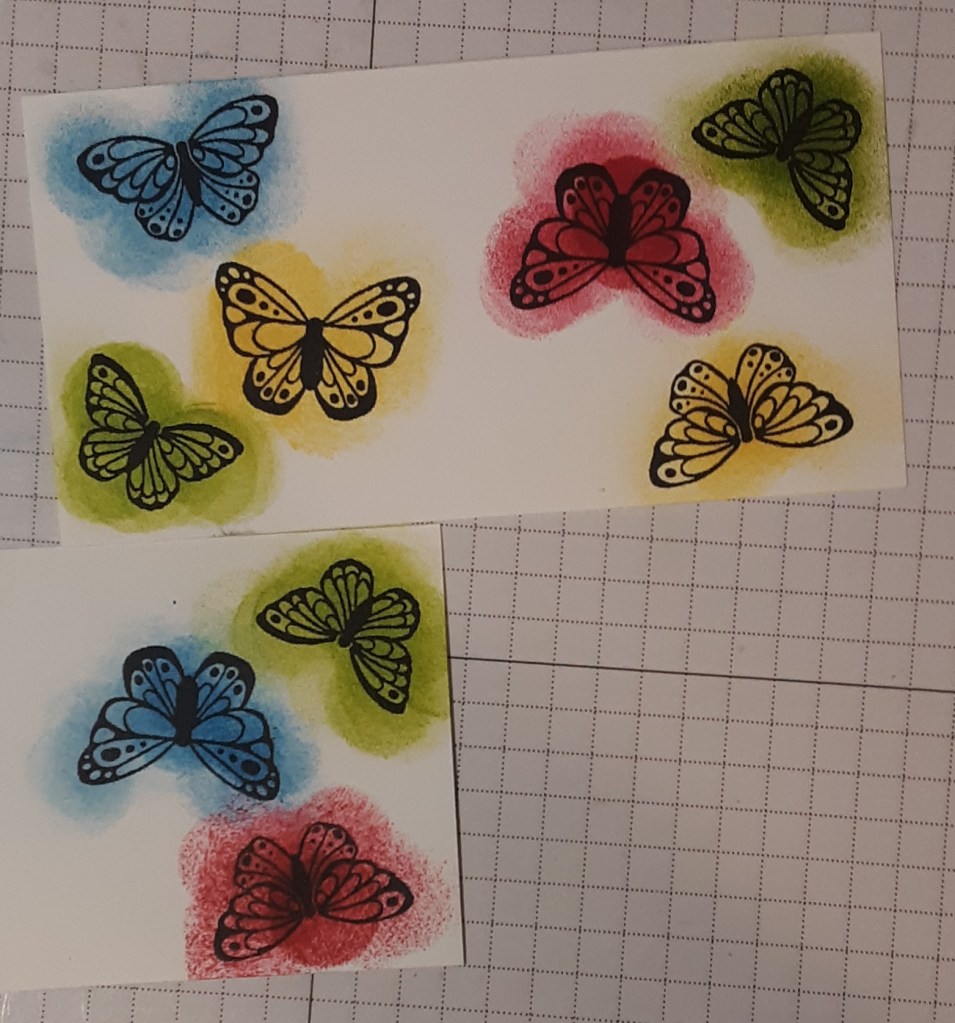
I stamped the detail butterflies from All Aflutter bundle with Momento Tuxedo Black ink (Last Chance!) on Basic White cardstock three times for a total of nine butterflies. Before stamping, look at the positions of the butterflies on the punch to help determine where you want to stamp them on your cardstock. I used Melon Mambo ink, Daffodil Delight ink, Lemon Lime Twist ink, and Azure Afternoon ink and a Sponge Dauber to color them in. Make sure to use a light hand when applying the ink. You can always add more, but you can’t take it away. I punched them out with the coordinating punch.
I arranged my colorful butterflies around my label and adhered them with a dab of glue. I fussy cut the small gold embossed butterflies and added them to my label. You could also use brass butterflies if you have them.
I added this focal image to my card with Stampin’ Dimensionals.
To finish the card, I stamped a greeting inside the card.
I hope you liked this card!
For the complete supply list, click here.
Images © Stampin’ Up!
