With the transition to the new catalog in a couple of weeks, I am finding it challenging to find active stamp sets and dies to work with. I have started a few cards in the past weeks and then found that the supplies I was using were no longer available. So, please be aware that I strive to use current products, though sometimes my best laid plans go awry. As I write this, all the supplies should be available. We’ll keep our fingers crossed that they remain so, at least until my readers have ordered their must have products.
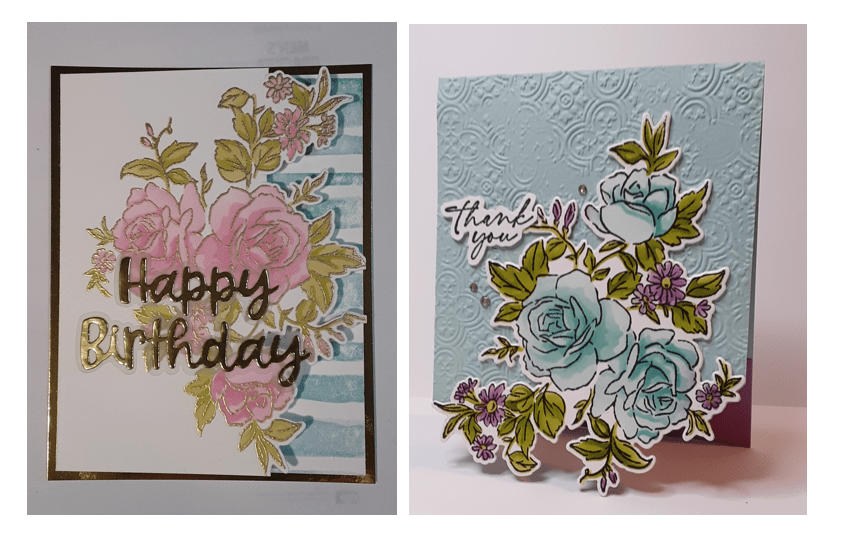
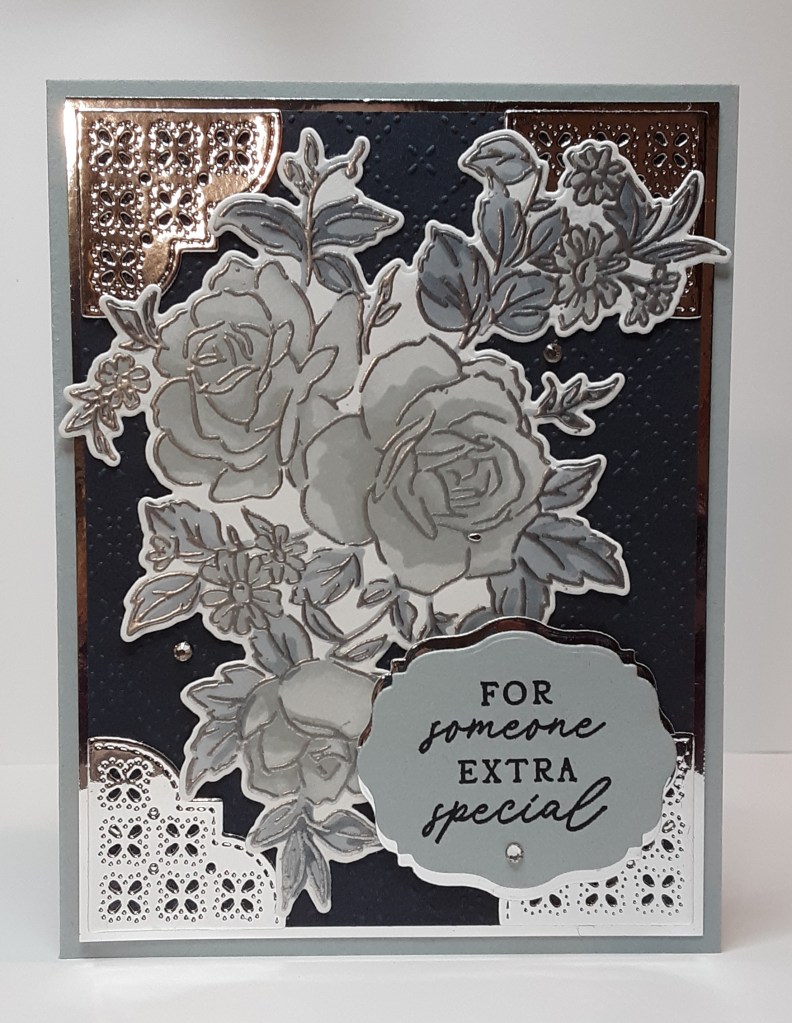
Today’s card uses a bundle that I have used before at least twice, last April and this past January. It comes with a set of stencils that make coloring easy. I like to heat emboss the image and then stencil on the ink. I switched it up a little today with the silver embossing powder instead of gold. You could also just use black ink. When I started creating this card, I thought I would go for a three in one technique but decided the image wasn’t large enough to split into three cards. I also love the look of monochromatic cards and thought I would try the Cloud Cover and Secret Sea combo. So, I hope you enjoy today’s card. The photo really doesn’t do it justice (my kids tell me to upgrade my phone to get better pics!), but I haven’t gotten around to it yet.
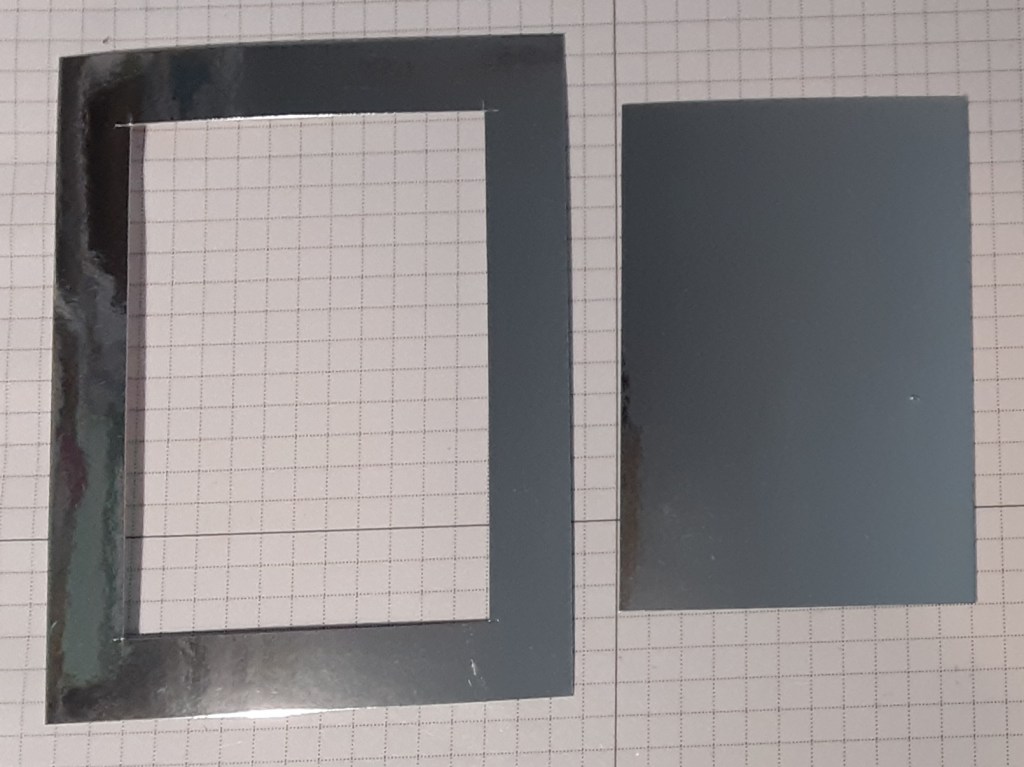
To make the card base, I cut a piece of Cloud Cover cardstock to 5½” x 8½” on my Paper Trimmer, scored and folded at 4¼”, and burnished with my Bone Folder. I cut a piece of Secret Sea cardstock to 4” x 5¼” and ran it through my Beautiful Pattern Embossing Folder on my Stampin’ Cut & Emboss Machine. I cut it down to 3⅞” x 5⅛”. Sometimes the embossing folder changes the size of the cardstock, so I like to be accurate. I cut a piece of Silver Foil Sheets to 4″ x 5¼” to act as a mat. It will have a narrow border which is why I wanted my Secret Sea piece to be accurate. From the middle of the silver piece, I die cut the corners from Beautifully Celebrated die set twice for a total of four pieces. If you choose to do this, make sure you give yourself enough of a border. Usually, I cut the inside out with my trimmer and use the scrap.
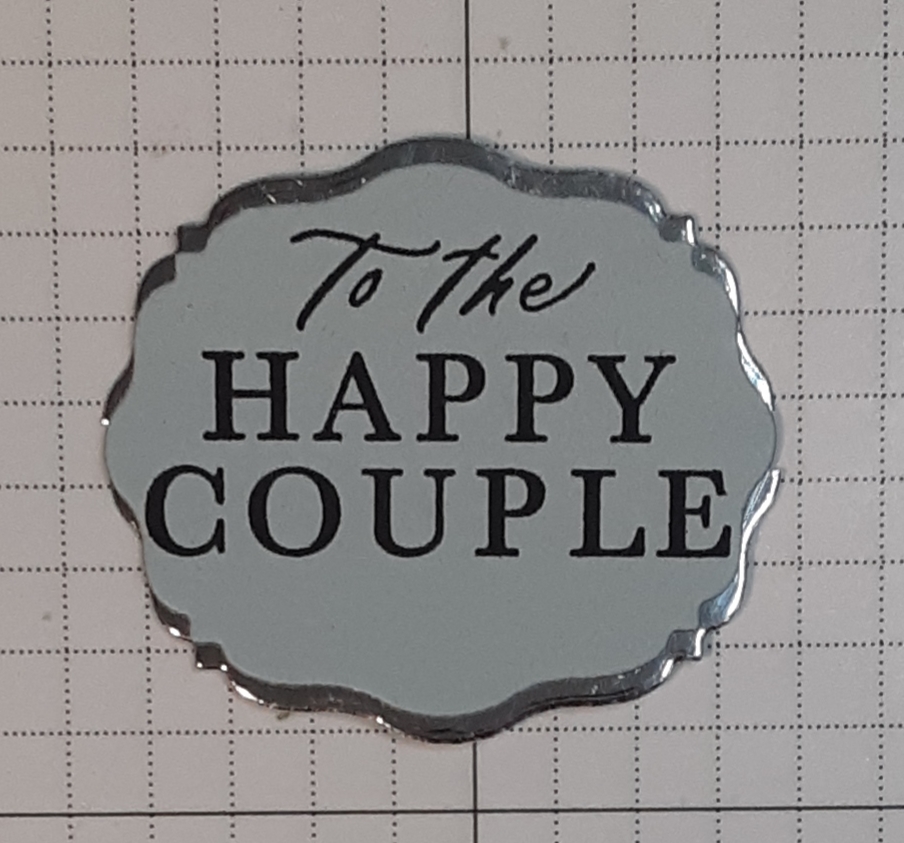
I cut the smallest label from the Beautifully Celebrated die set from Silver Foil. I cut this in half horizontally. I stamped For Someone Extra Special from the 12 Days of Crafting kit in Secret Sea ink on Cloud Cover cardstock. I die cut this also from the smallest label die.
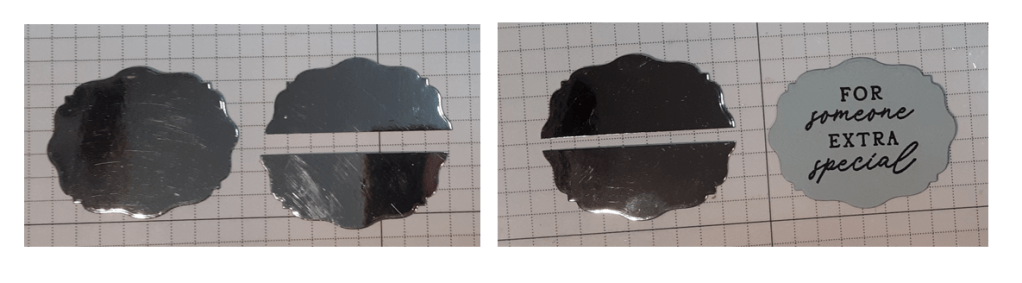
I adhered the sentiment piece to the foil using my favorite adhesive (Multipurpose Liquid Glue or Stampin’ Seal). I prefer tape runner with foil. In the picture, I used a stamp from Simply Beautiful stamp set which is no longer available. Terry may be able to get one for you if you want/need it. My intention for this card was a wedding card.
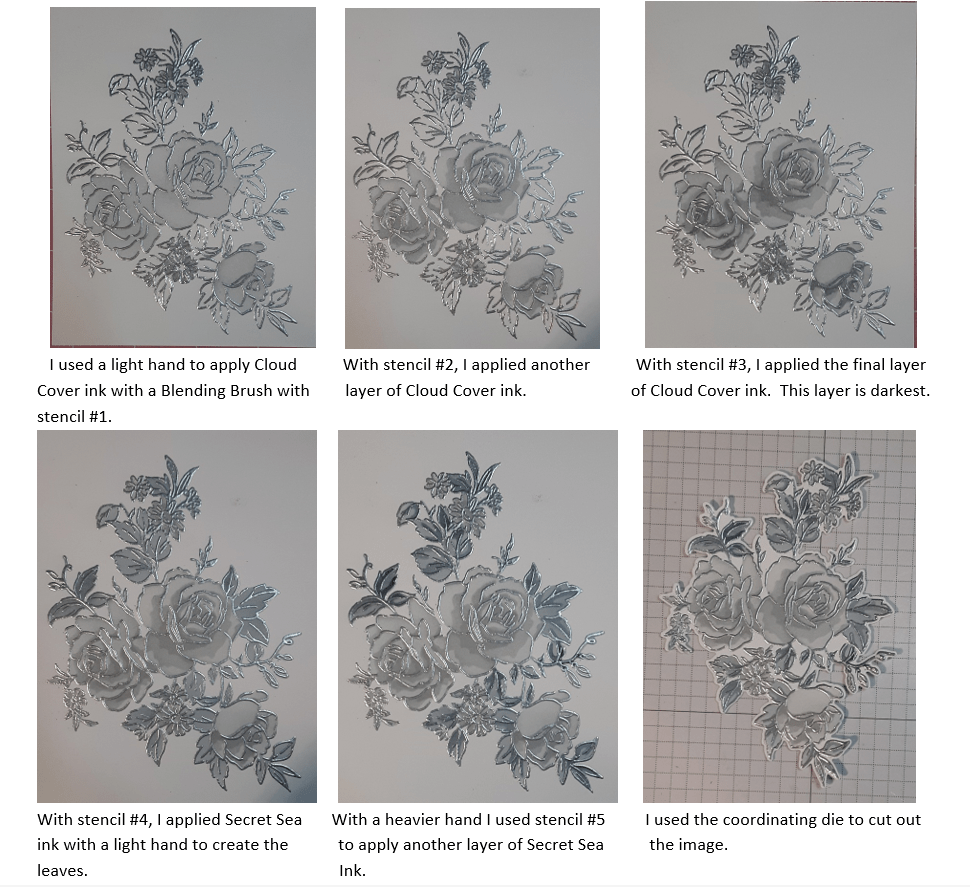
Now on to the focal image. I stamped the large floral image from Layers of Beauty bundle (contains the stamp set, dies, and stencils) with Versamark ink on a 4¼” x 5½” piece of Basic White cardstock. You can prep the paper with anti-static powder for a cleaner image. I sprinkled silver embossing powder from the Metallics Embossing Powders pack and heat set it with my Heat Tool. When heating the embossing powder, keep the heat tool moving to prevent burning. You also don’t want to overheat the embossing powder. I have found heating from the back gives a shinier finish. Below I have the steps for coloring in the image. I started with Cloud Cover ink with a Blending Brush. This ink is on the Last Chance list because the color doesn’t stay true and doesn’t meet Stampin’ Up!’s standards of quality. Make sure to daub off excess ink before applying to your image. I daubed off on my stencil itself and could pick it up as I needed it. No waste!
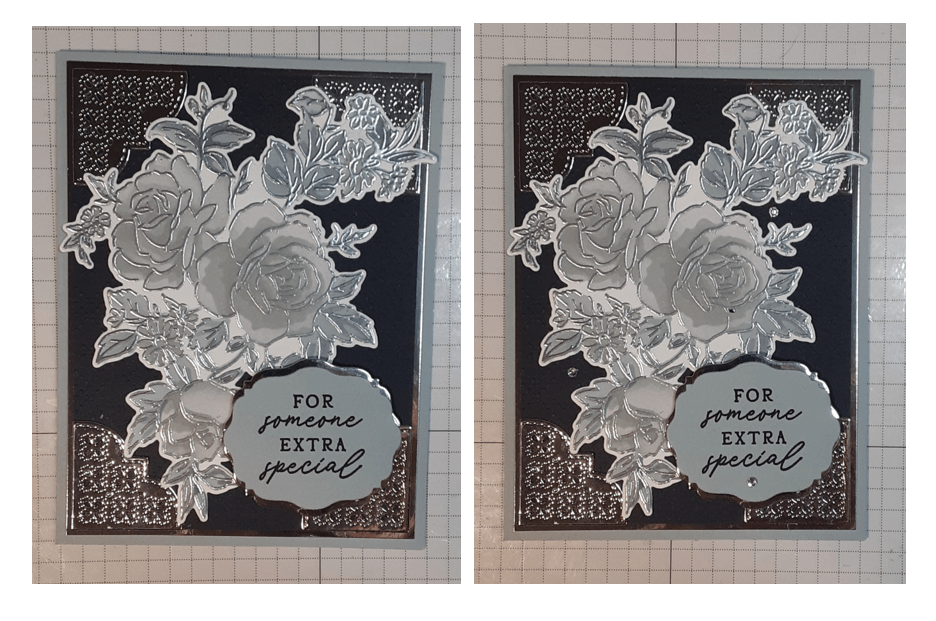
Once I had all my pieces, I assembled my card. I adhered the corners to my Secret Sea piece. I recommend using tape runner for this so that the glue doesn’t ooze through the openings. I adhered this piece to my silver mat (with the inside removed). Finally, I added this panel to my card base.

I added my floral image to the card. I glued it flat to give it a little support. Between the embossing and the inking, it was a little floppy. I added my sentiment with Stampin’ Dimensionals. For a little sparkle, I added three Rhinestones.
To finish the card, I stamped a greeting on a 4″ x 5¼” piece of Basic White cardstock and glued it inside my card.
I hope you liked this card.
For the complete supply list, click here.
For further inspiration from April and January: