
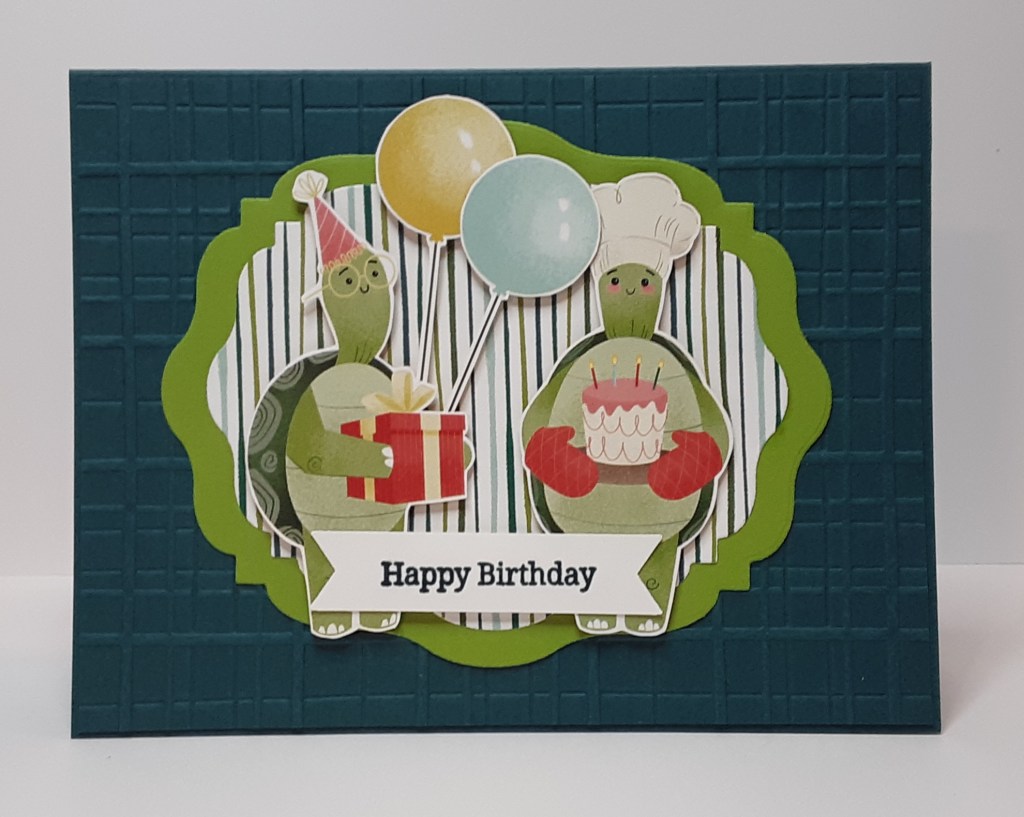
It’s Saturday and I have a very simple card for you! Once again, the patterned paper does all the work! What would we do without it? Today I’m using the Turtle-y Cute DSP. Honestly, when I first saw this stamp set and paper, I was not impressed. It still doesn’t rank at the top of my list, but it definitely has its uses. Case in point, today’s card! So, let’s get to it. Marilyn here with another card.
To make the card base, I cut a piece of Pretty Peacock cardstock to 5½” x 8½” on my Paper Trimmer, scored and folded at 4¼”, and burnished with my Bone Folder. I cut an additional piece to 4⅛” x 5⅜”. I ran this piece through my Forever Plaid Embossing Folder on my Stampin’ Cut & Emboss Machine. I like to make a separate embossed piece to strengthen the front of my card. Dry embossing the card front makes it floppy. With my Beautifully Celebrated dies, I cut the second largest label die from Granny Apple Green cardstock. I cut the third largest label from the Turtle-y Cute DSP.
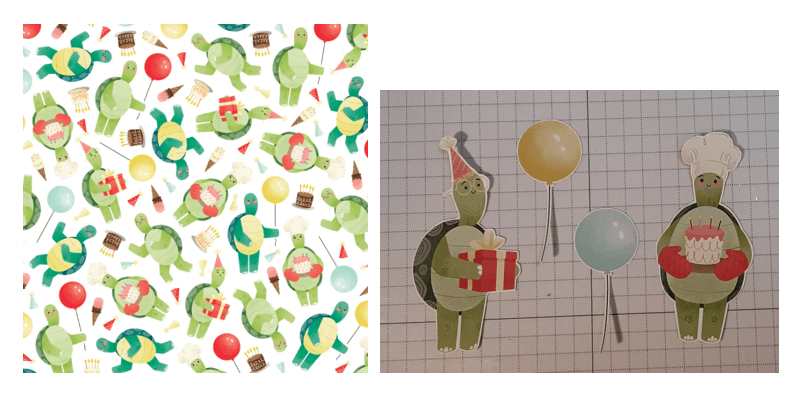
I fussy cut a couple turtles from the DSP, one holding a cake and one holding a gift. You could use any of the turtles that strike your fancy. I also cut out a couple balloons.
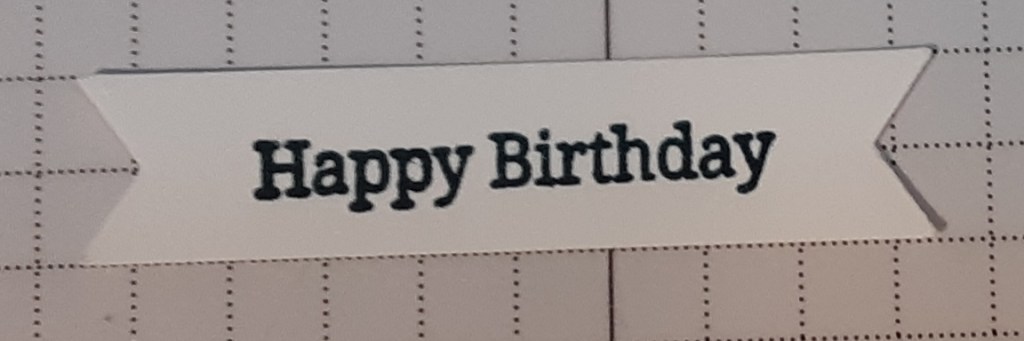
I stamped Happy Birthday from Banner Sayings bundle with Pretty Peacock ink on Basic White cardstock. I punched it out with the coordinating punch.
Now I have all my pieces and just need to put them together. I glued my embossed piece to my card base using my favorite adhesive (Multipurpose Liquid Glue or Stampin’ Seal). Then I glued together my label pieces. I adhered this to my card base.

Next, I added my turtles with Stampin’ Dimensionals. I also added my sentiment.
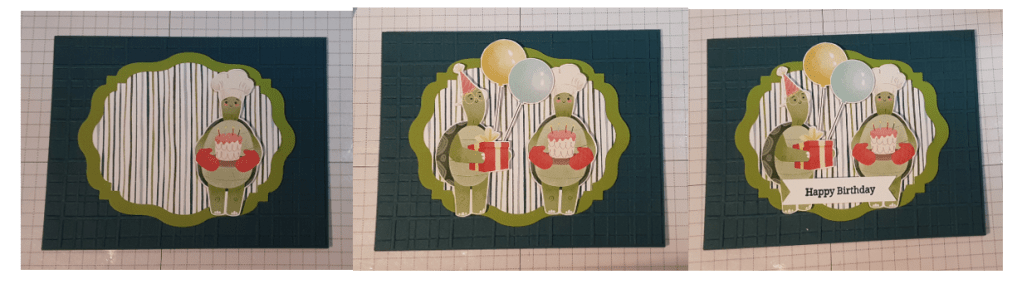
To finish the card, I stamped a sentiment on a 4” x 5¼” piece of Basic White cardstock and glued it inside my card.
I hope you liked this card.
For the complete supply list, click here.
Images © Stampin’ Up!
