
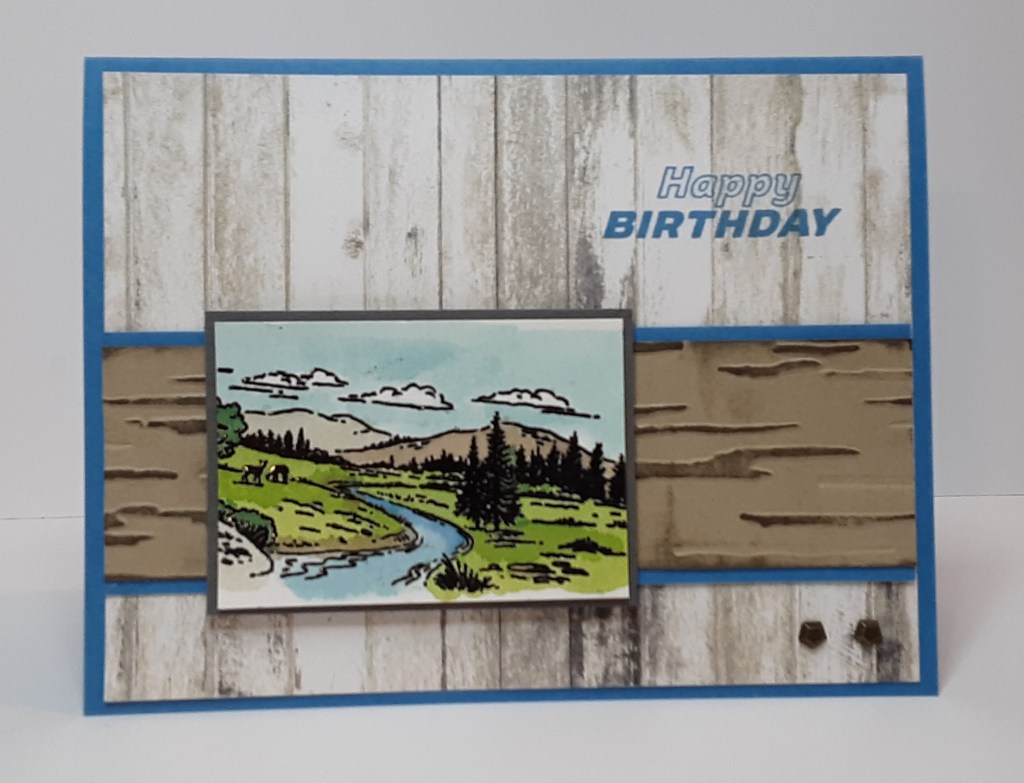
Hello, it’s Wednesday and time for another card. Today’s card features the Far Away Landscapes stamp set. I am a sucker for landscape stamp sets. I’m pretty sure I buy them all. I think this set would work well with the Capturing Smiles bundle. I haven’t had a chance to play with the camera yet, but it’s on my list. As an aside, Stampin’ Up! is offering 2X rewards today through Friday with a $20 purchase. Now onto the card.
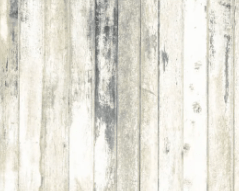
To make the card base, I cut a piece of Azure Afternoon cardstock to 5½” x 8½” on my Paper Trimmer, scored and folded at 4¼”, and burnished with my Bone Folder. I cut two ½” x 5¼” strips of Azure Afternoon cardstock. I cut a piece of Country Woods DSP to 4″ x 5¼”.
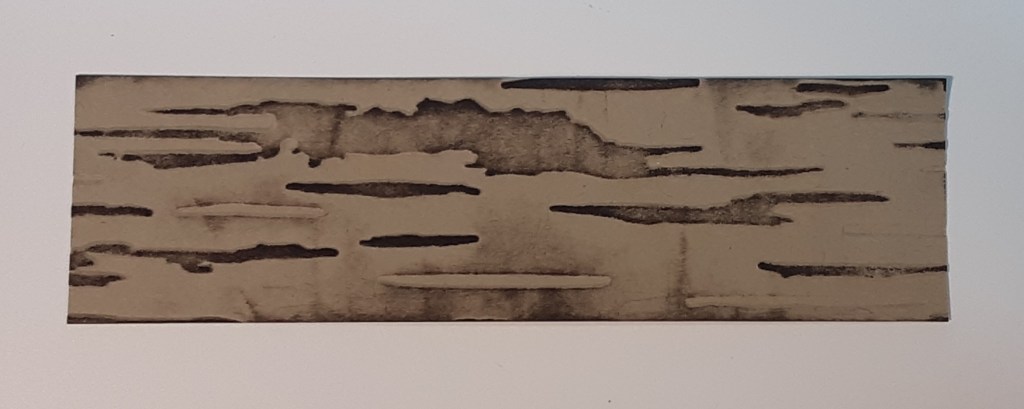
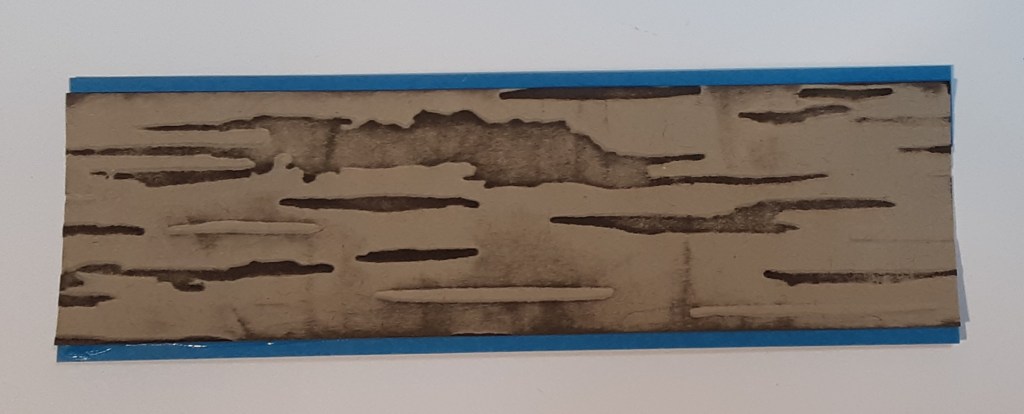
I cut a piece of Crumb Cake cardstock to 1½” x 5¼”. I ran this through my Birch Wood Embossing Folder on my Stampin’ Cut & Embossing Machine. I used my Gray Granite ink pad and ran it lightly over the raised areas on the piece.
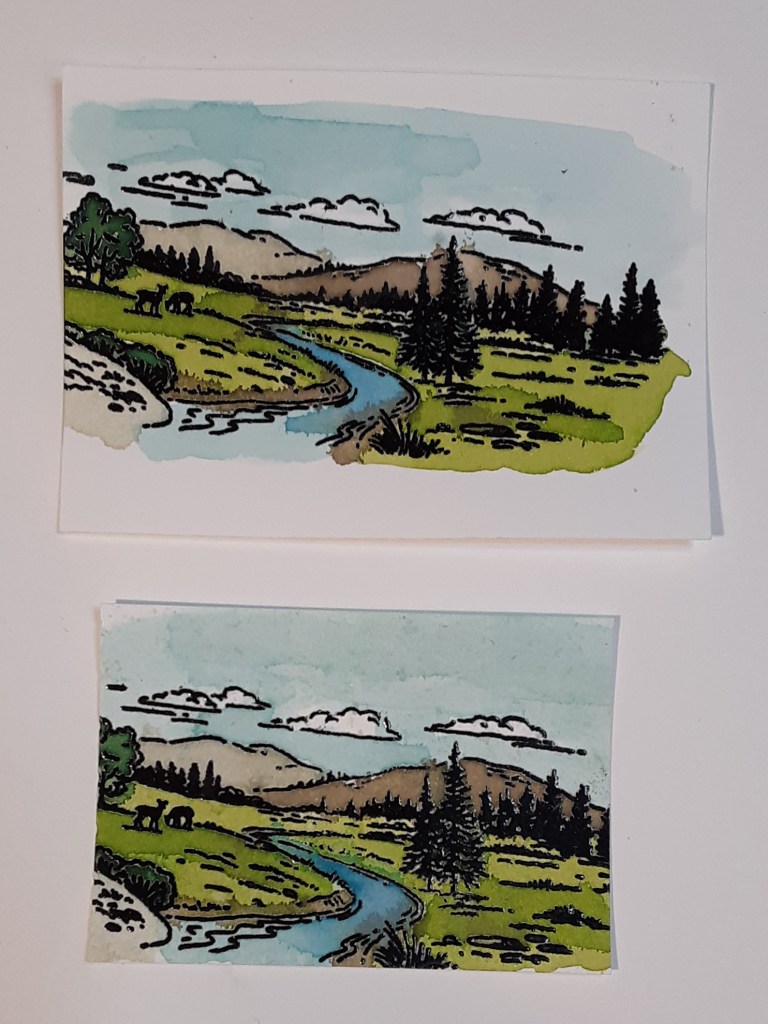
With a piece of Basic White cardstock, I stamped the river scene from Far Away Landscapes stamp set with Versamark ink. I sprinkled on black embossing powder from the Basic Embossing Powder set. I heat set this with my Heat Tool. I planned to watercolor in my scene. If you would prefer to use Stampin’ Blends, you should just use Momento Tuxedo Black ink. To watercolor the image, I smooshed different ink pads onto my acrylic block and added water with a paint brush. The inks I used were: Balmy Blue ink, Garden Green ink, Granny Apple Green ink, Lemon Lime Twist ink, Azure Afternoon ink, and Crumb Cake ink. When water coloring, remember that you can always make something darker, but not lighter. Also, I used our regular cardstock instead of watercolor paper and it tends to pill if you work it too much. Once the image has been colored and had a chance to dry, if you used watercolor, cut it down. I cut mine down to 2⅝” x 1⅞”. You can choose how large or small to make yours. Just add ¼” to two adjacent sides for the dimensions of your mat piece. I cut a piece of Basic Gray cardstock to 2¾” x 2″. I adhered my colored image to the piece of gray using my favorite adhesive (Multipurpose Liquid Glue or Stampin’ Seal).
I stamped Happy Birthday from Ready, Set, Go stamp set with Azure Afternoon ink on my DSP piece in the upper right hand corner. The photo shows the happy birthday from Boardwalk Fun stamp set which is no longer available.

I adhered my ½” strips to my dry embossed piece. I glued this to my panel about ¾” from the bottom. I adhered my patterned piece to my card base,
With Stampin’ Dimensionals, I adhered the focal image to my card.
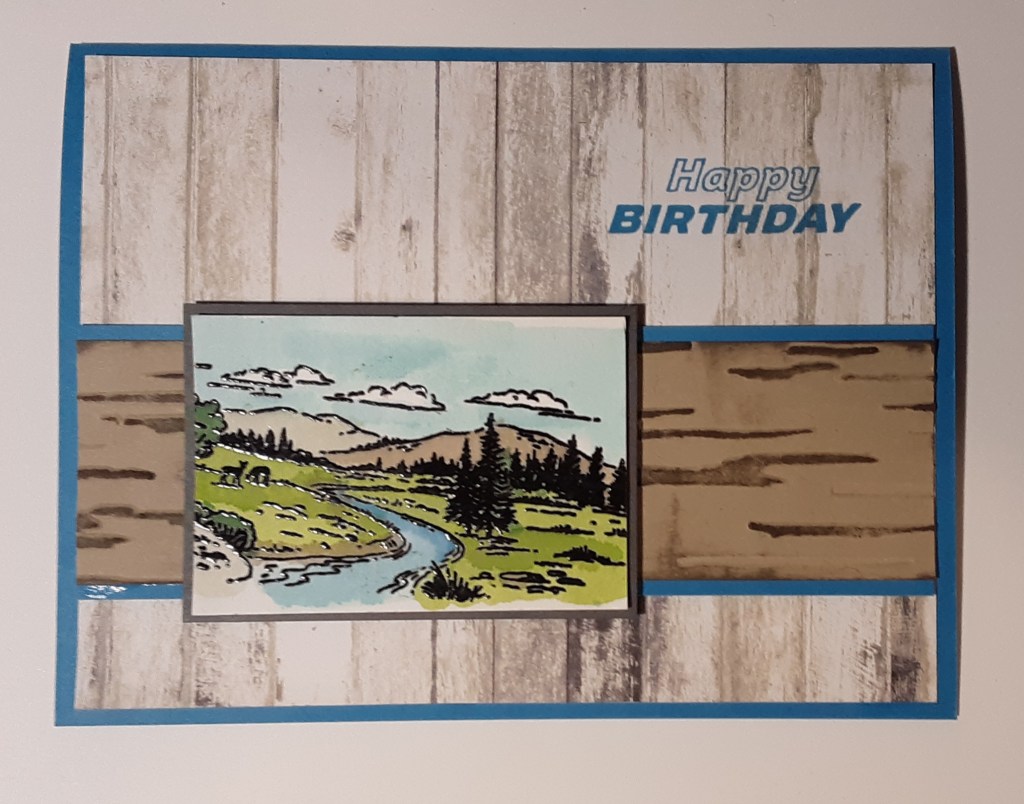
I added two Faux Brass Pentagons to the lower right hand corner of my card.
To finish the card, I stamped a greeting on a 4″ x 5¼” piece of Basic White cardstock and glued it inside my card.
I hope you liked this card.
For the complete supply list, click here.
