
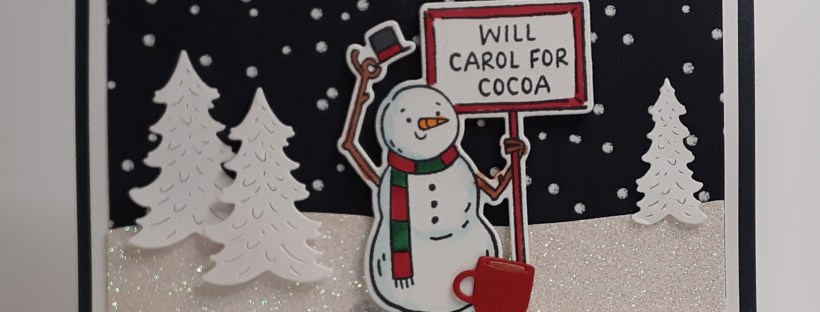
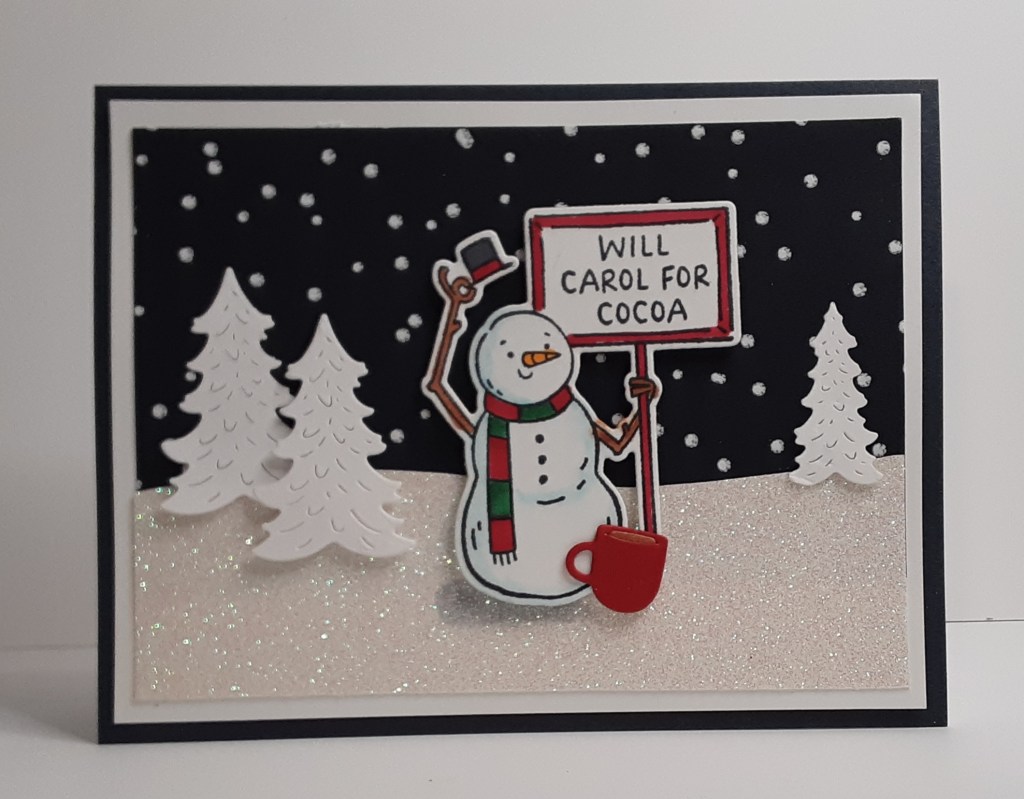
It’s Saturday and I have a simple card for you. This card was featured at Terry’s November class. As I write this, I am enjoying a beautiful day at Red River Gorge. My family celebrates Grandma’s Christmas the weekend before Thanksgiving at her cabins. As much of the family that can, joins in. It is kind of hard to get into the spirit of Christmas when it is 60° outside, but I’ll take the beautiful weather. It makes hiking and enjoying a campfire so much more pleasant. It is always fun to catch up with my siblings and their families in a relaxed atmosphere. Hopefully this fun card helps put you in the spirit.

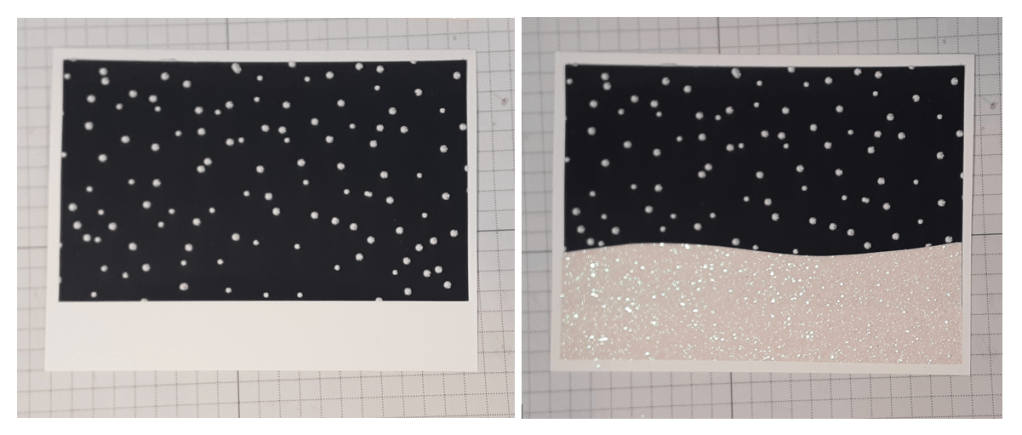
To make the card base, I cut a piece of Secret Sea cardstock to 5½” x 8½” on my Paper Trimmer, scored and folded at 4¼”, and burnished with my Bone Folder. I cut a piece of Basic White cardstock to 4″ x 5¼” for a mat. I cut a piece of Winter Dreams DSP to 3″ x 5″. If you want to make extra cards and don’t have enough of this paper, I suggest going through your stash and coming up with a snowy spatter stamp. On Secret Sea cardstock, you can stamp in craft white or Versamark and add white embossing powder. Heat set. If you can get ahold of some white flocking, add it to the spatter while the embossing powder is still hot. I cut a piece of white glitter paper to 5″ x 1½”.
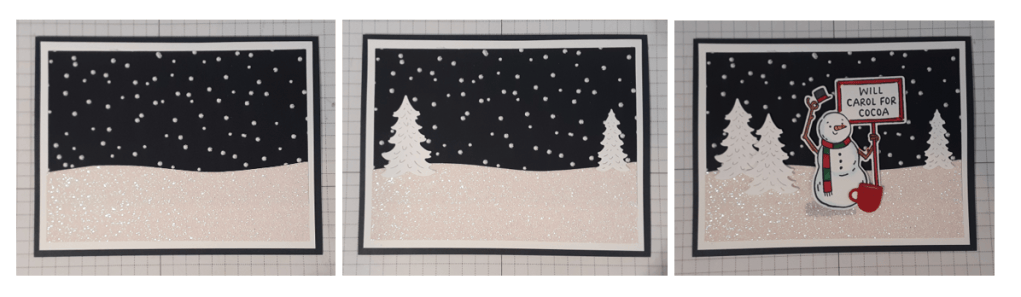
I adhered my DSP to my white mat with my favorite adhesive (Multipurpose Liquid Glue or Stampin’ Seal). Before adhering the white glitter piece, I cut a curve with my Detail Scissors for a bit of drifting snow.
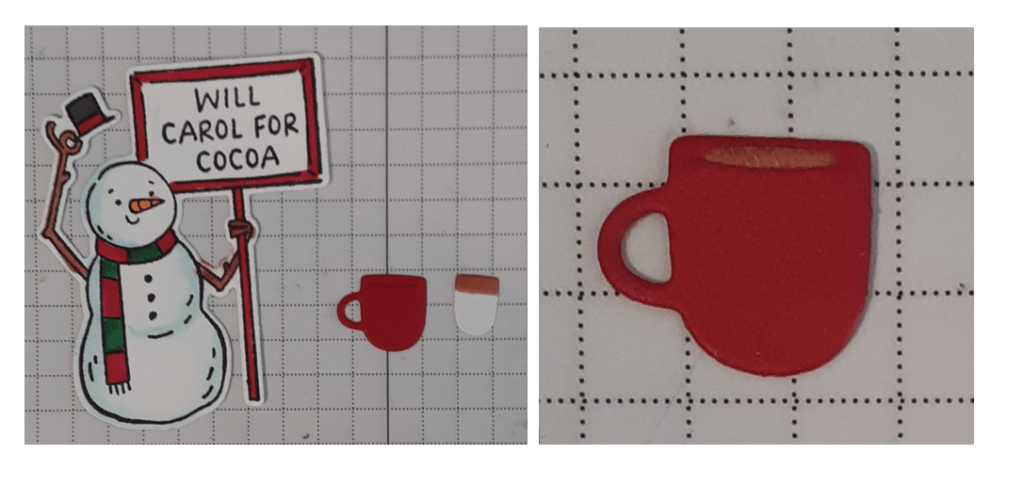
Using the Christmas Crew bundle, I stamped the snowman in Black ink. I stamped will carol for cocoa on the sign. This set has several cut sentiments that fit on the sign. I die cut them out on my Stampin’ Cut & Emboss Machine. I also die cut the trees (two large and one small) in Basic White and the cup in Real Red cardstock and the insert in Basic White cardstock. I colored in the snowman with Stampin’ Blends. Some suggested colors: Real Red, Basic Black, Pecan Pie, Pumpkin Pie, Peaceful Pine, Balmy Blue, and Color Lifter. I colored the top of the white insert to look like cocoa. I slid the insert into the slot on the cup and glued it in place.
I added my background panel to my card base. I glued one small and one large tree to my card. I added the second large tree and the snowman with Stampin’ Dimensionals.
To finish the card, I stamped a greeting on a 4” x 5¼” piece of Basic White cardstock and glued it inside my card.
I hope you liked this card!
For the complete supply list, click here.
Images © Stampin’ Up!.

