
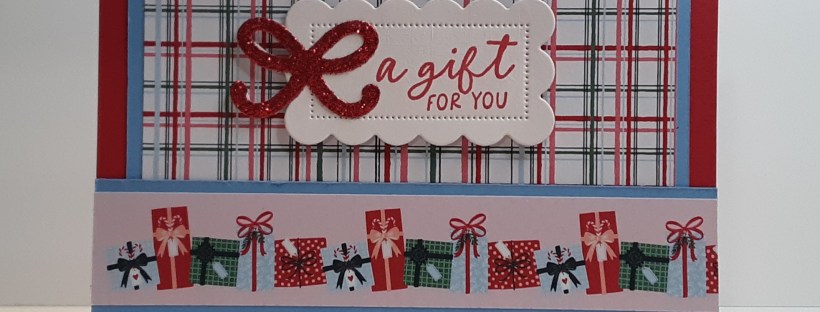
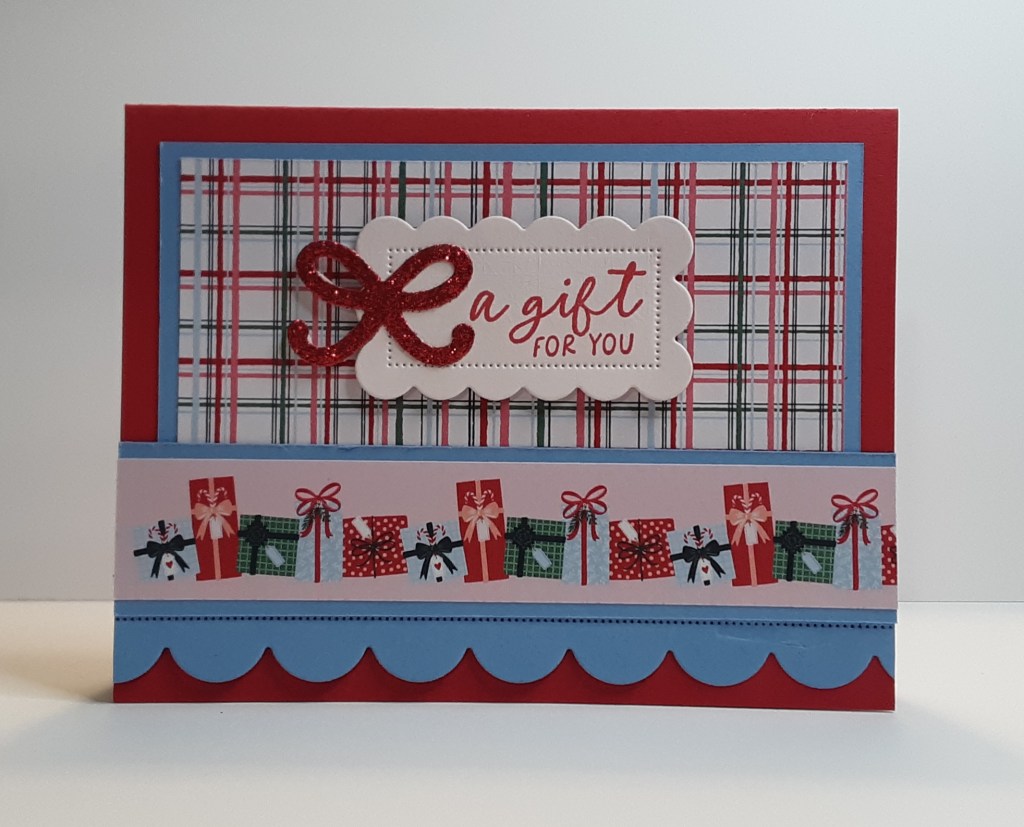
It’s Wednesday and I have a fun gift card holder for you. Terry featured this card at her November card class, but I made a little modification inside to include a slider that holds the gift card. No worries, it is not difficult to make! It is a fun surprise to the recipient.

Stampin’ Up! is having a Black Friday sale November 24-30! Up to 30% off select products, and with a $100 US purchase, you can choose a free Bonus Item. The bonus items include Black 0.4 mm Stampin’ Journaling Pens (166647), Crafting Grid Paper (167765), Cutting Blades Multipack (152391), Embossing Paste (141979), Shimmery White Embossing Paste (145645), a Simply Shammy (147042), Sponge Daubers (133773), Watercolor Pencils Assortment 2 (149014), and Water Painters (168253). At checkout, you’ll be prompted to select your bonus item(s), one for each time you meet the qualifying amount. For example, if your cart totals $200 USD | $270 CAD (after discounts, coupons, and Stampin’ Rewards are applied; before shipping and tax), you can add two bonus items at checkout.
You can qualify for an unlimited amount of bonus items as long as you meet the qualifying amount each time.
You can purchase any of these bonus items at full price.
Bonus items are only available while supplies last.
Paper Pumpkin refills and past kits count toward the qualifying amount; Paper Pumpkin subscriptions do not.
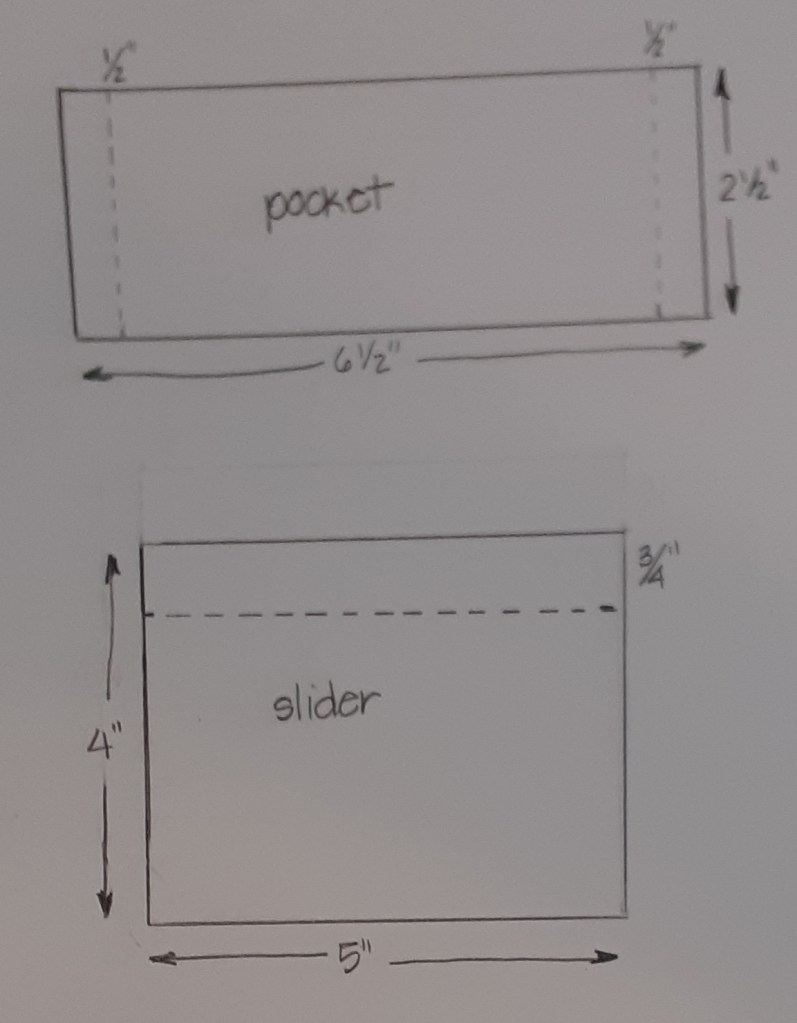
Now on to the card. To make the card base I cut a piece of Real Red cardstock to 5½” x 8½” on my Paper Trimmer, scored and folded at 4¼”, and burnished with my Bone Folder. I cut a piece of Real Red cardstock to 6½” x 2½” and scored ½” from either end. I cut an additional piece of Real Red cardstock to 4″ x 5″, scored ¾” on the 4″ edge. See the illustration below. Sorry for the blurriness. My kids claim I need a new camera phone. They may be right.
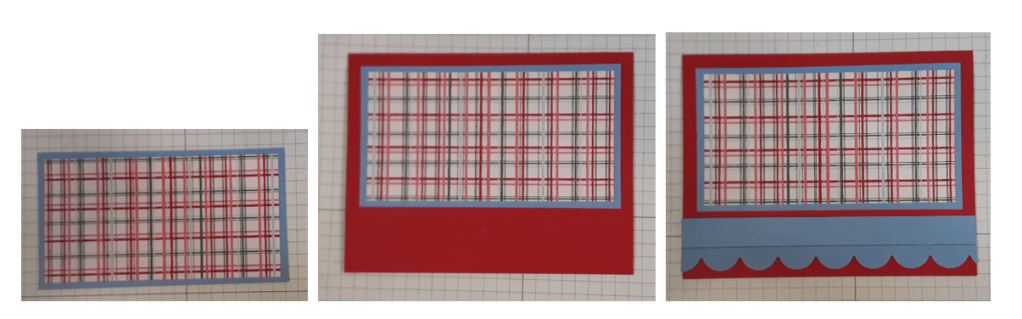
I cut a piece of Hydrangea Hue cardstock to 5″ x 2¾” to act as my mat. I cut another piece to 5½” x 1¼”. I cut a third piece to 5½” x 1½”. The last piece I die cut with the scalloped edge in the Home for Christmas dies on my Stampin’ Cut & Emboss Machine. I trimmed this down to 1″ wide.
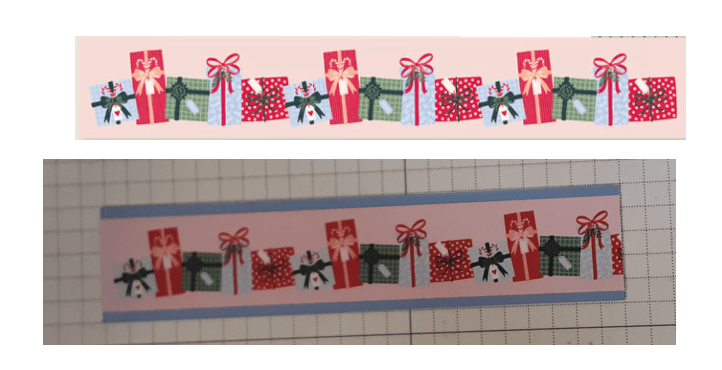
I cut a piece of Creative Celebrations Mix & Match DSP to 5½” x 1″. I mounted this on the strip of Hydrangea Hue cardsrock with my favorite adhesive (Multipurpose Liquid Glue or Stampin’ Seal).
From the reverse side, I cut a piece of the plaid pattern to 4¾” x 2½”. I adhered the plaid DSP to my mat of Hydrangea Hue. I added this to my card base, leaving even borders top and sides. I added my scalloped piece to my card.
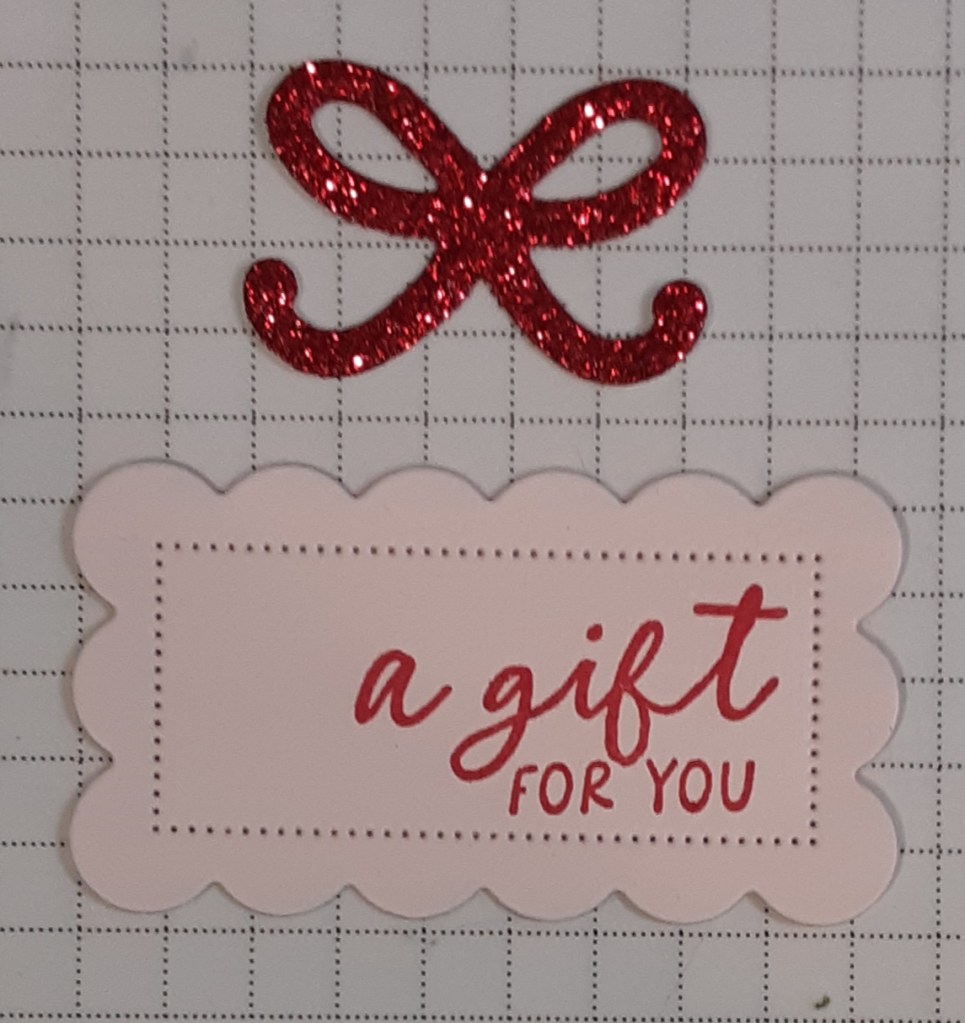
I die cut the smallest scalloped rectangle from Scalloped Christmas Cheer bundle from Barely Blush cardstock. I stamped a gift for you in Real Red ink on the right side of the rectangle. From red glitter cardstock, I cut the bow from Home for Christmas dies. I glued the bow to the label.
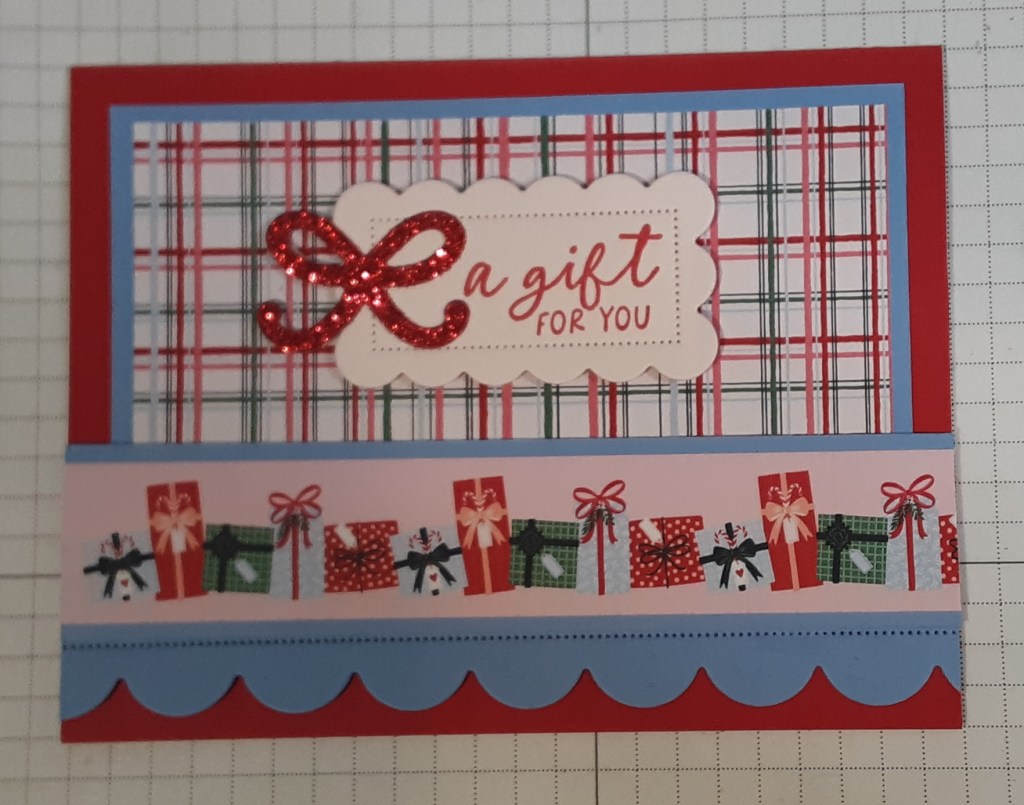
I glued the strip of gifts to my card. I added the sentiment with Stampin’ Dimensionals.
With the outside complete, now we move on to the inside. I folded both of my red pieces on the score lines.
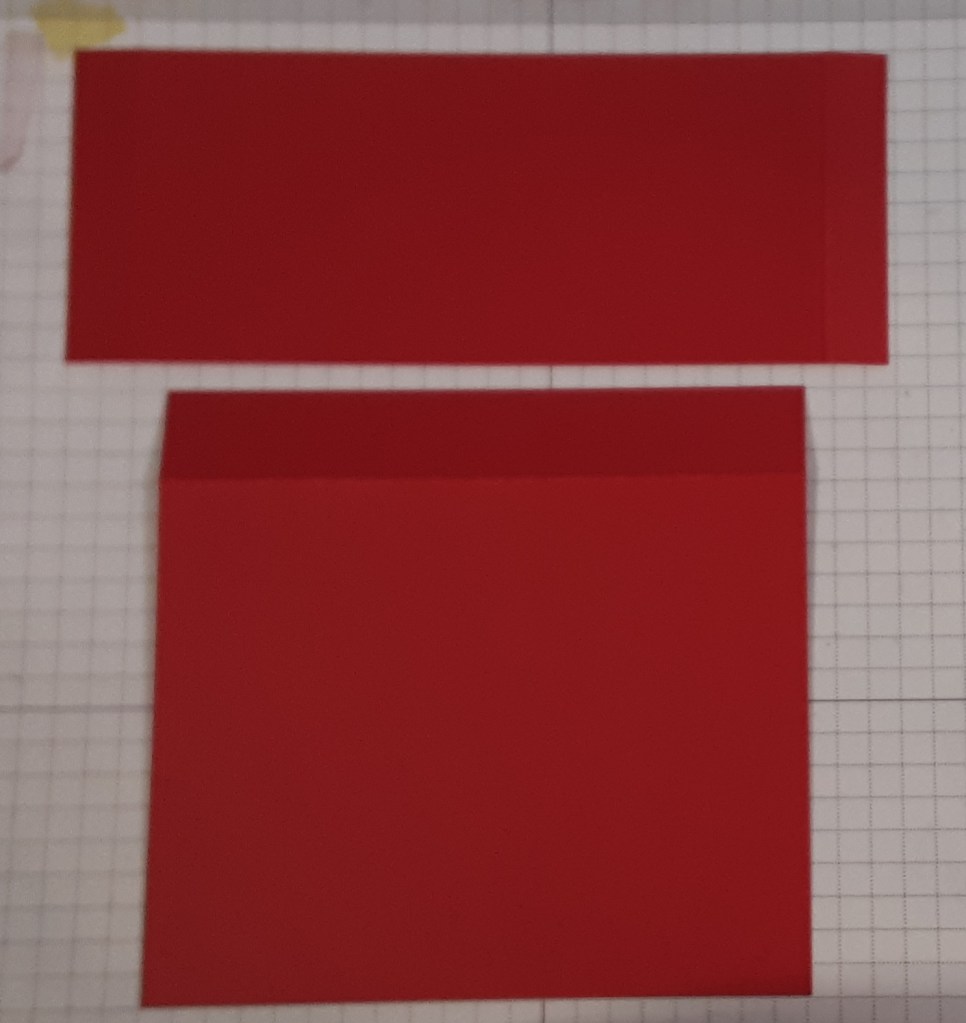
I added glue to the tabs on the first piece. This becomes the pocket inside the card. I glued it to the bottom of the opened card with the flaps folded in.
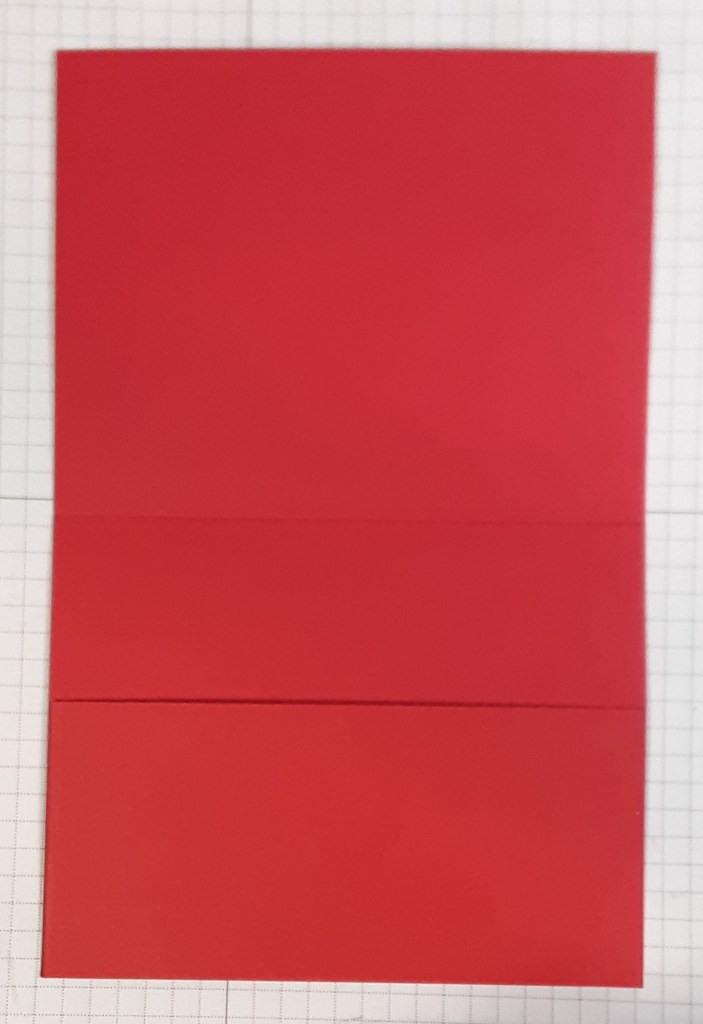
I tucked the other piece, with the fold at the top, inside the pocket, lining up the upper edge with the fold in the card. I added glue to the tab.
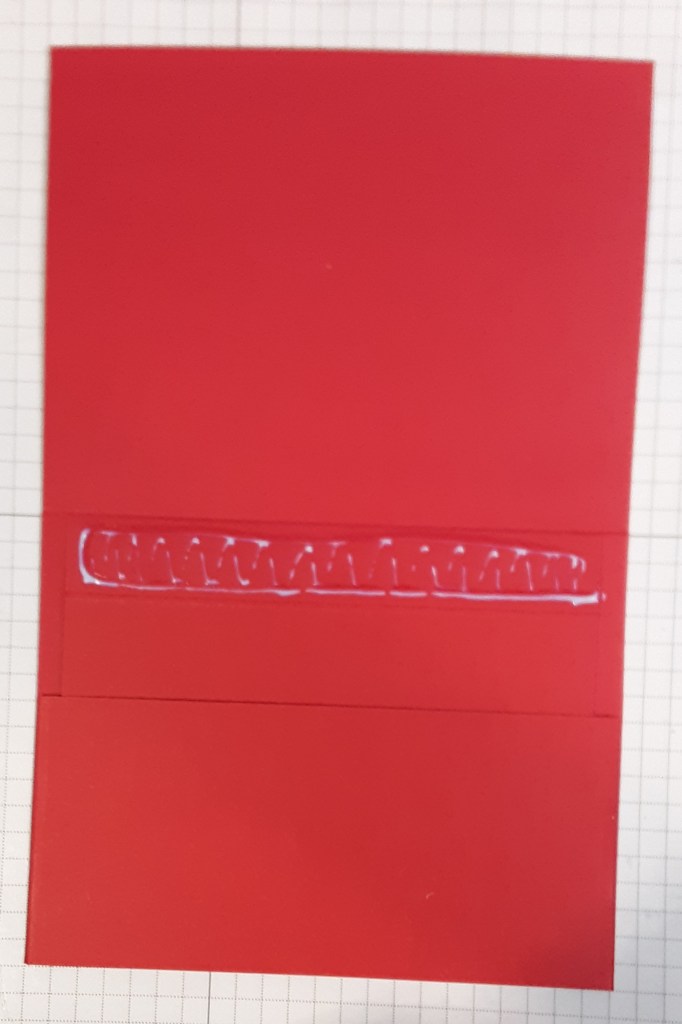
I closed the top down onto the glue and burnished with my hand. When the card opens, this piece slides up and reveals the gift card. You can add the gift card with a couple of Mini Glue Dots.
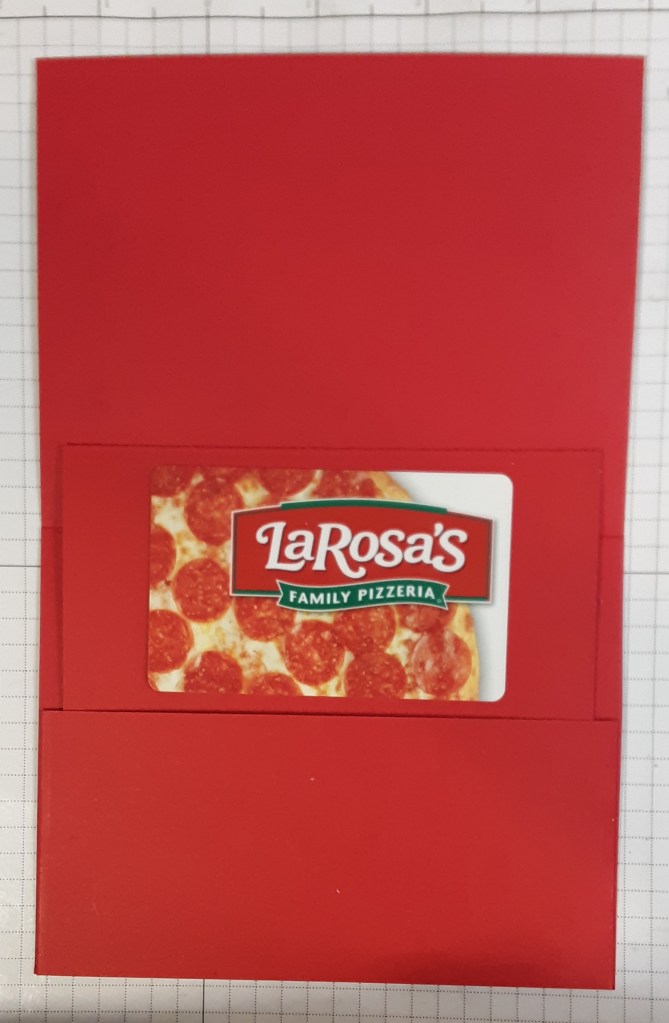
I stamped Sending Christmas Cheer from the stamp set in Scalloped Christmas Cheer bundle on a strip of Basic White cardstock and glued it on the pocket. Hopefully, the video below plays and shows how the mechanism works. Sorry for the poor quality, but I have no idea how to edit a video. I should probably take a class. 🙂
At this point I decided there was entirely too much red inside the card. I removed my sentiment and restamped it. I cut a piece of A Little Christmas DSP to 5¼” x 2½”. You could also use another piece of the plaid DSP from earlier. I did not have an extra bit, so I improvised. I moved the sentiment above the gift card. You could add another label to write a personal message or just write your message on the red space.
You could change out colors and DSP and create a different card but still use the mechanism for the gift card. The dimensions I provided are for a landscape-oriented card.
I hope you liked this card!
For the complete supply list, click here.
Images © Stampin’ Up!.

