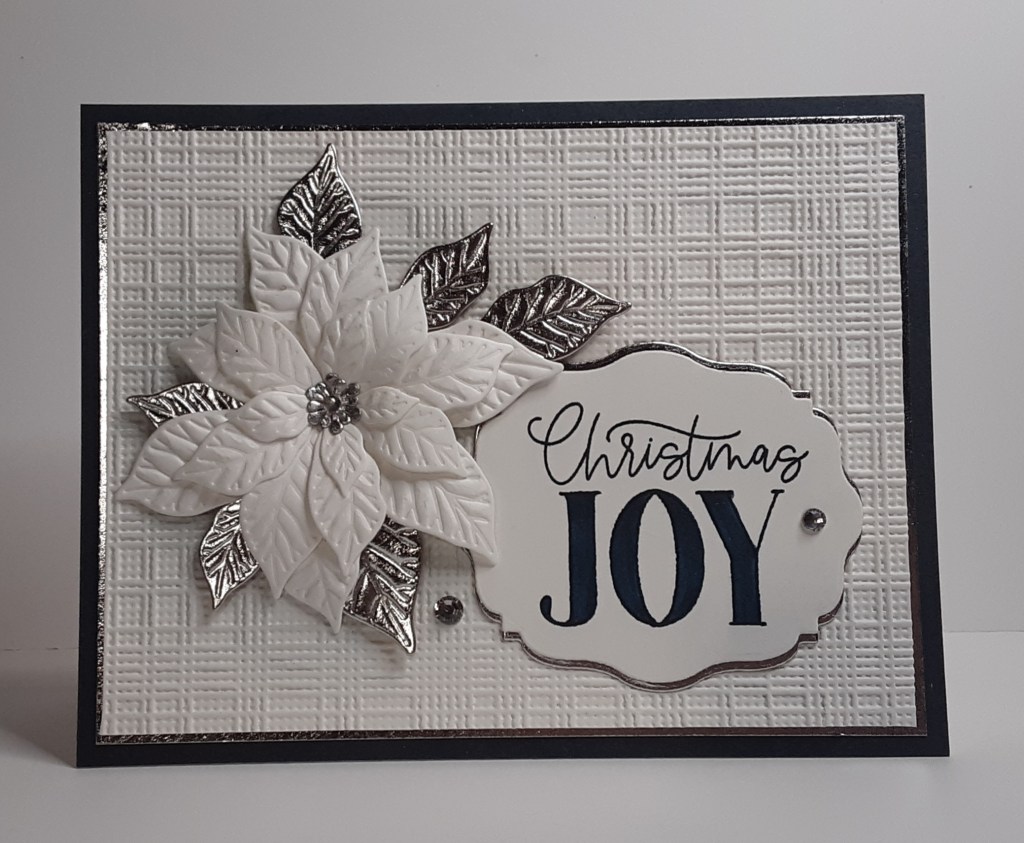
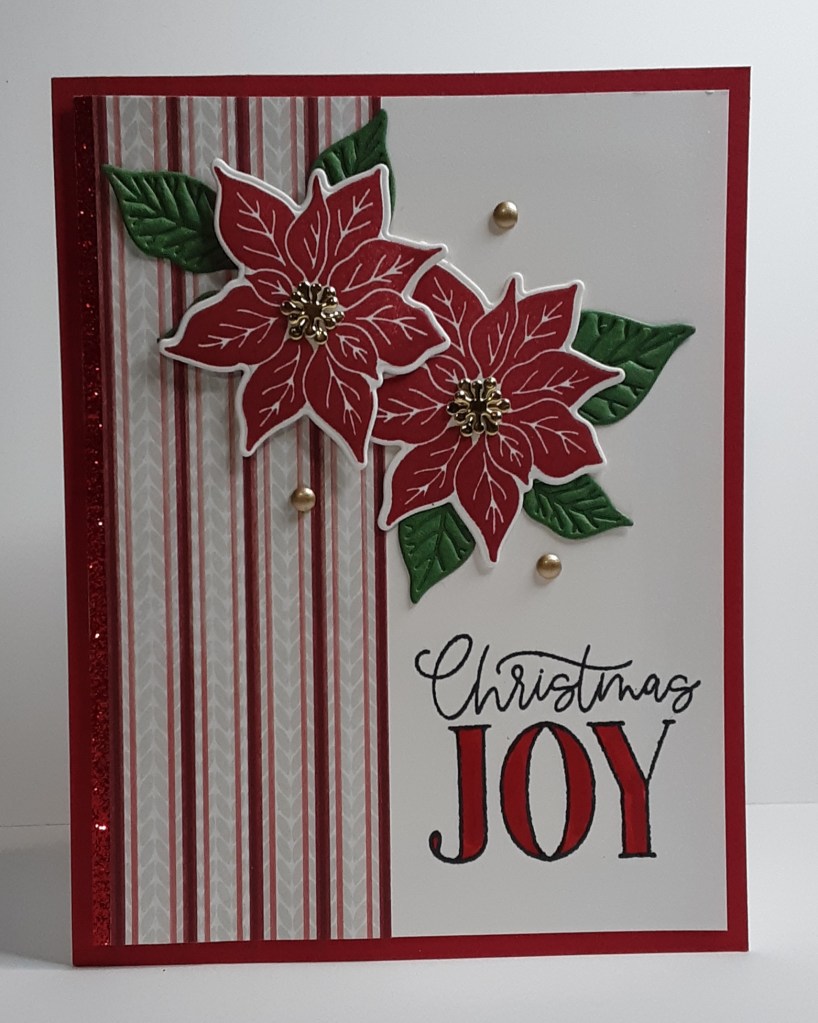
Today I have a simple card using the Pretty Poinsettia stamp set. This card is another one featured at Terry’s November card class. We made a card using this set last week with a Secret Sea color palette. This really is a versatile set that makes beautiful cards. Now on to the card.
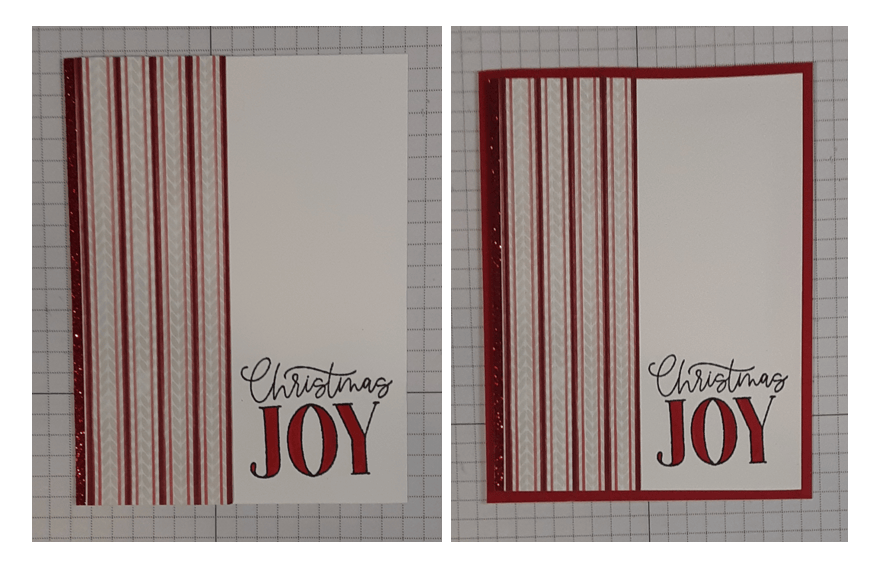
To make the card base, I cut a piece of Real Red cardstock to 5½” x 8½” on my Paper Trimmer, scored and folded at 4¼”, and burnished with my Bone Folder. I cut a piece of Basic White cardstock to 4” x 5¼” to act as my background. I cut a strip of red glitter cardstock to ½” x x 5¼”. Lastly, I cut a piece of A Little Christmas DSP to 1¾” x 5¼”.
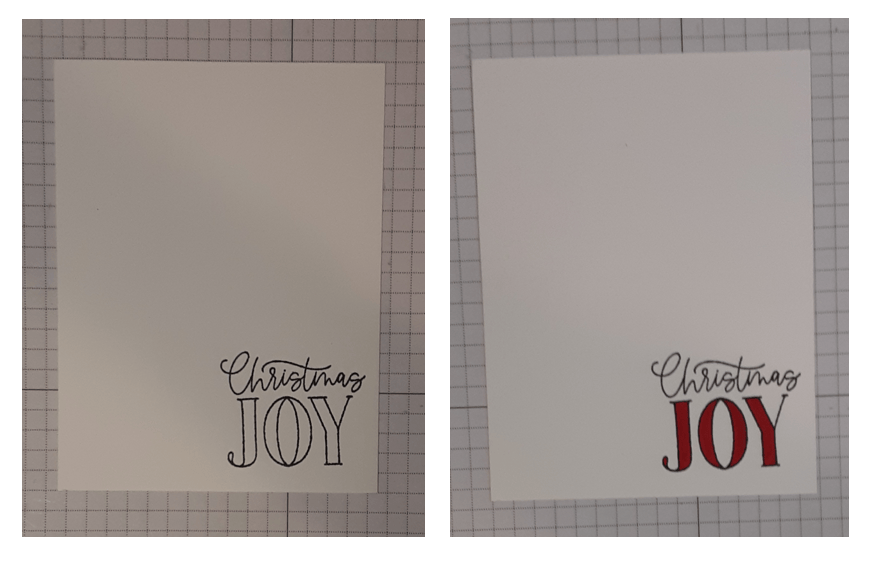
Using the Pretty Poinsettia bundle, I stamped Christmas Joy in Black ink in the lower right hand corner. I colored in the Joy with my Real Red Stampin’ Blend.
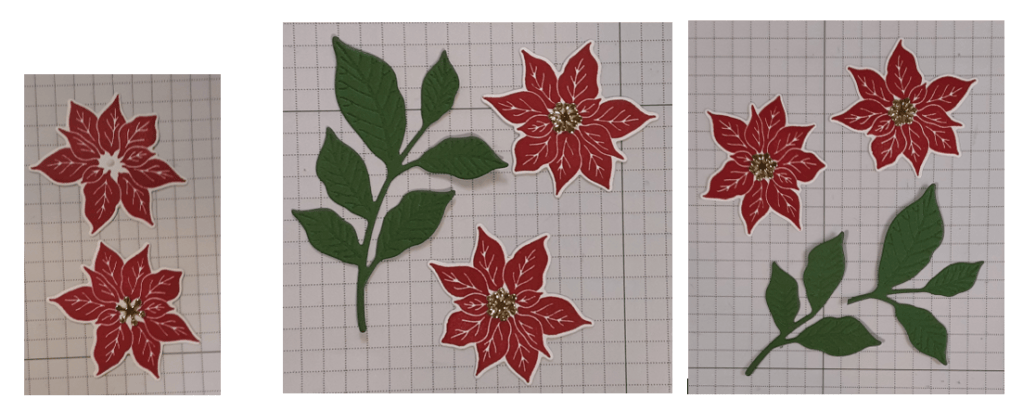
I stamped the poinsettia twice in Real Red ink on Basic White cardstock and die cut them with the coordinating dies on my Stampin’ Cut & Emboss Machine. I also die cut the leaves from Garden Green cardstock and the centers from Gold Foil Sheets. I cut the leaves into two parts. I adhered the centers to my flowers with my favorite adhesive (Multipurpose Liquid Glue or Stampin’ Seal).
To assemble the card, I glued the red glitter strip to the left edge of my stamped background piece. I added the DSP to allow about ⅛” of the glitter to show. I added the panel to my card base.
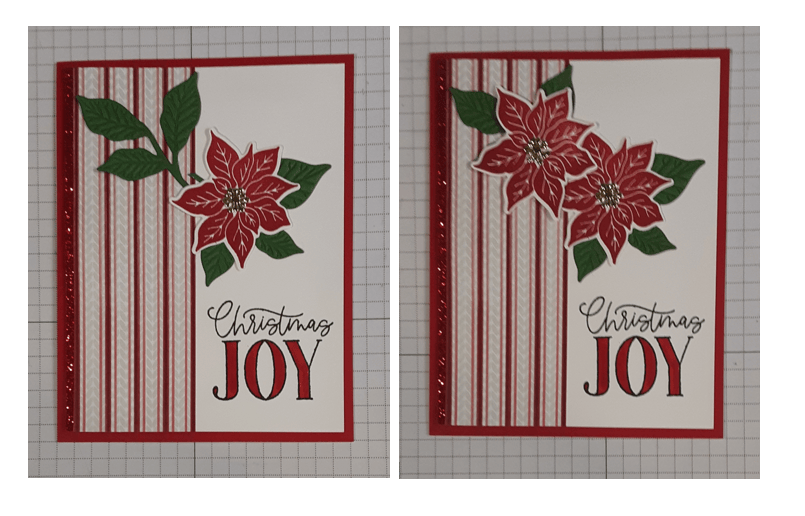
I arranged my poinsettias on my card. I glued one poinsettia and the leaves flat on the card and adhered the second one with Stampin’ Dimensionals.
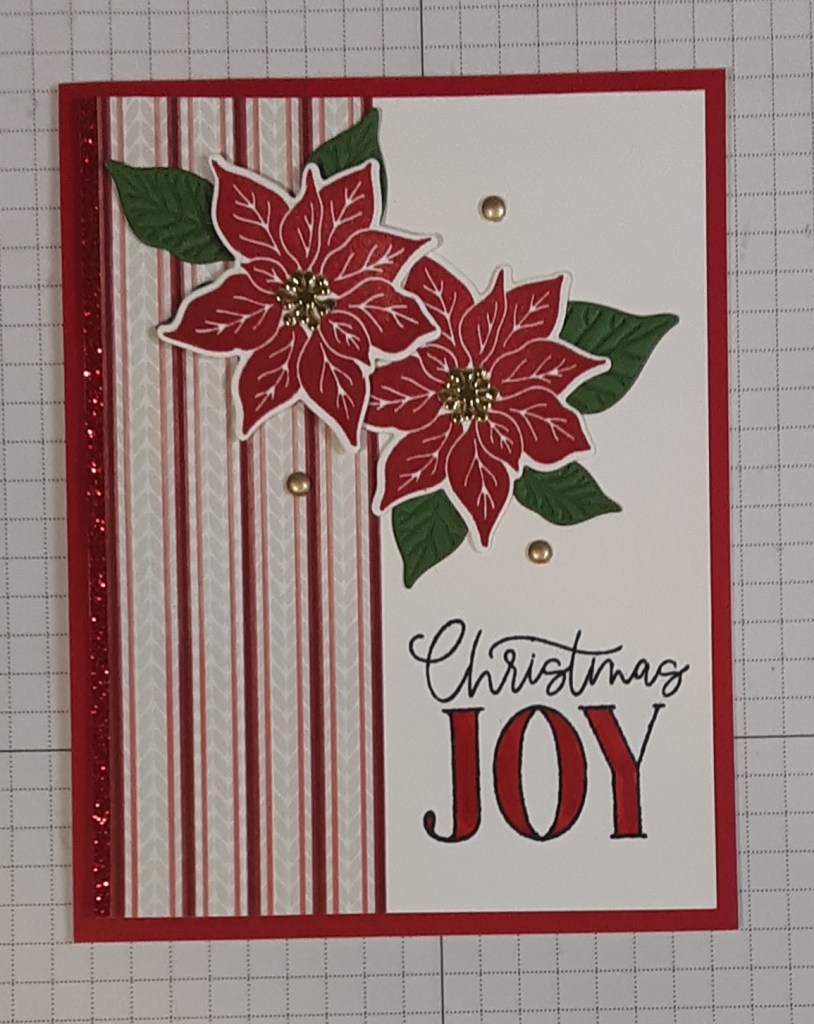
To add a bit of shine to the card, I added three Gold Adhesive Back Gems.
To finish the card, I stamped a greeting on a 4” x 5¼” piece of Basic White cardstock and glued it inside my card.
I hope you liked this card!
Notes: If you enjoy die cutting, you could easily die cut the poinsettias from Real Red cardstock and assemble. See the post on November 4 for instructions on creating the die cut flowers.
For the complete supply list, click here.
Images © Stampin’ Up!.
Another card featuring Pretty Poinsettias bundle: