
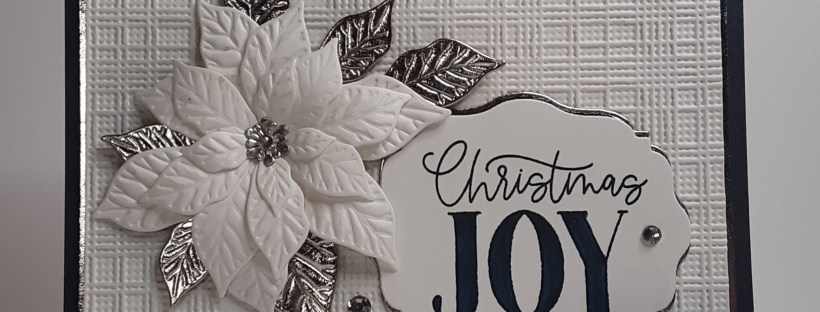
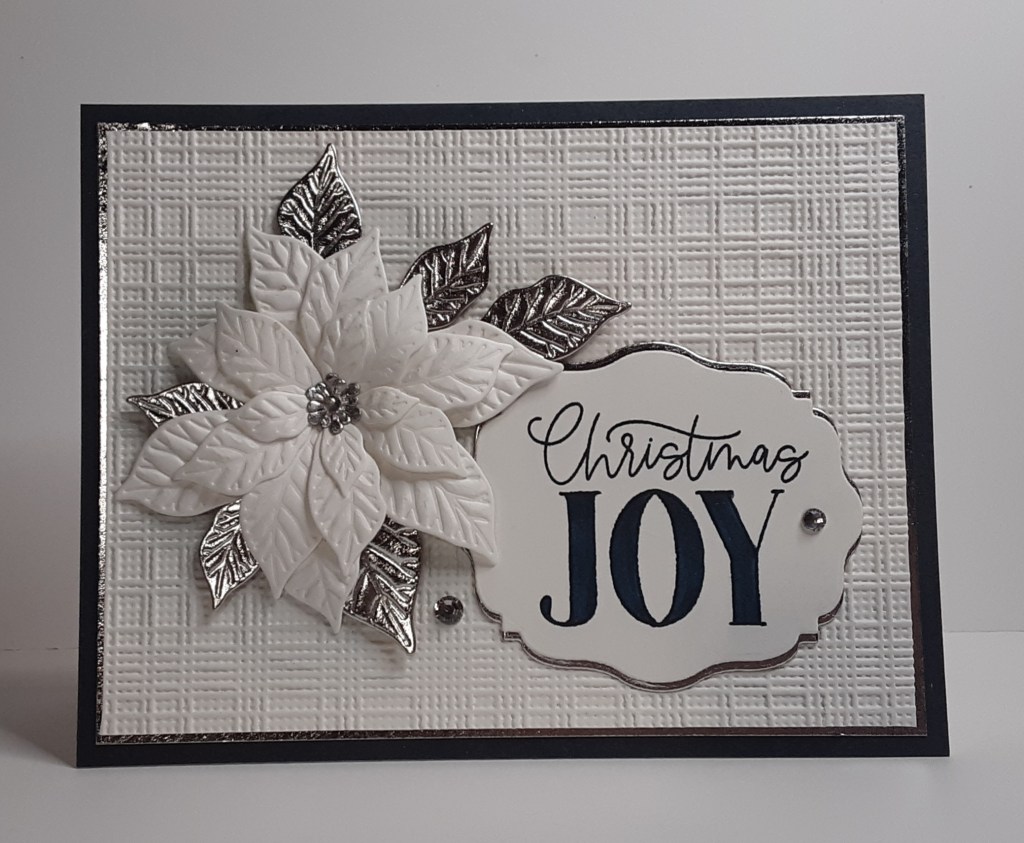
It’s Wednesday and I have a card Terry featured at her October class. I made a couple modifications (don’t I always! And you have permission to make changes, too!). I tried something that didn’t work out, so I shall spare you the flub.
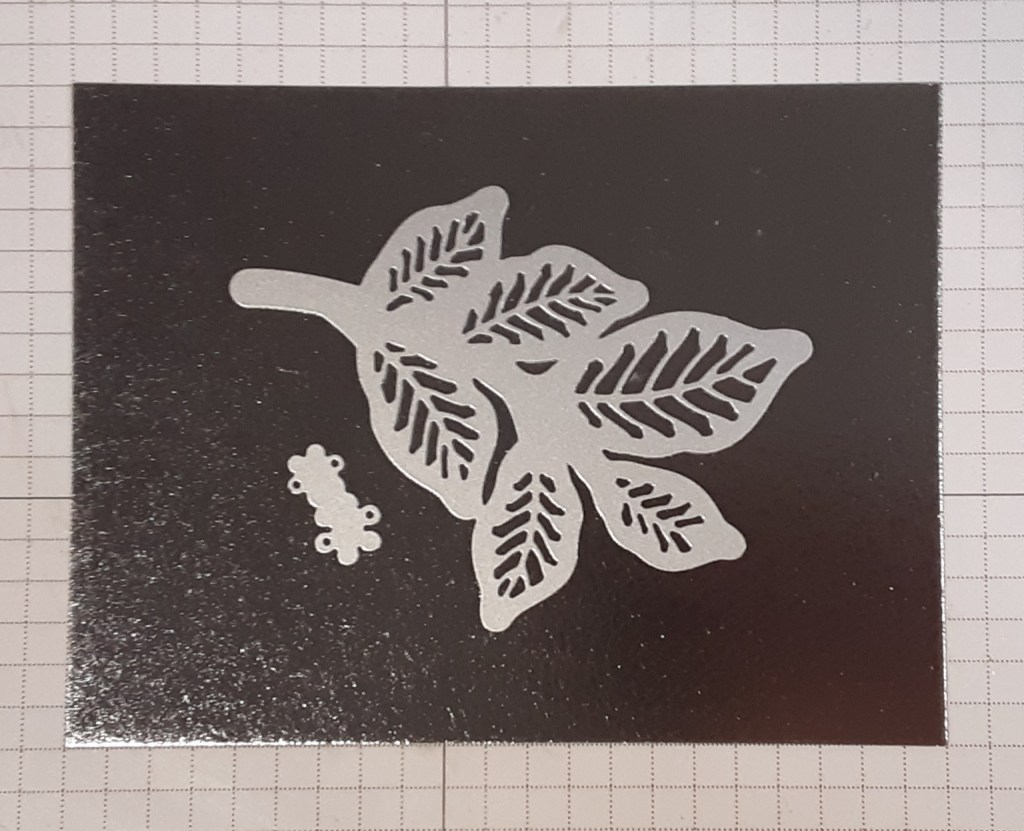
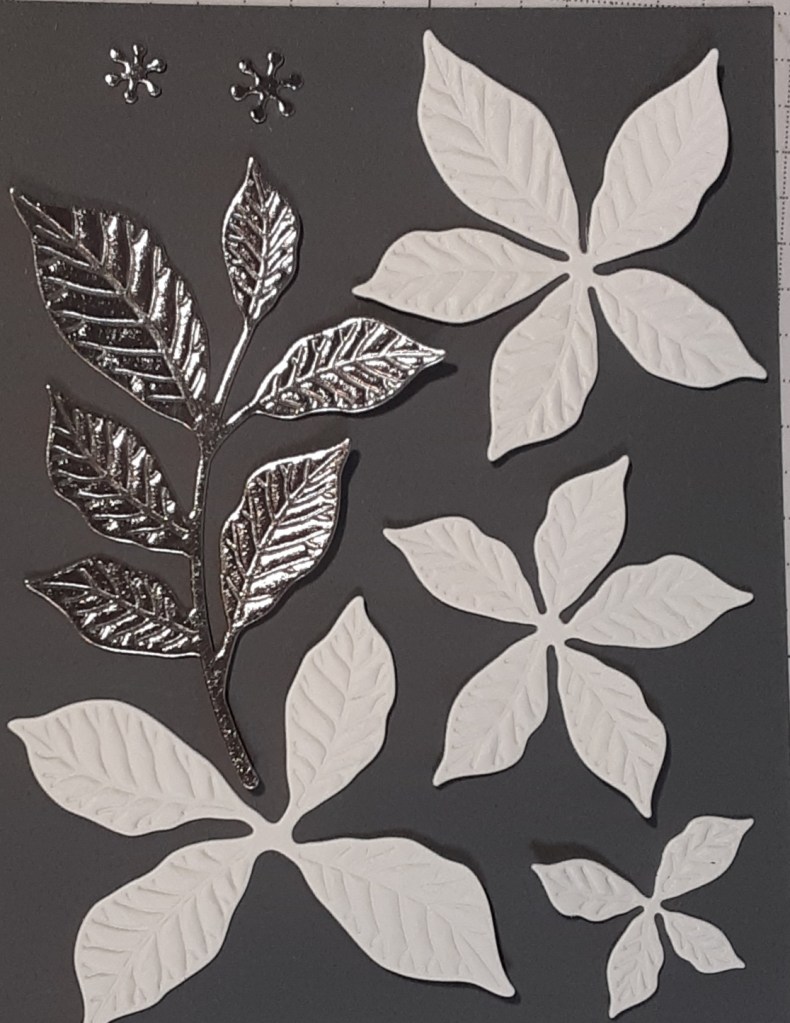
To make the card base, I cut a piece of Secret Sea cardstock to 5½” x 8½” on my Paper Trimmer, scored and folded at 4¼”, and burnished with my Bone Folder. I cut a piece of Silver Foil sheets to 4” x 5¼”. From the middle of this, I die cut the leaves and flower centers from Pretty Poinsettia bundle on my Stampin’ Cut & Emboss Machine. With the die cut still in the die, I ran it through my machine with my Impressions Plate to emphasize the patterning on the leaves. The sandwich I used was: my base plate, gray plate, die facing up with cutout on top, the impressions plate, and a clear plate.
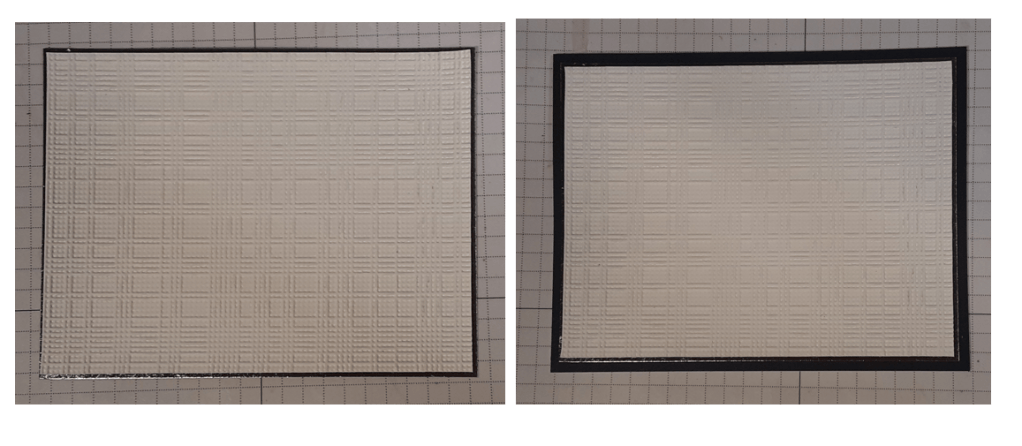
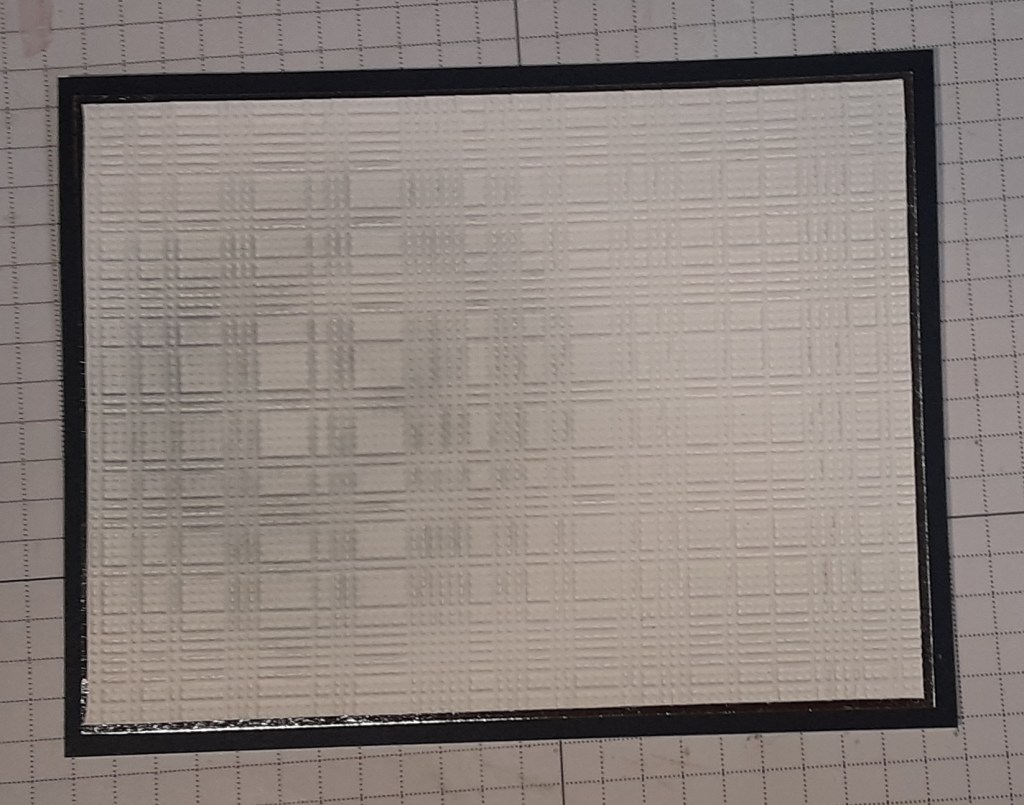
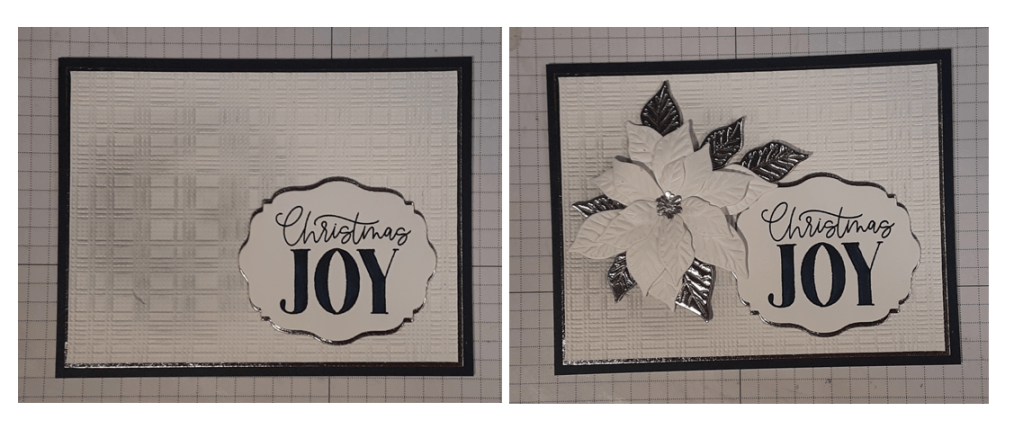
I cut a piece of Basic White cardstock to 4” x 5¼” and ran it through my Softly Woven Embossing Folder. I trimmed it down to 3⅞” x 5⅛”. I adhered the embossed piece to my silver mat with my favorite adhesive (Multipurpose Liquid Glue or Stampin’ Seal). I adhered this panel to my card base. The silver foil is subtle and shows up best when you tilt the card.
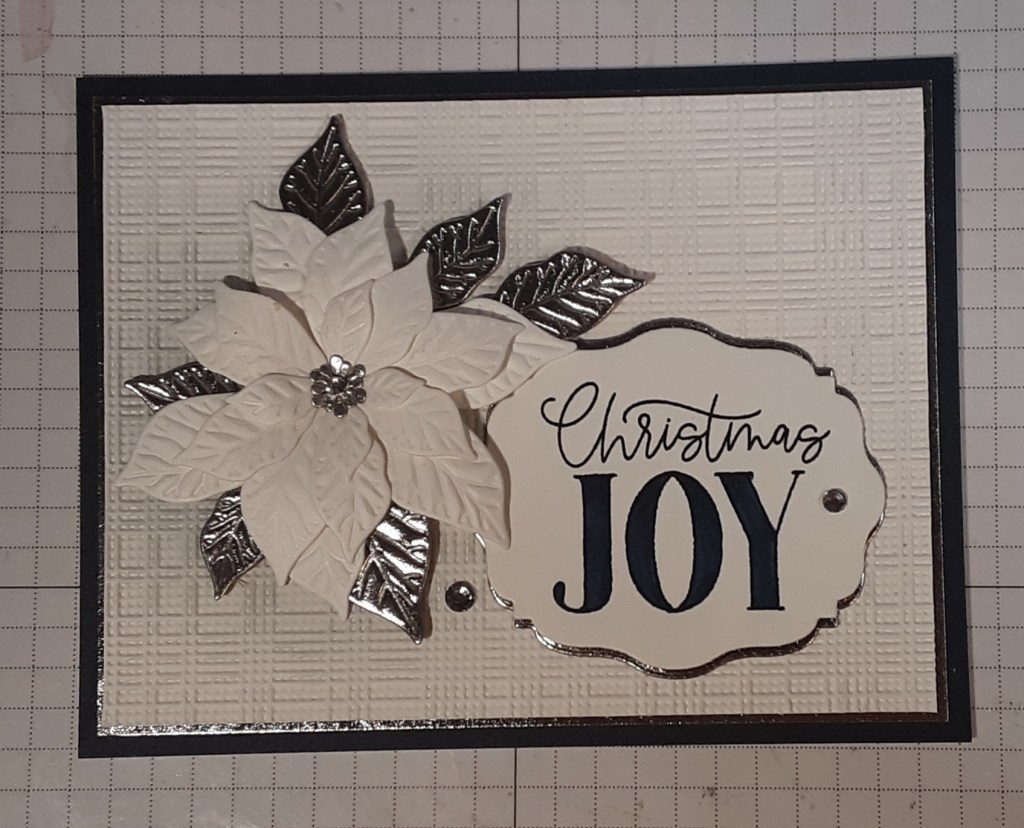
I die cut the poinsettia pieces from Basic White cardstock. I ran them through with the Impressions Plate.
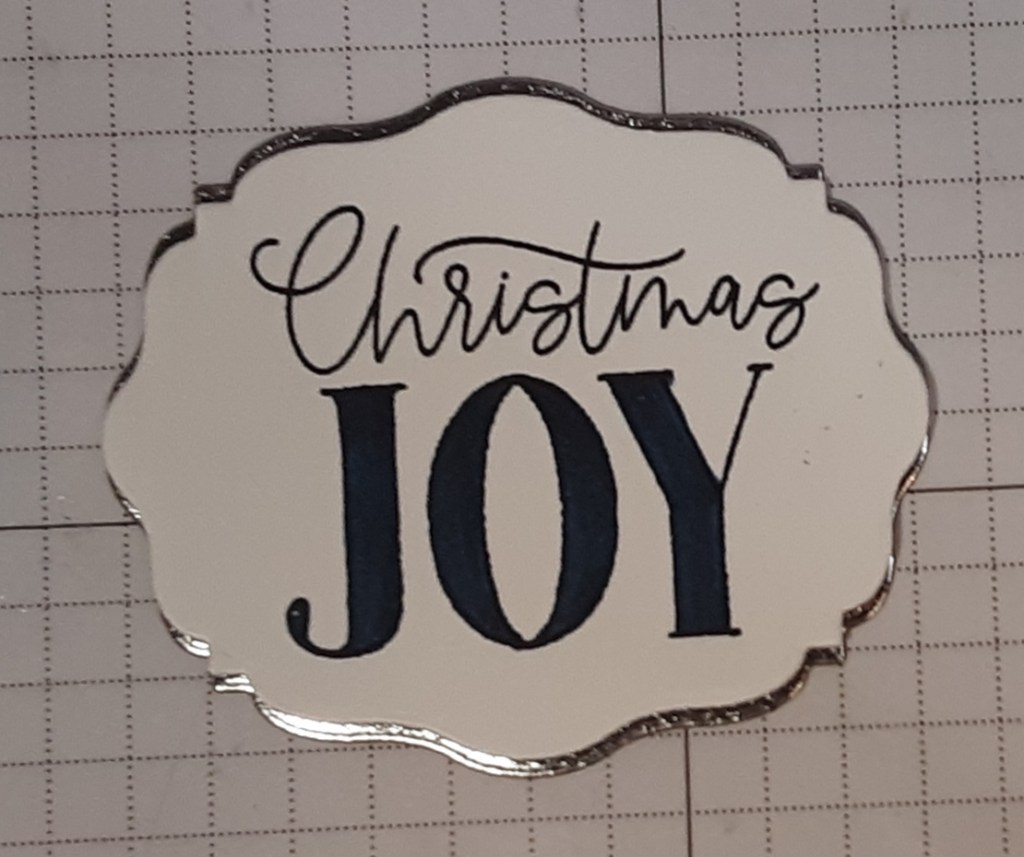
I stamped Christmas Joy from the coordinating stamp set in the bundle in Secret Sea ink on Basic White cardstock. I colored in the open letters with my Secret Sea Stampin’ Blend. I die cut it using the second smallest label from Beautifully Celebrated dies (Last Chance!) and again from Silver Foil. I cut the silver label in half and mounted the white label on top.
With a Blending Brush and Cloud Cover ink, I blended some ink where I would put my poinsettia to help it stand out a little. You could skip this part if you prefer.
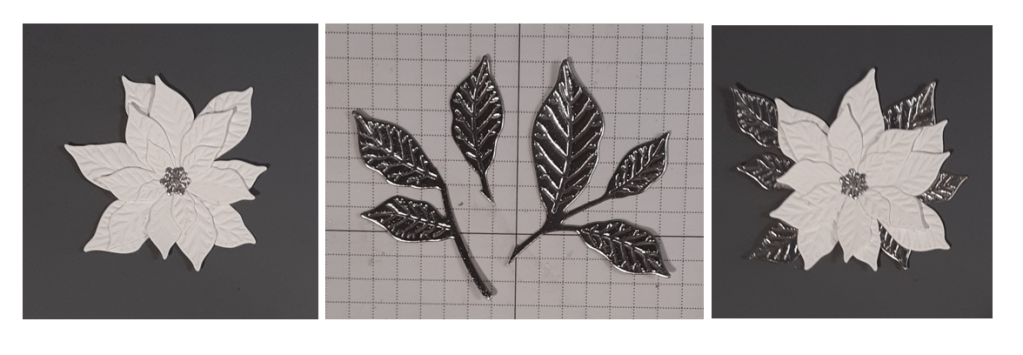
I assembled my poinsettia. With my Bone Folder, I carefully curled my leaves from behind. I cut apart my sprig of leaves and added them behind my petals.
I added my sentiment to the card. I added the poinsettia using Stampin’ Dimensionals on the petals and a spot of glue to the middle. I recommend not using a tacky glue when working with foil.
For a bit of sparkle, I added three Rhinestones to my card, one in the flower center and two on or near the sentiment.
To finish the card, I stamped a greeting on a 4” x 5¼” piece of Basic White cardstock and glued it inside my card.
I hope you liked this card!
For the complete supply list, click here.
Images © Stampin’ Up!.

