
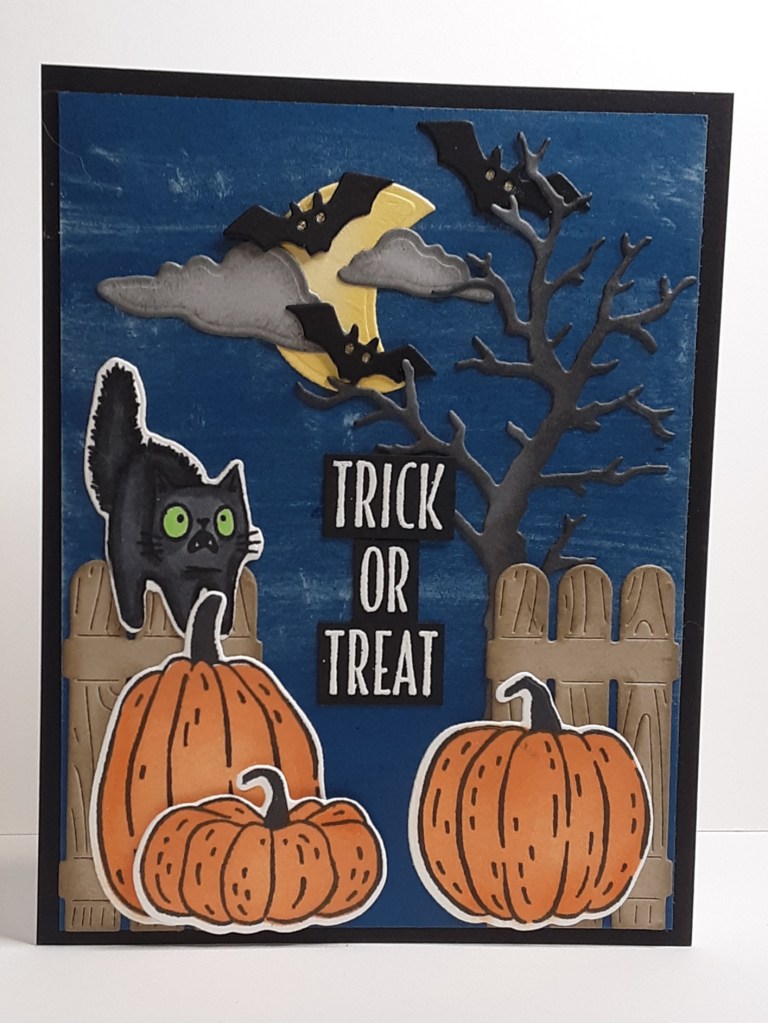
It’s Saturday and normally I go for a simple card that you can put together in just a few minutes. But, since it is Halloween, I had to feature a Halloween card. I also love making scenes on cards, so I combined a couple of sets and came up with this card. I hope everyone has a safe and not too spooky Halloween! Now on to the card.
To make the card base, I cut a piece of Basic Black cardstock to 5½” x 8½” on my Paper Trimmer, scored and folded at 4¼”, and burnished with my Bone Folder. I cut a piece of Blueberry Bushel cardstock to 4″ x 5¼” to create my background.
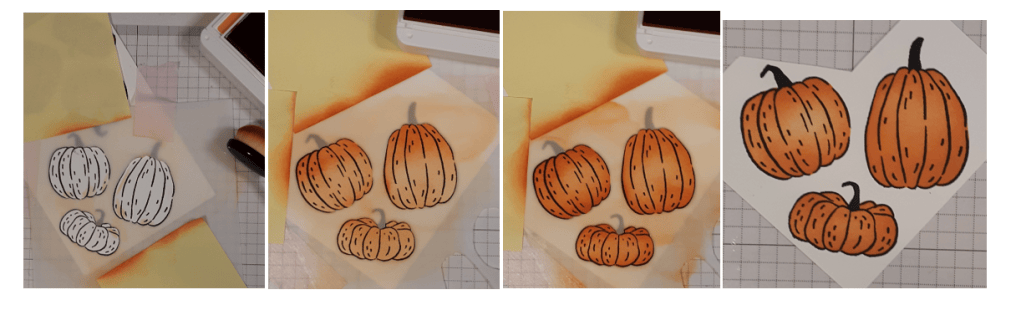
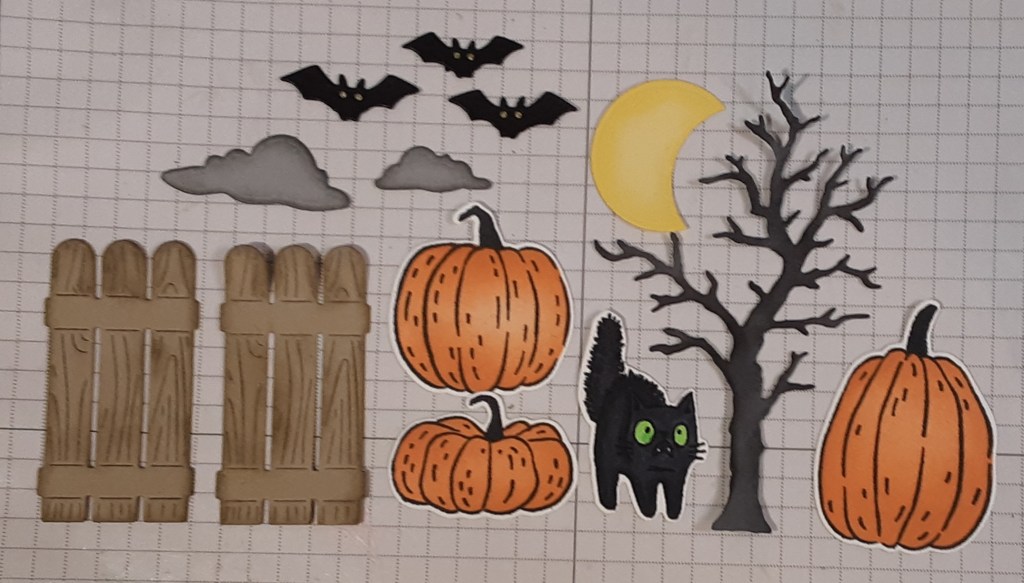
With the Painted Pumpkin bundle, I die cut the fence pieces from Crumb Cake cardstock on my Stampin’ Cut & Emboss Machine. From Oh My Fright bundle, I die cut the moon from Lemon Lolly cardstock, the bats from Basic Black cardstock, the tree from Basic Gray cardstock, and the clouds from Smoky Slate cardstock. On Basic White cardstock, I stamped the pumpkins from Painted Pumpkins bundle in Black ink. I also stamped the cat from Oh My Fright bundle in Black ink. I ink blended the pumpkins with Timid Tiger ink using the stencils in the bundle and a small Blending Brush. I used stencil #1, and put the ink more heavily on the outer edges and lighter in the center. Remember to tap off some of the ink before applying to your cardstock to prevent blobs that are impossible to blend out. I die cut the pumpkins with the coordinating die.
To color the cat, I used Stampin’ Blends. Suggested colors are: Basic Black, Granny Apple Green, and Smoky Slate. I die cut the cat with the coordinating die. I used a Sponge Dauber to ink the edges of my die cut pieces using Crumb Cake ink, Basic Gray ink, Lemon Lolly ink, and Smoky Slate ink. To make the eyes on the bats stand out, I adhered a scrap of some shiny gold cardstock I had in my stash.
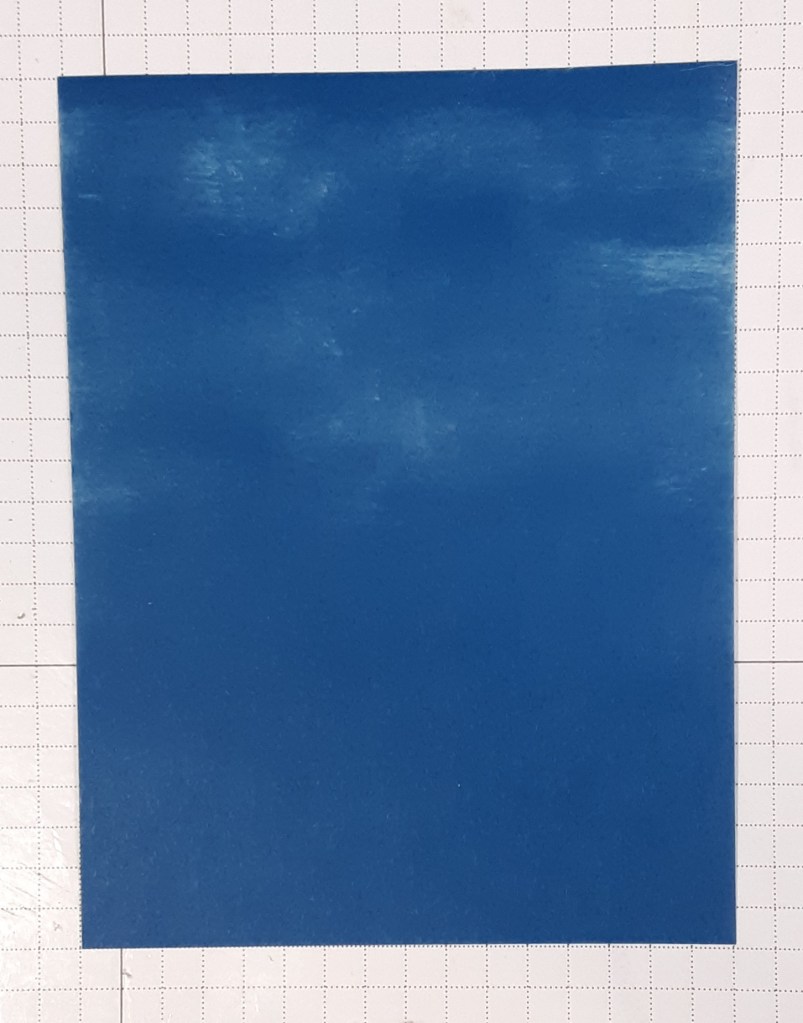
To prepare my background, I used my White Craft ink and a piece of cotton to apply the ink. I picked up some ink from the pad on the cotton and lightly dragged it across my cardstock for wispy clouds to add to the spookiness of the card.
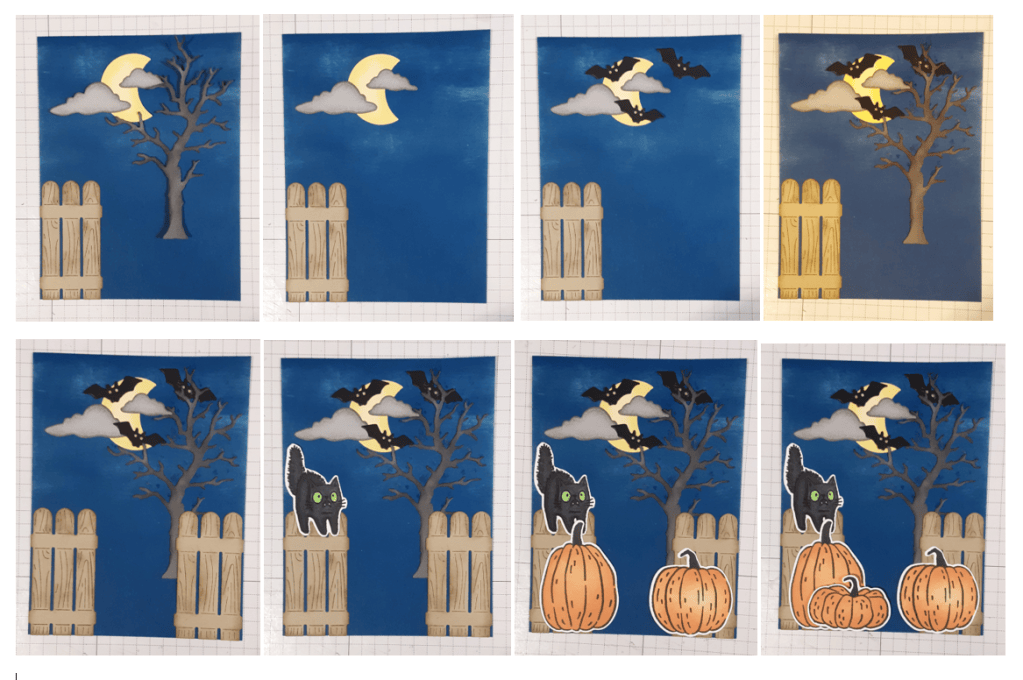
Now that I had all my pieces, I put the card together. I adhered the left fence piece with my favorite adhesive (Multipurpose Liquid Glue or Stampin’ Seal). I glued my clouds to my moon and decided on placement by laying my tree on the card, not glued down. I added the moon. I added my bats. I added the tree, being careful not to cover the eyes of the third bat. I added the second fence piece. I added the two pumpkins, and then the third with Stampin’ Dimensionals.
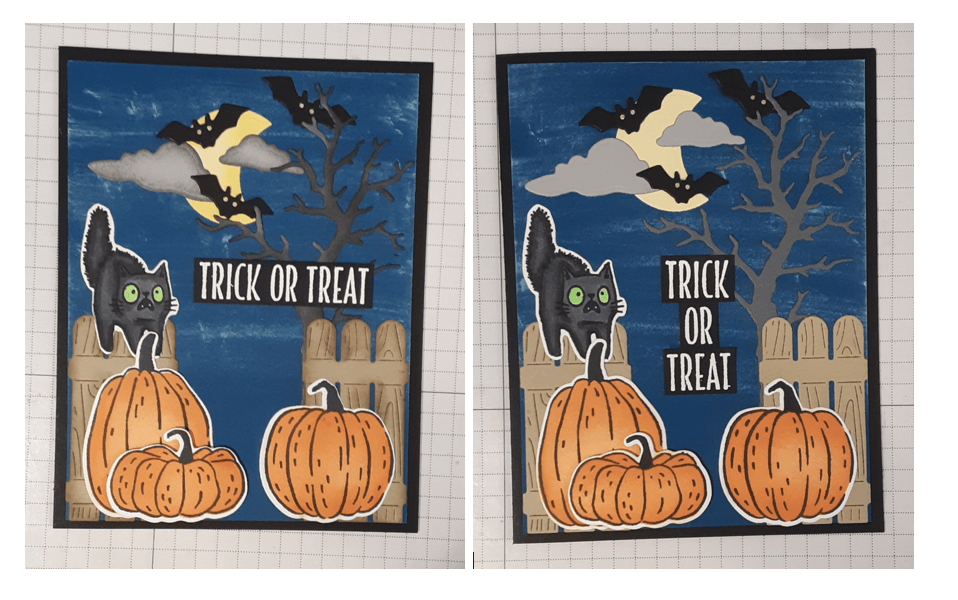
I added this panel to my card base. I wanted to add a sentiment. I stamped Trick or Treat from Oh My Fright with the white craft ink and sprinkled white embossing powder from the Basics Embossing Powder pack. I heat set it with my Heat Tool. I decided I didn’t like it all in a line and cut the words apart and glued them stacked in the open space.
To finish the card, I stamped Happy Halloween on a 4” x 5¼” piece of Basic White cardstock and glued it inside my card.
I hope you liked this card!
For the complete supply list, click here.
Images © Stampin’ Up!.

