
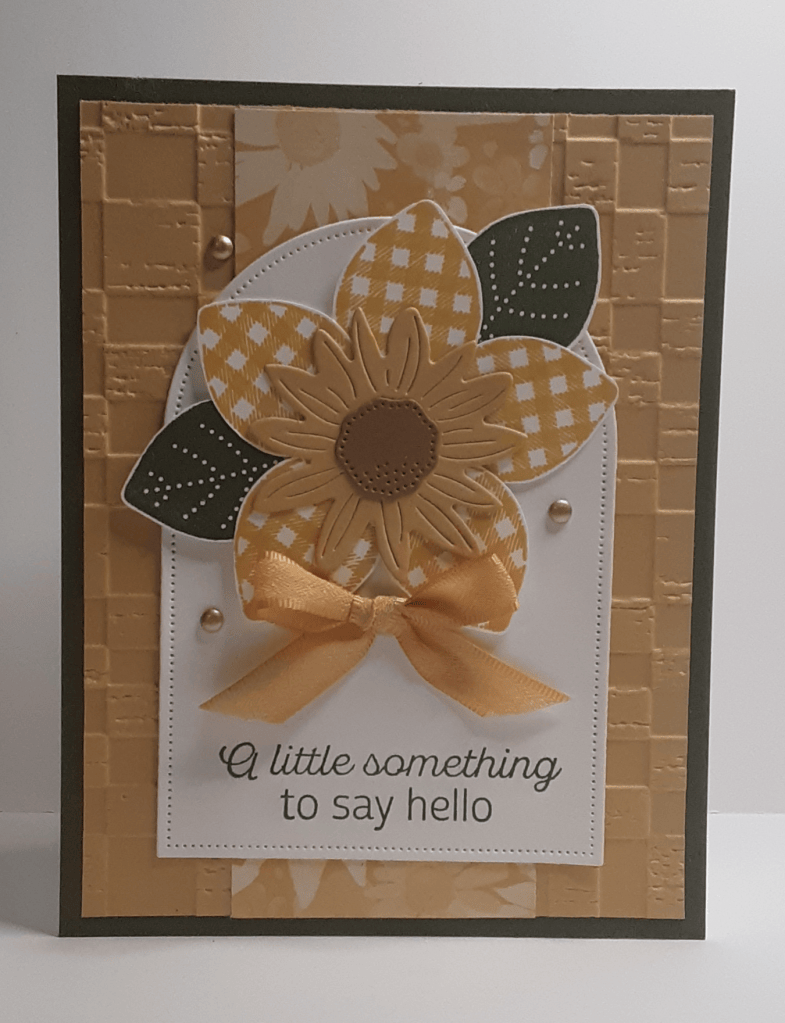
Today I have a card that Terry featured at her October card class, just stepped up a little bit. It is easy to step up a card by embossing backgrounds, adding ribbon or embellishments, or heat embossing the sentiment. Sometimes these small additions can really pack a punch and make the card a real WOW. So, let’s get started.
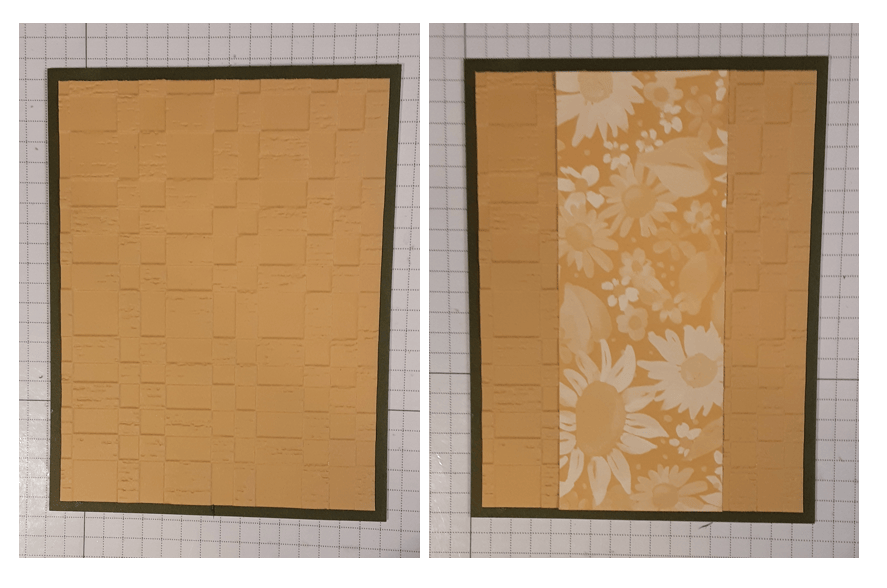
To make the card base, I cut a piece of Mossy Meadow cardstock to 5½” x 8½” on my Paper Trimmer, scored and folded at 4¼”, and burnished with my Bone Folder. I cut a piece of Golden Glow cardstock to 4” x 5¼” and ran this through my Rustic Check Embossing Folder on my Stampin’ Cut & Emboss Machine. I cut a piece of Sunflower Fields DSP to 5¼” x 2″. I adhered my embossing piece to my card base using my favorite adhesive (Multipurpose Liquid Glue or Stampin’ Seal). I added the DSP strip to the center of the card.
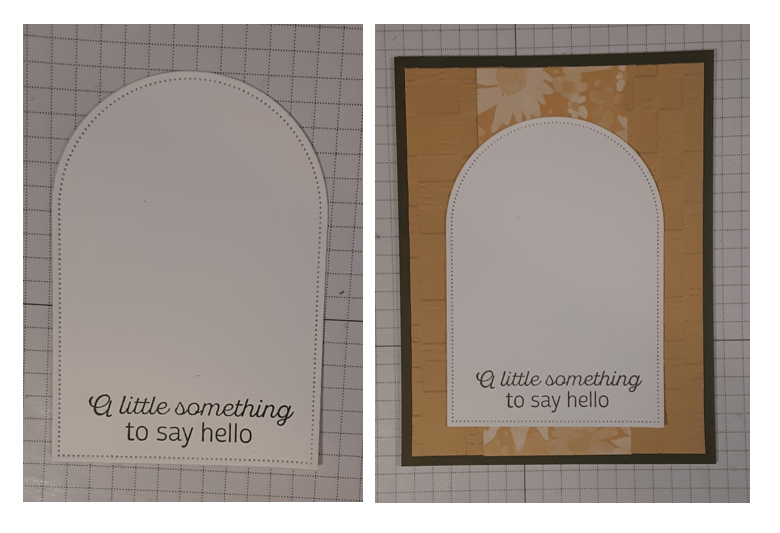
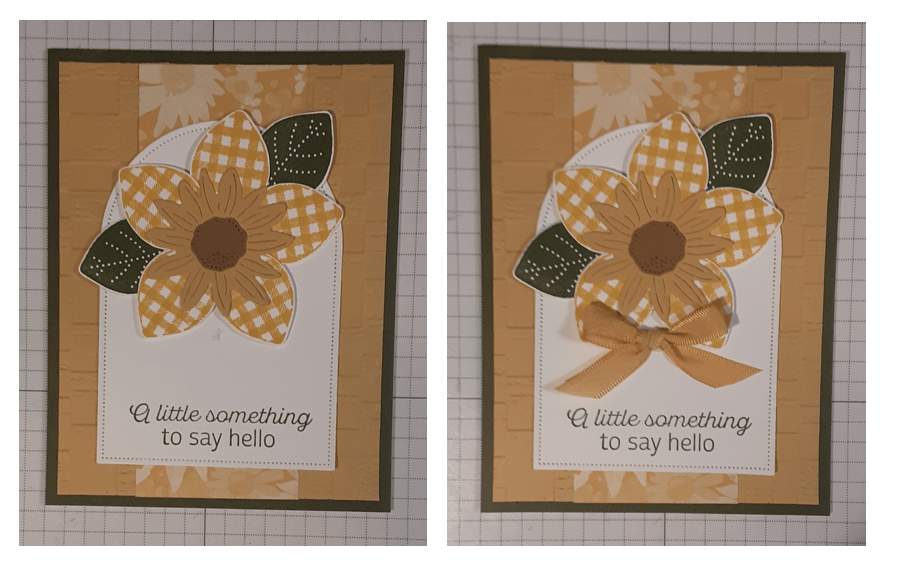
With a piece of Basic White cardstock, I die cut an arch (3″ base) from Everyday Arches dies. I stamped A little something to say hello from Simply Leaves stamp set in Meadow Moss ink toward the bottom of the arch. I adhered this to my card.
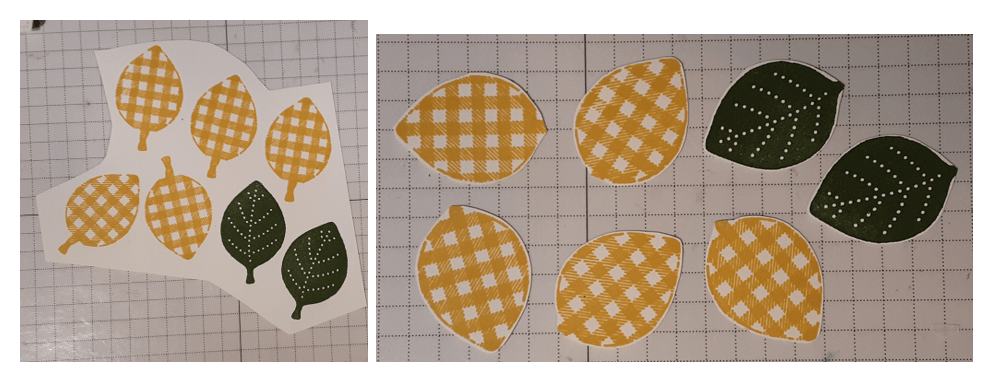
I stamped the checked leaves from Simply Leaves stamp set five times in Golden Glow ink on Basic White cardstock. I stamped the veined leaf in Mossy Meadow ink twice. These two stamps are the smaller stamps in the set and don’t fit the coordinating punch, so I fussy cut them. I didn’t need the stems, so I cut them off.
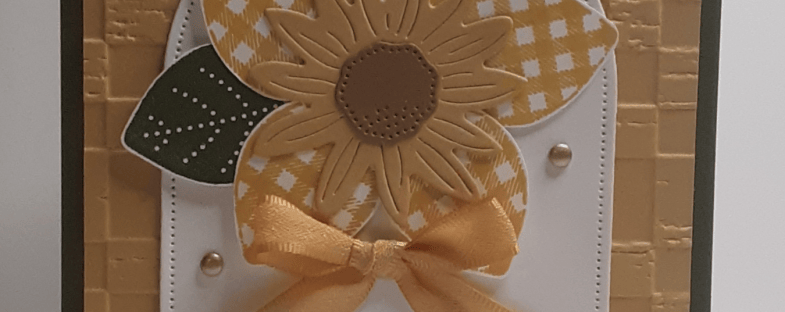
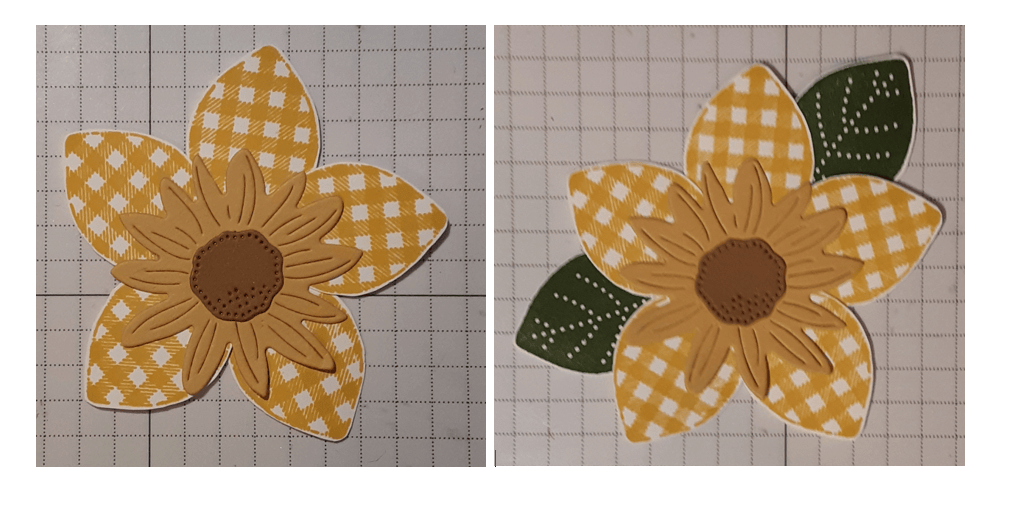
I die cut the sunflower from Radiant Sunflowers dies from Golden Glow cardstock. I die cut the flower center from Pecan Pie cardstock. I glued the flower center to the flower. I arranged the leaves into a flower and added the die cut flower to the center. I added the green leaves.
I added my flower to the card with Stampin’ Dimensionals. I tied a bow with Golden Glow ⅜” ribbon and added it to my card with a Mini Glue Dot. I added three Gold Adhesive Backed Gems.
To finish the card, I stamped a greeting on a 4” x 5¼” piece of Basic White cardstock and glued it inside my card.
I hope you liked this card!
For the complete supply list, click here.
Images © Stampin’ Up!.

