I love this wintery and fun snowman card designed by my good friend Marilyn Falco.
This card starts with a 5.5″ x 4.25″ piece of Balmy Blue Cardstock. This is used as the back and base of the card.
You will have 3 pieces of Whisper White Cardstock to make up this card (the front, middle, and back piece).
To make the front of the card, I cut a 8.25″ x 4″ piece of Whisper White Cardstock. I scored the card 2.75″ from the left side of the card.
The middle of the card is made from a piece of 8.5″ x 4″ piece of Whisper White Cardstock. I scored the middle of the card in the center (at 4.25″).
Fold this piece in half and cut a circle a little less than 0.25″ from the edge of the card with the circle die from my Layering Circles Dies.
You also need to cut a circle out of the piece you will use for the front of the card. All three circles must line up perfectly with the front piece laying flat and flush with the edge of the folded center piece.
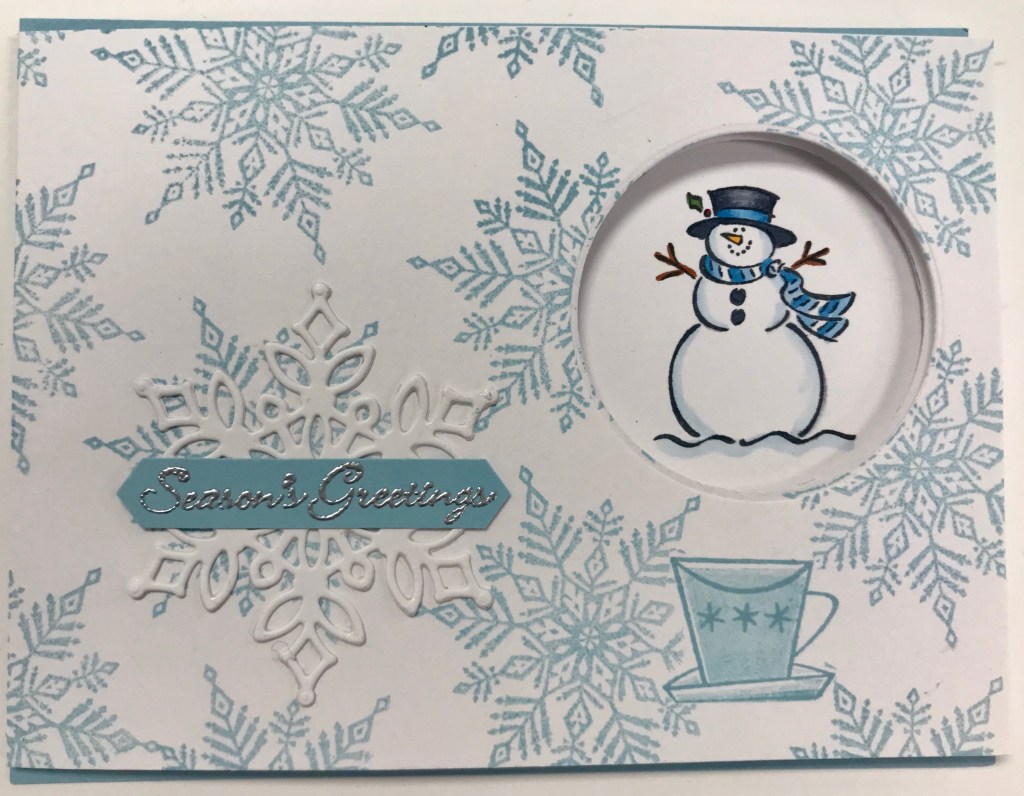
I stamped the front of the card with one of the snowflake stamps from my Snowflake Wishes Bundle in Balmy Blue Ink.
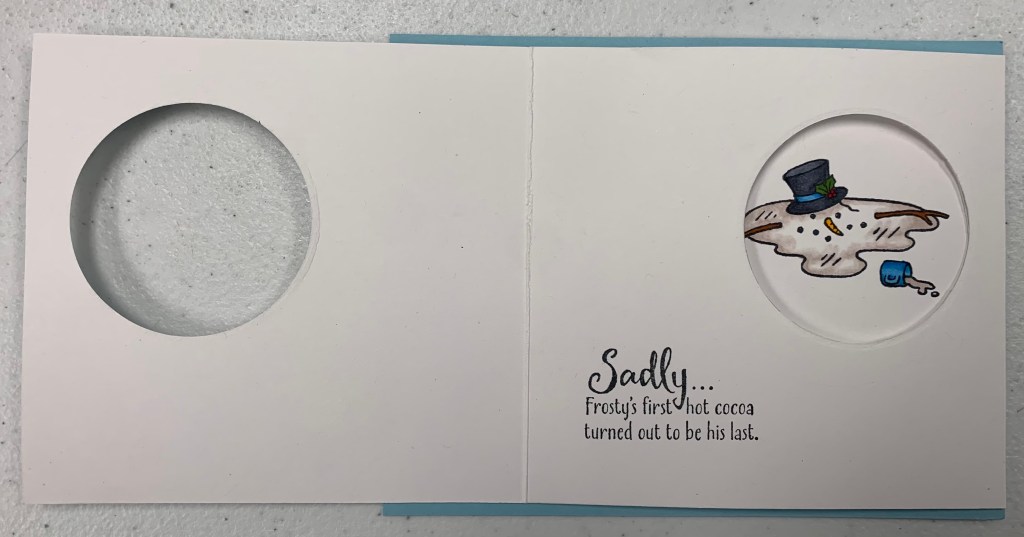
Flip this piece over and stamp the melted snowman from the Don’t Stop Believin Stamp Set in Black Memento Ink. Use stampin blends to color in the snowman. TIP: Color the edge of the melted snowman with Soft Suede Blends Makers to create that melted effect!
On the middle piece (which should now have a circle on both sides of the fold), stamp the “Sadly…” greeting in black ink on the right side of the card to the left of the circle.
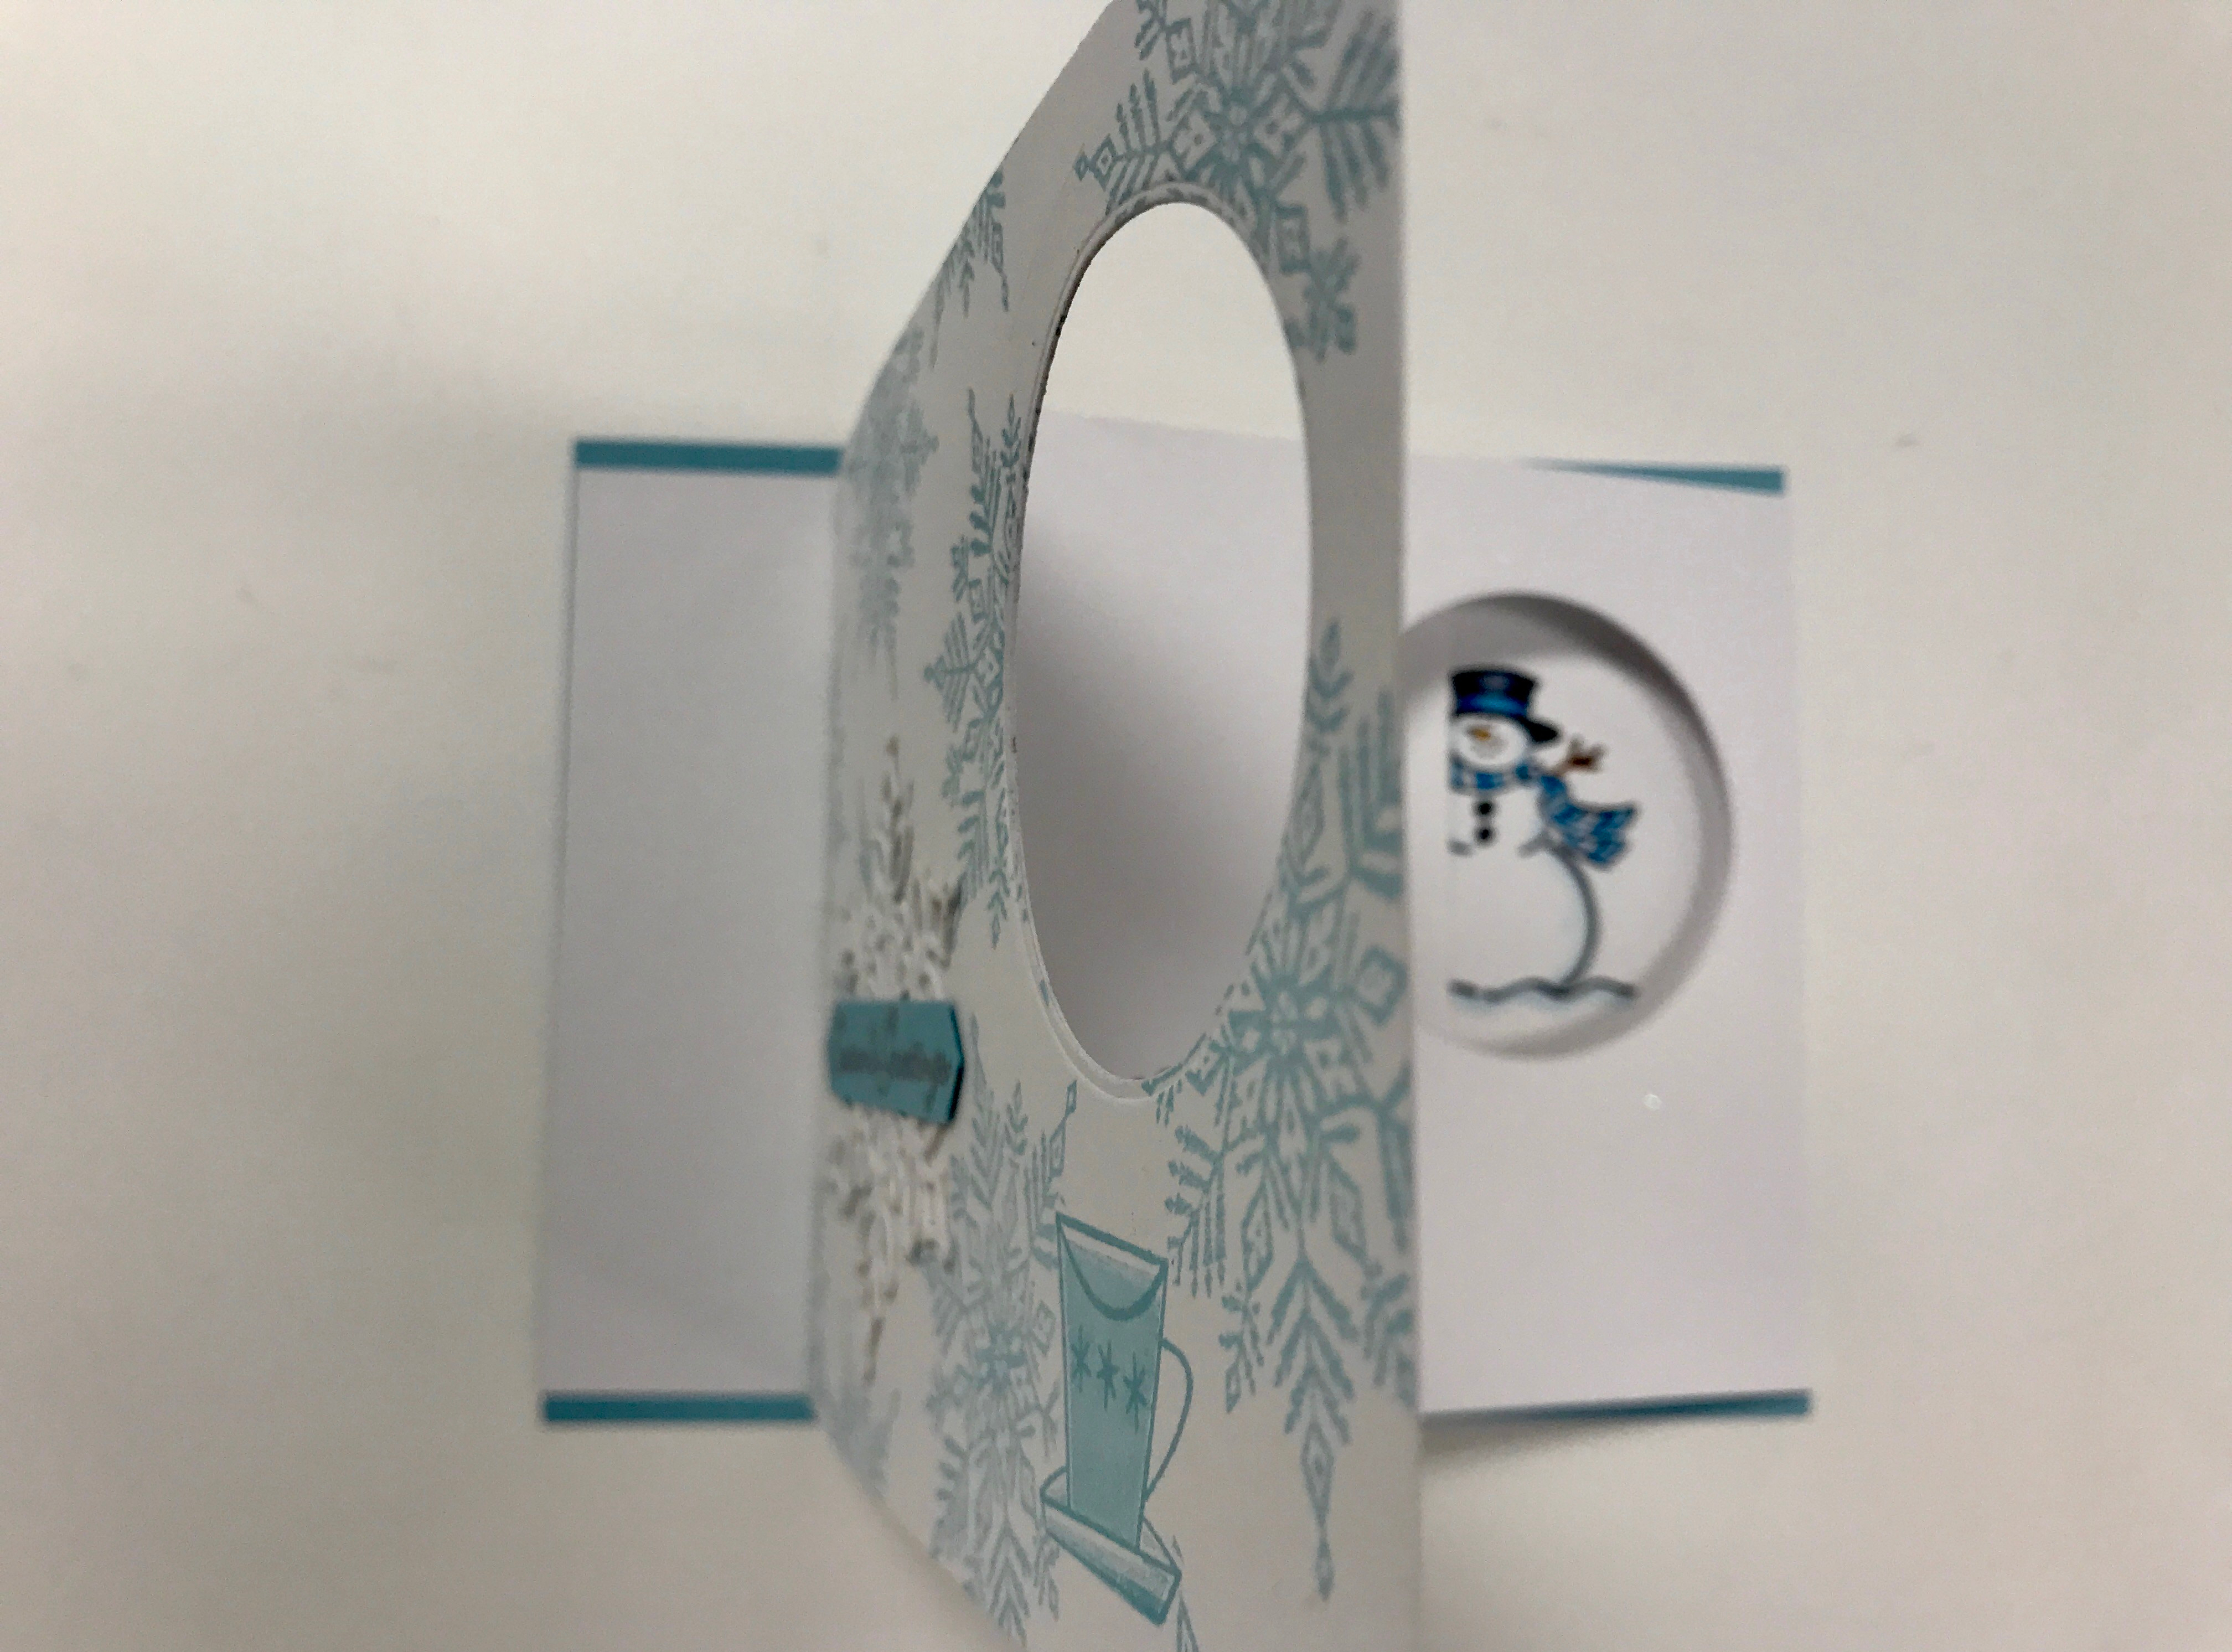
The back piece of the card is a 5.75″ x 4″ piece of Whisper White Cardstock. Score the card 0.25″ from the right side of the card. I stamped a snowman on the right of the back piece in Black Memento Ink. I used the snowman from Best in Snow. Whichever you use, make sue it fits inside the circles you cut out! TIP: With the card closed, use a pencil to lightly mark the circle opening on the back layer of the card. Flip the card open so the back section of the card is exposed and stamp the snowman from Best of Snow in the circle so when the card is closed this snowman shows. Erase the pencil marks.
Adhere the back Whisper White piece to the piece of Balmy Blue Adhere with 1/8″ of Balmy Blue showing at the top and bottom. The scored section should hang over the right side of the card. Put a bit of glue on the front flap of the scored piece. Adhere the middle piece to the glued flap. Make sure the greeting is facing up. Fold it over so you are looking at the folded top of the middle piece.
Use a little Multipurpose Liquid Glue to adhere the front piece to the middle piece. Make sure the circles are lined up. The melted snowman should be facing down. The card will resemble a Z from the side when all layers are adhered. When the card opens, the top flap should slide into the card.
Finally, stamp a little mug of cocoa with the coffee stamps from the Nothing’s Better Than Stamp Set in Balmy Blue Ink. Stamp the cup filler with Balmy Blue stamped off one time.
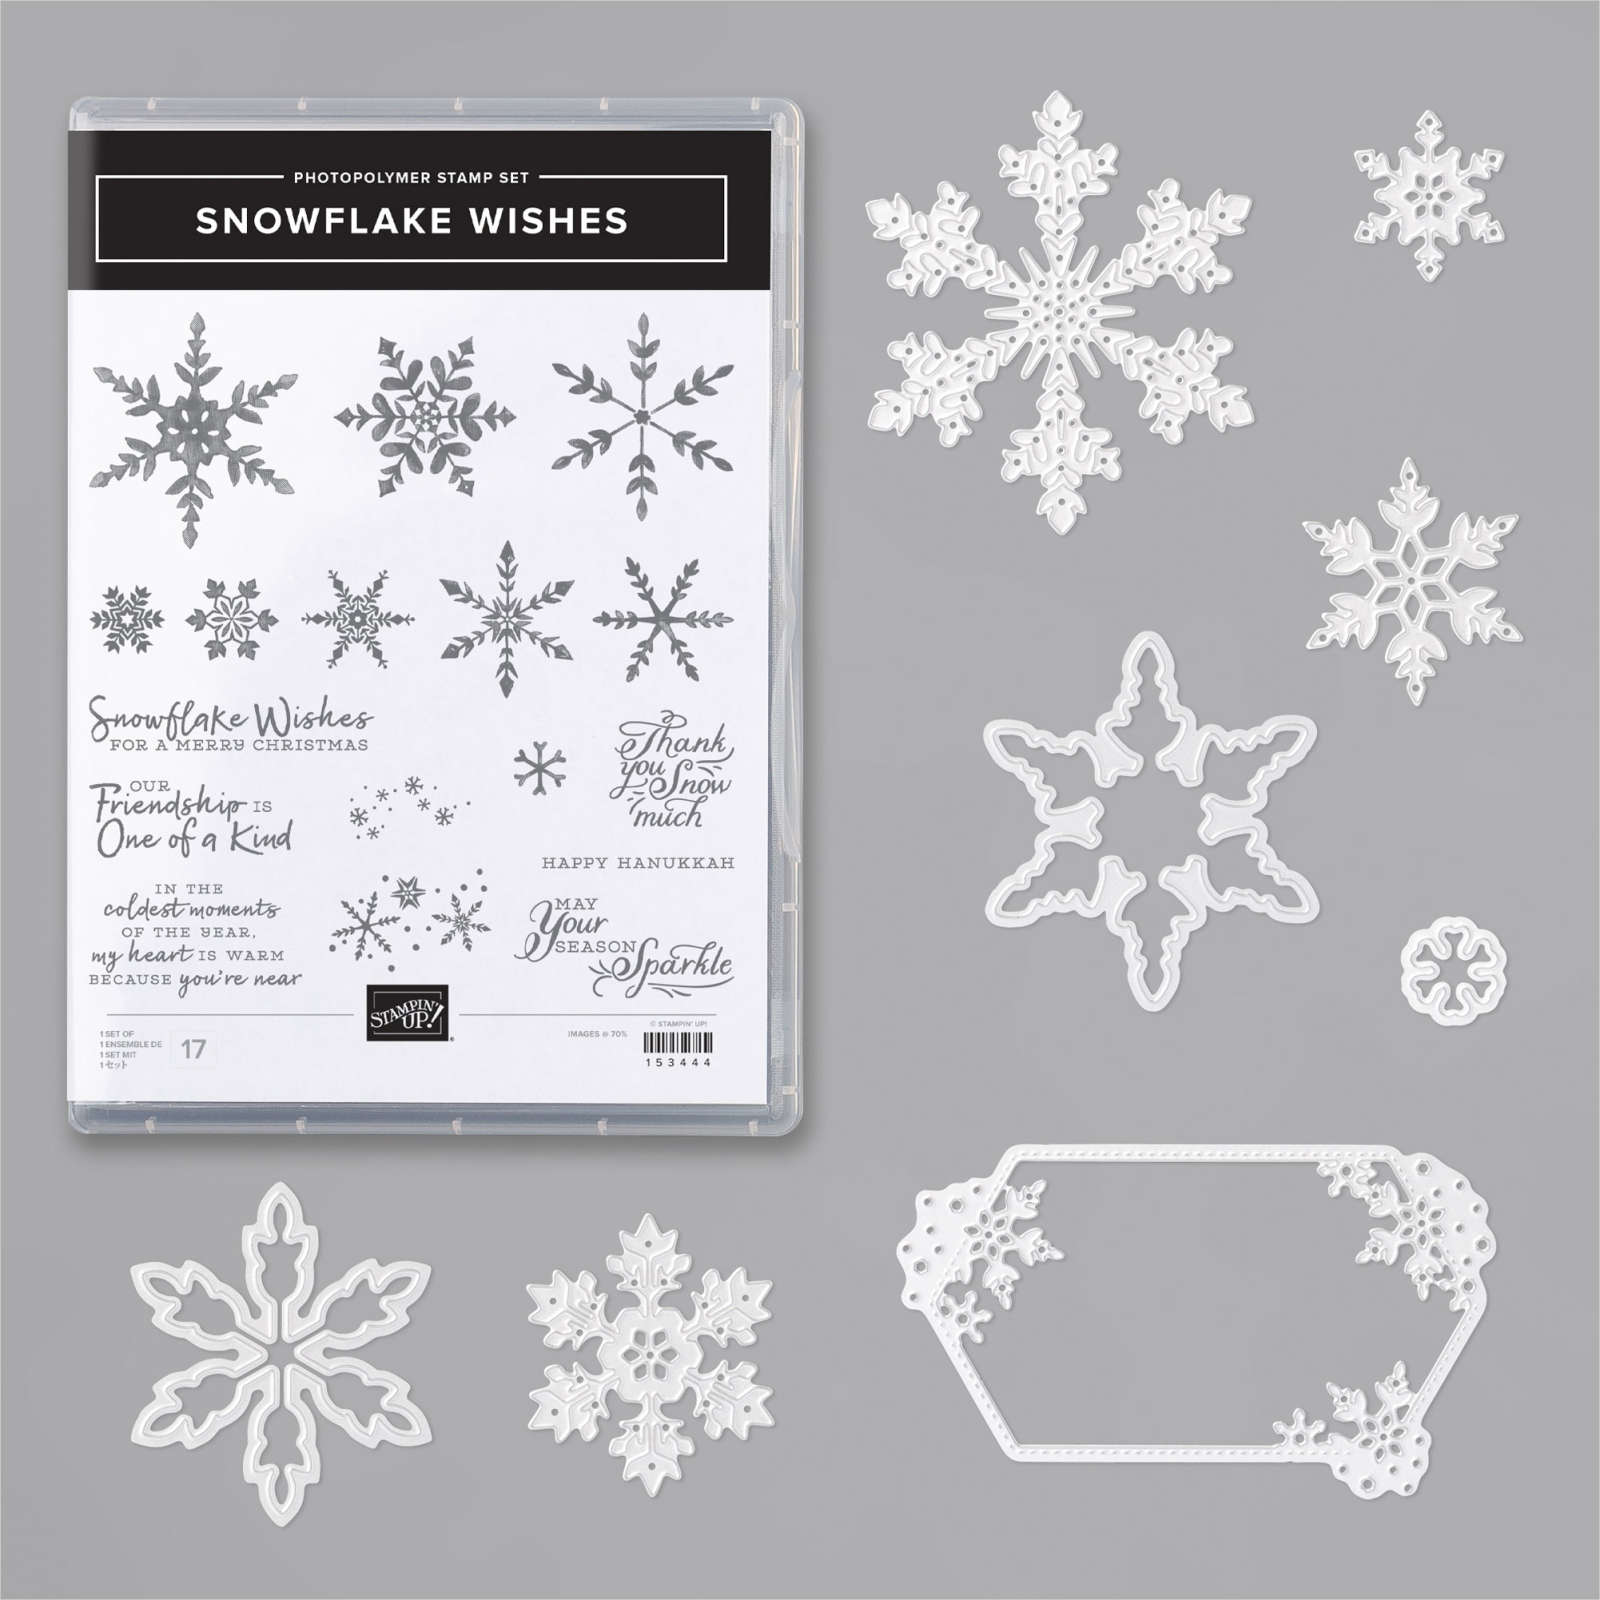
I cut a snowflake from Whisper White Cardstock with the die from my Snowflake Wishes Bundle.
For the greeting I stamped the “Season’s Greetings” from the Itty Bitty Christmas Stamp Set in VersaMark Ink on Balmy Blue Cardstock. I used my Heat Tool to emboss the greeting with Silver Embossing Powder.
Check out my Snowman Seasons Greetings Card Supply List. If you love to create snowy cards, bundle and save with the Snowflake Wishes Bundle!