
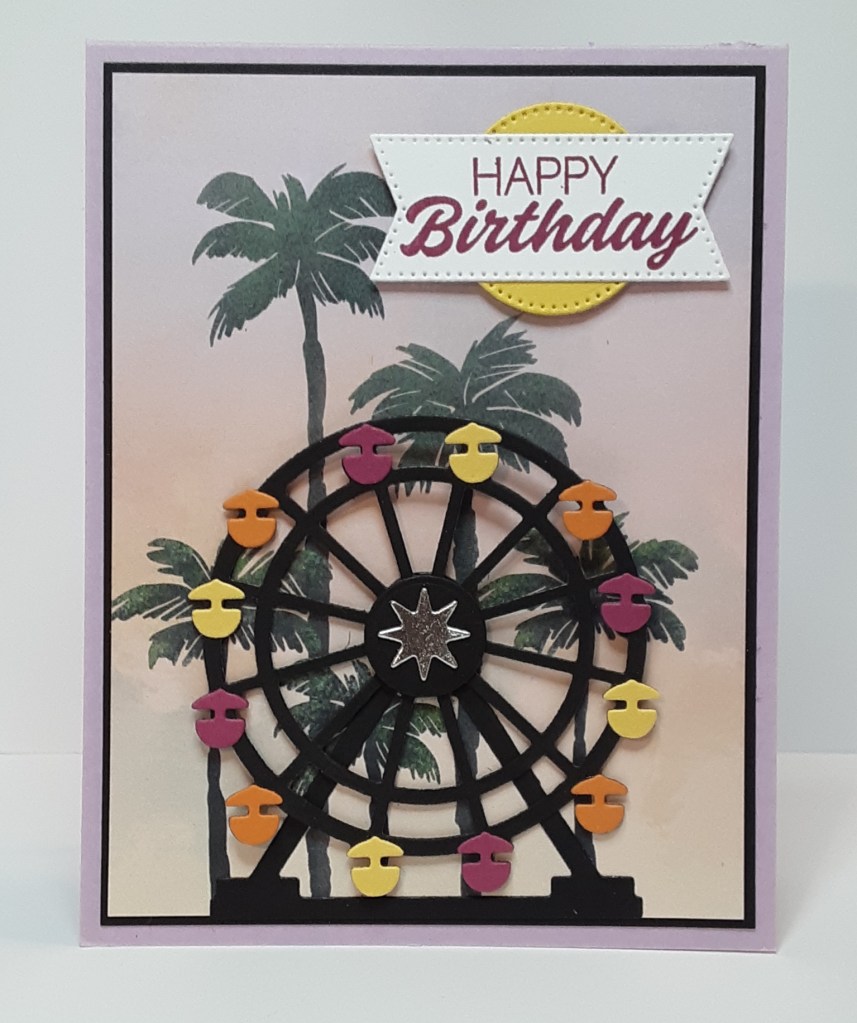
I was watching a crafter’s video the other day and she made spinner cards. I have made spinner cards before and hadn’t really thought about them for a while. I decided to give it a try. I went through my stash of supplies and came across the Ferris wheel in Boardwalk Fun. Perfect! I could make the Ferris wheel spin, because isn’t that what they do? It took me a minute (hour or so) to figure out how to make the mechanism work for me. I hope you enjoy this tutorial and give it a shot. Marilyn here with another card.
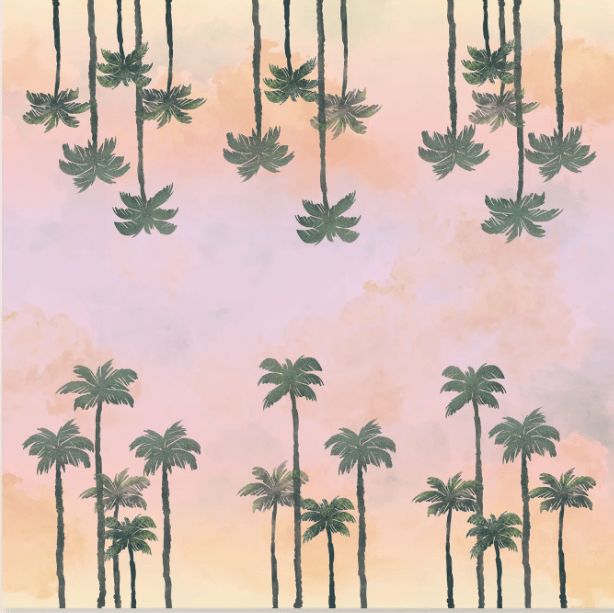
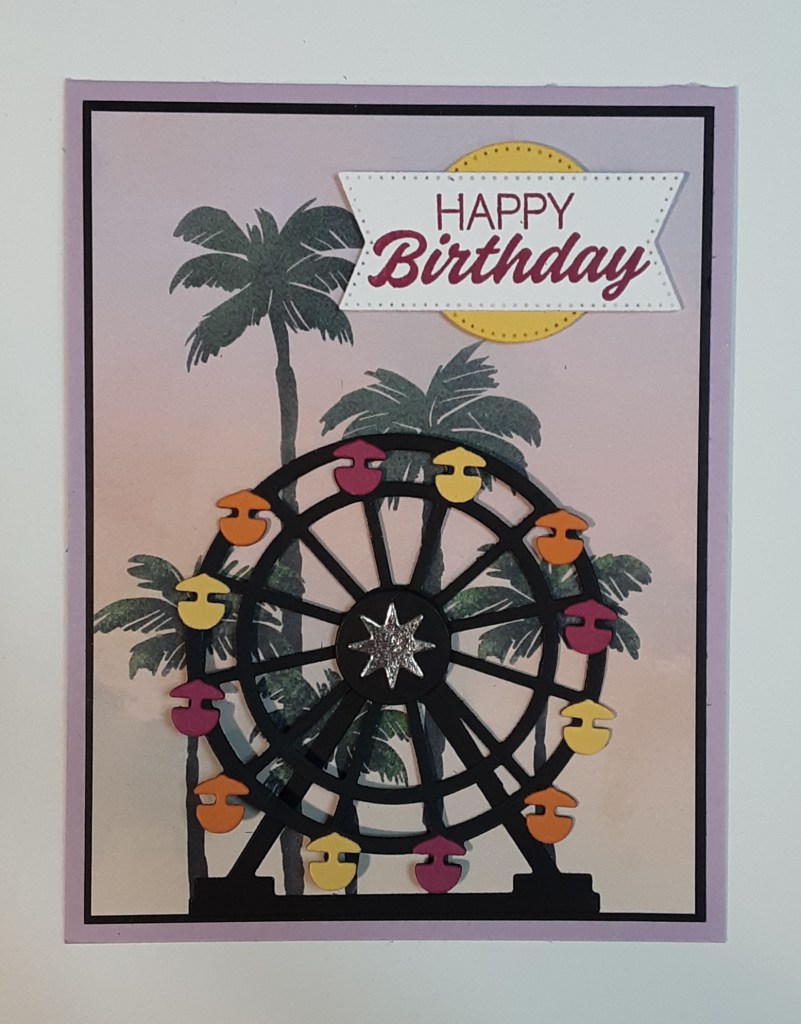
To make the card base, I cut a piece of Fresh Freesia cardstock to 4¼” x 11” on my Paper Trimmer, scored and folded at 5½”, and burnished with my Bone Folder for a top folding notecard. I cut a piece of Basic Black cardstock to 4″ x 5¼”. I cut a piece of Beach Boardwalk DSP to 3⅞” x 5⅛”. There are enough patterns on the paper to make six cards.
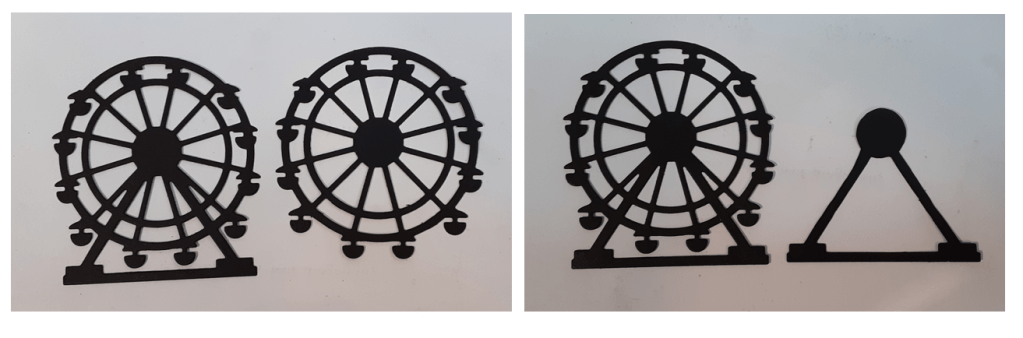
To save cardstock, I cut the Ferris wheel from the center of my Basic Black mat piece using the Boardwalk Fun die set from the bundle on my Stampin’ Cut & Emboss Machine. I cut an additional Ferris wheel from a scrap piece. To make the Ferris wheel I needed two pieces, but I had to modify them to make them work. See below how I cut each one. I did use a ruler and a pencil to mark where I wanted to trim them down.
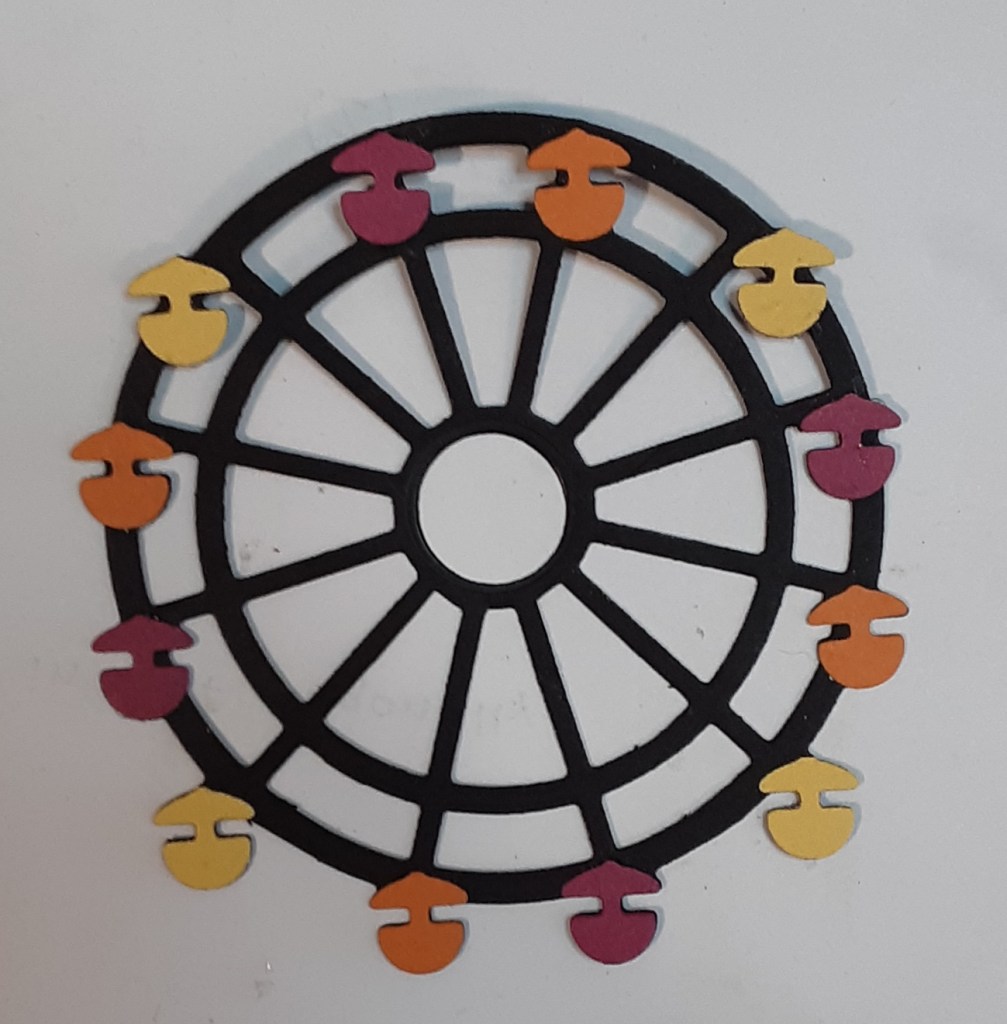
I die cut the cars from Daffodil Delight cardstock, Pumpkin Pie cardstock, and Berry Burst cardstock. I needed four of each color (a total of twelve) and the die cuts six. Extra for another card! Before adhering the cars to my wheel, I die cut a circle from the center using the smallest circle from a set of nesting circles I had in my stash. It was about ½”.
I punched six circles from black cardstock to act as my mechanism. These circles need to be smaller than the aperture I cut in the center of my wheel. Once again, I went through my stash and came up with my owl punch. Remember that? I used the largest circle, and it was perfect. (I was going to use a button and glue dots and tried it, but my wheel kept slipping between the button and the paper so that it didn’t spin.) I glued my circles together in a stack. I don’t recommend Multipurpose Liquid Glue for this in case any oozes out. The wheel will stick to the mechanism and won’t rotate. I used I-Craft glue instead. I glued my stacked circles to the wheel support piece. Hopefully you can see where I glued it in the center of the circle. (There is, of course, some glue oozing out.)
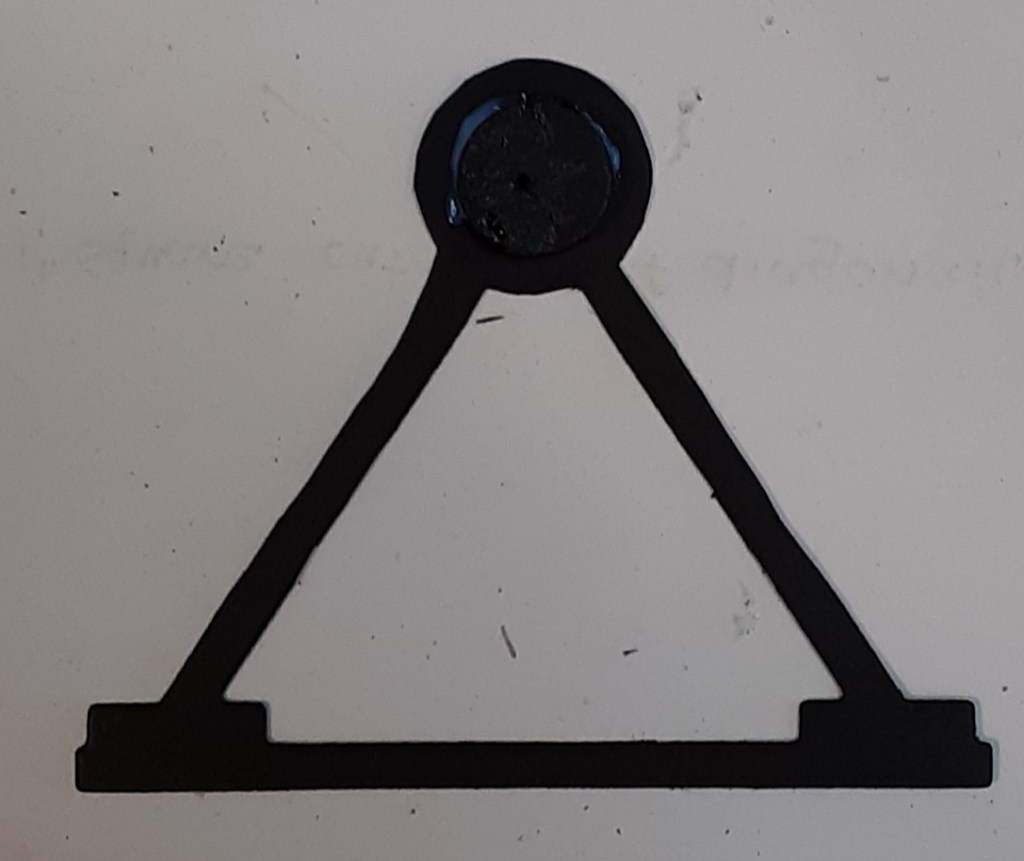
When the glue was dry, I placed the Ferris wheel so the stacked circles were inside the cut-out circle. It’s difficult to see the black on black in the photo. You can put your finger on the stacked circles and test the spin with your other hand.
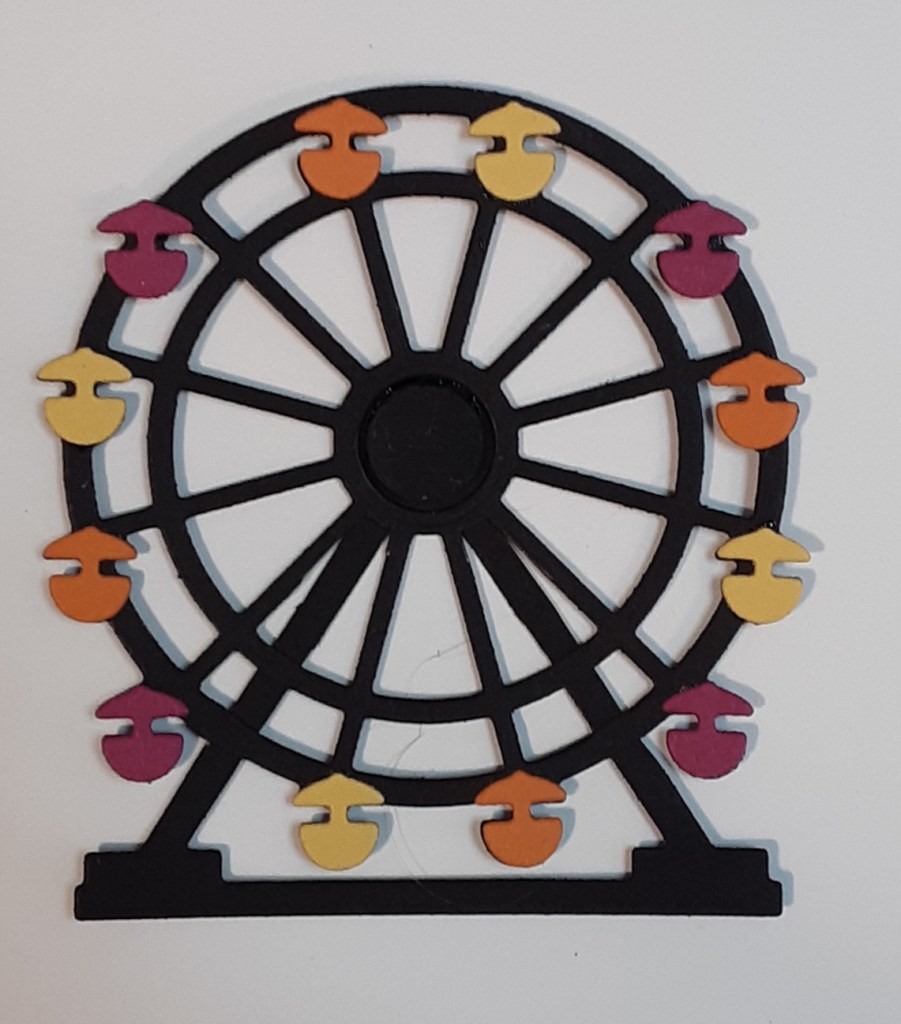
I punched a ¾” circle from black cardstock. I added this to cap the wheel mechanism by applying a little glue to the stacked circles, keeping clear of the wheel surrounding it. This keeps the wheel from falling off the card. It cleans up the mess underneath as an added bonus. You can test out the spinning again. I die cut the star from Silver Foil sheets. I glued this to the circle at the center of my Ferris wheel.
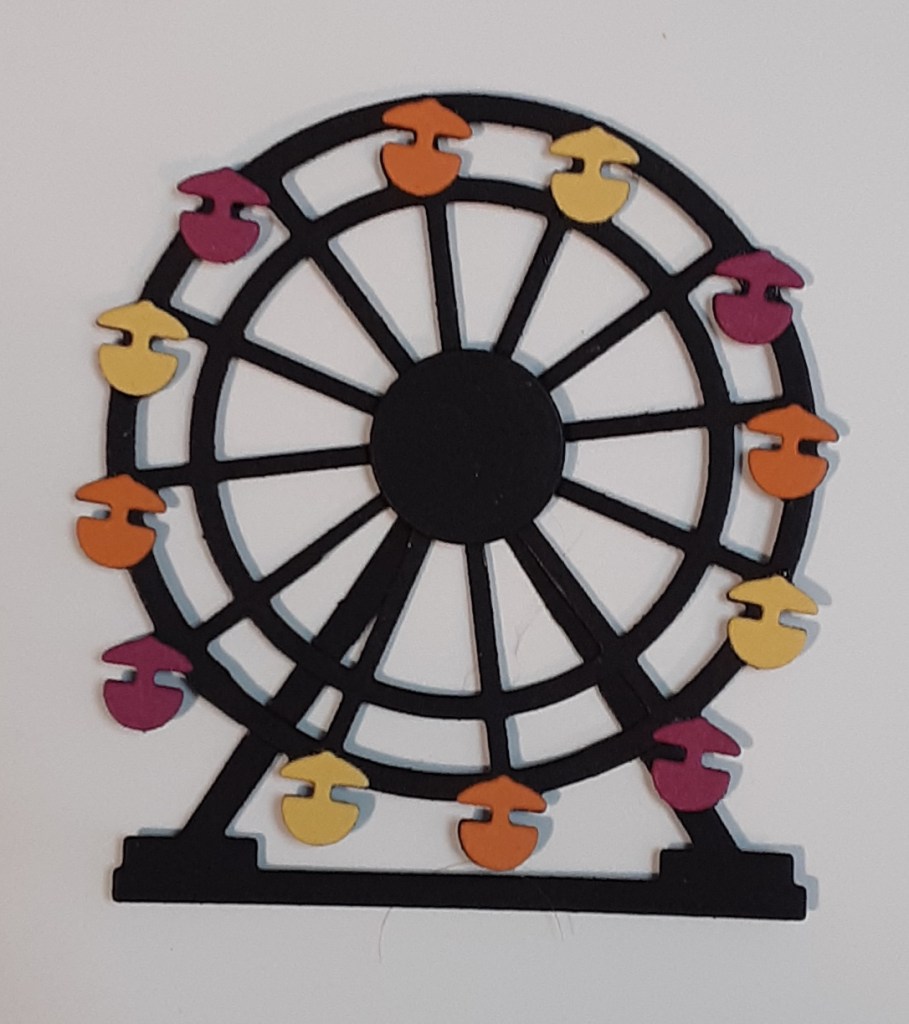
The hard part is finished! I stamped Happy Birthday from the Boardwalk Fun stamp set in the bundle with Berry Burst ink on Basic White cardstock. I die cut this out with the banner from my Stylish Shapes dies. I also die cut a circle from the die set from Daffodil Delight cardstock. I adhered the banner on top of the yellow circle. I thought the yellow circle looked a little like the sun.
I adhered my DSP to the black mat with my favorite adhesive (Multipurpose Liquid Glue or Stampin’ Seal). I adhered this panel to my card base. I added my Ferris wheel to the card with the edge of my support girders flush with the bottom of the DSP. GLUE ONLY GOES ON THE TRIANGLE SUPPORT PIECE! Do not add glue to the wheel or it will NOT spin.
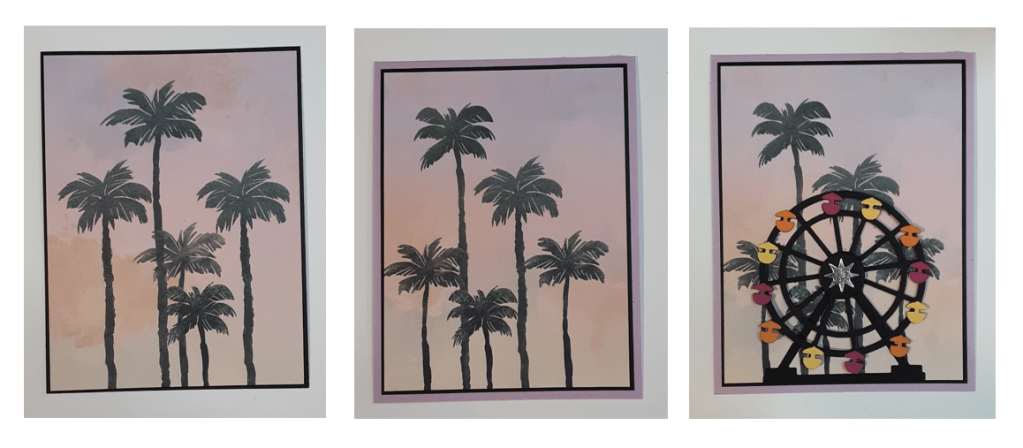
I gave it a spin. Hopefully you will be able to see it spin. I’ve never added a video before, so we’ll see how it goes.
I added my sentiment with Stampin’ Dimensionals.
I stamped a greeting on a 4” x 5¼” piece of Basic White cardstock and glued it inside the card.
I hope you like this fun card and give it a try!
For the complete supply list, click here.
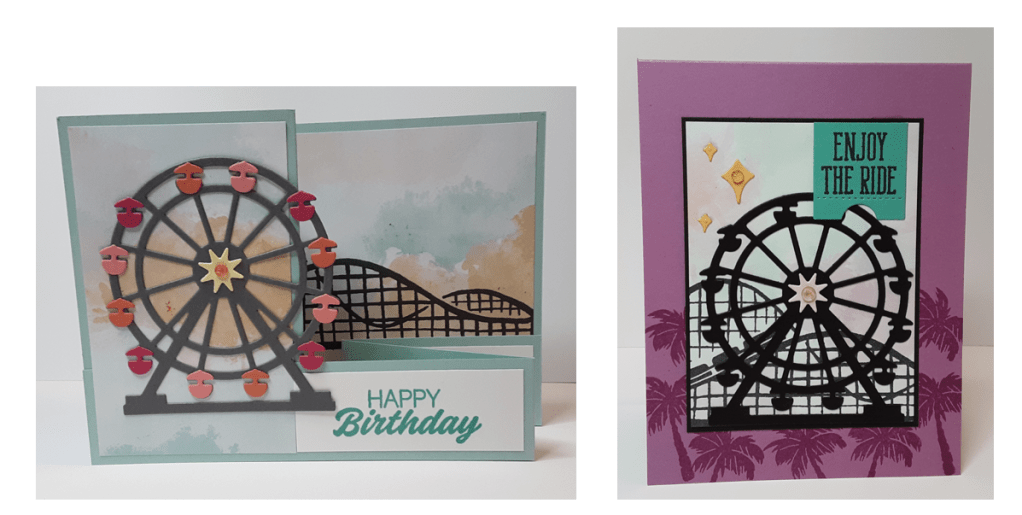
Other cards with the Boardwalk Fun bundle:
Images © Stampin’ Up!
