
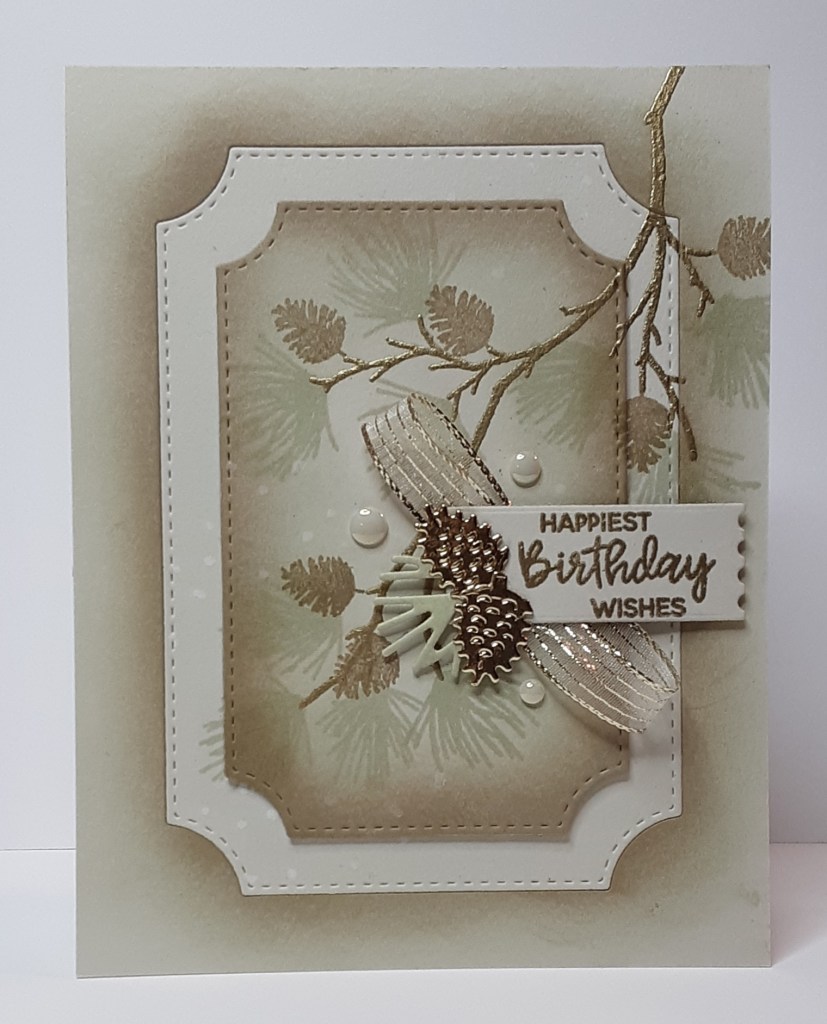
It’s Wednesday and I have a pretty card for you using the Branching Out bundle from the Holiday mini catalog. This bundle is great for making holiday cards, but it’s also useful for other occasions. For today’s card I went for a neutral color scheme. I love using Basic Beige with gold. It has such an elegant look to it. Believe it or not, all the layers on the card front are from Basic Beige. A bit of strategic ink blending make all the difference. Now on to the card.
To make the card base, I cut a piece of Thick Basic White cardstock to 4¼” x 11” on my Paper Trimmer, scored and folded at 5½”, and burnished with my Bone Folder. I cut a piece of Basic Beige cardstock to 4¼” x 5½”. This piece will cover the entire card front. But first, let’s stamp!
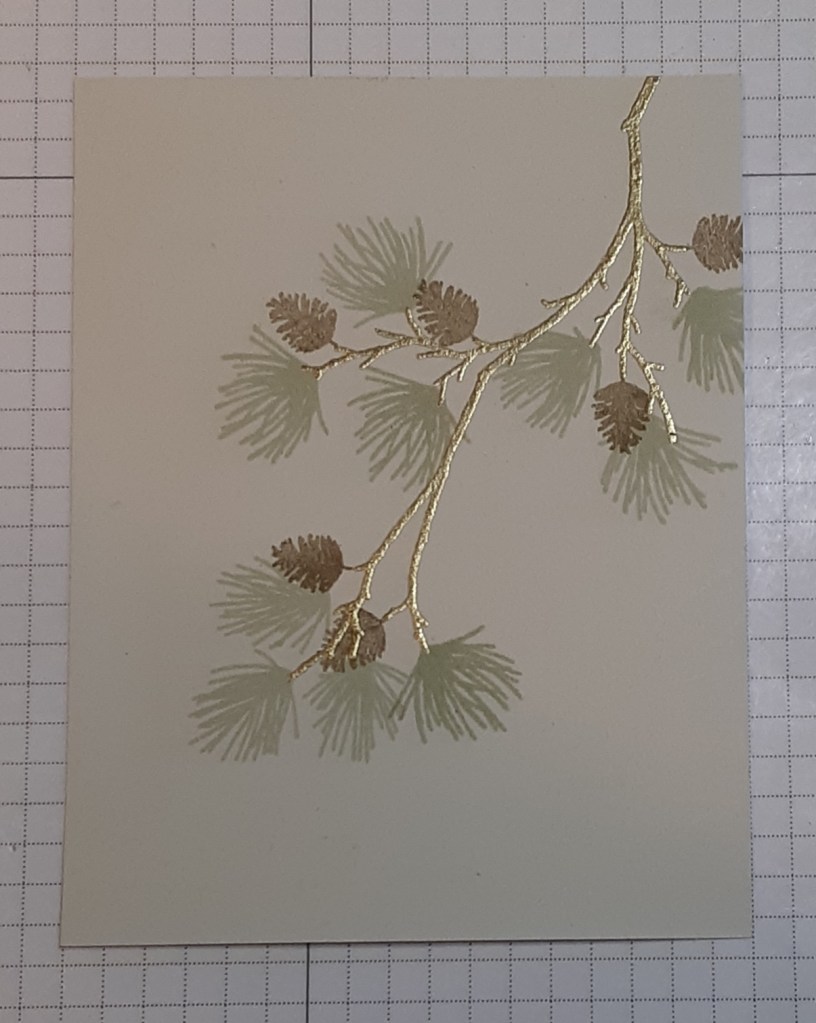
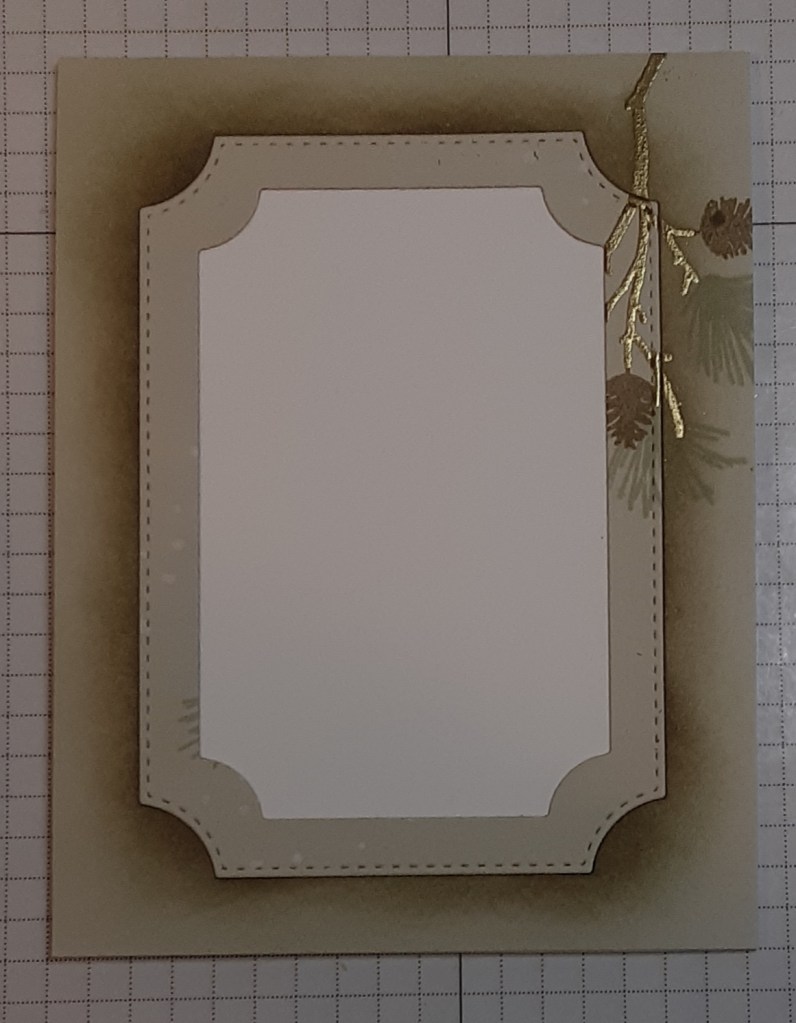
Since I would be heat embossing, I used an anti-static powder. With Versamark ink, I stamped the long branch from the Branching Out bundle, with the end extending from the upper right-hand corner. I sprinkled on some Gold Metallic Embossing Powder, tapped off the excess, and heat set it with my Heat Tool.

Next, I stamped the pine needles from the stamp set with Basic Beige ink. The Basic Beige ink gives a tone-on-tone look.

With Crumb Cake ink, I stamped some pinecones from the set.
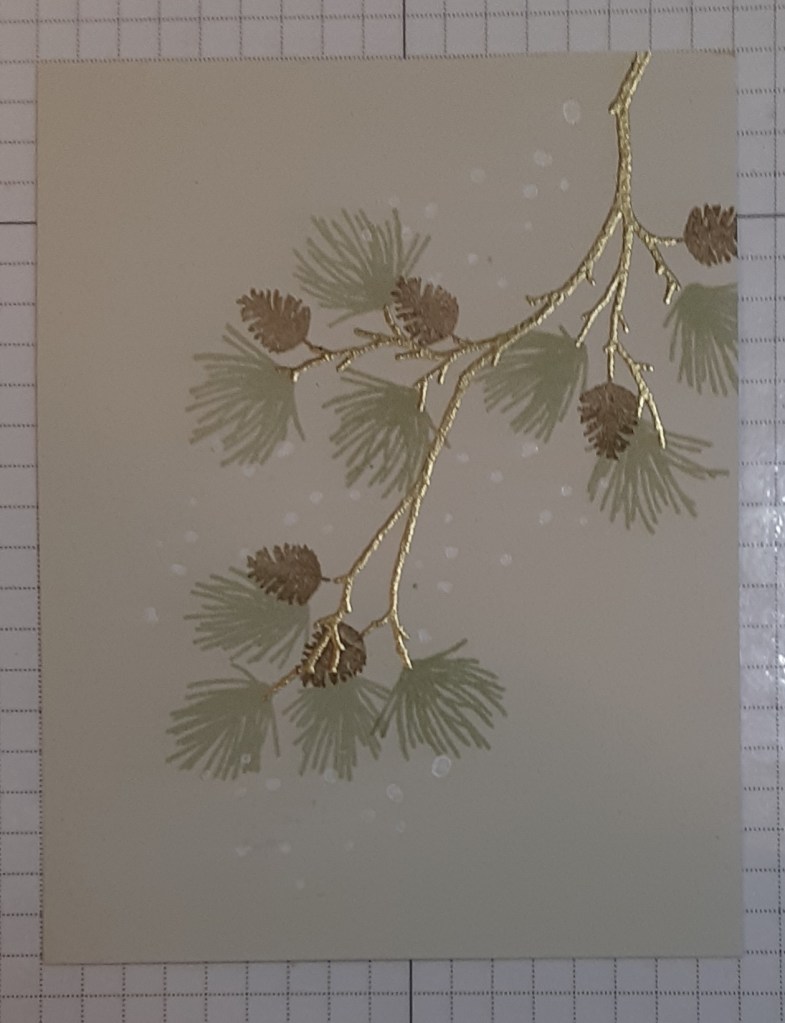
To finish the background, I stamped the small scatter stamp with Craft White ink. This gives it a hint of texture and fills in some of the empty space. I let the white ink dry over night, but you don’t need to wait that long. I would suggest heat setting it, but that might interfere with the embossing.
With the Branching Out dies from the bundle, I lined up the second largest frame die and the third smallest. I used Easy See tape from Amazon to secure my dies in place. I taped my dies together because I made several cards. I ran this through my Stampin’ Cut & Emboss Machine. I didn’t have any problem die cutting over the embossed areas, but I did lay a scrap of cardstock over the larger image in the center to protect the embossing.
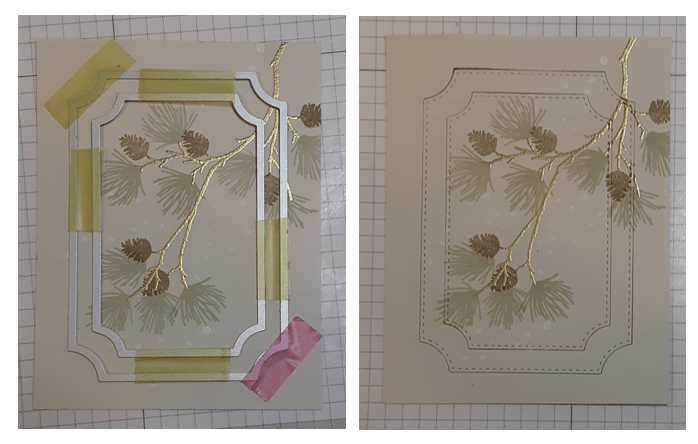
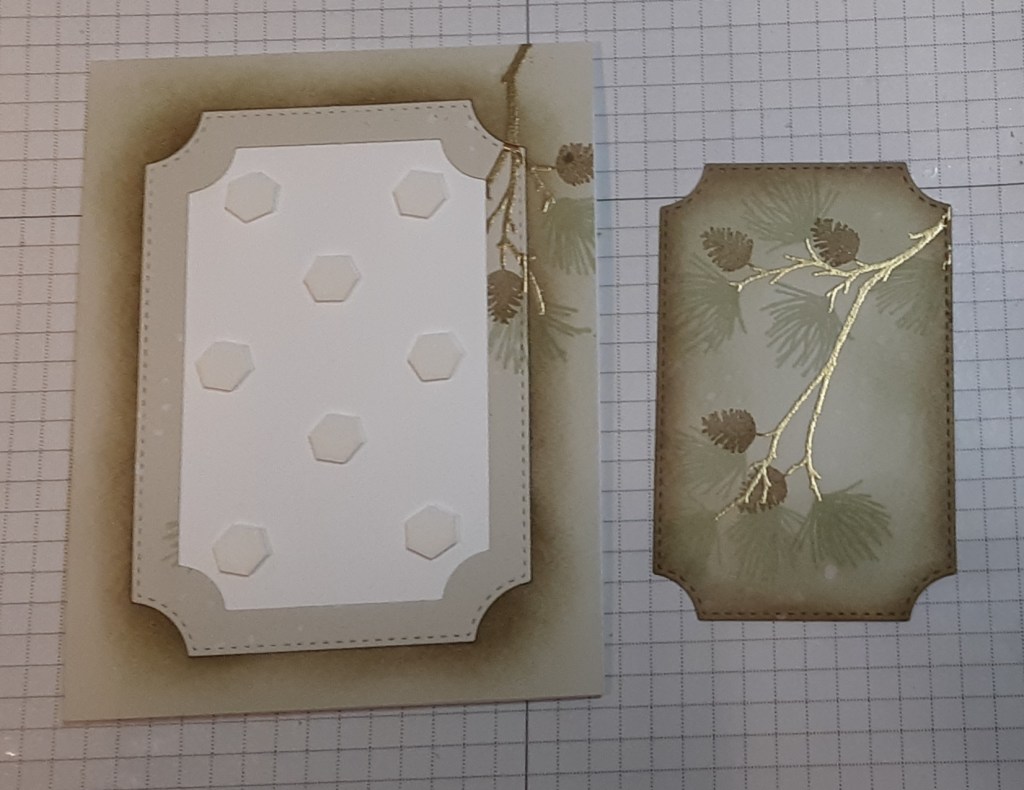
I used a Blending Brush to add Basic Beige ink to the outside edge of the smaller die cut and to the inner edge of the frame.

Next, I used a Blending Brush to add a little Crumb Cake ink to the edges, making sure to apply it only to the edge about ¼” in.

I adhered the frame to my card base using my favorite adhesive (Multipurpose Liquid Glue or Stampin’ Seal), making sure that my stamped images were in the upper right corner.

I adhered the next layer using glue, making sure to line up the stamped images.
I adhered the final layer using Stampin’ Dimensionals. You could also die cut additional layers and back the die cut to give it dimension instead. While this gives firm support, it also adds weight to the card and possibly increase postage costs.
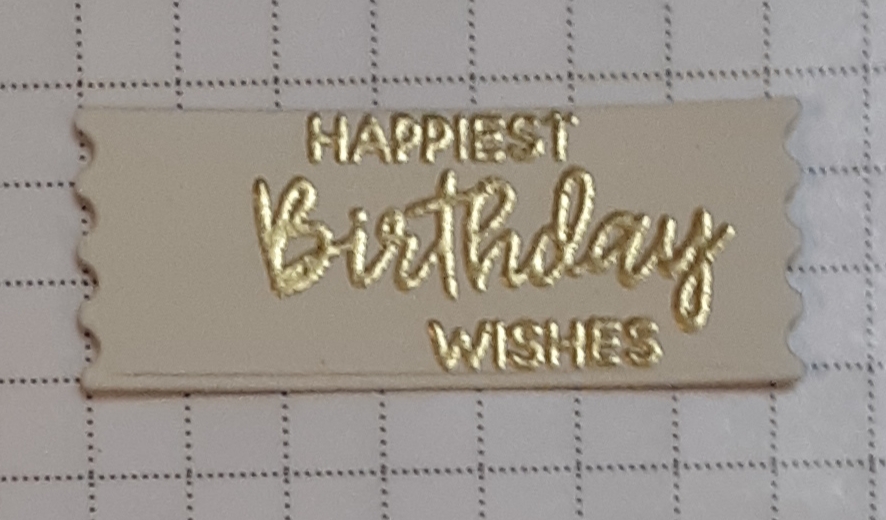
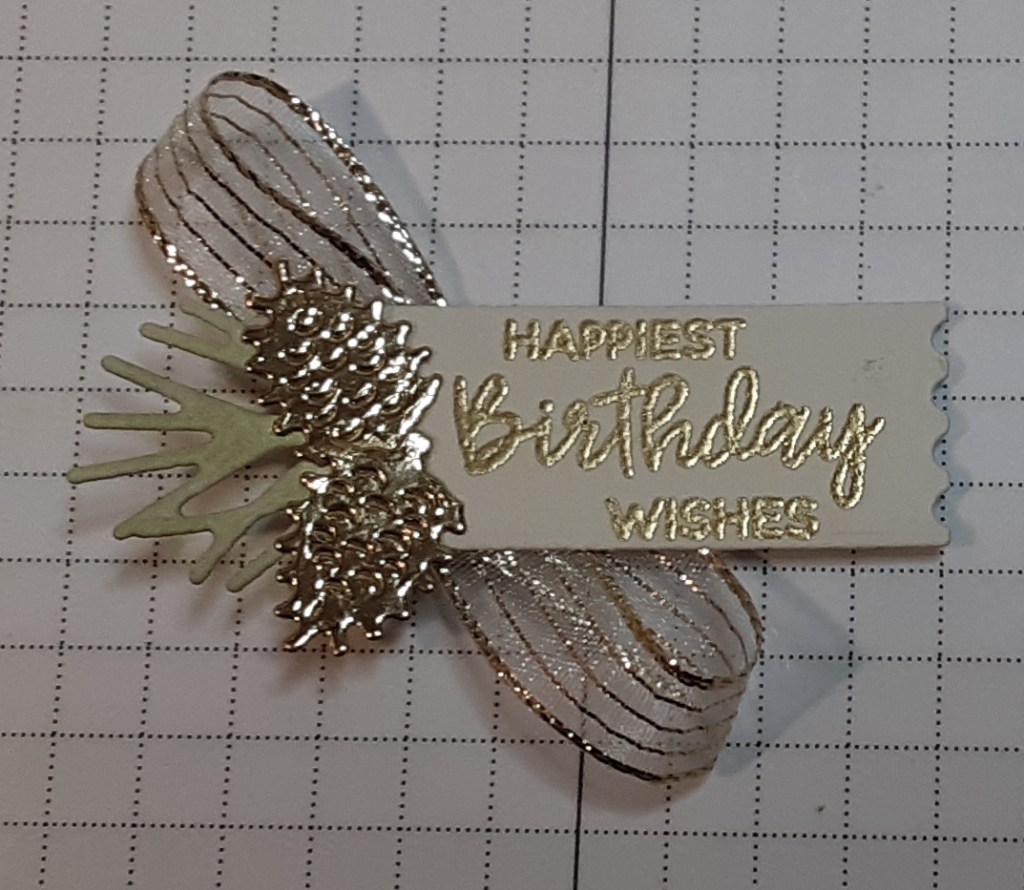
Now that I had the card base complete, I could work on the sentiment. On a scrap of Basic Beige cardstock, I dusted it with anti-static powder, then I stamped Happiest Birthday Wishes in Versamark ink and heat embossed with gold embossing powder. I die cut this with my Perennial Postage dies. The sentiment fit perfectly. You could also die cut the label first and then ink and emboss it. I used my MISTI to get perfect alignment. You could easily substitute a different sentiment for another occasion.

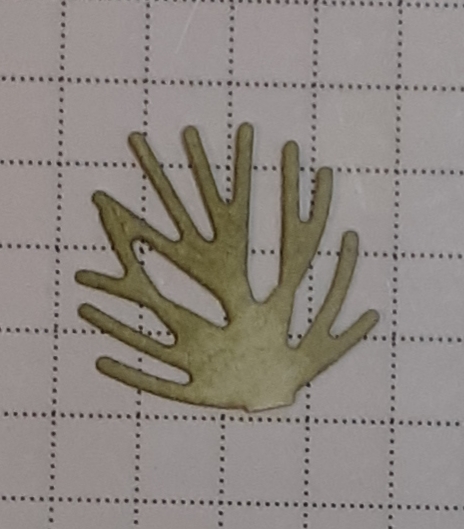
I die cut two pinecones from Gold Foil Sheets. I also die cut the pine sprig from Soft Seafoam cardstock. I ink blended some Basic Beige ink on the sprigs so they wouldn’t fade into the background.
I added Gold Striped Mesh Ribbon to my label with Mini Glue Dots.

With tape runner, I added the pine sprig and pinecones to my label.
I adhered this to my card with Stampin’ Dimensionals.
For a bit of additional shine, I added three Antique Pearls, one in each size.
To finish the card, I stamped my sentiment inside the card.
I hope you liked this card!
For the complete supply list, click here.

This is a beautiful card Terry! The color combinations are stunning and I also appreciate your detailed instructions. Thank you!
Sharon Leopold
LikeLike
Thanks! I had a lot of fun making it. It actually looks even better in person.
-Marilyn
LikeLike