
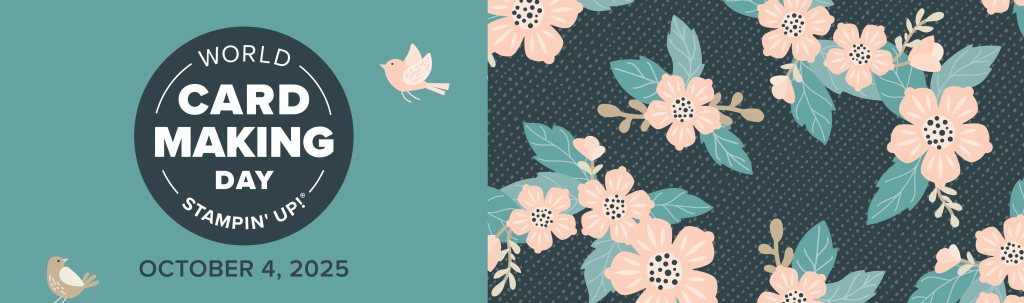
It’s Saturday and I have a simple card for you. It looks rather busy but the most difficult part is cutting the pieces. And we have the tools to facilitate that! I did want to mention that Stampin’ Up! will be celebrating World Card Making Day on Saturday, October 4 at 4:00 EST. Click here to register for this fun FREE event. If you are not able to watch the live stream, it will be recorded, and you can watch it later. If you would like to craft along, you can order the Homemade and Heartfelt Kit (166213) ahead of time. After you register, Stampin’ Up! will email details and, closer to the date, the link to join.
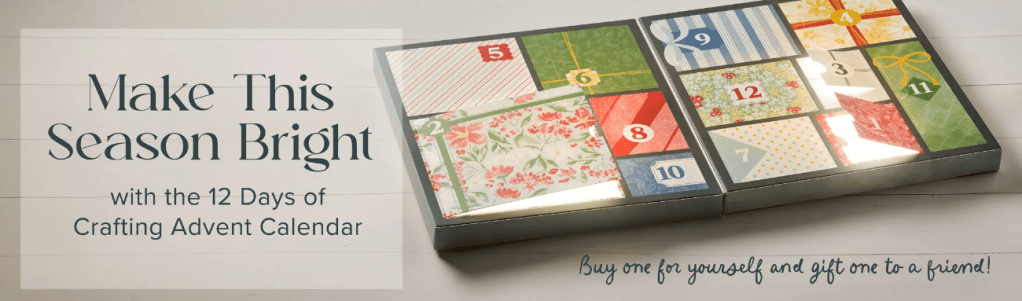
Stampin’ Up! is offering the 12 Days of Crafting Advent Calendar (167335) beginning September 23. Click here to watch a short video about it. The price is $99 USD/$136 CAD. It contains exclusive dies, paper, embellishments, and more. It will only be available while supplies last. What a fun way to celebrate the holidays!
I also want to announce my Blog Anniversary winner! Thank you to everyone who left a comment on the blog. I appreciate everyone who took the time to write, and I thank you for your kind comments. Please feel free to leave comments on my other blog posts. I value all the feedback and I work hard to make the blog a place where you can get ideas and maybe learn something new. Thank you! I apologize for any technical difficulties you (and I!) may have encountered. I hope I gave everyone enough time to get their comments in. And the winner of the $25 gift card to Terry’s Cards and Gifts is…. Sharon Leopold! Please email Terry at stampinfunwithterry@gmail.com to claim your prize. This gift card is good to purchase anything in her shop, or you can order Stampin’ Up! through Terry.
Now on to the card!
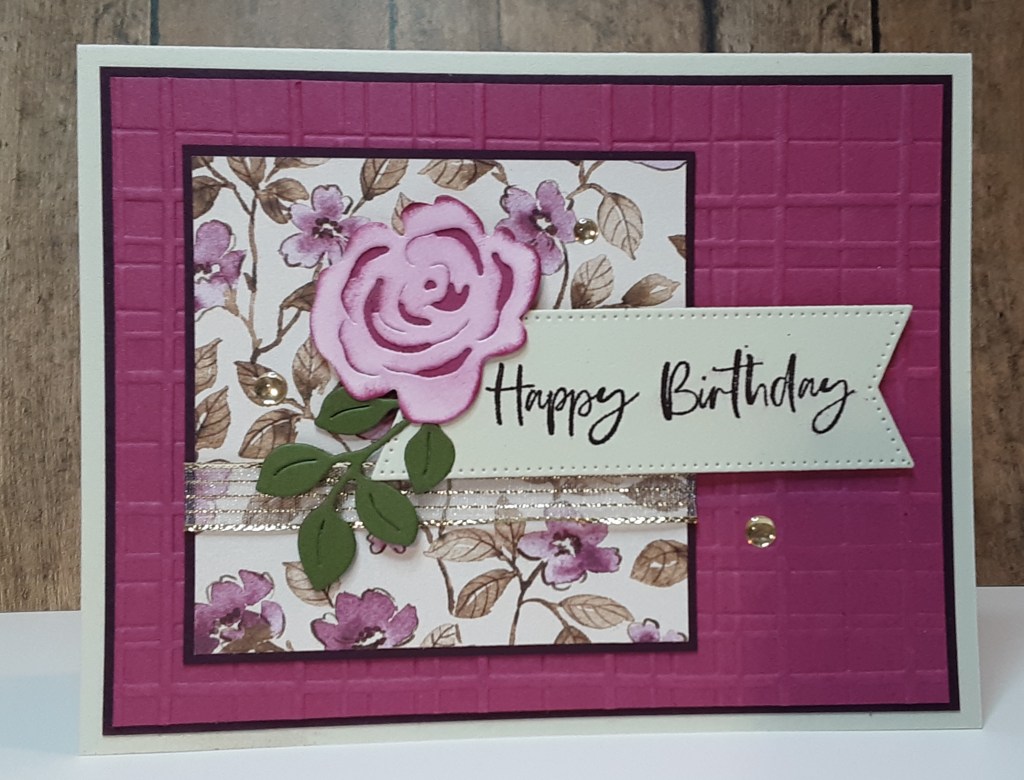
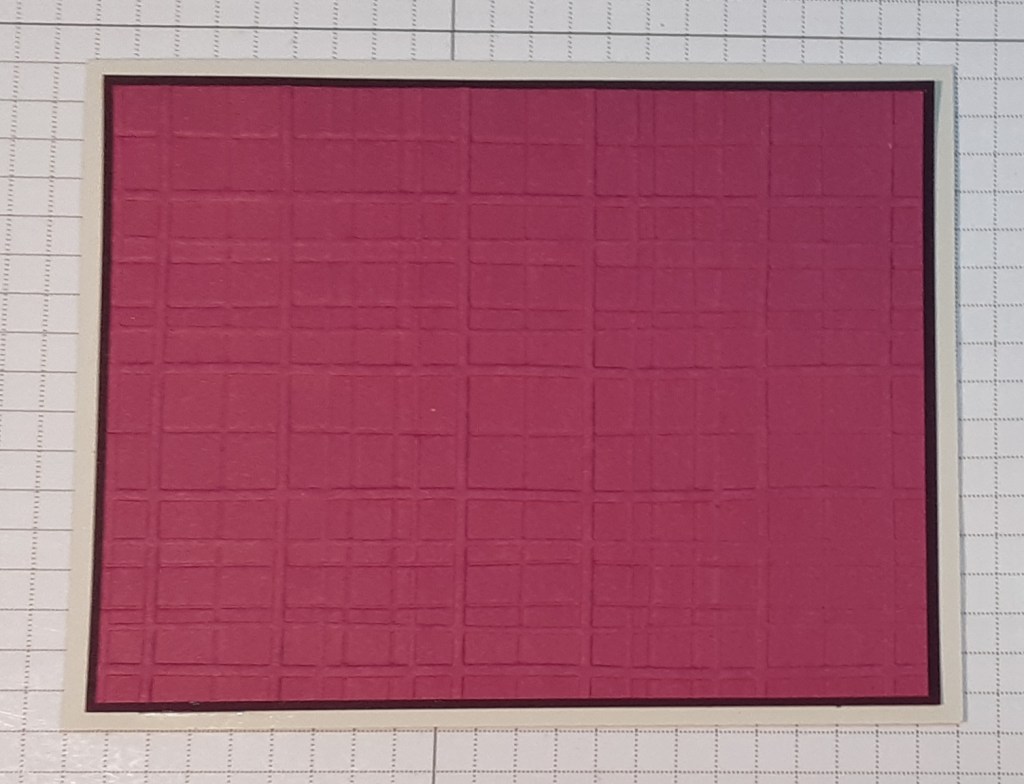
For the card base, I cut a piece of Basic Beige cardstock to 5½” x 8½” on my Paper Trimmer, scored and folded at 4¼”, and burnished with my Bone Folder. I cut a piece of Blackberry Bliss cardstock to 4” x 5¼” and another to 3⅛” x 3⅛”. I cut a piece of Berry Burst cardstock to 4” x 5¼”. I ran this piece through my Forever Plaid Embossing Folder on my Stampin’ Cut & Emboss Machine. After embossing the piece, I cut it down to 3⅞” x 5⅛”. Embossing the paper tends to change the size somewhat and I like my pieces to fit perfectly, especially with a very narrow border. I adhered my embossed piece to its Blackberry Bliss matte.
I cut a piece of Floral Charm DSP to 3″ x 3″. I adhered this to my Blackberry Bliss matte which is slightly larger using my favorite adhesive (Multipurpose Liquid Glue or Stampin’ Seal).

I adhered the embossed panel to my card base. My card is landscape oriented with a top fold.
Before adhering my focal image, I added some Gold Striped Mesh Ribbon. I used Mini Glue Dots to adhere the ends of the ribbon to the back.
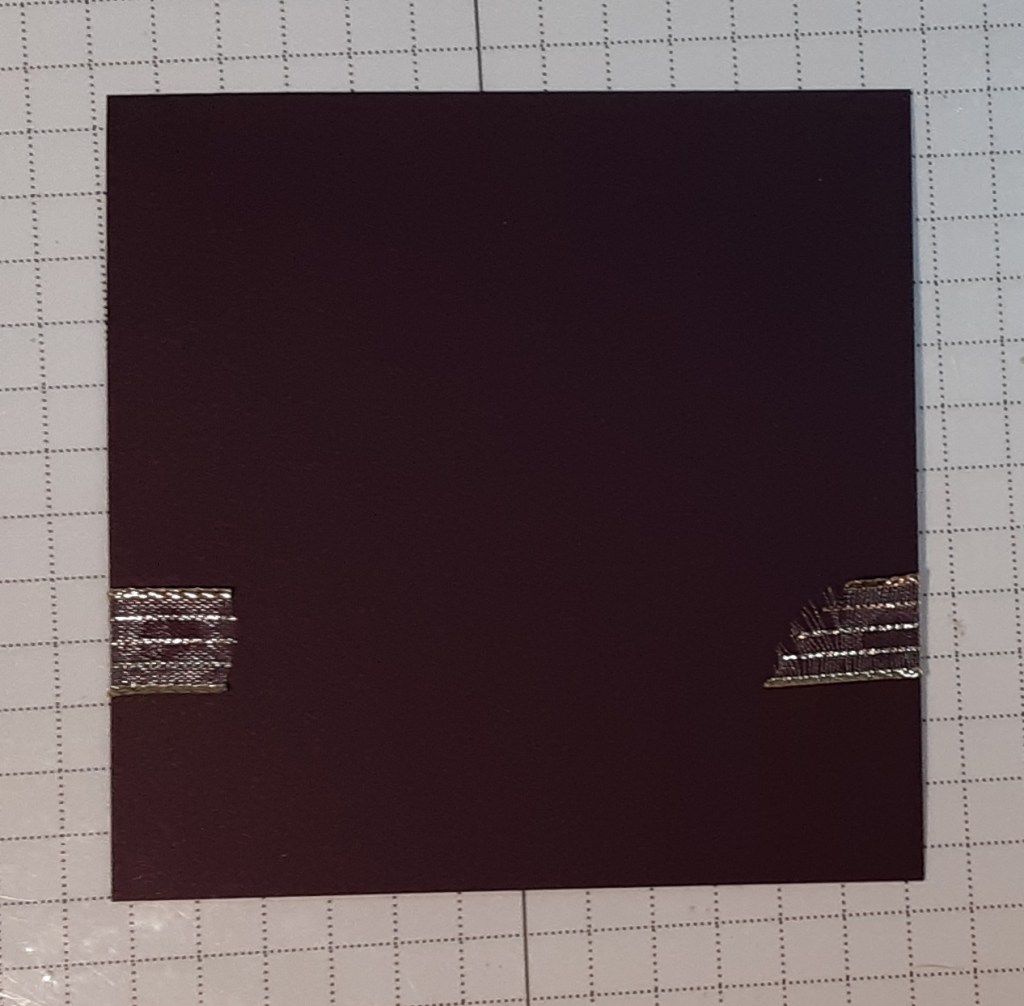
I adhered this to the left side of my card with equal borders top, bottom, and left side.
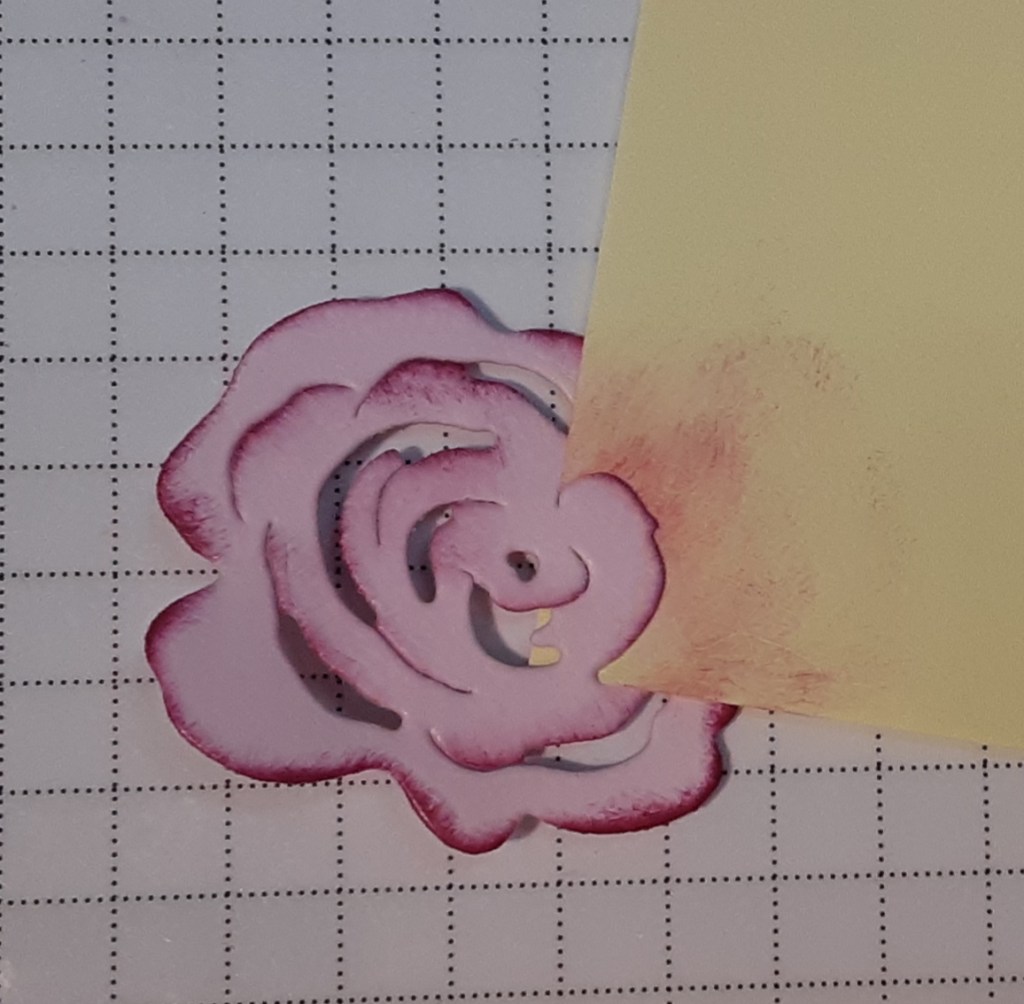
I tried several ways to make the floral image. I stamped and watercolored it, used alcohol markers, and finally, I used the Charming Day dies from the bundle. I die cut the flower from Bubble Bath cardstock. (Let me know if you’d like to see the two attempts that I tossed.)
This die cuts out parts of the flower and I wanted to highlight the edges of the flower. I added Berry Burst ink with a Sponge Dauber around the edges. To help me define the inner edges, I used a Post-It note to concentrate the color. When applying the ink, I swiped from the Post-It toward the flower.
Since I didn’t care for the open gaps and the tiny cutouts were missing, I cut a scrap of Berry Burst cardstock to fit behind the flower. I used tape runner to adhere the two together.

I die cut the leaves in the bundle from Mossy Meadow cardstock.
I stamped Happy Birthday from Charming Day Bundle with Blackberry Bliss ink on Basic Beige cardstock and die cut this with the Stylish Shape Dies. I added the leaves and flower to my sentiment piece.
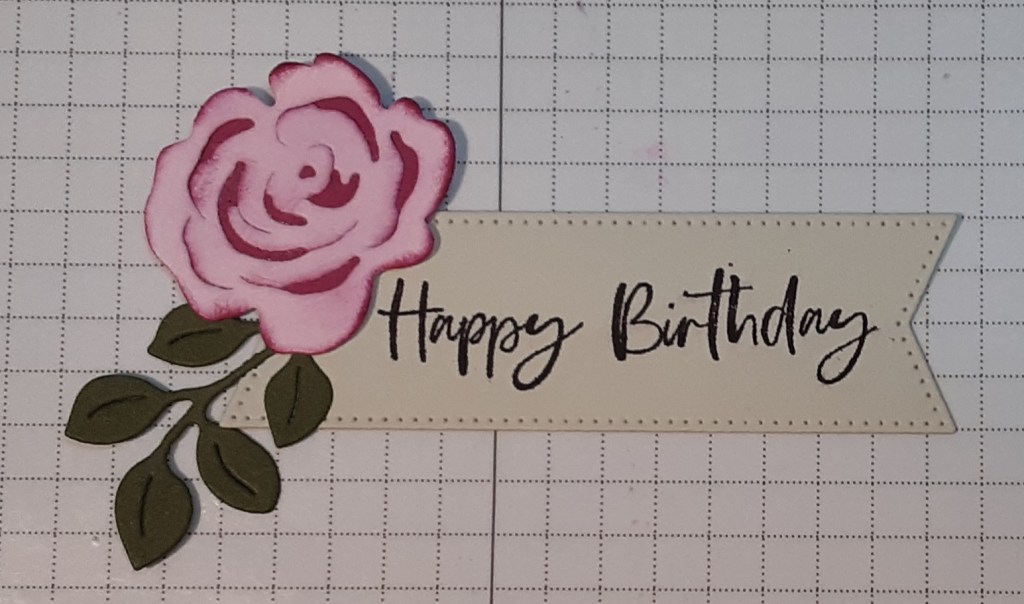
I adhered this to my card with Stampin’ Dimensionals. For a bit of additional shine, I added three gold Low-Profile Dots.
To finish the card, I stamped a sentiment on a 4” x 5¼” piece of Basic White cardstock and glued it inside my card.
I hope you liked this card!
For the complete supply list, click here.

Hi Terry, I’m happy to receive the $25 gift card to use in your shop. Thank you so much! I enjoy making cards so much and it’s always extra fun to see you and make them in your shop! Blessings, Sharon
LikeLike
You are so welcome, Sharon! I appreciate you following and reading the blog. It makes my job worthwhile knowing that people enjoy the cards and instructions that I post.
If there are any techniques or products you’d like me to feature, just add a comment!
LikeLike