Happy Saturday! I hope everyone’s new year is off to a good start. Marilyn, here, with another card using the Corner in Bloom Sale-a-bration stamp set. Just wanted to whet your appetite by showing different designs with one stamp set. Remember, Sale-a-bration starts Tuesday! Whoop, whoop!
To make my card base, I cut a piece of Crumb Cake cardstock to 5-1/2″ x 8-1/2″ with my Paper Trimmer, scored and folded at 4-1/4″, and burnished with my Bone Folder. Next I cut a piece of Gold Foil sheet to 4-1/4″ x 5-1/2″. From the same gold foil sheet I cut a banner using the Nested Essentials die set with my Stampin’ Cut & Emboss Machine. I left enough of a border to add adhesive.
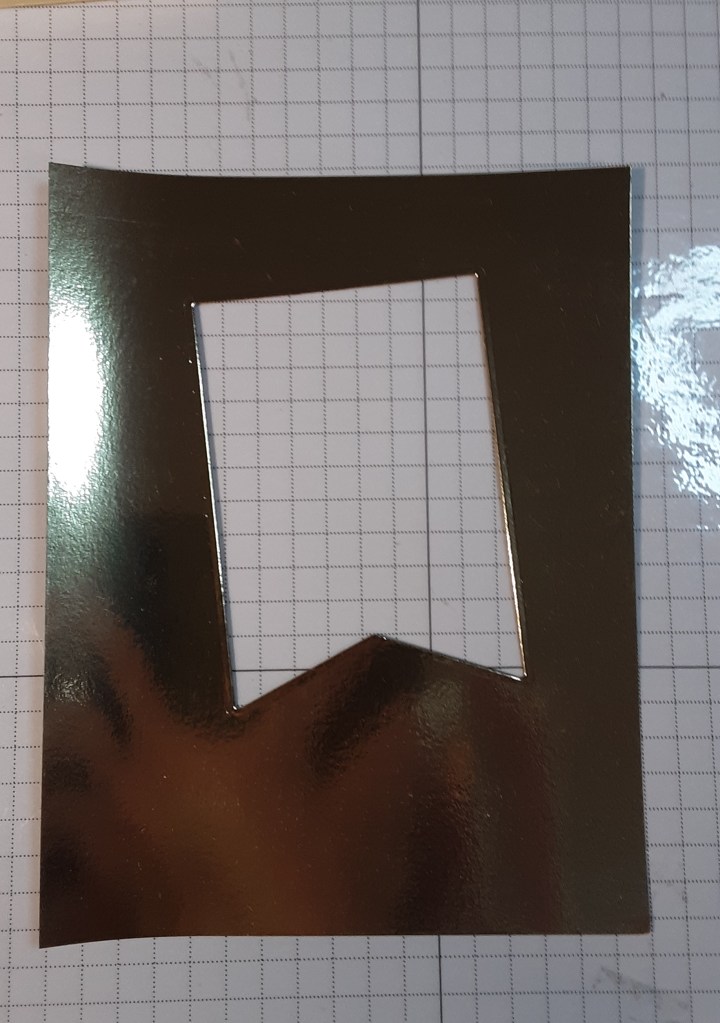
With a scrap of Basic White cardstock, I cut another banner the same size as the gold one.
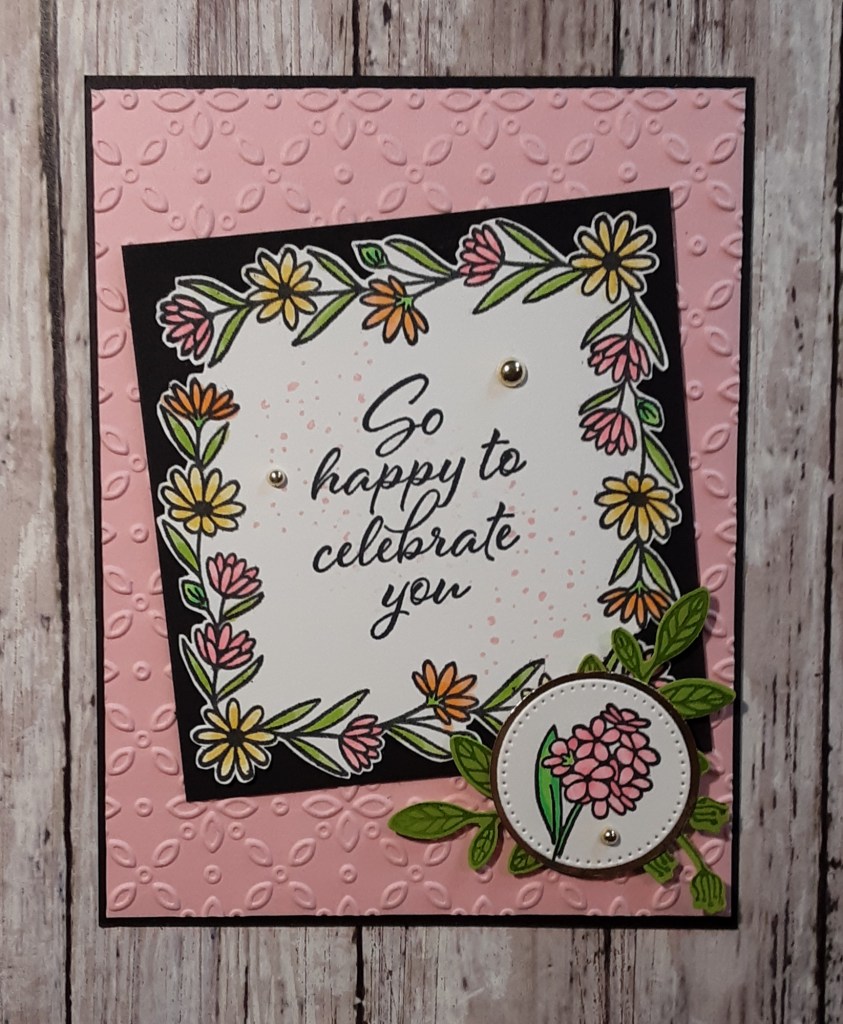
I cut a piece of Crumb Cake to 5-1/2″ x 8-1/2″. I stamped the larger corner floral image from Corner in Bloom stamp set with Crumb Cake ink to form a border around the rectangle. I used a stamping platform (Stamparatus) so that I could repeat stamp the same image to darken the ink. I think my ink pad needs reinking! After stamping, I used a pair of scissors to distress the edges. This created a LOT of dust, so I trimmed down the edges with my Paper Snips before distressing them. I have an old distressing tool from Stampin’ Up! from MANY years ago that I could have used. You could also tear along the edge if you prefer. Less mess.
I adhered the gold foil piece to my card base using my favorite adhesive (Multipurpose Liquid Glue or Stampin’ Seal) and then I glued my stamped and distressed piece to the gold foil piece.
I stamped the coordinating floral image two times on my Basic White banner with Momento Tuxedo Black ink. I colored the flowers in using my Stampin’ Blends: Daffodil Delight, Pretty in Pink, Granny Apple Green, and Peach Pie. After applying anti-static powder above the flowers, I stamped Birthday Wishes from Simply Said stamp set (a great set with versatile greetings) with Versamark ink. I added gold embossing powder from the Metallics Embossing Powder pack and heat set it with my Heat Tool. I cut the gold foil banner, separating the top and bottom. I glued my white banner to the gold pieces with the detailing on the top and bottom showing. I wrapped some DMC gold thread, from my favorite hobby store, around the tag several times and adhered the loose ends to the back. I added some Stampin’ Dimensionals and adhered it to my card, centering top and bottom, and side to side.
To finish the card, I stamped a sentiment on a 4″ x 5-1/4″ piece of Basic White cardstock and glued it inside my card.
I hope you enjoyed this simple card!
For the complete supply list, click here.
For additional inspiration from Wednesday: