
It’s Saturday and hopefully you are having a breather between holidays. Today’s card is a fun one! Marilyn here, and I have a simple card for you today. I used three stamp sets and two embossing folders. I love when I can mix and match sets in a creative way. By the way, this will be my last post of the year! I’ll see you next year!
To make the card base, I cut a piece of Early Espresso cardstock to 5-1/2″ x 8-1/2″ on my Paper Trimmer, scored and folded at 4-1/4″, and burnished with my Bone Folder. I cut a piece of Misty Moonlight cardstock to 4″ x 5-1/4″, a piece of Real Red cardstock to 2″ x 4-3/4″, and a piece of Basic White cardstock to 3″ x 4-3/4″.
I ran the Misty Moonlight piece with my Birch Wood 3D Embossing Folder through my Stampin’ Cut & Emboss Machine to make the matte layer. To make the Real Red banner, I first cut the banner about 1/2″ up on the 2″ side of the Real Red piece. I ran this through my Forever Plaid 3D Embossing Folder, lining up the grooves in the embossing folder to the edge of my paper so my design would be straight.
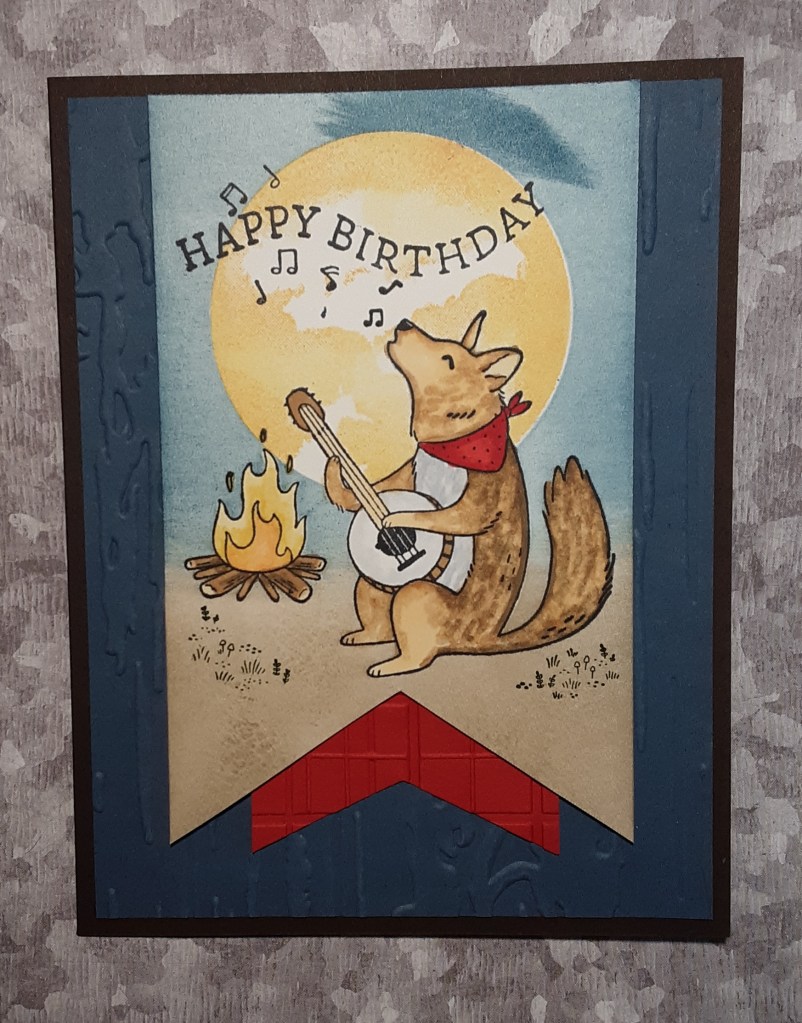
Now for the stamping. From Musical Jamboree stamp set, I stamped the banjo-playing howling coyote in Momento Tuxedo Black ink about 1-1/4″ from the bottom of the Basic White piece. I also stamped it on a piece of Masking Paper. To the left of the coyote, I stamped the fire in black. I stamped it on masking paper, also. I fussy cut the two masks with my Paper Snips and covered my two stamped images.
I inked up the moon image from Under the Moon stamp set with Lemon Lolly ink. Before stamping, I daubed on some Peach Pie ink with a Sponge Dauber along the edge of the circle and randomly across the middle to give it a little interest. I stamped this about 1/4″ from the top, overlapping the masked images.
I punched a 2-1/4″ circle from the masking paper and laid that over the moon image. With a Blending Brush, I blended Crumb Cake ink on the bottom of the piece. With Misty Moonlight ink, I lightly brushed back and forth to create the sky on the upper portion of the focal piece. When I was satisfied, I removed all three masks to reveal the stamped images.
With the Simply Said Stamp Set, I stamped the Happy Birthday. When mounting the stamp on my Acrylic Block, I curved the stamp up and down. Photopolymer stamps are easy to bend and mount on your block. I added the musical notes overlapping the Happy Birthday. I did mask the sentiment before stamping the notes so that my sentiment wasn’t disturbed. Finally, I stamped the grass/mushroom images with Mossy Meadow ink.
I colored the logs on the fire with SU300, SU500, and SU800 Blends. I colored the fire with Daffodil Delight and Peach Pie Blends. I colored the banjo with SU500, SU800, and Smoky Slate Blends.
I colored my coyote’s bandana with Real Red Blends and then I began coloring the tail and body with SU300. I just made random lines in the direction I thought the fur might grow.

Then, with SU500, I added more lines and also colored the arms and legs. I know it doesn’t look so great, but the next step, the magic happens.

With my SU800, I colored over the previous colors on the tail, body, arms, and legs and blended the colors together. I thought it looked a lot like fur. I colored the head with SU500 and SU800.
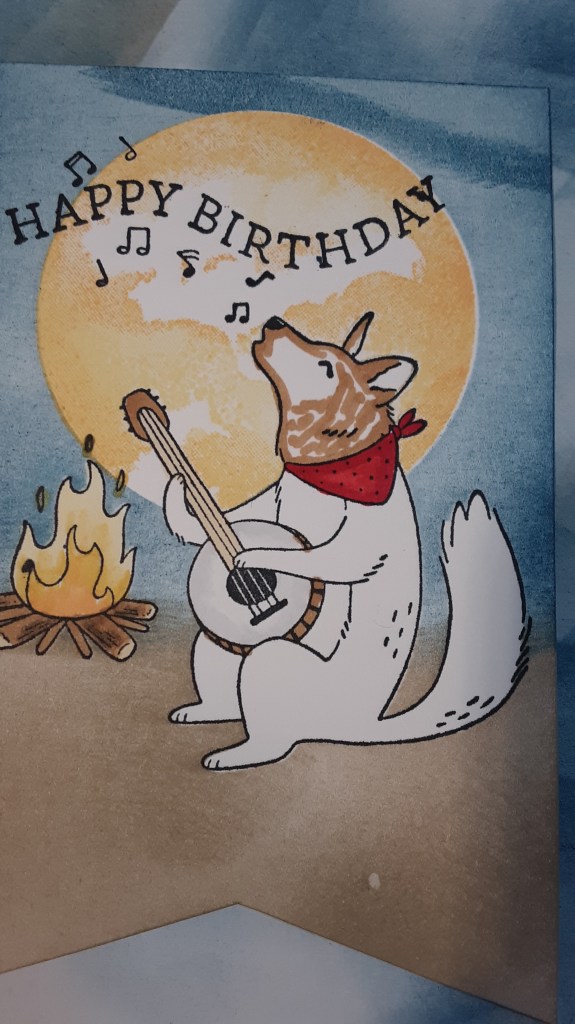
I colored the belly of the coyote with Smoky Slate Blends.
I flipped my focal image over and at the bottom, I marked 1″ up on either side. I laid my ruler across the lines and measured 1-1/2″ across to find the center point. I drew a line from the center point to each corner. I cut the banner on the lines I drew. I tend to be a perfectionist, so if you want to just cut it free hand, feel free. You may have noticed that my pictures show a shallower banner on the focal image. When paired with the red banner, I didn’t like it and cut it deeper.
Now to assemble the pieces. I glued my Real Red banner centered side to side on the Misty Moonlight matte about 1/2″ from the bottom using my favorite adhesive (Multipurpose Liquid Glue or Stampin’ Seal). If there is excess at the top, you can trim it. If it doesn’t quite reach, no worries, because we’ll be covering it. I glued my Misty Moonlight matte to my card base. I adhered my focal image using Stampin’ Dimensionals.
To finish the card, I stamped a sentiment on a 4″ x 5-1/4″ piece of Basic White cardstock and glued it inside.
I hope you enjoyed this card as much as I did!
For the complete supply list, click here.
