
It’s Saturday, our first Saturday of spring! Today the sun is shining, and the temperature is supposed to be up in the 80s tomorrow. Just the other day we had snow and temps in the teens. What a difference a few days makes. I hope you are able to get out in the sunshine between crafting projects and get a little vitamin D. My yard is calling my name and over the next couple days I’ll be mowing. Ah, spring! Now onto the card.
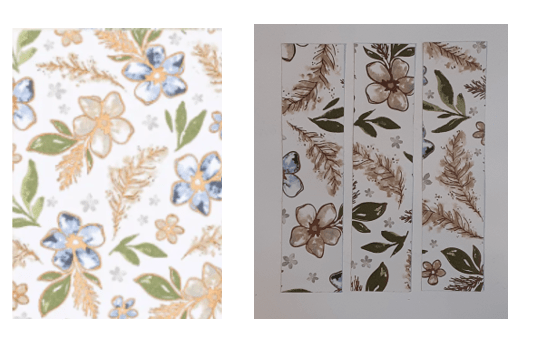
To make the card base, I cut a piece of Night of Navy cardstock to 4¼” x 11” on my Paper Trimmer, scored and folded at 5½”, and burnished with my Bone Folder. For my mat piece, I cut a piece of Hydrangea Hue cardstock (a new In Color starting with the May catalog!) to 4” x 5¼”. I cut another piece of Night of Navy cardstock to 4¼” x 3⅜”. I cut a 3″ x 4″ piece of Delicate Dreams DSP, which I then cut into three 1″ x 4″ strips. You can keep them in order, or you can use them randomly as I did in to photo.
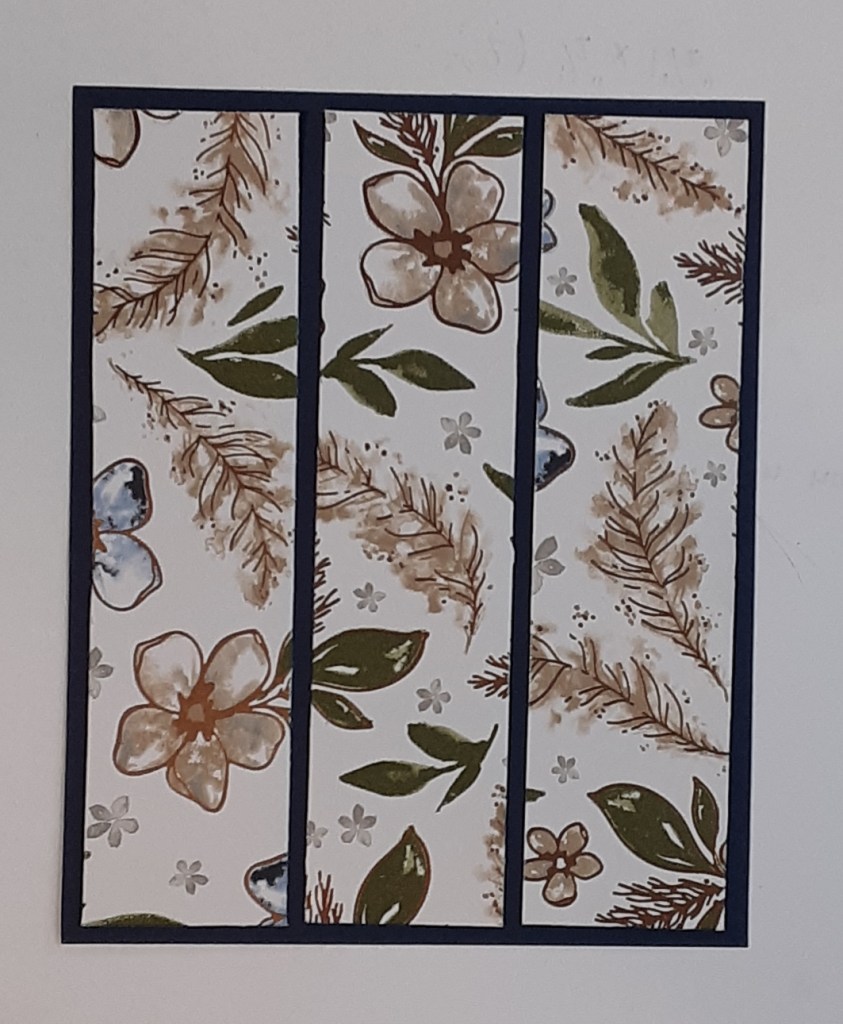
I laid out my strips on my navy panel to position them where I wanted them to be. I adhered my strips with my favorite adhesive (Multipurpose Liquid Glue or Stampin’ Seal), starting with the outside strips and finishing with the middle one.
I glued this to my mat piece.
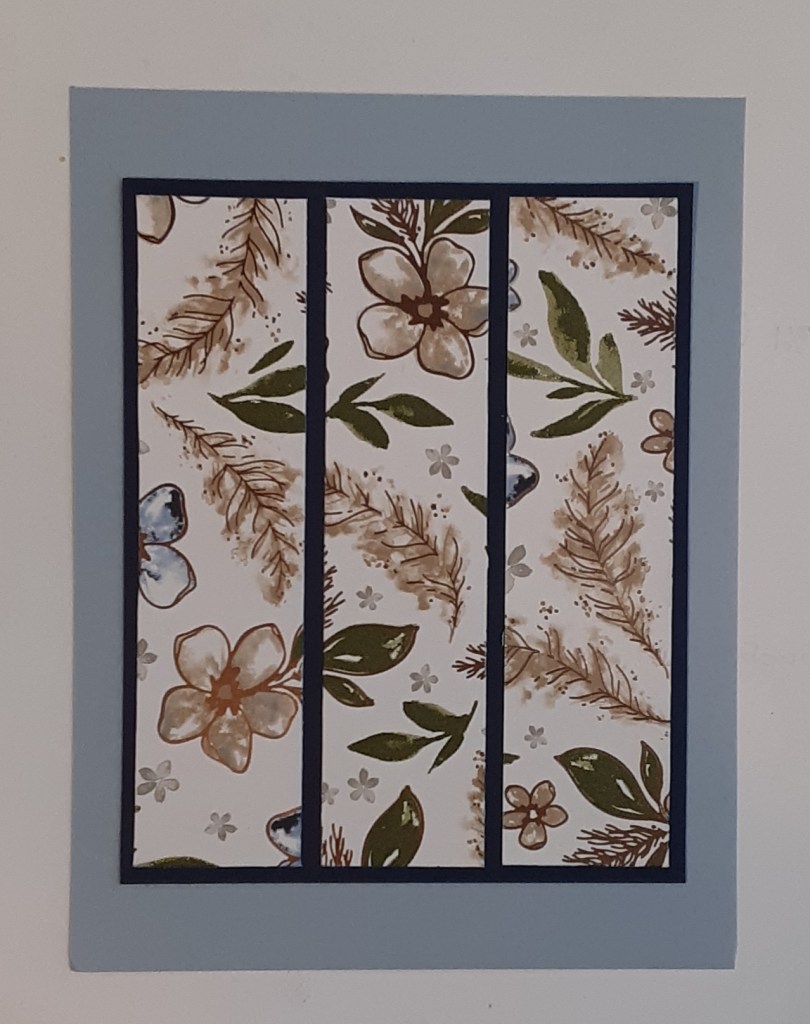
I adhered this panel to my card base.
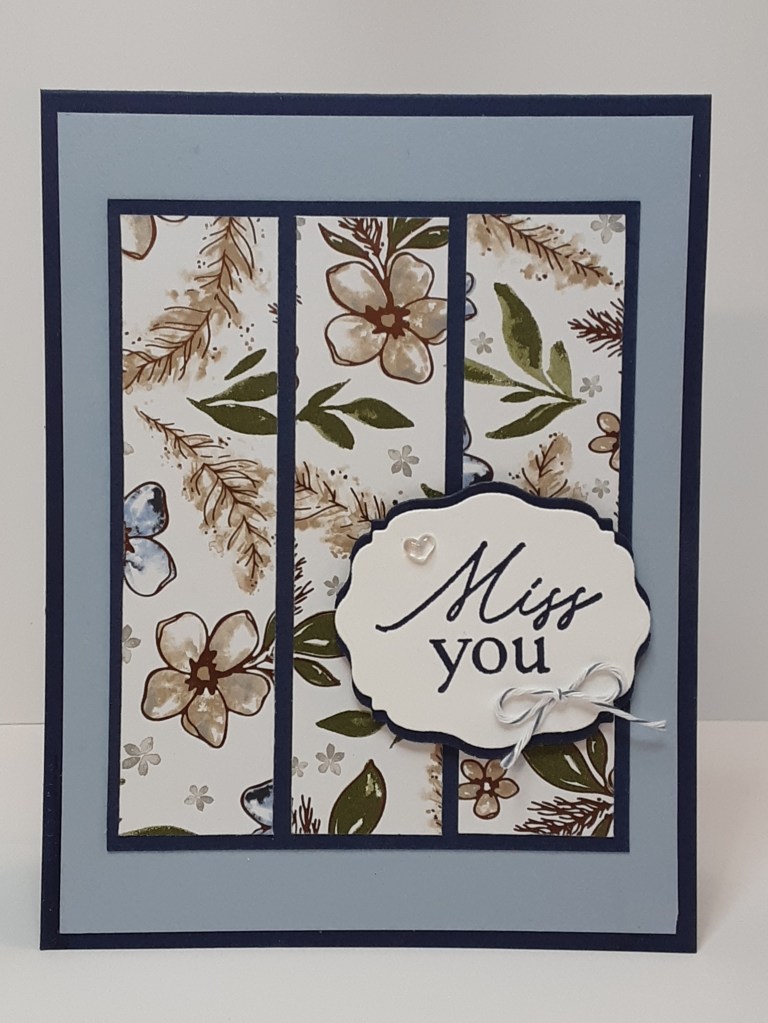
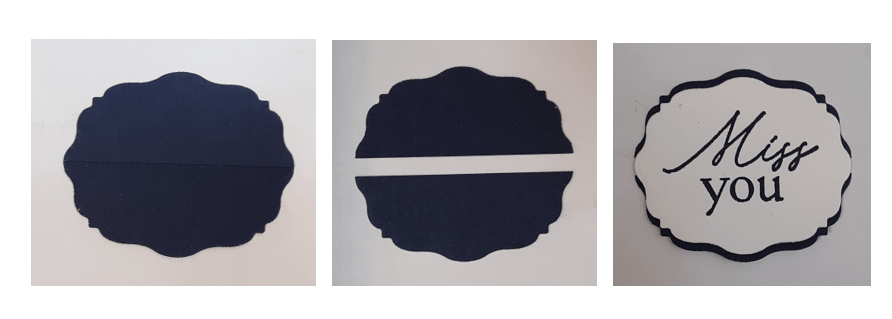
I stamped Miss You from the stamp set contained in my 12 Days of Crafting Advent calendar kit on a scrap of Basic White cardstock. I die cut my sentiment out with my smallest label die from Beautifully Celebrated dies on my Stampin’ Cut & Emboss Machine. I die cut another label of the same size from Night of Navy cardstock. I cut the navy label in half. I adhered my sentiment to the navy pieces, offsetting them slightly on the top and bottom for a bit of border.
I adhered my sentiment to my card with Stampin’ Dimensionals.
I tied a tiny bow with the baker’s twine in my Advent calendar kit and attached it to my label. I added a clear heart from the loose bits contained in the kit.
To finish the card, I stamped a greeting on a 4” x 5¼” piece of Basic White cardstock and glued it inside my card.
I hope you liked this simple card!
For the complete supply list, click here.
Images © Stampin’ Up!
