
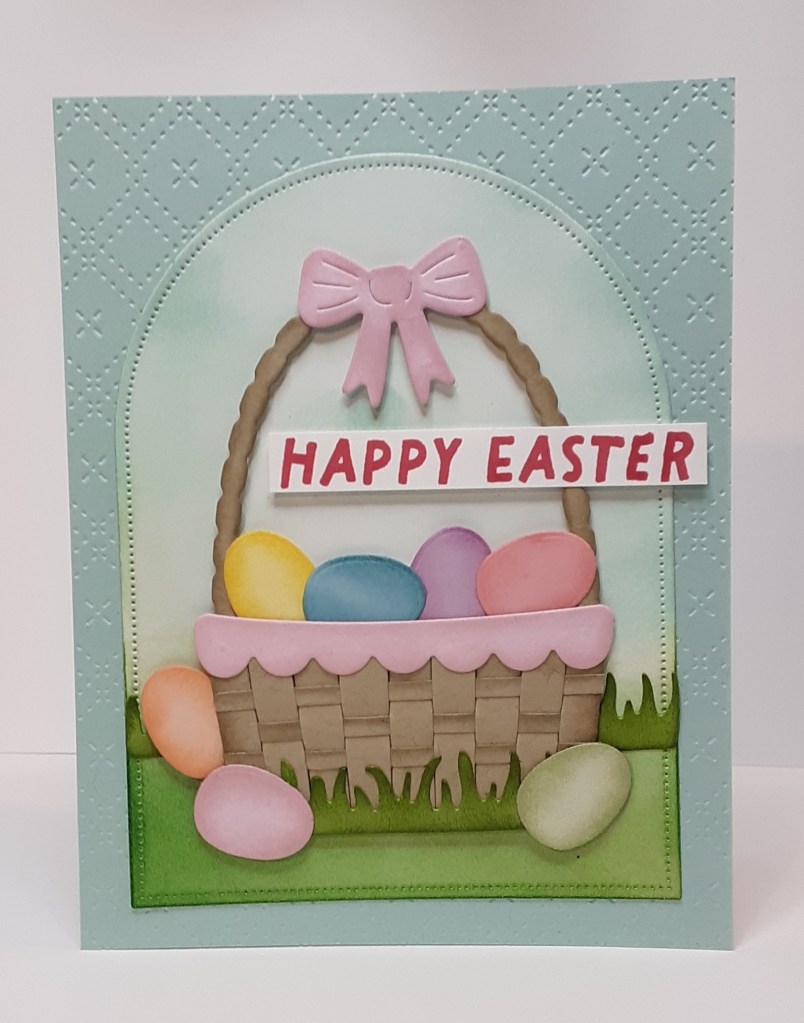
Happy Wednesday! I really like the basket in Easter Basket bundle, so I decided to make another card with it, only more geared towards Easter. There is a stamp for the eggs in the stamp set, but I decided to go with plain colored eggs. I remember dyeing the eggs on the Saturday evening before Easter with my kids. We always looked forward to this shared family tradition. The Easter bunny hid the eggs while the children slept. I thought this was easier than the way my mom did it. She would color the eggs herself after we kids had gone to bed. She didn’t do just a dozen, either. With seven kids, she colored at least eight dozen. It was quite the chore! And then she hid them. I’m sure my dad helped with that. Marilyn here with another card.
To make the card base, I cut a piece of Pool Party cardstock to 5½” x 8½” on my Paper Trimmer, scored and folded at 4¼”, and burnished with my Bone Folder. I cut an additional piece of Pool Party cardstock to 4¼” x 5½”. I ran this piece through my Beautiful Pattern 3D Embossing Folder on my Stampin’ Cut & Emboss Machine. I adhered this panel to my card base with the debossed side up using my favorite adhesive (Multipurpose Liquid Glue or Stampin’ Seal). You may need to trim the panel before adhering. Sometimes running cardstock through an embossing folder changes the dimensions a smidge. You could skip this panel and directly emboss the front of the card base, but the embossing does weaken the paper, making it a little unsteady for standing up.
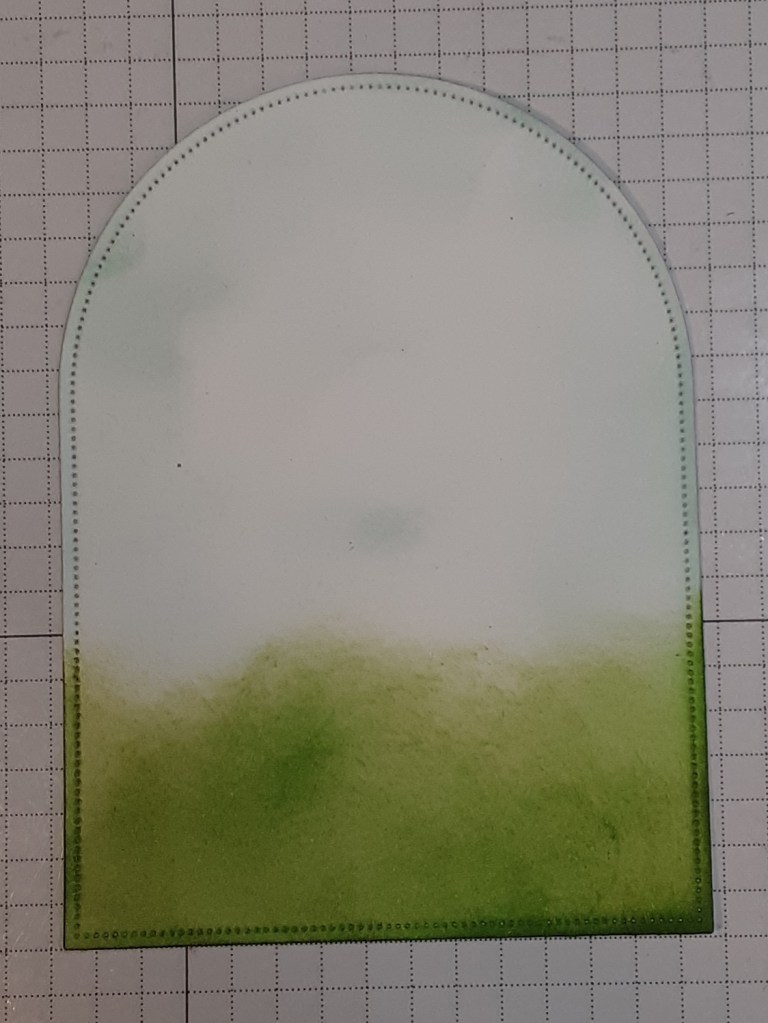
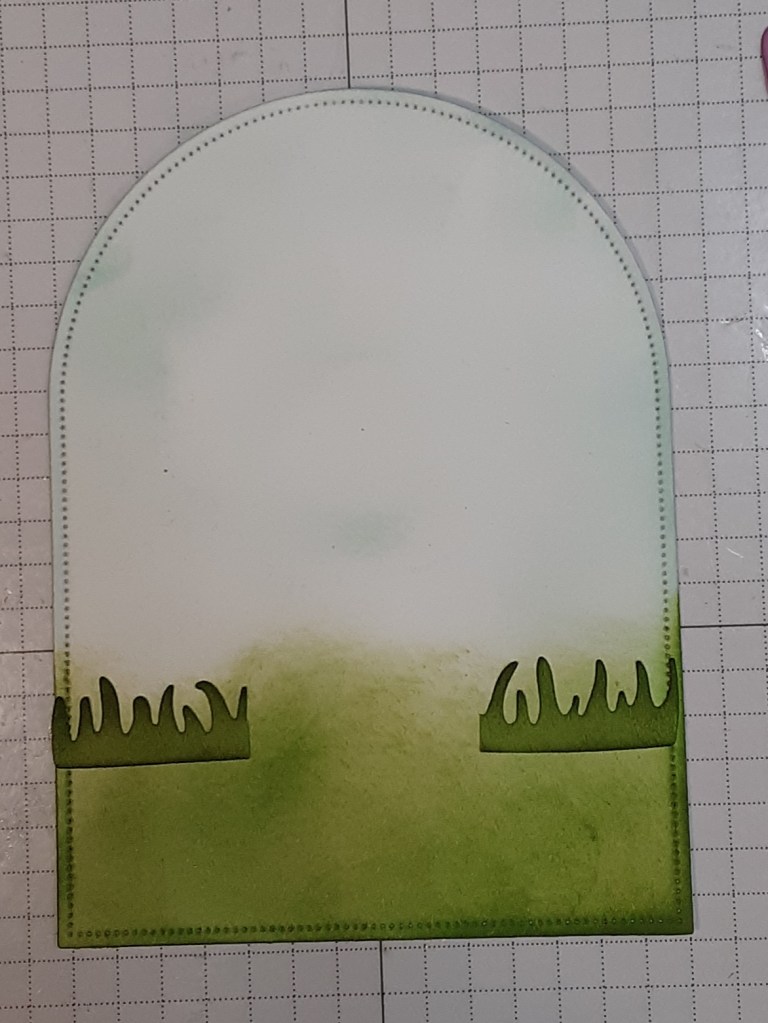
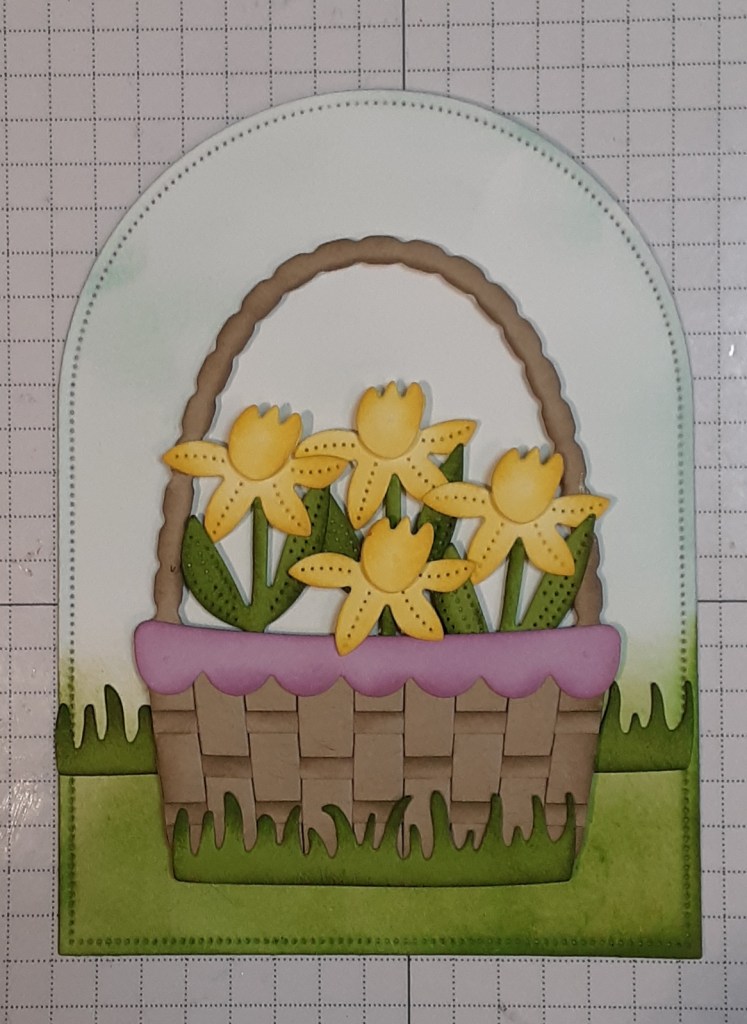
Using the Everyday Arches dies, I cut the second largest arch from Basic White cardstock. With my Blending Brush and some Pool Party ink, I blended color on the top ¾ of the arch. With Granny Apple Green ink, I blended ink on the lower ¼ to act as grass and to provide grounding for my basket.
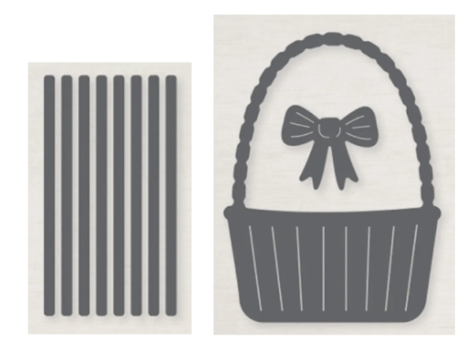
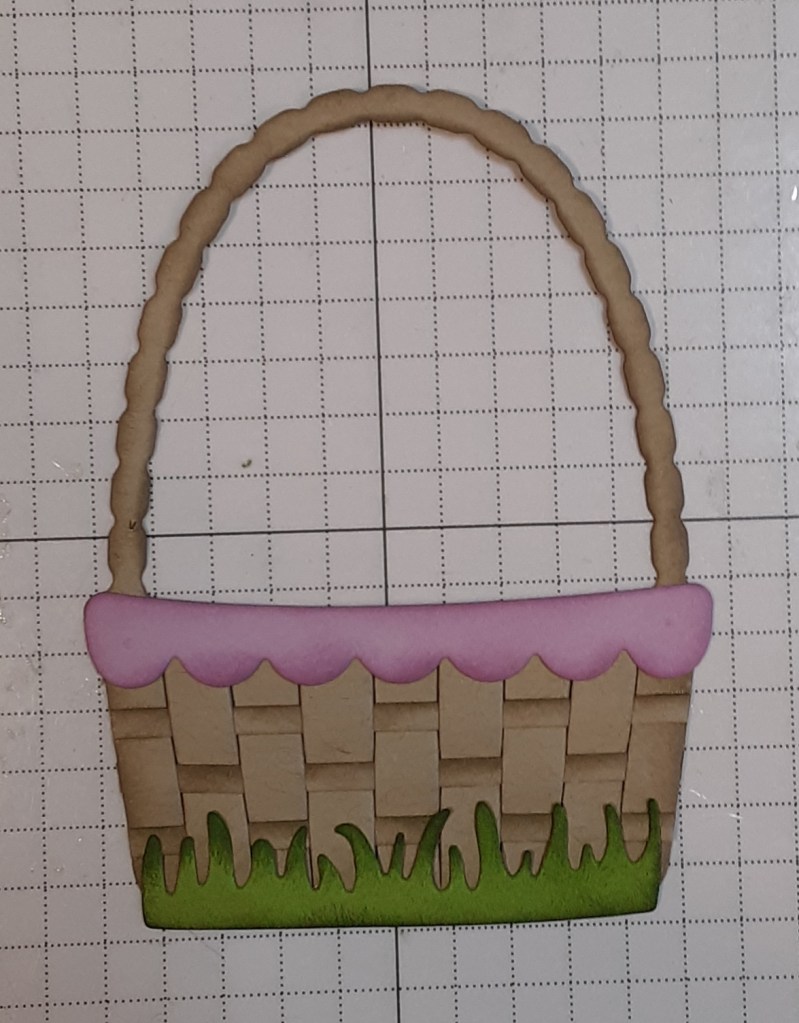
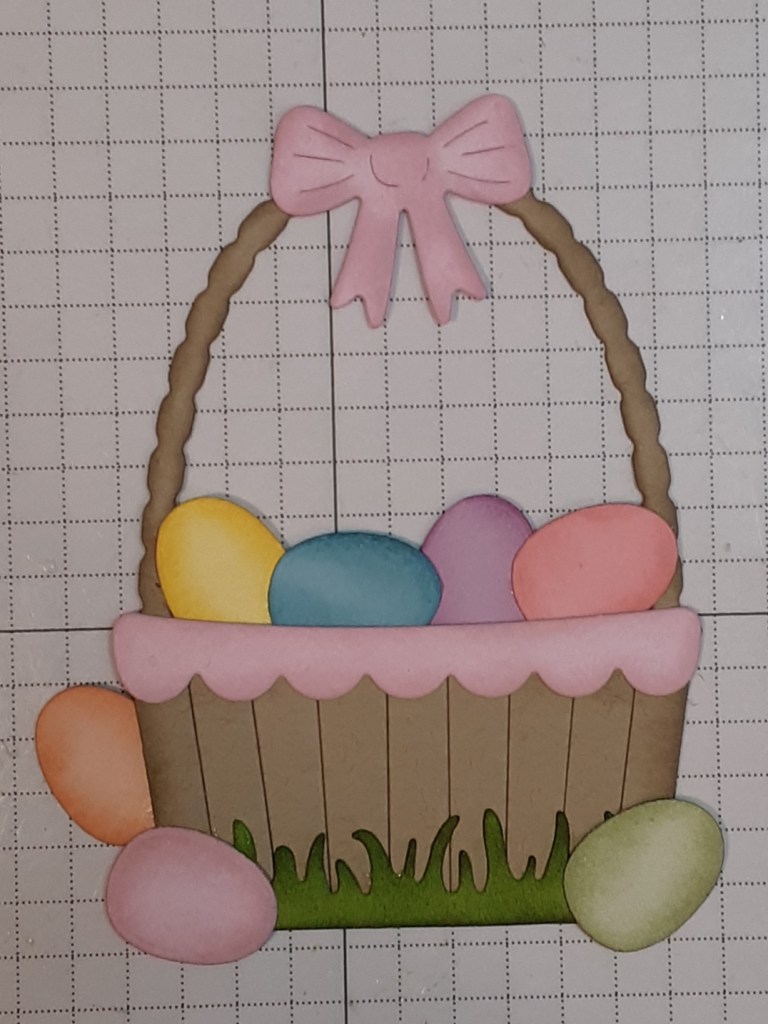
I die cut the basket and strips from the Easter Basket bundle from Crumb Cake cardstock. (The dies from this bundle have been discontinued. If you want the bundle, please contact Terry and she will try to find them for you.)
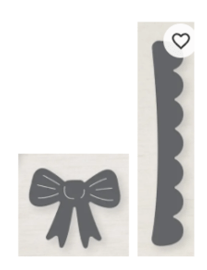
I cut the bow and scalloped edging from Bubble Bath cardstock. I ink blended the edges with Bubble Bath ink with Sponge Daubers.
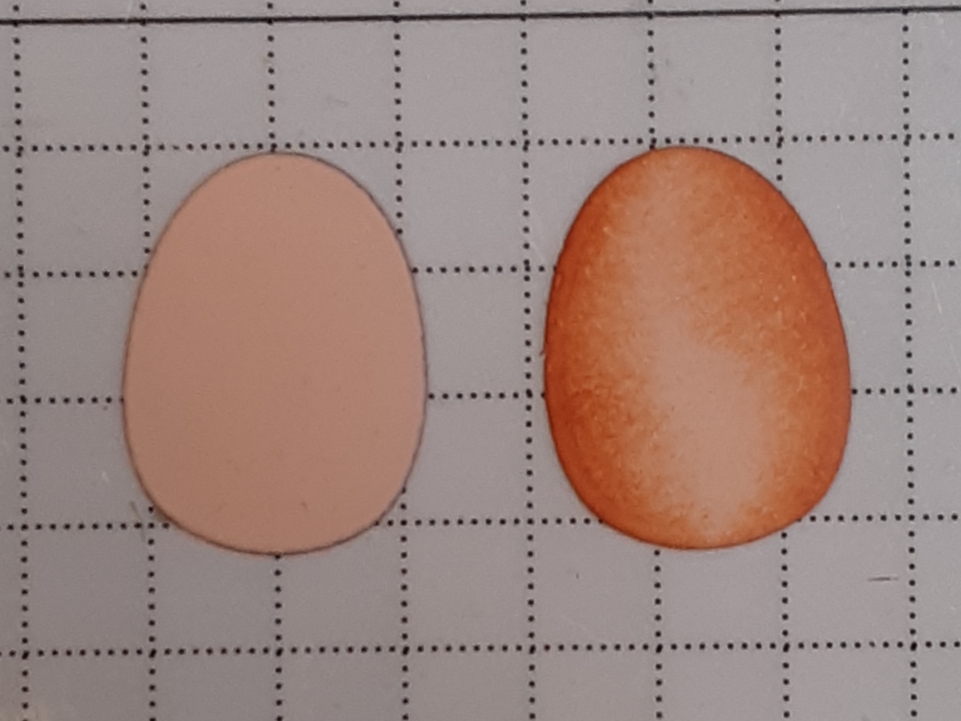
I cut the eggs from a variety of cardstocks: Fresh Freesia, Petal Pink, Lemon Lolly, Balmy Blue, Bubble Bath, Pretty in Pink, and Soft Sea Foam. Since the die set only has one egg die included, I had to cut it seven times. Below is a close-up picture of a before ink blending and after. The ink blending with sponge daubers helps add dimension to the egg. I applied the ink heavier to the edges and lighter closer to the middle. The inks I used to shade my eggs: Fresh Freesia, Petal Pink, Daffodil Delight, Bubble Bath, Pretty in Pink, and Soft Sea Foam.
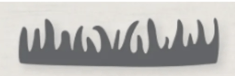
I cut two of the grass from Granny Apple Green cardstock. I ink blended the edges with Granny Apple Green ink and a sponge dauber.
I applied Crumb Cake ink to my basket pieces. For the narrow strips, I applied ink to just one of the long sides. I wove three strips between the slits cut into the basket. I trimmed the strips to be even with the sides of the basket. I glued the ends down with a dab of glue, though you could probably skip this part. I added the scalloped edging and grass to the basket after blending ink on the edges for a tone-on-tone look.
I added my eggs to my basket.
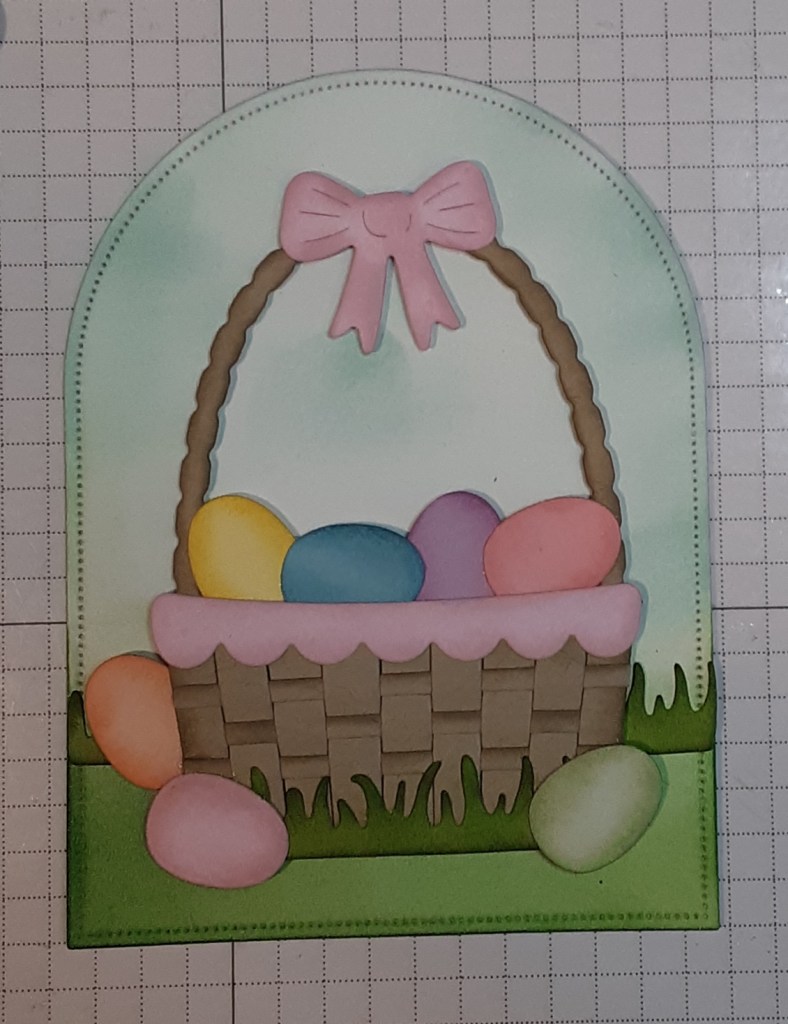
Actually, I forgot to add the trim and the strips to my basket and had to add them after I had arranged my eggs. I don’t advise that. 🙂
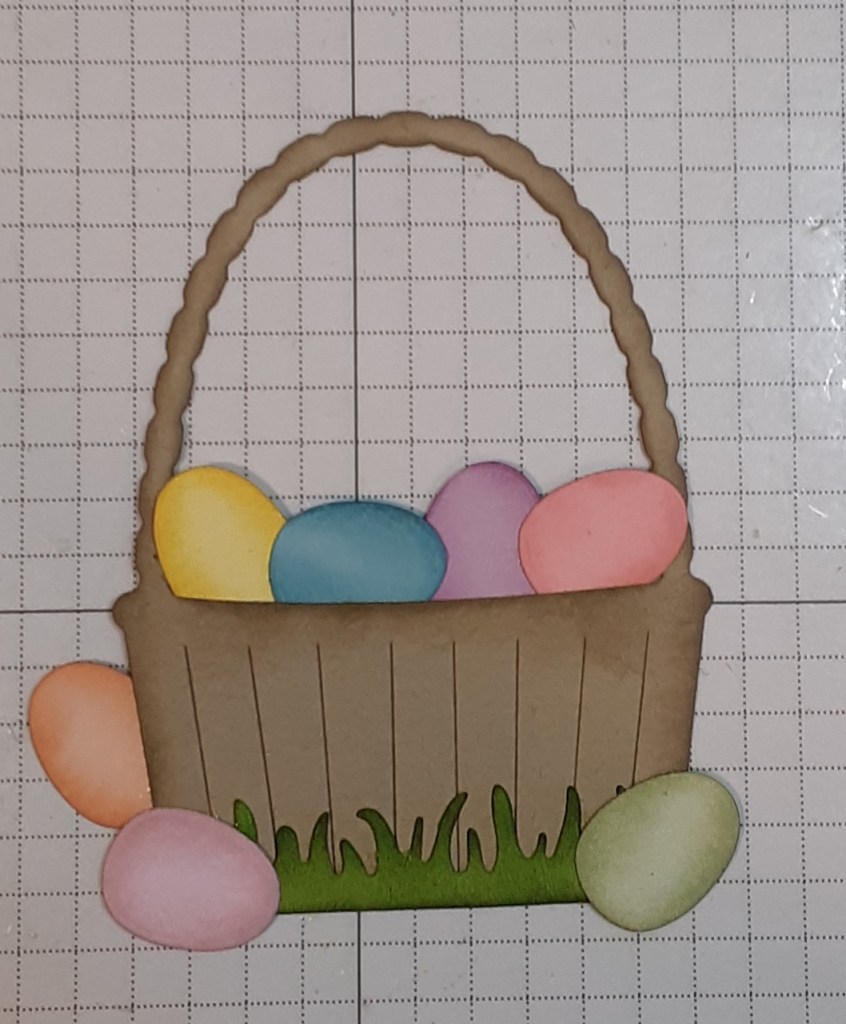
I added the inked bow to the basket. (At this point, I still hadn’t realized I had forgotten to add the strips to the basket.)
I cut the second piece of grass into two pieces. I laid the basket on the card to gauge where I wanted the grass to land (about 1″) from the bottom. I adhered the grass pieces to the arched panel with my favorite adhesive (Multipurpose Liquid Glue or Stampin’ Seal).
I added my basket of eggs to my arched panel with Stampin’ Dimensionals. I glued the panel to my card base.
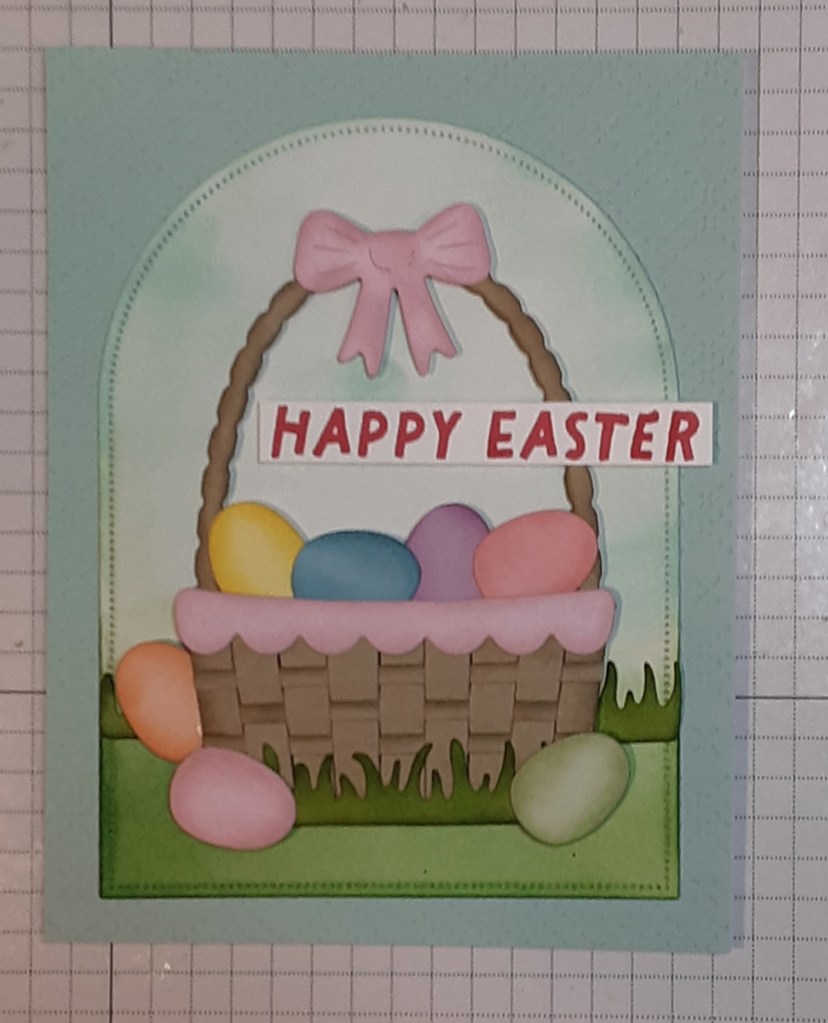
I stamped Happy Easter from the Easter Basket stamp set with Melon Mambo ink on a scrap of Basic White cardstock. I added it to my panel with Stampin’ Dimensionals after trimming it down.
I glued this panel to my card base.
I finished my card by stamping a greeting on a 4” x 5¼” piece of Basic White cardstock and glued it inside my card.
I hope you liked this card.
For the complete supply list, click here.
For additional inspiration:
Images © Stampin’ Up!
