
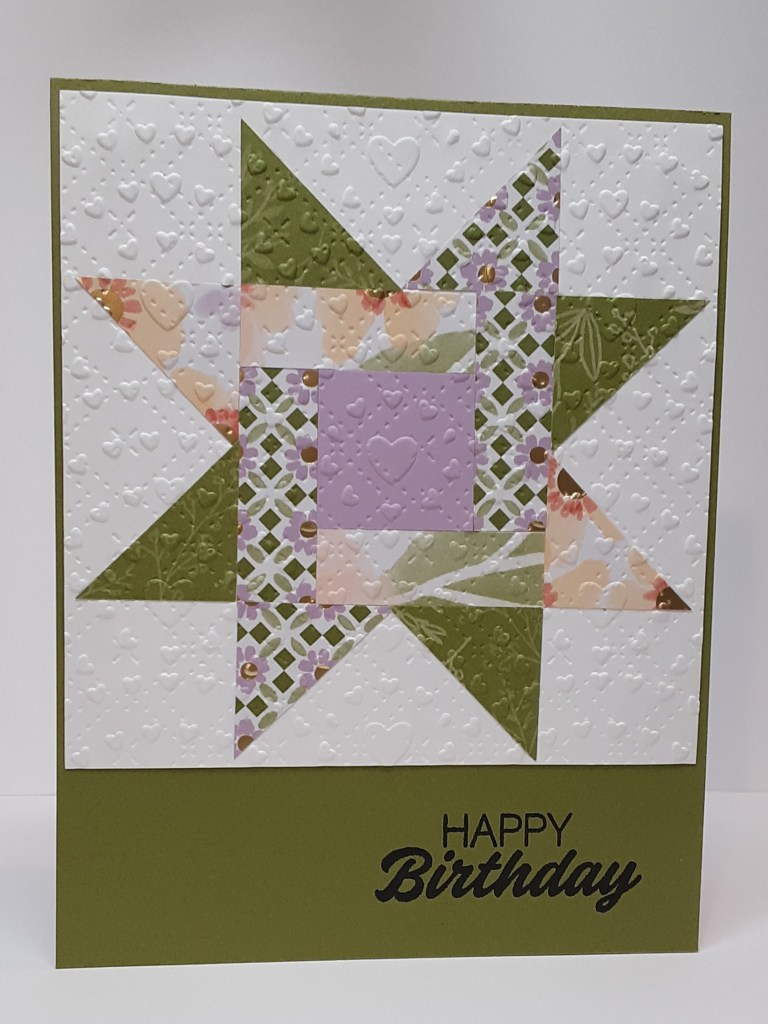
Happy Saturday! Today I have a fun card that incorporates a quilt pattern. You might be hoping for a nice quilt to snuggle up in with some of the weather I have heard predicted for this upcoming week. I keep hearing, I wish the weather would just make up its mind! This card uses a minimal amount of designer paper, but the result is so pretty. I was looking through the papers contained in my Advent calendar kit and, when I get a minute, I plan to make a card using that. If you haven’t ordered the Advent calendar, it is on the Last Chance list and is full of delightful surprises. It is not geared towards Christmas. I am working on finding a minute to make a few projects from it. Now on to the card.
To make the card base, I cut a piece of Old Olive cardstock to 5½” x 8½” on my Paper Trimmer, scored and folded at 4¼”, and burnished with my Bone Folder. I cut a piece of Basic White cardstock to 4⅛” x 4⅛”. I cut a scrap of Fresh Freesia cardstock to 1″ x 1″.
To make the quilt pattern, I used Lovely and Beautiful DSP. I chose three patterns to cut my pieces. This is a great way to use those small scraps.
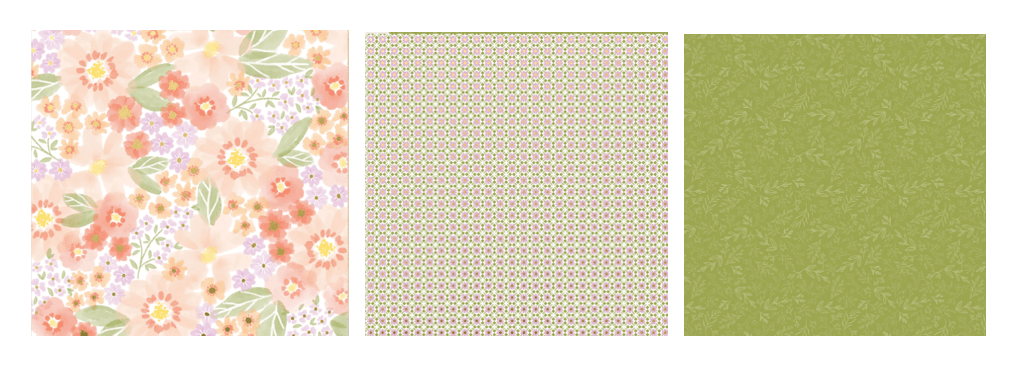
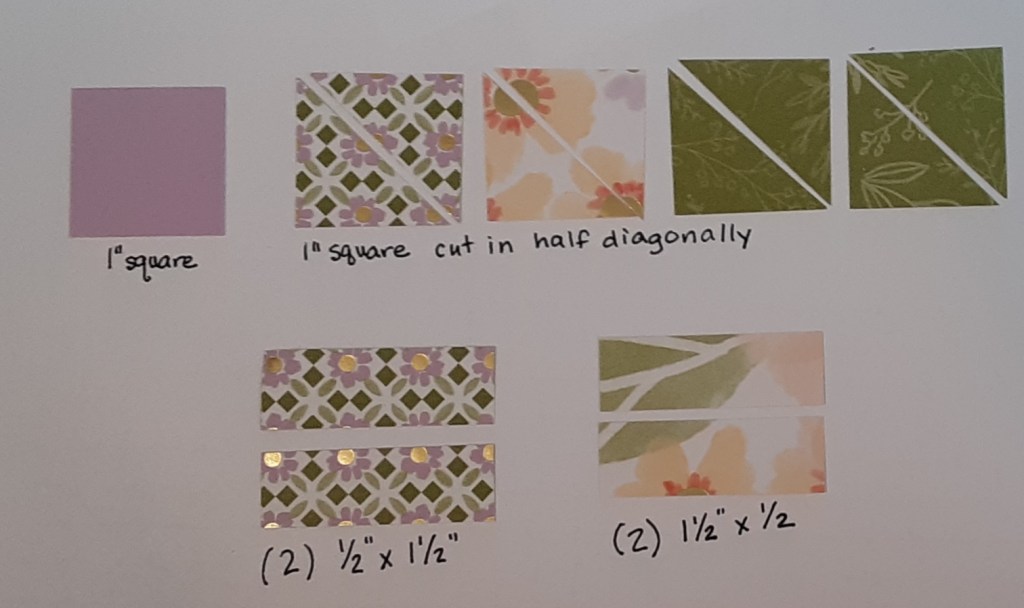
From the large floral pattern, I cut two ½” x 1½” pieces and a 1″ square. From the small floral pattern, I also cut two ½” x 1½” pieces and a 1″ square. From the olive pattern, I cut two 1″ squares. The olive pattern is on the back of the small floral design. I cut all the 1″ squares of DSP in half diagonally with my trimmer.
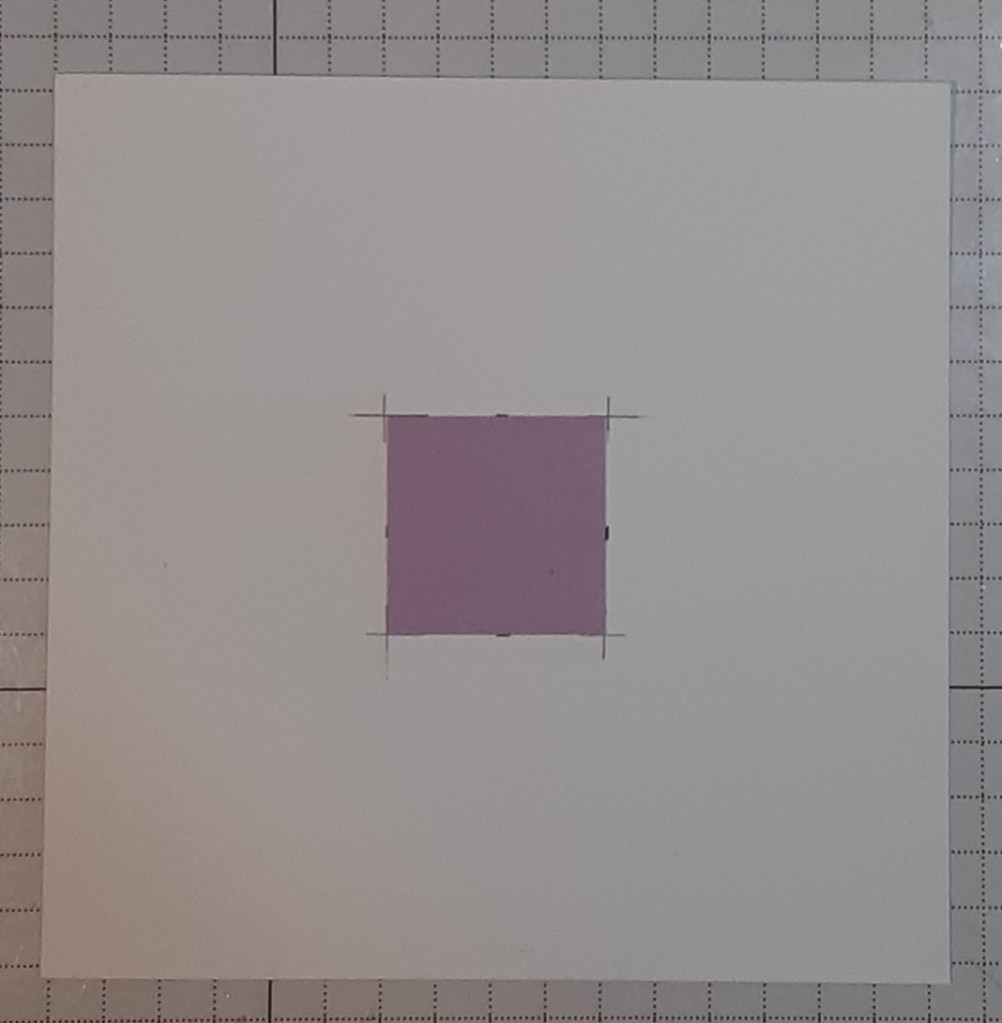
With my T-ruler, I determined the center of my white piece. It is 2-1/16 from any side. I measured ½” from the center on all four sides. Again, my T-ruler came in handy because I was able it slide it and find the intersections of the four lines. It’s okay to mark the different measurements with a pencil, because we will be covering them up. I marked the corners where my beginning square would be. Note: if you hate a little math, you may not want to do this and just eyeball it. I like precision with my measurements; it’s just the way I’m wired.
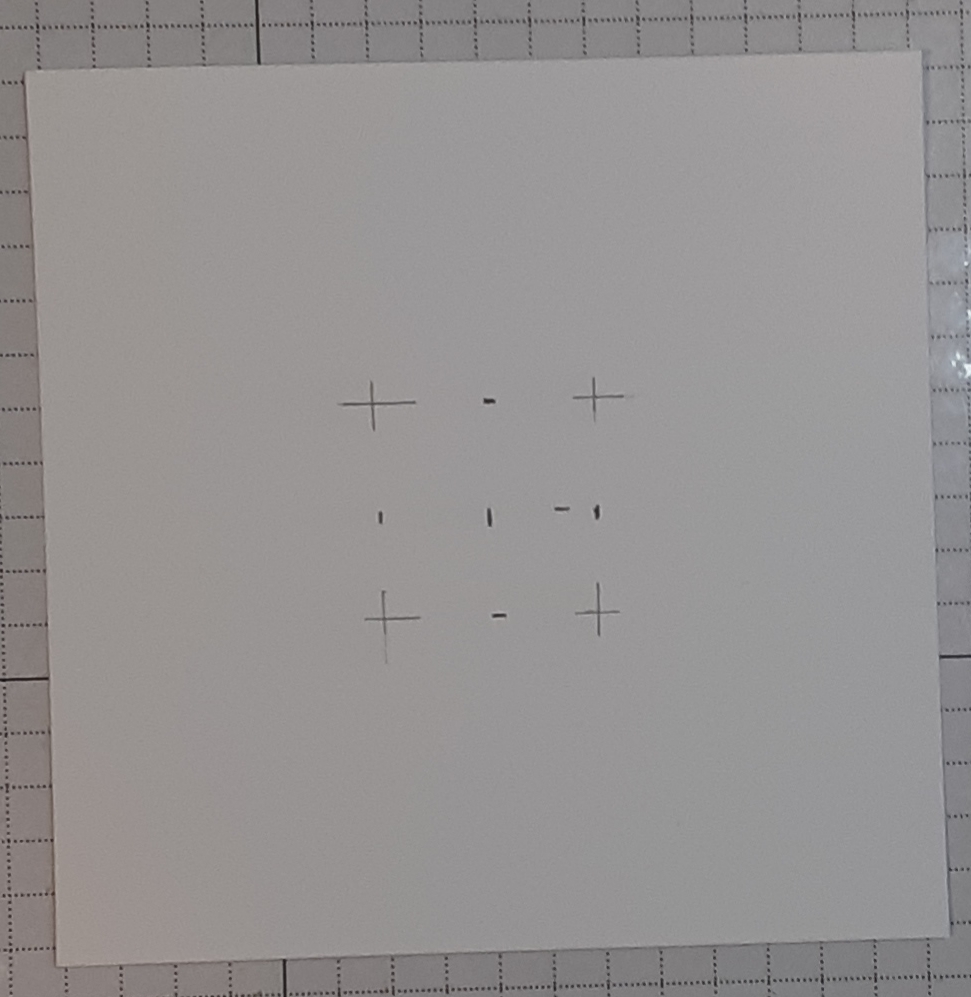
Once I’d found the center, I adhered the freesia square to it with my favorite adhesive (Multipurpose Liquid Glue or Stampin’ Seal). All the fun measuring tasks were finished.
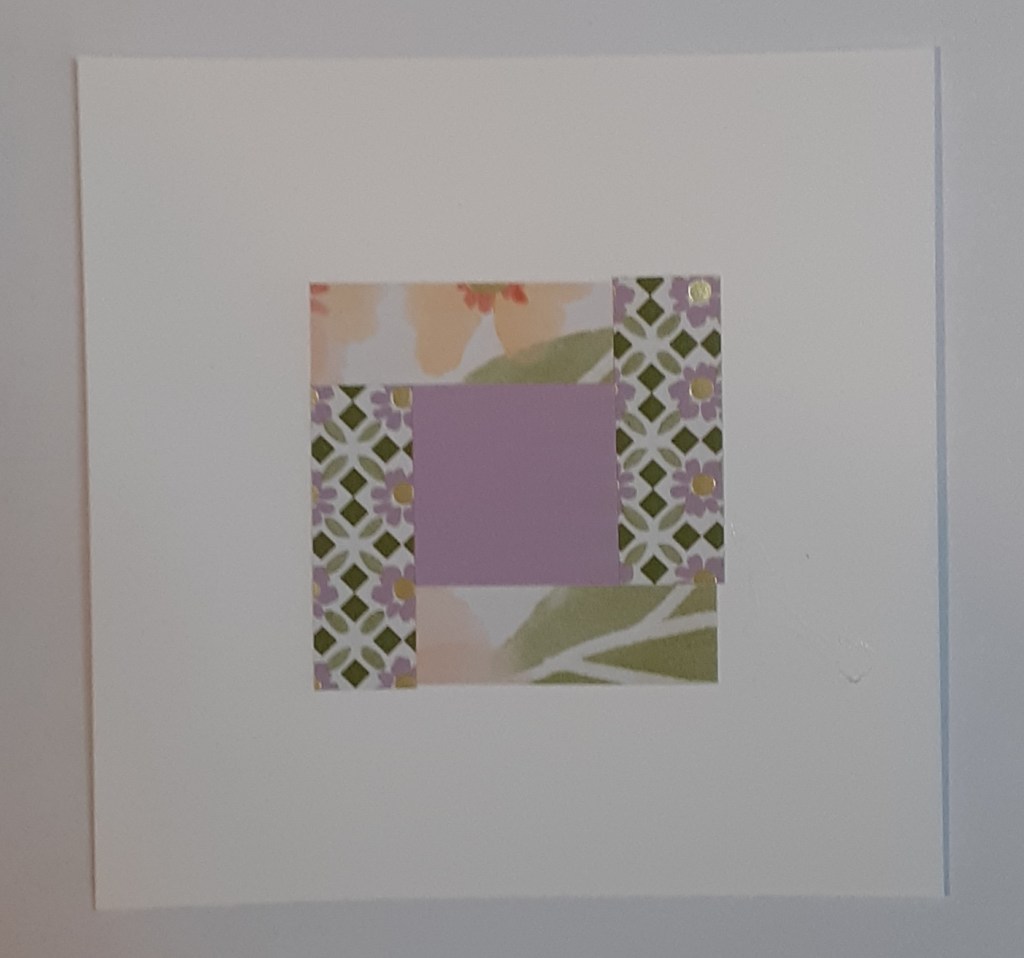
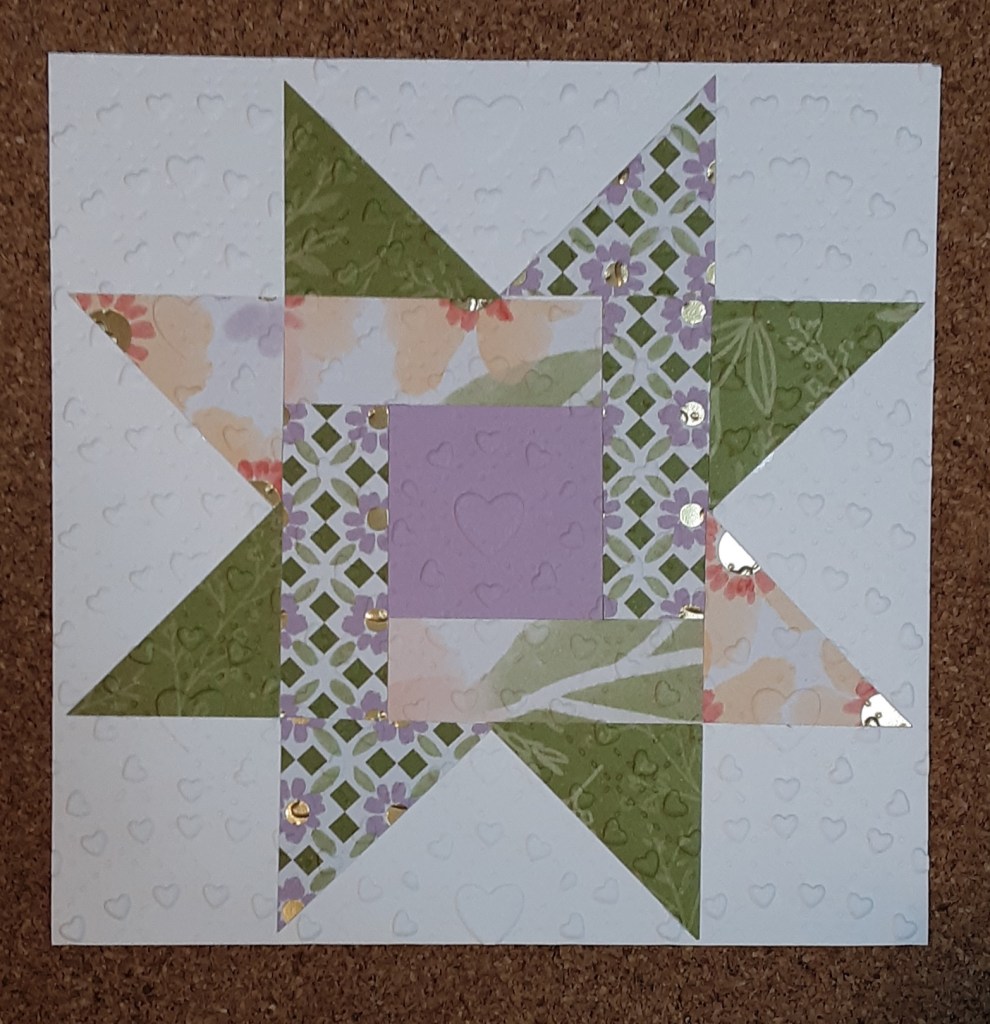
Now I could start building my design. I added the ½” x 1½” strips, lining up the short edge with the edge of the square. Make sure to push the paper right up to the edge so no pencil marks show. I alternated patterns. My edges aren’t perfectly even, but it worked out anyway. (It did cause me some distress, though!)
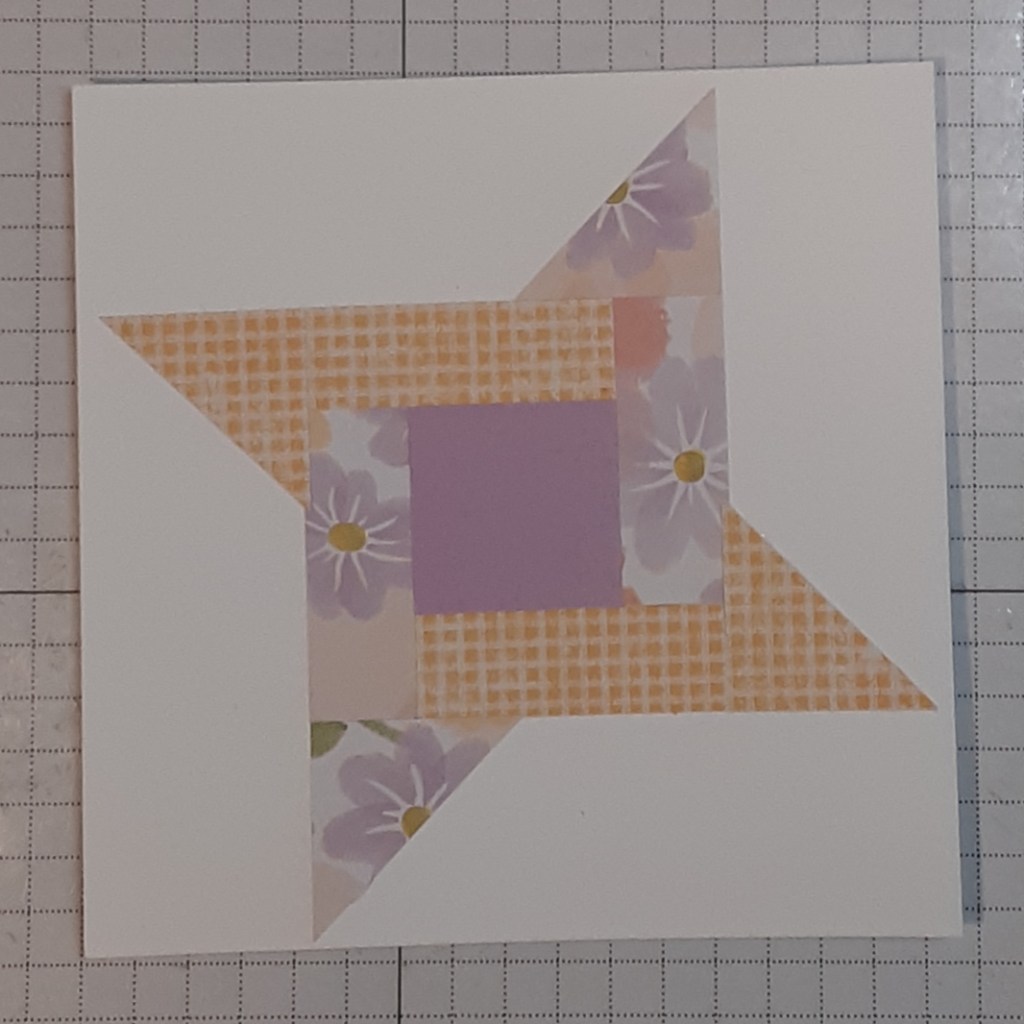
I added the matching triangles to the ends of the strips. The photo shows different DSP that I opted not to go with. I forgot to take a picture of the one I liked.
I added the olive triangles.
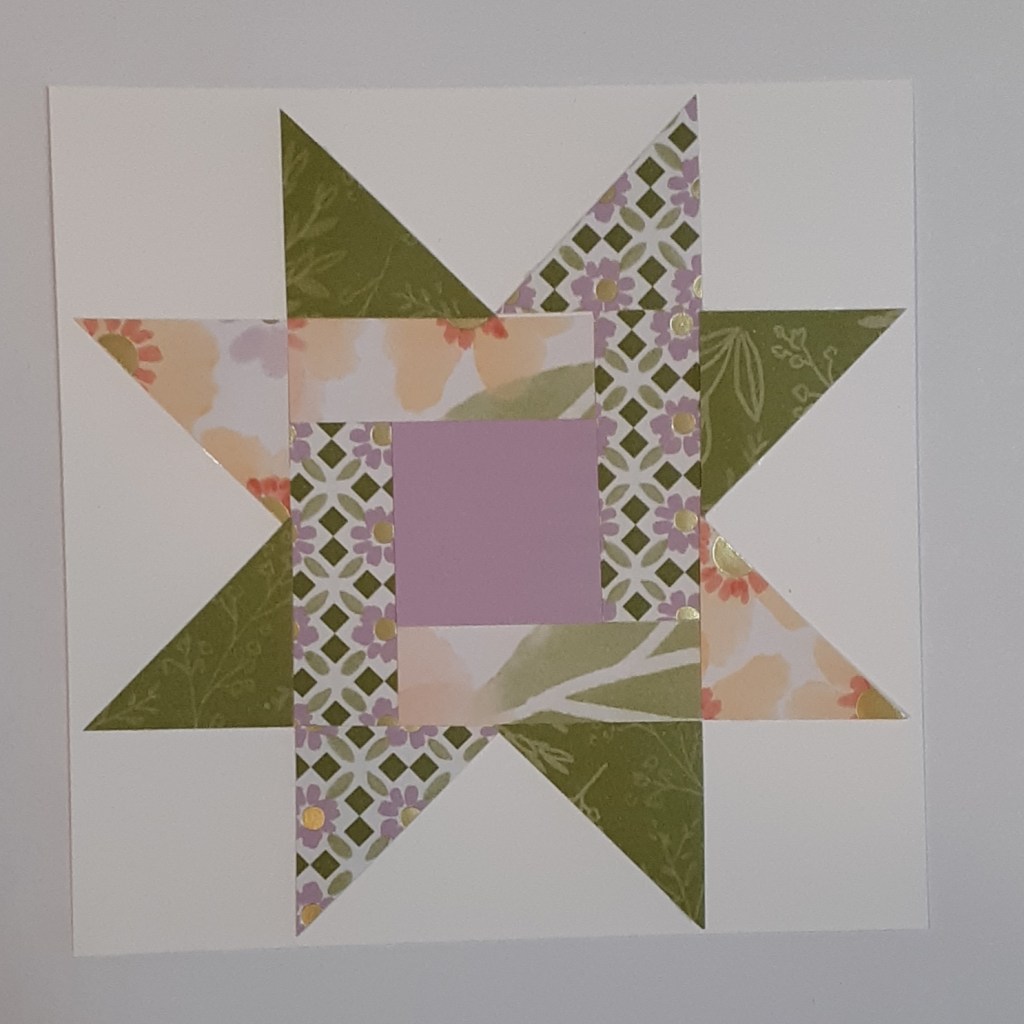
To give my square the textured look of a quilt, I ran it through an embossing folder on my Stampin’ Cut & Emboss Machine. I started with the Forever Plaid embossing folder. That didn’t quite satisfy me, so I ran the next one through the Beautiful Pattern embossing folder. I liked it better but the pattern was just a little too subtle. I ran it through my Hearts of Love embossing folder and I was much happier with the result. When lining up the embossing folder with my DSP design, I thought it would be fun to make sure a heart was in the middle of the center square. Both embossing folders left impressions on the panel. The picture below shows the panel inside the embossing folder.
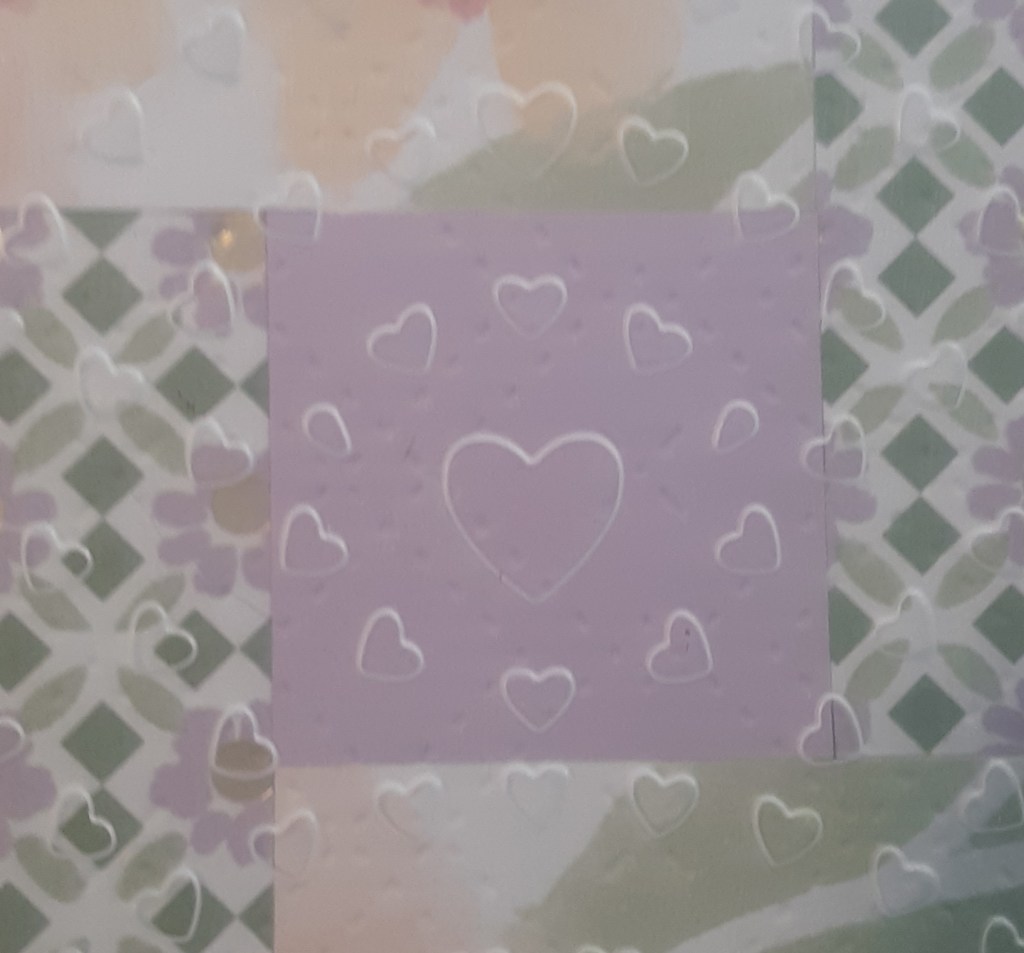
I really liked how it turned out. Hopefully you can see the detail. Can you see the subtle markings from the Beautiful Pattern EF?
I glued this panel to my card base, centering the top and sides. It does have a very narrow border. I stamped Happy Birthday from Boardwalk Fun stamp set in Momento Tuxedo Black Ink in the lower right corner. It fit perfectly in the space.
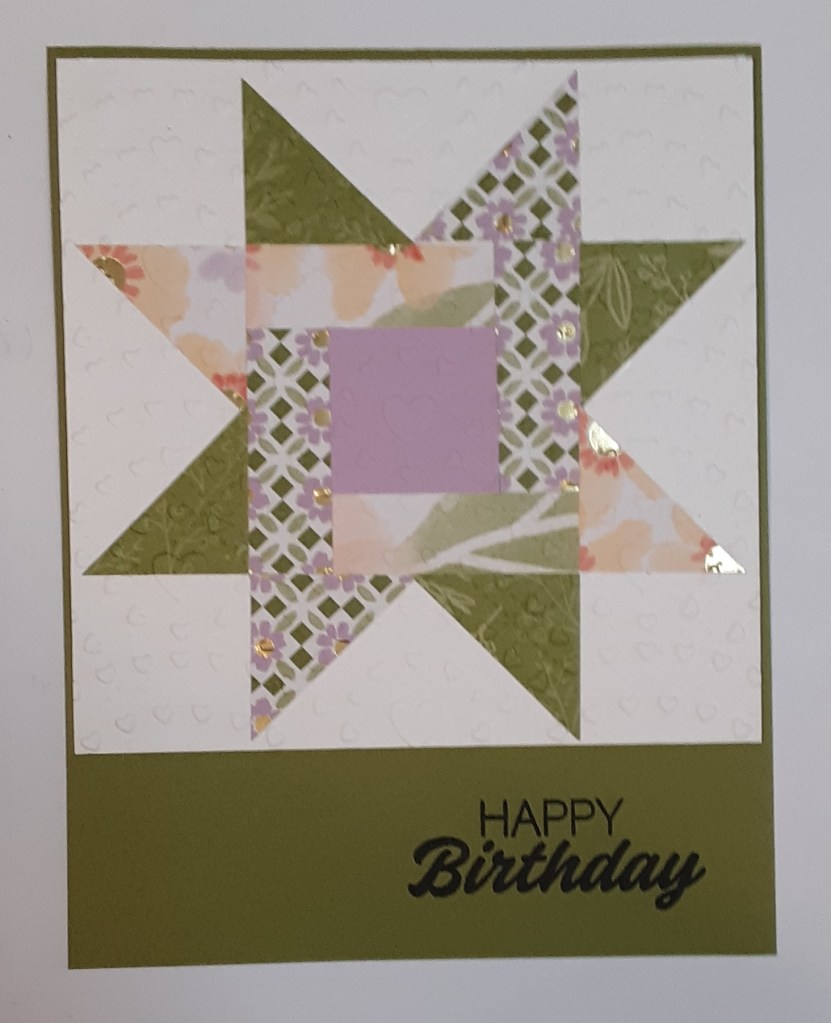
To finish the card, I stamped a greeting on a 4” x 5¼” piece of Basic White cardstock and glued it inside the card.
I hope you liked this card!
For the complete supply list, click here.
Images © Stampin’ Up!
