

Happy Wednesday! We have a few days left to redeem any Bonus Coupons that were earned in January. Can you believe February is almost over? Of course, it is a short month, and I always look forward to the promise of spring. March brings rain and storms and sometimes even snow. This year, it seems almost anything can happen. We had 70° one day and snow the next. I am hoping today’s card helps you anticipate spring.
To make the card base, I cut a piece of Berry Burst cardstock to 5½” x 8½” on my Paper Trimmer, scored and folded at 4¼”, and burnished with my Bone Folder. I cut a piece of Fresh Freesia cardstock to 3¾” x 5″. I ran this through my Damask Designs Embossing Folder on my Stampin’ Cut & Emboss Machine. I cut a piece of Gold Foil Sheets to 3⅞” x 5⅛”. Lastly, I cut a piece of Old Olive cardstock to 1″ x 3¾” and a piece of Lovely & Beautiful DSP to 3¾” x ¾”. I cut the DSP into three ¼” strips. Alternatively, you could cut the Old Olive and DSP strips to 5½” instead of 3¾” and make two cards from the pieces. I’ll show how I used them below.
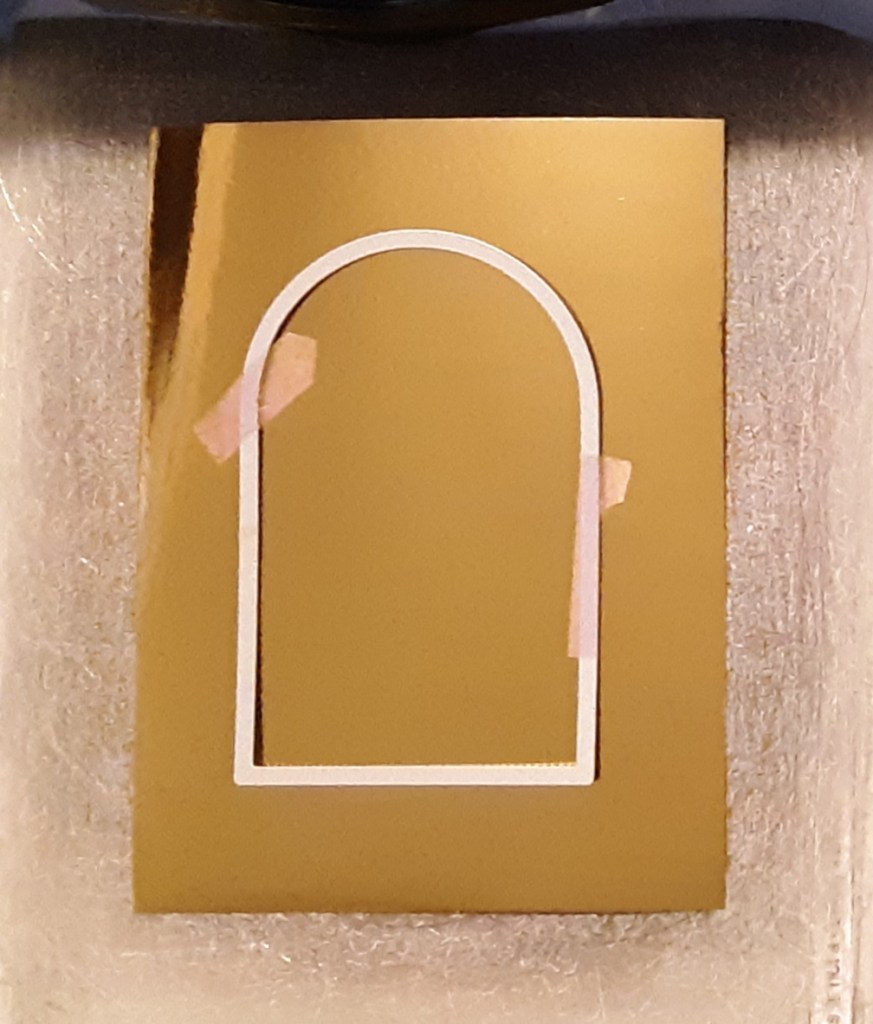
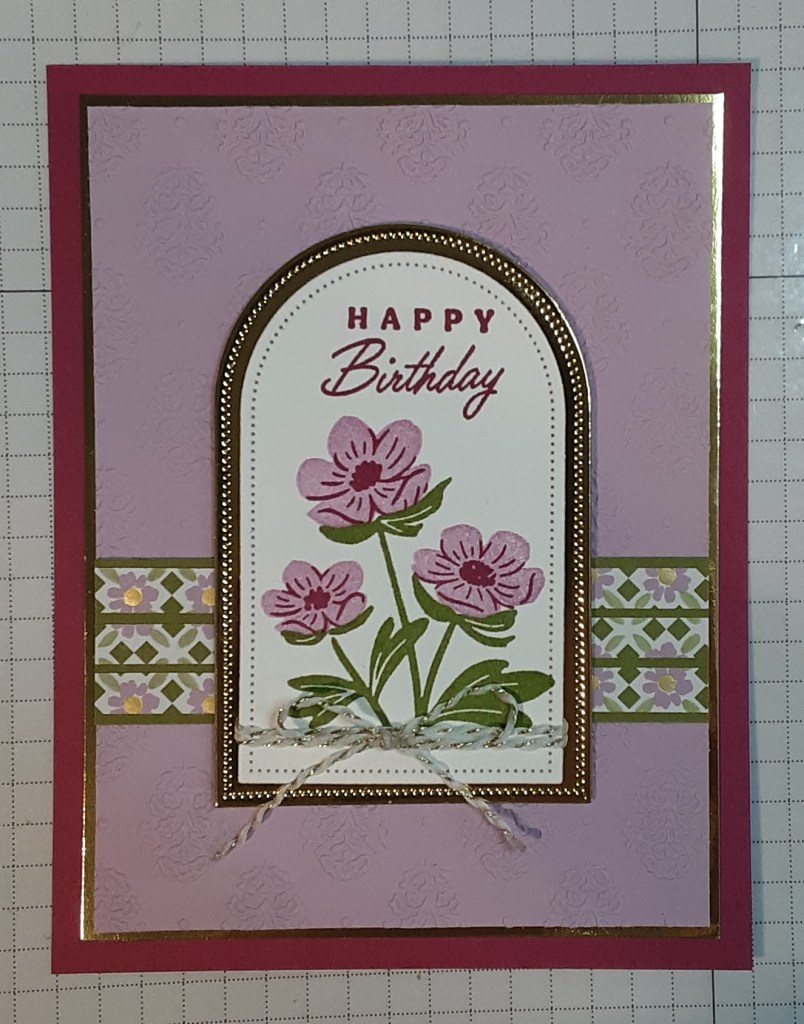
I die cut using the Everyday Arches dies, an arch (2¼” base) from the center of my Gold Foil piece. It seemed a shame to use so much of it and only have a little show. No one will ever know I cut the piece from the middle.
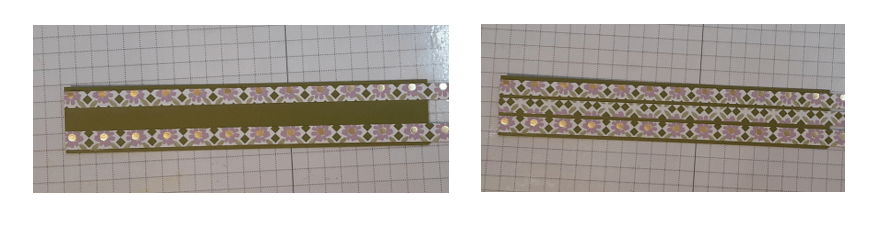
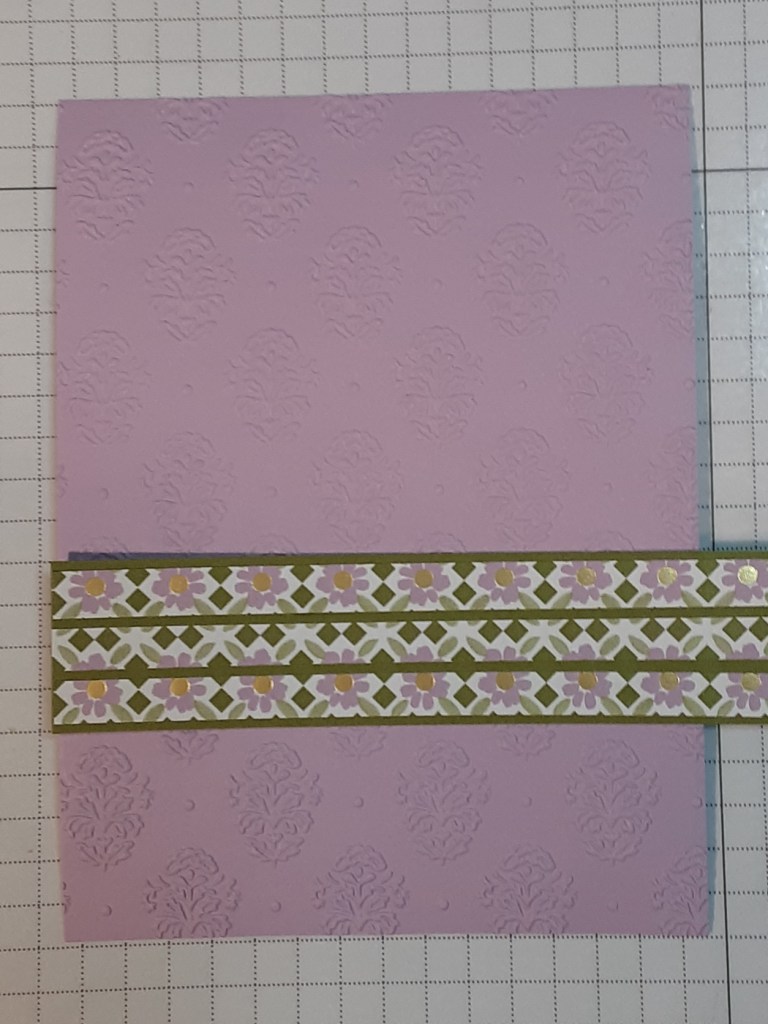
Next, I lined my DSP strips on my Old Olive strip before gluing them down. The space between the strips is 1/16″. I started with the two outside strips. I added the middle strip last, making sure everything was even. I kept my strips in order before gluing with my favorite adhesive (Multipurpose Liquid Glue or Stampin’ Seal).
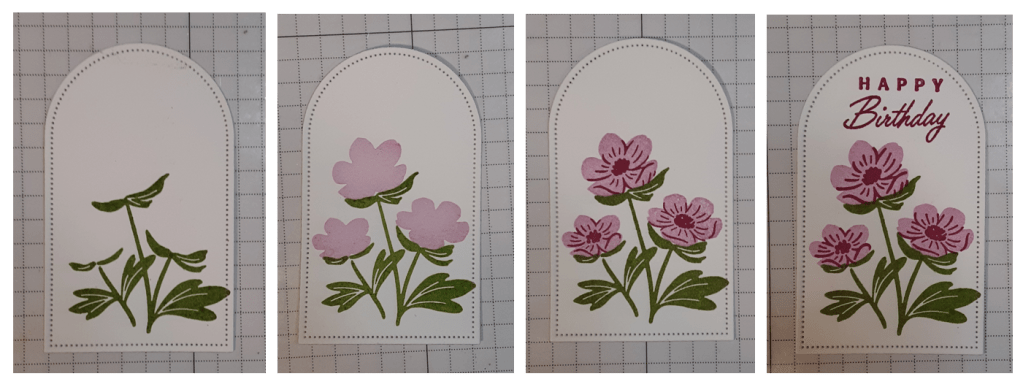
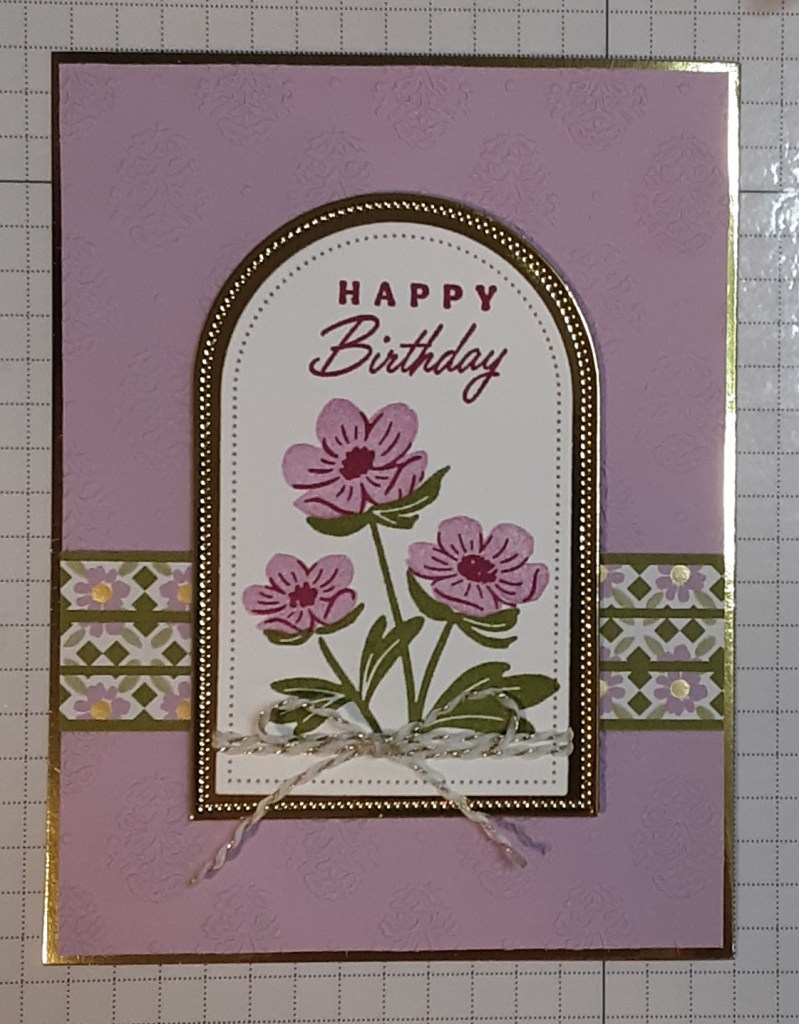
I die cut another, smaller arch (2″ base) from Basic White cardstock. I stamped my images on this, starting with the foliage in Old Olive ink from the Pretty Florals stamp set. I stamped the solid flower image with Fresh Freesia ink. I stamped the detailed image with Berry Burst ink. I decided to make this a birthday card and found a suitable Happy Birthday in the Addressed to You stamp set. I stamped each word separately (they come separate in the set) with Berry Burst ink starting with Birthday.
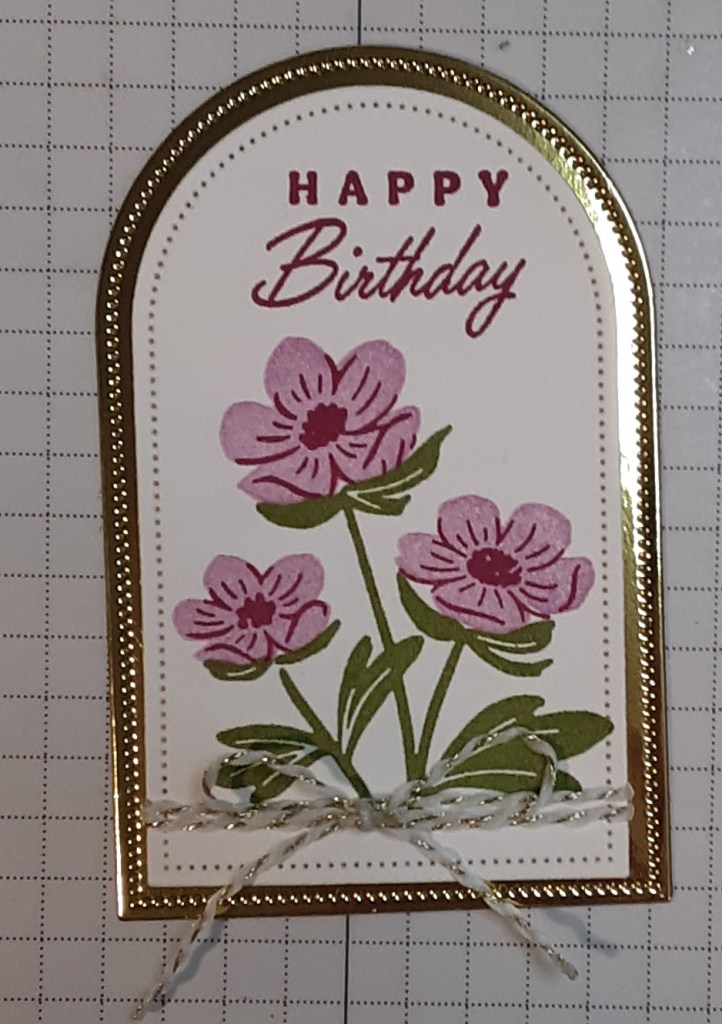
I wanted the plant to be grounded so I added some Black & White & Gold Baker’s Twine to the bottom. I used the gold and white spool. I measured a 3″ piece of twine, doubled it over, added a Mini Glue Dot on either side, and adhered the twine. This reduces bulk (the twine is relatively thick) and reduces waste. Since the twine was rather bulky, I decided to use Stampin’ Dimensionals to add this piece to the gold arch. I like the way it added dimension to the focal image. I also tied a bow and added it to the label with a Mini Glue Dot.
I adhered my DSP strip to my Fresh Freesia piece 1¼” from the bottom. I used my Grid Paper to help line it up. I trimmed the edges.
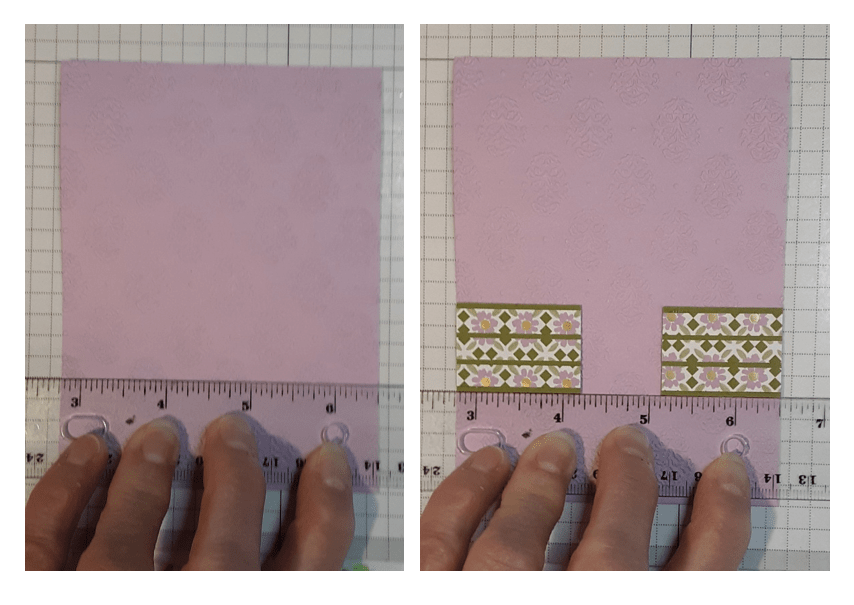
If you wanted to go the 5½” strip route and make two cards, cut the strip into 1⅜” sections. I lined up a ruler with the 1¼” line on my Grid Paper and held it down to create a ledge to line up my two strips on. I made the edges flush with the panel. The gap won’t show because I will be putting my focal image over it.
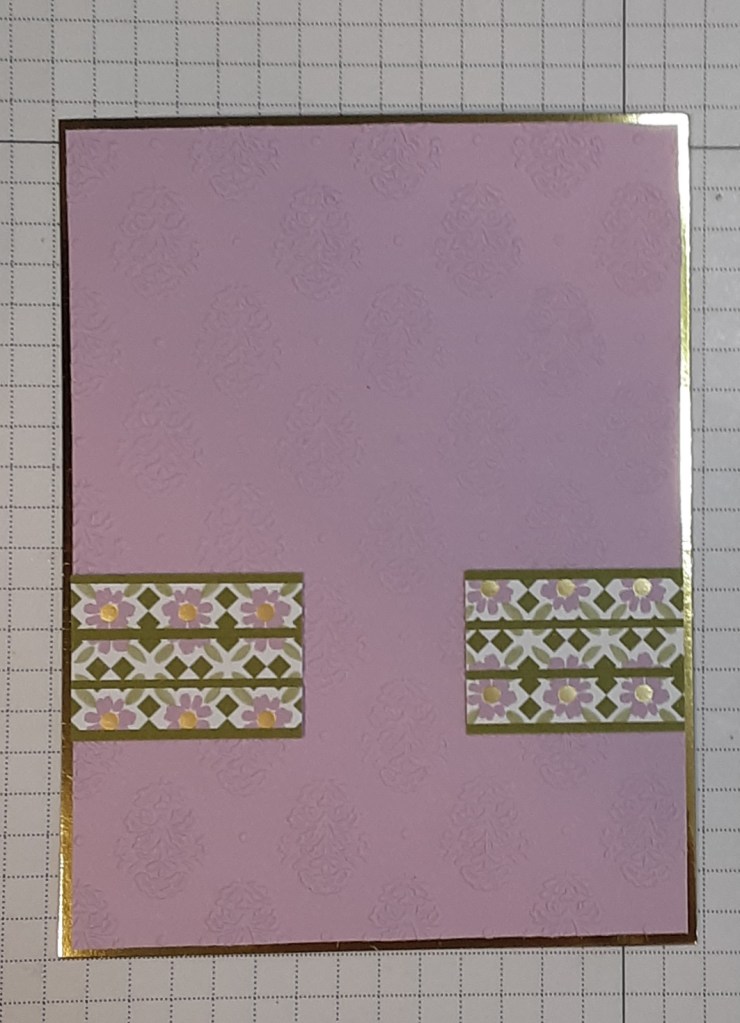
I adhered my embossed panel to the gold piece. It left a narrow border all around.
I glued my focal image onto this panel.
I glued this to my card base.
For a bit of sparkle, I added three Rhinestones to the card.
To finish the card, I stamped a greeting on a 4″ x 5¼” piece of Basic White cardstock and glued it inside the card.
I hope you liked this card!
For the complete supply list, click here.
