
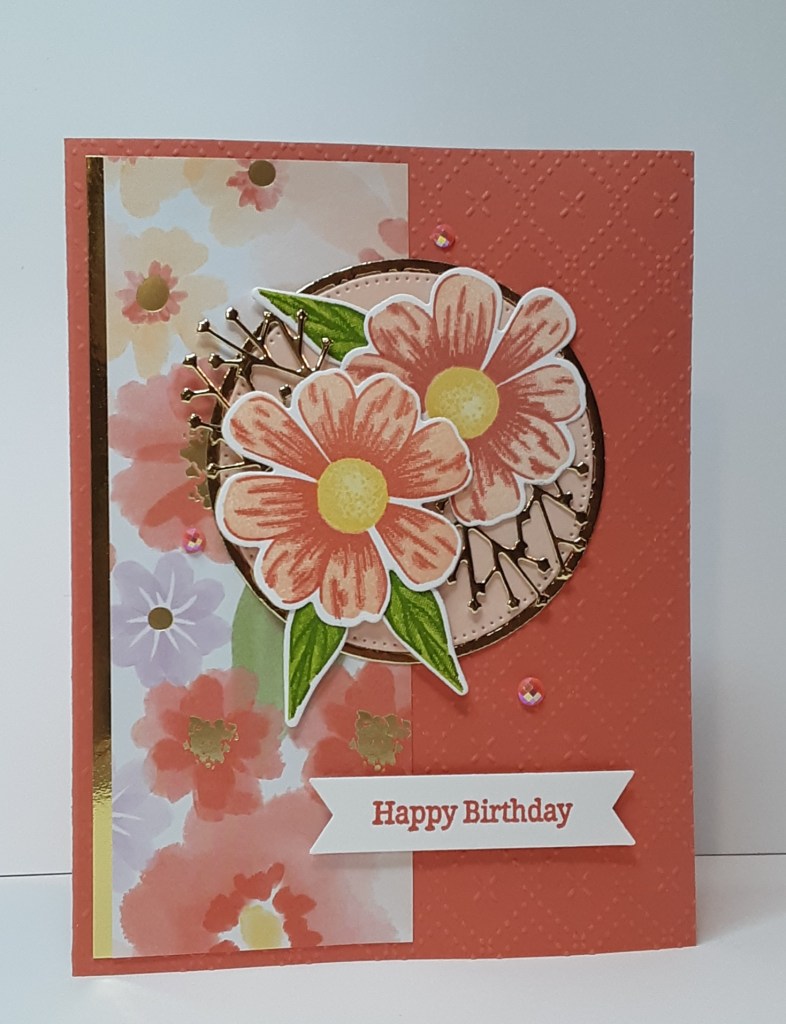
Happy Wednesday! Today I have a card that was inspired by one made by my friend Gigi Parido. I love the colors she chose that coordinated with the DSP. It just screams spring, and, I don’t know about you, but I am certainly ready for the seasons to change. We still have a couple piles of snow left from Fern.
Stampin’ Up! is offering free shipping today, February 18 through Friday, February 20 on orders over $75, before tax and shipping and after coupons and rewards. Now is a good time to redeem your coupons before they expire. Don’t forget that the 2024-2026 In Colors retire soon, so if you have a favorite, you’ll want to order before they are gone.
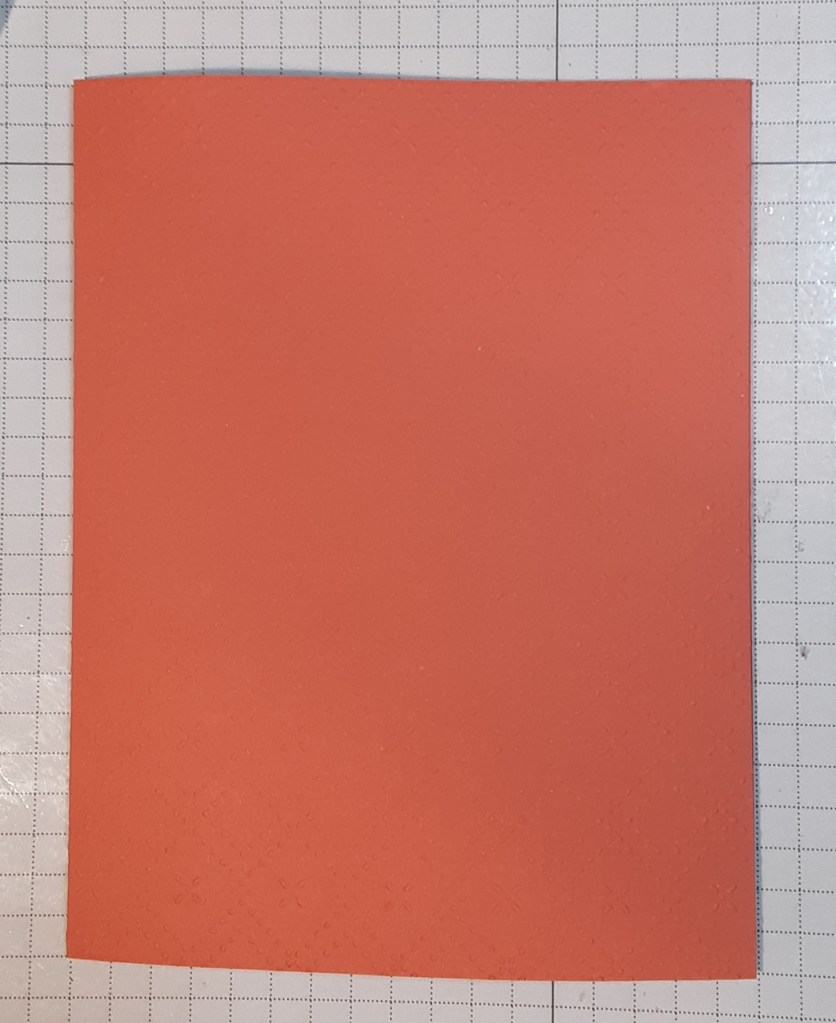
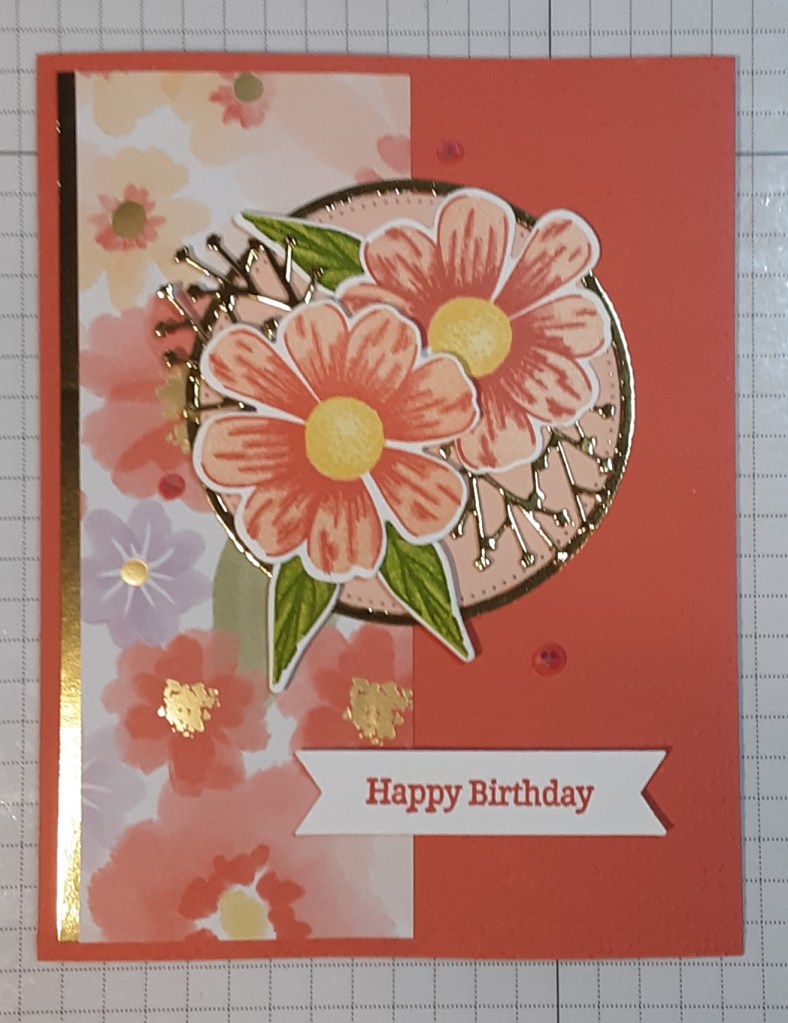
Now on to the card. To make the card base, I cut a piece of Calypso Coral cardstock to 4¼” x 11” on my Paper Trimmer, scored and folded at 5½”, and burnished with my Bone Folder. This card base made it easier to run the front of my card through the Beautiful Pattern Embossing Folder on my Stampin’ Cut & Emboss Machine. If you prefer a sturdier card front, cut another piece of Calypso Coral cardstock to 4⅛” x 5⅜” and run this piece through the embossing folder instead of the card base. Adhere the embossed piece to the card front with your favorite adhesive (Multipurpose Liquid Glue or Stampin’ Seal). Even though this embossing folder is a 3D one, the pattern is not as deep as other 3D embossing folders and gives a subtle texture to the cardstock.
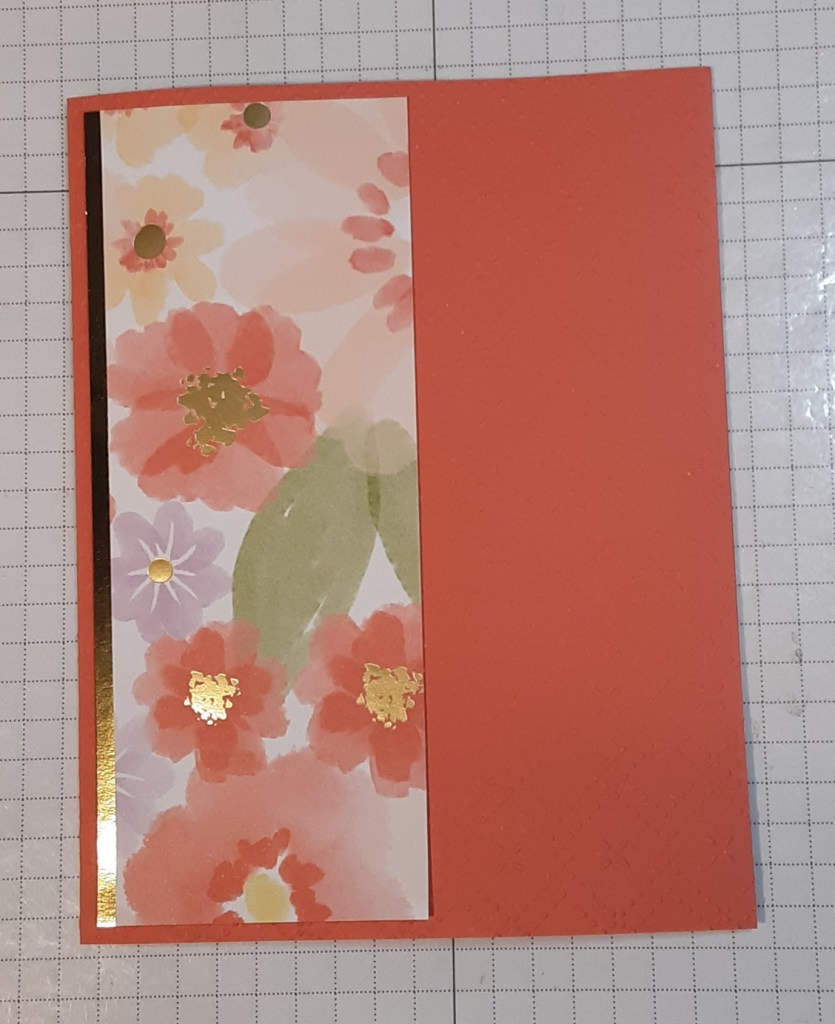
Next, I cut a piece of Gold Foil Sheets to ½” x 5¼”. I cut a piece of Lovely & Beautiful Specialty DSP to 2″ x 5¼”. I adhered the DSP to the gold strip, trimming any uneven ends, and added it to my card base.
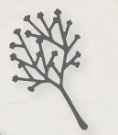
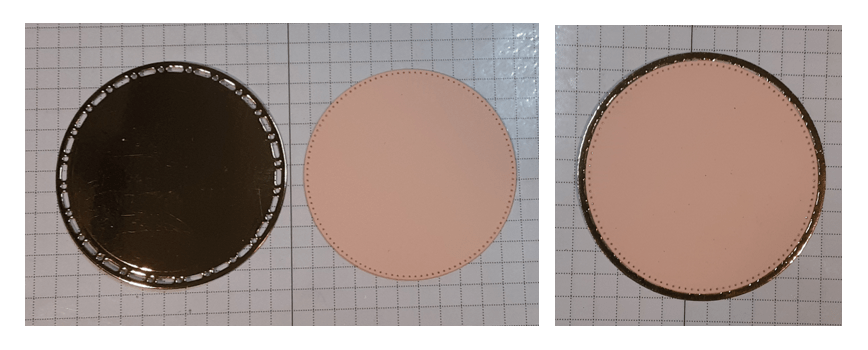
With my card base complete, I cut the second largest circle with my Stylish Shapes dies from Petal Pink cardstock. I cut a circle with my Spotlight on Nature dies from Gold Foil sheets. I also cut the sprig from the Beautifully Celebrated dies two times from Gold Foil. I was able to cut both sprigs from the center of my gold circle with careful positioning. You can use a separate piece if you prefer.
I adhered the two circles together. There is just a narrow edging of gold.
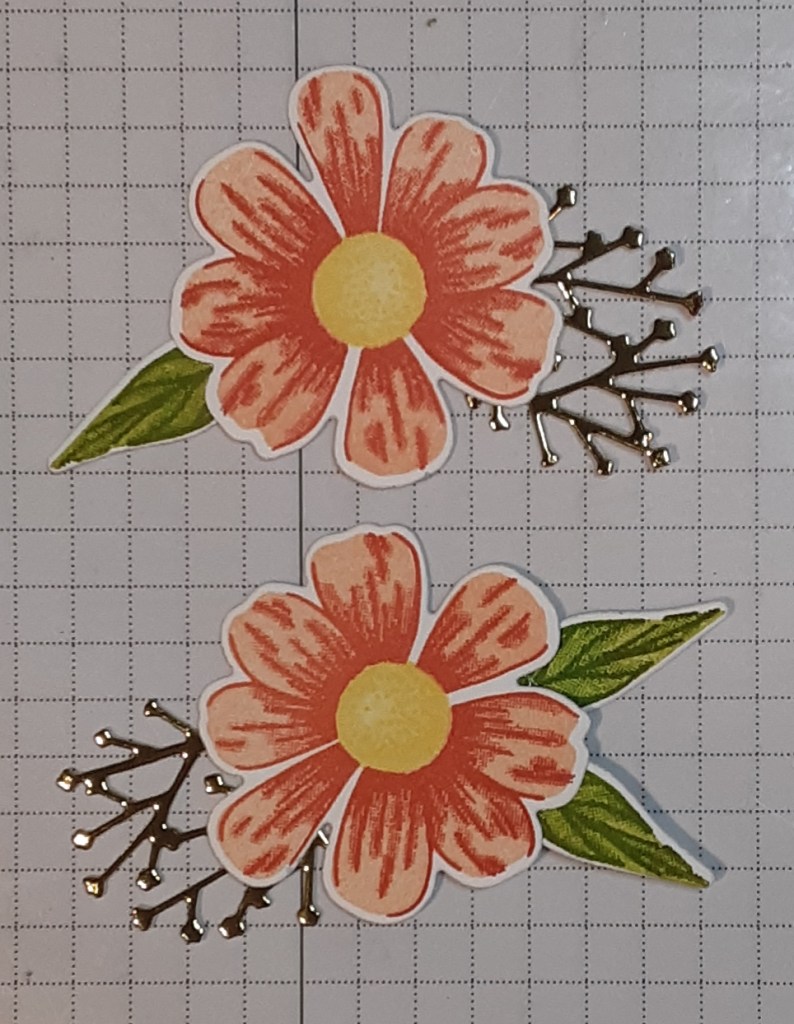
I stamped using the Impressions Abloom stamp set. This set is on the Last Chance List for only $8.00! What a bargain. The dies have already sold out, but the images are easy to fussy cut. I stamped the detailed image first with Calypso Coral ink on Basic White cardstock. I stamped the solid image with Petal Pink ink. I stamped the centers with Lemon Lolly ink (solid image) and Daffodil Delight ink (detailed image). I stamped two flowers this way. I was able to die cut these out since I have the dies.

I stamped the leaves with Granny Apple Green ink and Lemon Lime Twist ink. I made three leaves.
I arranged my flowers on my circles until I was satisfied with the positioning. I adhered the back flower directly on the circle and popped up the front flower with Stampin’ Dimensionals.
I added the circle with the flowers to my card.
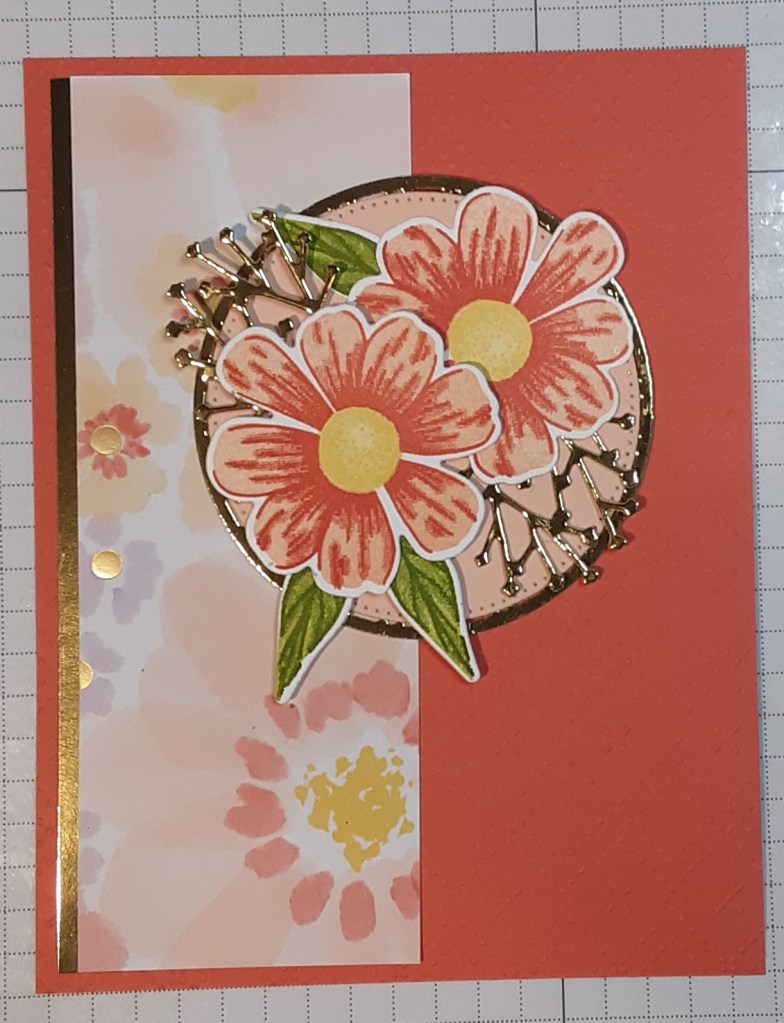
I stamped Happy Birthday from Banner Sayings bundle with Calypso Coral ink on Basic White cardstock. I punched it out with the coordinating punch. I added it to my card with Stampin’ Dimensionals. For a bit of sparkle, I added three gems from the Pearlized Faceted Circles.
Lastly, I stamped a greeting on a 4″ x 5¼” piece of Basic White cardstock and glued it inside my card.
I hope you like my rendition of Gigi’s beautiful card!
For the complete supply list, click here.
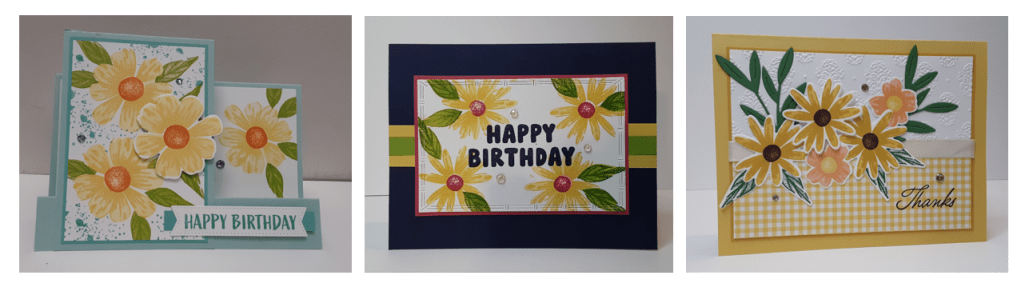
For additional inspiration:
Images © Stampin’ Up!
