
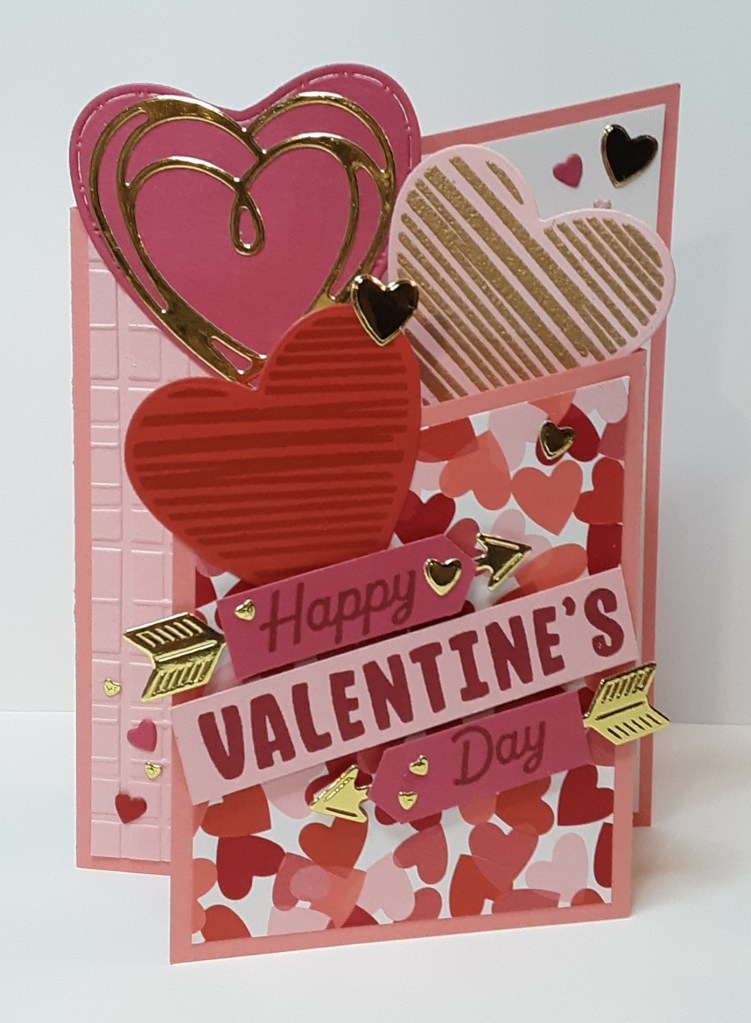
Happy Valentine’s Day! This card has been in my mind for a while now and I finally was able to put it together. I tried to get it together for Wednesday, but time was not on my side. It’s not quite a simple card, but not difficult either. Last year Stampin’ Up! had the gorgeous Marbled Elegance DSP with all the pinks and reds marbled with gold foil. I really wanted to recreate that color scheme and incorporate this year’s paper. It uses the same color palette without the gold foiling. So, I knew I would have to add the foiling aspect myself. I used Gold Foil Sheets to accomplish this.
Don’t forget to redeem your Bonus Days coupons! We have two weeks left. You should have received an email from Stampin’ Up! with a code for each coupon when you ordered during the qualifying period with an order of $50 or more. Now on to the card.
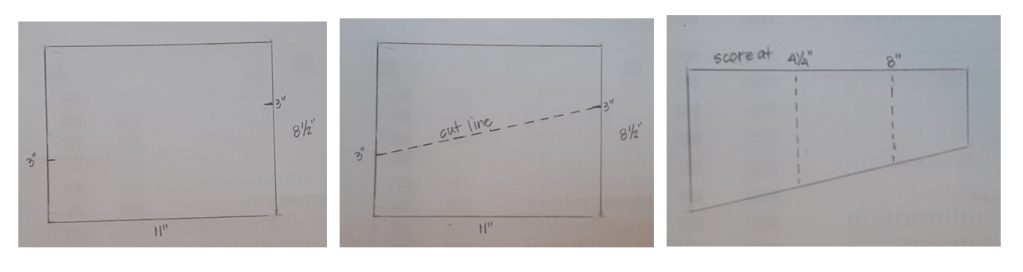
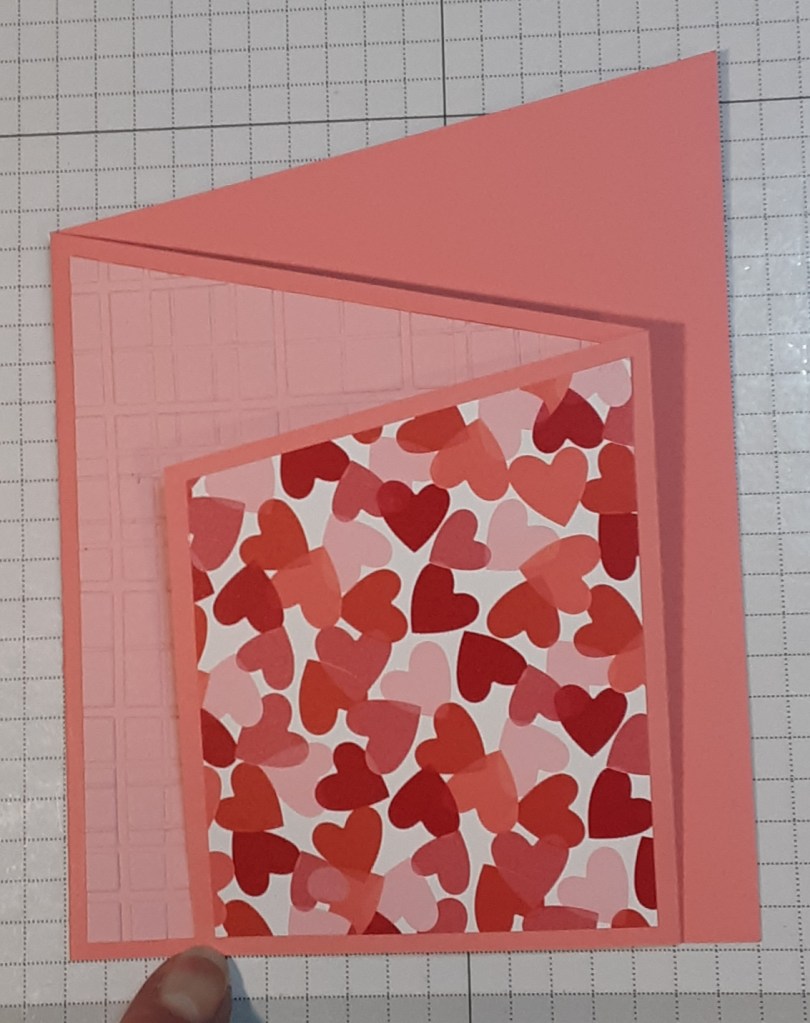
To make the card base I started with an 8½” x 11” sheet of Flirty Flamingo cardstock. I marked 3″ down from the upper right-hand corner on the 8½” edge and up from the bottom left-hand side with a pencil. I lined the tick marks up in the track of my Paper Trimmer and cut diagonally across the paper. This actually makes two card bases. I scored at 4¼” and 8″ and folded in a Z fold with the two largest sections making a valley fold and the smallest section folding back. I burnished my folds with a Bone Folder.
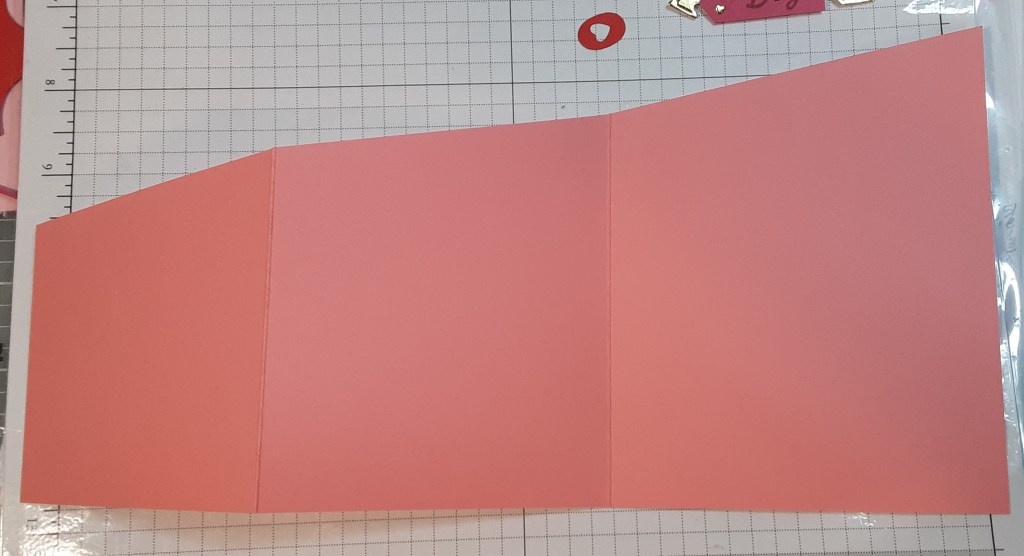
The folded cardstock should look like this:
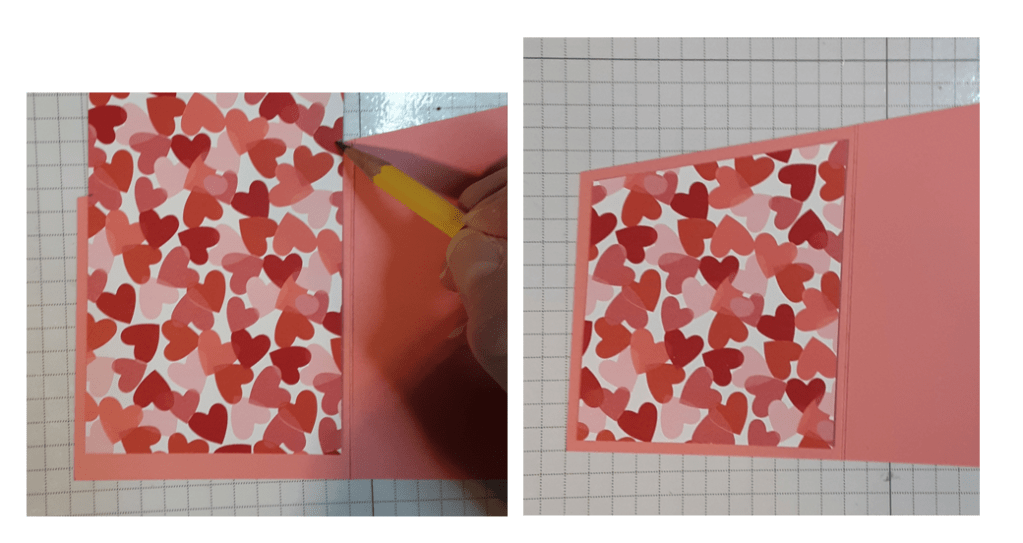
With the Made with Love DSP, I cut a 3″ strip. I put one end of the strip on my card base and made a pencil mark where I wanted to cut the DSP so the angles would match. I lined the pencil marks in the track of my trimmer and cut. Notice in the photos that I slid the paper up ¼” from the bottom instead of ⅛” to give me ⅛” borders all around.
I measured a piece of Pretty in Pink cardstock for the middle section on the other side of the card base. I ran this piece through the Forever Plaid Embossing Folder on my Stampin’ Cut & Emboss Machine.

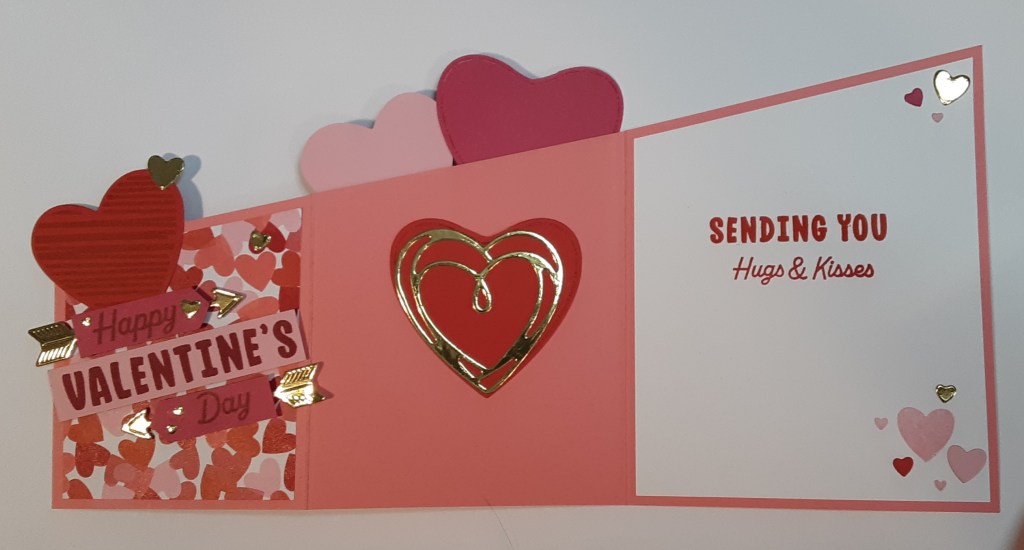
Lastly, I did this with a 4″ wide piece of Basic White cardstock for the largest section. With the Endless Love bundle of stamps and dies, I stamped Sending You hugs & kisses with Poppy Parade ink on the white piece. I also stamped the cluster of hearts in Pretty in Pink ink in the lower right-hand corner before adhering with my favorite adhesive (Multipurpose Liquid Glue or Stampin’ Seal).
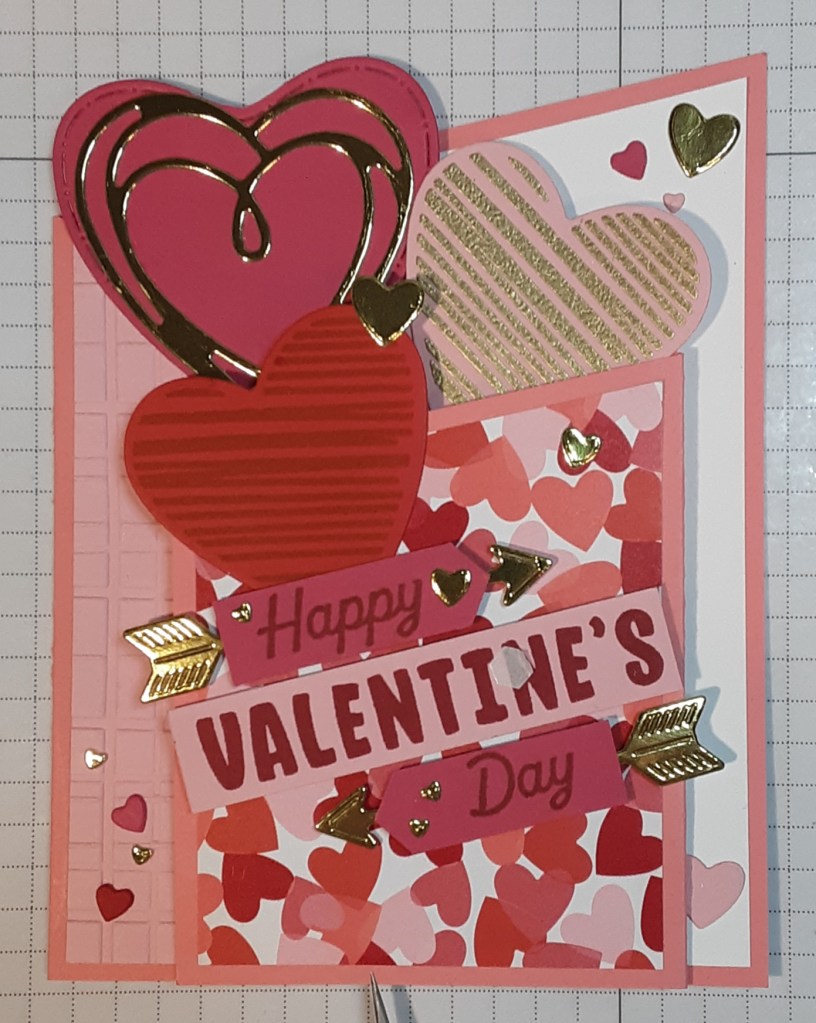
I stamped with Versamark ink the striped heart on Pretty in Pink cardstock. I sprinkled it with Gold Metallic Embossing Powder and heat set it with my Heat Tool. After it cooled, I die cut it with the coordinating heart from the set on my die machine. I used Poppy Parade ink with the same stamp (after cleaning it) on Poppy Parade cardstock for a tone-on-tone look and cut it with the coordinating die. I die cut the various other hearts and arrows from Melon Mambo cardstock, Gold Foil Sheets, Poppy Parade cardstock, and Real Red cardstock.
I stamped Valentine’s from the stamp set on a strip of Pretty in Pink cardstock with Melon Mambo ink. I trimmed my sentiment down with my trimmer. I stamped Happy and Day with Melon Mambo ink on Melon Mambo cardstock. I punched these two words out with my Banner Sayings punch.
I laid out my pieces on my card until I liked the way they looked. I adhered the poppy heart to the front. I used Stampin’ Dimensionals to adhere the sentiment pieces. I also cut the arrows in the middle and extended the ends on either side of the sentiments.

I added some hearts to the middle panel, peeking out from behind the front panel. You could add additional hearts to the backside of those on the middle panel if you don’t want the partial hearts showing when you open the card. Can you see the stray Dimensional backing on the card below? Those little boogers stick to everything!
I added some hearts to the inside of the card.
Pick the colors you prefer to use. I think this would look great with a Real Red card base. I didn’t use Sweet Sorbet because… I forgot about it!
I hope you liked this card!
For the complete supply list, click here.
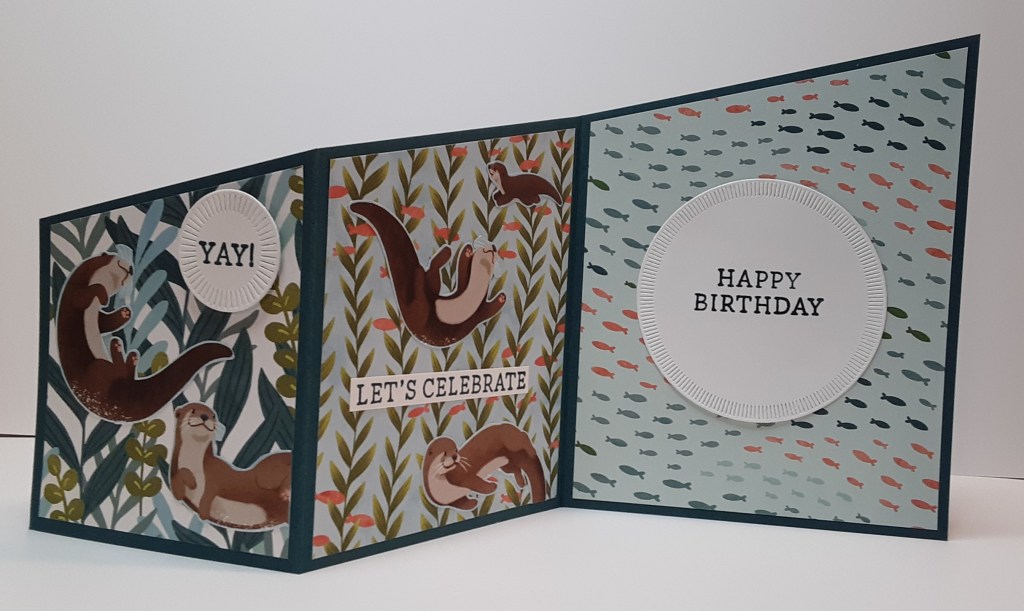
Here is another triple panel Z-fold card.
Images © Stampin’ Up!
