
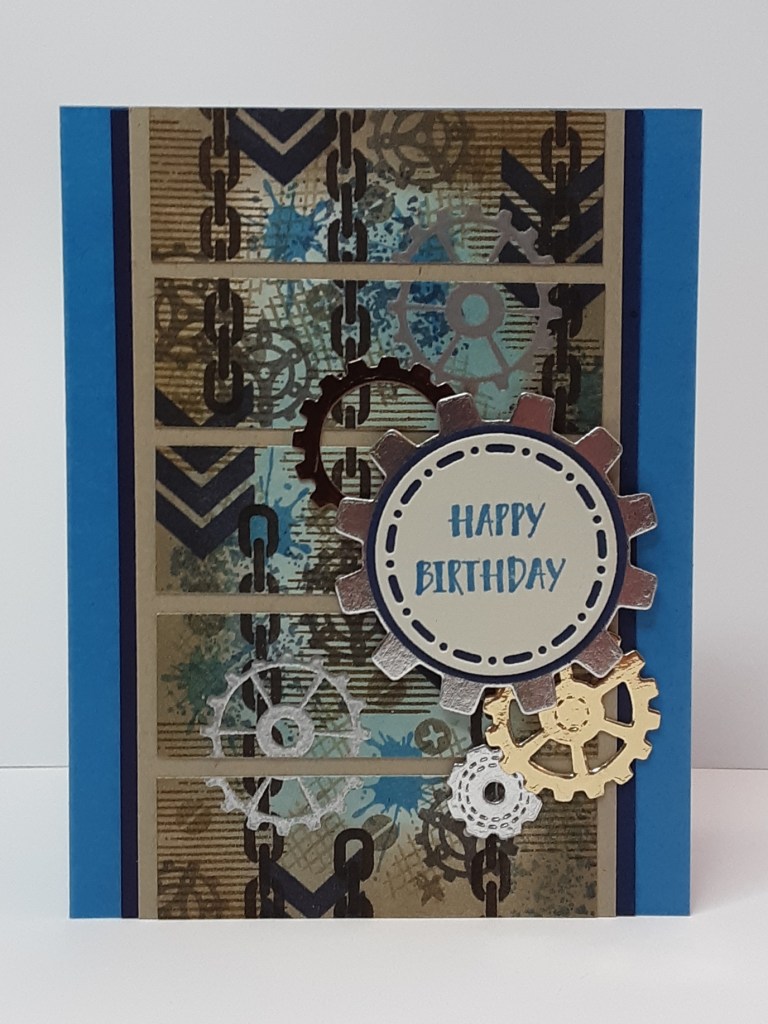
Today I have another card using the Gears & Textures bundle. My nephew works as a mechanic, and I thought this set would create a birthday card that was perfect for him! So, if you have a handy man in your life, you will want this set. I think it would also work for anyone that is into Steam Punk, so Jules Verne and Back to the Future! (Is that still a thing or am I dating myself?)
Remember all those $5 coupons that you earned during Bonus Days? Now is the time to cash them in! You should have a code for each one in your email.
If you haven’t done it already, check out the updated Last Chance products. So many things that I will miss once they are gone. Remember, Last Chance products are not restocked.
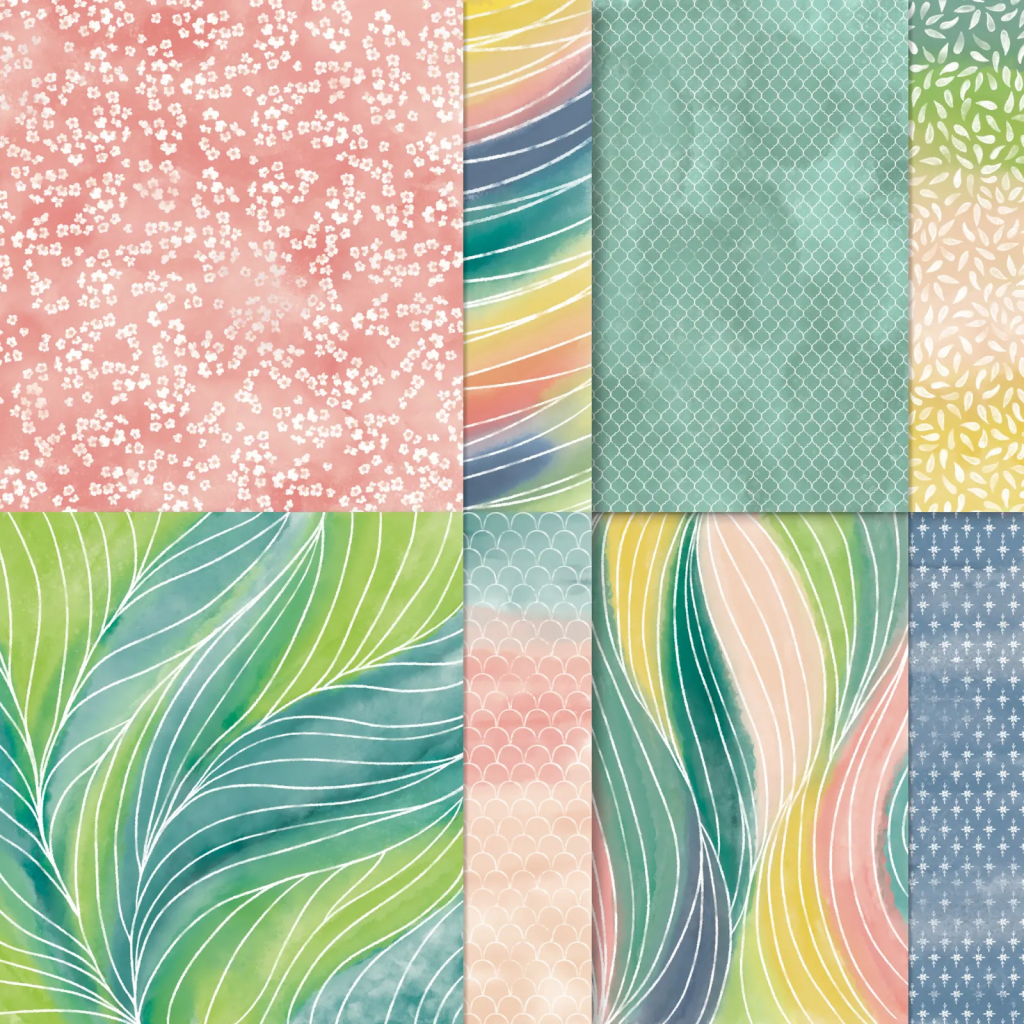
Stampin’ Up! has a new Product of the Month, Painted Illusions 12″ x 12″ DSP (167977) for $5.00 with an additional $75. purchase.
Now on to the card. To make the card base, I cut a piece of Azure Afternoon cardstock to 5½” x 8½” on my Paper Trimmer, scored and folded at 4¼”, and burnished with my Bone Folder. I cut a piece of Night of Navy cardstock to 3½” x 5½” for my mat. You could also cut two ½” x 5½” strips to save on paper and reduce bulk. I cut a piece of Crumb Cake cardstock to 5½” x 3¼”. Finally, I cut a piece of Basic Beige cardstock to 3″ x 5″. These pieces will create my background panel.
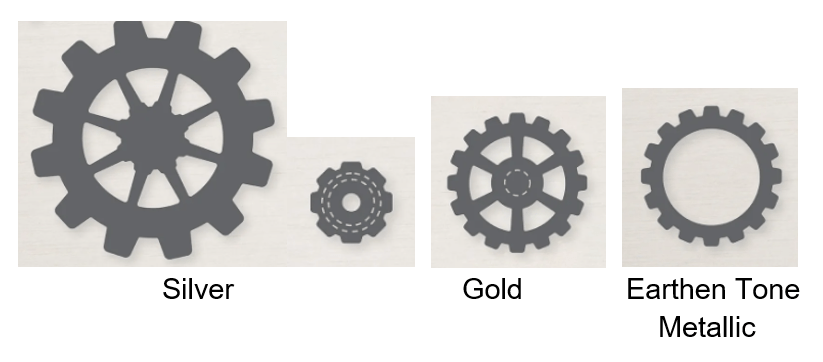
With my Stampin’ Cut & Emboss Machine, I die cut several gears from the Gears & Textures bundle. I cut the large and small gear from Silver Foil Sheets. I cut the medium gear from Gold Foil Sheets, and the open gear from Earthen Tone Metallic Specialty Paper.
I also punched a circle with my 1¾” Circle Punch from Night of Navy cardstock.
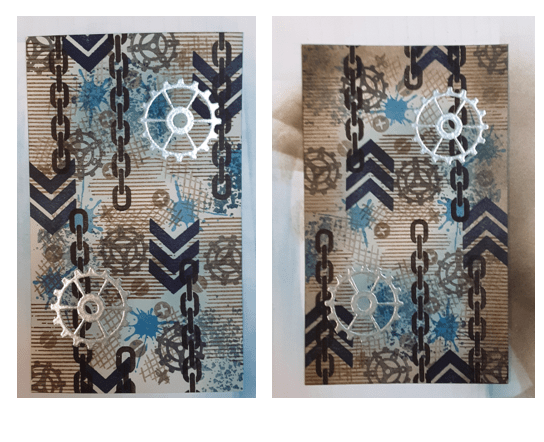
Now that I have all my bits and pieces, it’s on to the background. First, I stamped two gears with Versamark ink, sprinkled them with the silver from Metallics Embossing Powder pack, and heat set them with my Heat Tool. Second, I stamped the next gear with Basic Gray ink. Third, I stamped the chevron pattern with Night of Navy ink. Fourth, I stamped the striped filler with Pecan Pie ink. Next, I stamped the blot with Azure Afternoon ink and the spatter with Misty Moonlight ink. I added the chain links with Early Espresso ink. Then, I added the crosshatch with Crumb Cake ink. Finally, I added the small screw heads with Gray Granite ink. I mounted them together on a small acrylic block. It’s fun to see how the collage builds and fills the space.
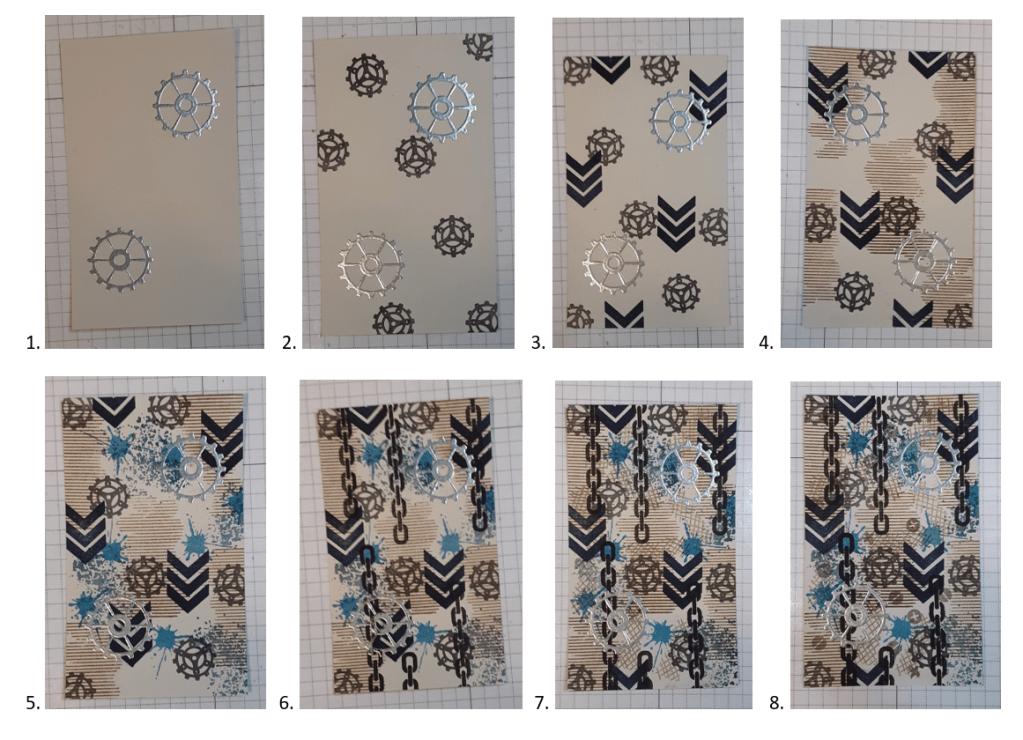
I used a Blending Brush to add some Balmy Blue ink randomly to the card. I used Crumb Cake ink around the edges for a little definition.
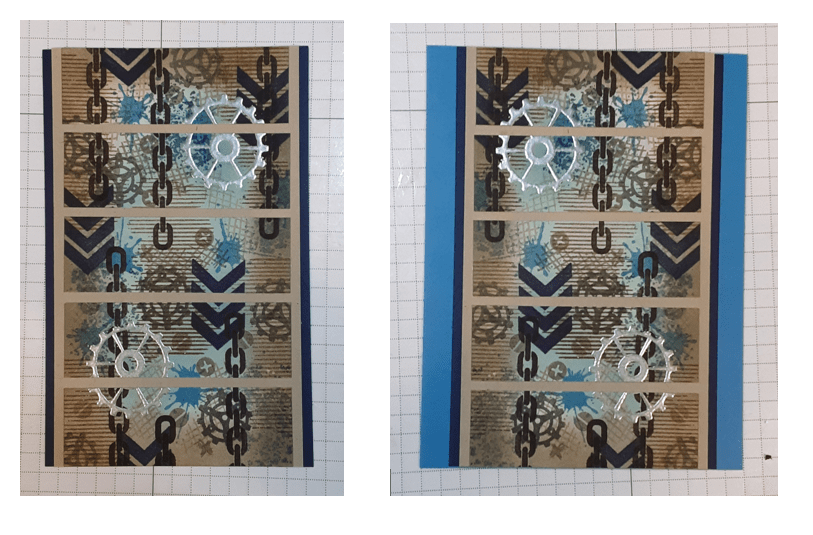
I cut my image into 1″ strips along the 5″ side of the rectangle, keeping them in order as I cut. I adhered these strips to my Crumb Cake panel, leaving about ⅛” border on the sides and between the strips. I used my favorite adhesive (Multipurpose Liquid Glue or Stampin’ Seal). The top and bottom are flush with top and bottom of the panel. I recommend laying them on the panel before gluing. I started with the top and bottom pieces.

I adhered this panel to my Night of Navy mat. If you used two strips instead, adhere them to either side of the panel leaving ⅛” border. I trimmed any uneven edges, top and bottom. I glued this panel to my card base, centering side to side.
For my greeting, I searched my current sets for a Happy Birthday and settled on The Right Words stamp set. I wanted it to fit on a circle, and this presented a problem. I could cut my stamp, but, honestly, I seem to have difficulty lining them back up once they are cut. So, I had to mask the Birthday with some Scotch tape, ink Happy with Azure Afternoon ink, remove the tape, and stamp. I cleaned the stamp, masked Happy, inked up Birthday and stamped. I did use my MISTI stamping tool and a piece of plastic from my old Stamp-a-ma-jig to line up my words since the stamp wasn’t photopolymer and I couldn’t see through it. I used the corners of my MISTI to line up the cardstock. I do wish Stampin’ Up! provided more usable greetings and sentiments with their sets, especially Happy Birthday and Thank You. Leave a comment below letting me know what sentiments you use most frequently.
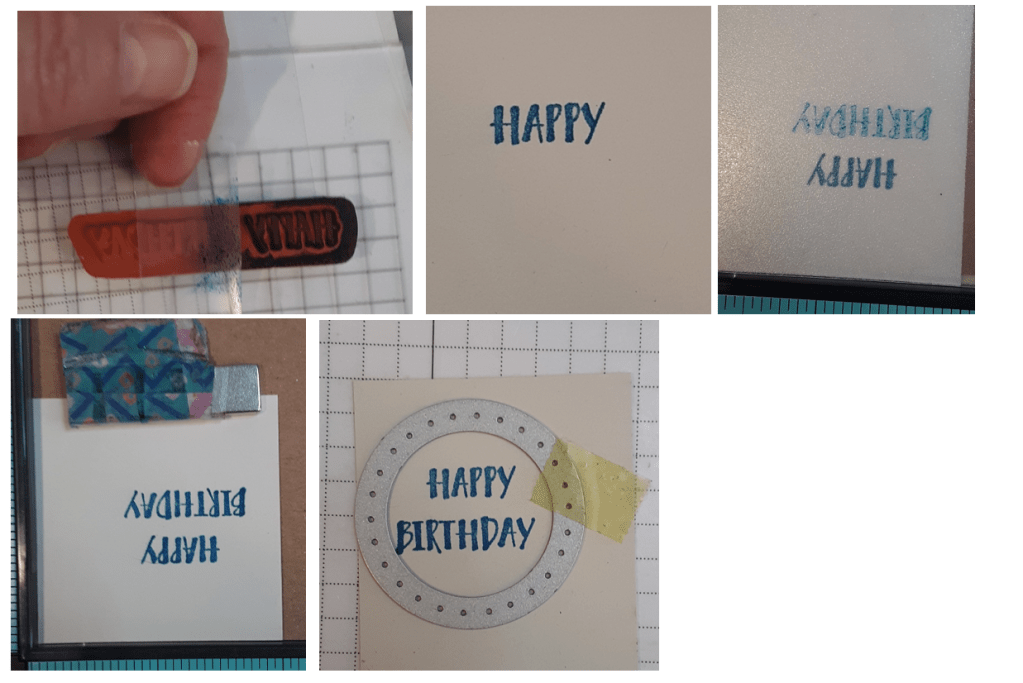
I die cut the sentiment with my circle die from Spotlight on Nature die set. You can tell in the picture that when I stamped my sentiment, I didn’t quite plan it out so well with the die cutting, but it turned out okay.
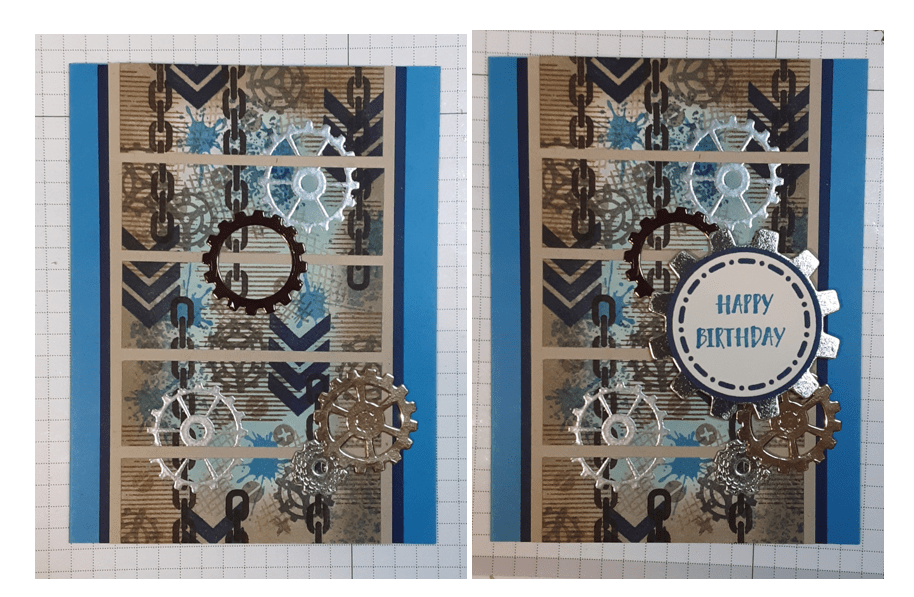
I adhered the sentiment to the navy circle and adhered this to my large silver gear. I adhered my gears to my card front. I laid my sentiment on the card and tucked the pieces under it to get the placement that I wanted before glueing. I added the sentiment with Stampin’ Dimensionals.
I think the Faux Bronze Pentagons would look great on this card. Mine haven’t arrived yet so…
To finish the card, I stamped a greeting on a 4” x 5¼” piece of Basic White cardstock and glued it inside my card.
I hope you liked this card!
For the complete supply list, click here.
For further inspiration:

