
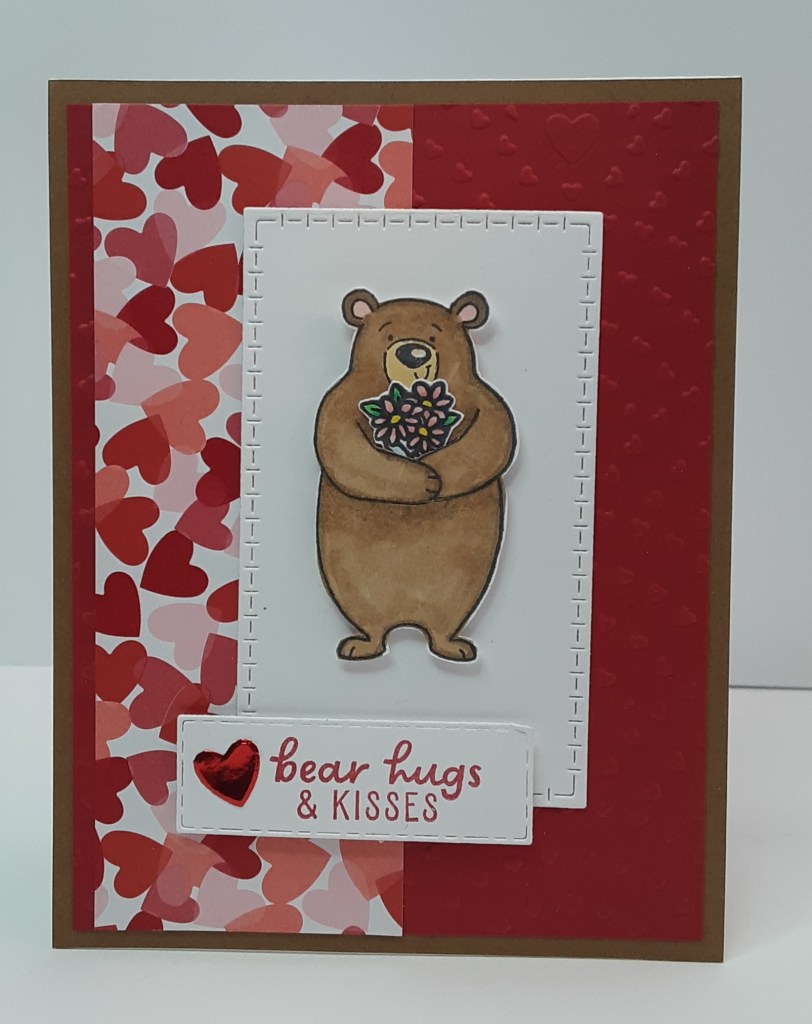
Today I have a cute card that is perfect for Valentine’s Day or any time you have a friend that might need a little pick me up. You could always change the color a bit depending on the event you are featuring.
Don’t forget that you have a couple days left to earn during the Bonus Days promotion. Beginning on Tuesday, you will be able to redeem your coupons. Make sure you have saved the emails from Stampin’ Up! for the codes to redeem.
To make the card base, I cut a piece of Pecan Pie cardstock to 5½” x 8½” on my Paper Trimmer, scored and folded at 4¼”, and burnished with my Bone Folder. I cut a piece of Real Red cardstock to 4” x 5¼”. I ran this piece through my Hearts of Love 3D Embossing Folder on my Stampin’ Cut & Emboss Machine. I cut a piece of the Made with Love DSP to 2″ x 5¼”.

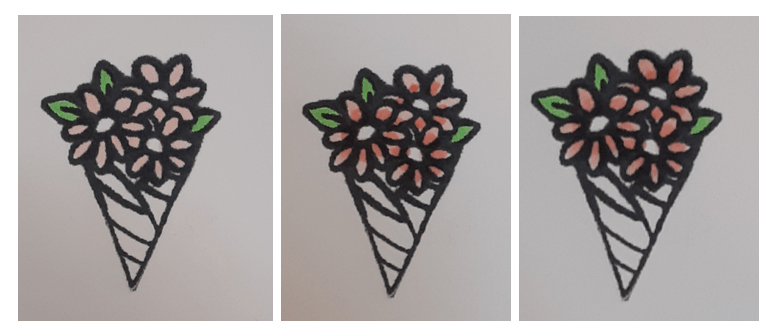
With a scrap of Basic White cardstock, I stamped the front facing bear from the Valentine Kisses bundle in Momento Tuxedo Black ink. I also stamped the bouquet. To color the bouquet, I colored the leaves with my Granny Apple Green Stampin’ blend. I colored the petals with the Pretty in Pink Blend. I added a little shadow with my Light Berry Burst Blend. I blended the two colors out with my Pretty in Pink Blend. I added some Daffodil Delight to the flower centers.
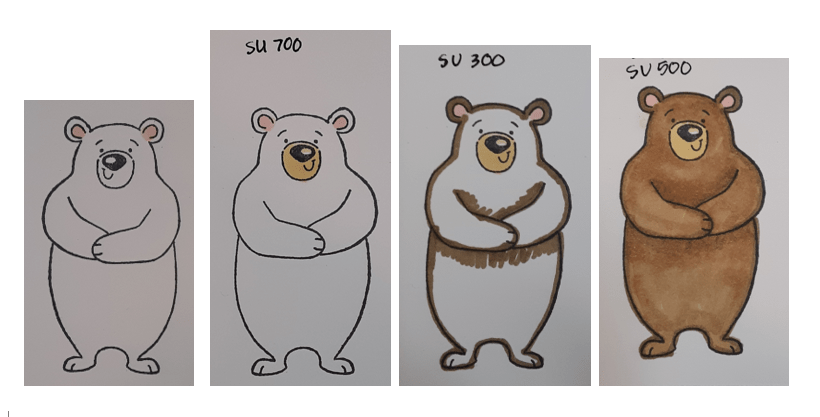
To color the bear, I used Pretty in Pink Blend for the ears. I colored the bear’s snout with SU700 from the Medium Light Blends Combo pack. I colored the outline and shadowed areas with SU300 from the Medium Deep Combo Pack. Finally, I colored the bear, blending the browns, with my SU500 from my Medium Combo Pack.
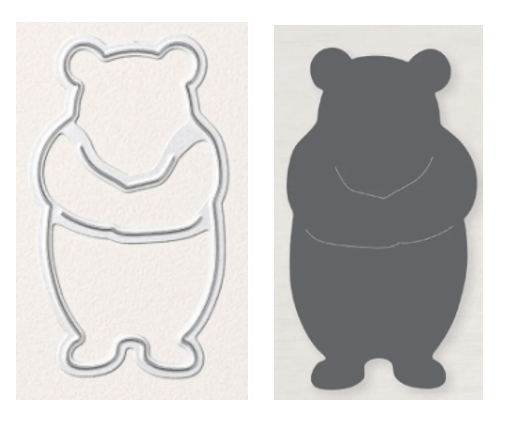
I die cut the smallest rectangle from Textured Notes dies, along with the middle die from Basic White cardstock. You can die cut the bear using the coordinating die from the bundle. This die cuts out a space between the arms and the body to tuck the bouquet or one of the other cute accessories. Or you can easily fussy cut it, which is what I did. I also cut out the bouquet.
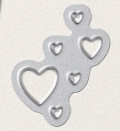
I die cut the largest heart from the Endless Love dies from some red foil paper I had in my stash. You could use Real Red cardstock if you’d prefer.
On the smaller rectangle, I stamped bear hugs & kisses in Real Red ink. I adhered my red heart to my label on the left.
To assemble the card, I adhered my DSP panel to my embossed panel. Then I add this to my card base. I glued the larger white rectangle to the front of the card. I adhered the bear using Stampin’ Dimensionals. I added the sentiment with Dimensionals, also.
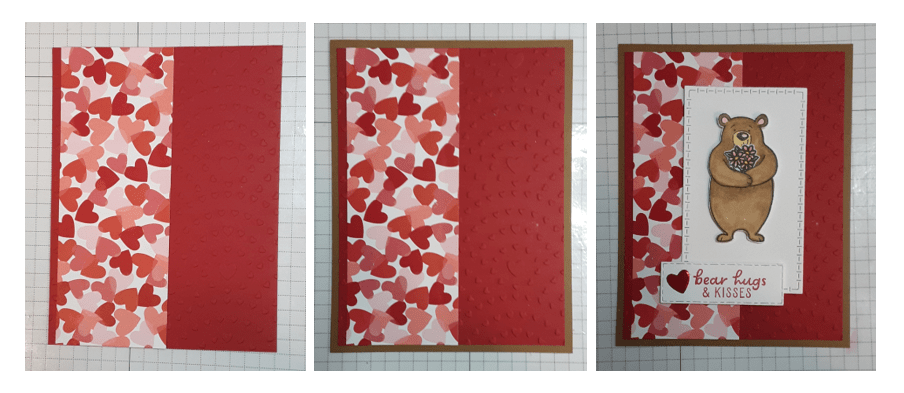
To finish the card, I stamped a greeting on a 4” x 5¼” piece of Basic White cardstock.
I hope you liked this card!
For the complete supply list, click here.
Images © Stampin’ Up!
