

It’s Wednesday and I have a fun card for you! I’m using the Boardwalk Fun bundle with the coordinating DSP. The patterned paper has some interesting designs but for today’s card, I used one that is more of a wash. I had this idea in my head when I ordered this set, knowing that I needed more space than a regular A2 layout provides. So, let’s get to it!
To make the card base, I cut a piece of Pool Party cardstock to 4¼” x 11” on my Paper Trimmer, scored and folded at 5½” (folded in half) and 2¾” (folded back on itself), and burnished with my Bone Folder. I cut an additional piece to 1¼” x 11″, scored and folded at 5½” and 2¾”, and burnished with my Bone Folder. This will make the Z-fold. I cut a piece of Beach Boardwalk DSP to 4″ x 5¼”, being careful on the direction of the pattern. My card will end up being horizontal, so I had to keep that in mind. I cut an additional piece to 4″ x 2½”. I thought this pattern rather looked like a cloudy sky.

I cut a piece of Basic White cardstock to 4″ x 2½”. I cut two additional pieces to 1″ x 2¾”.
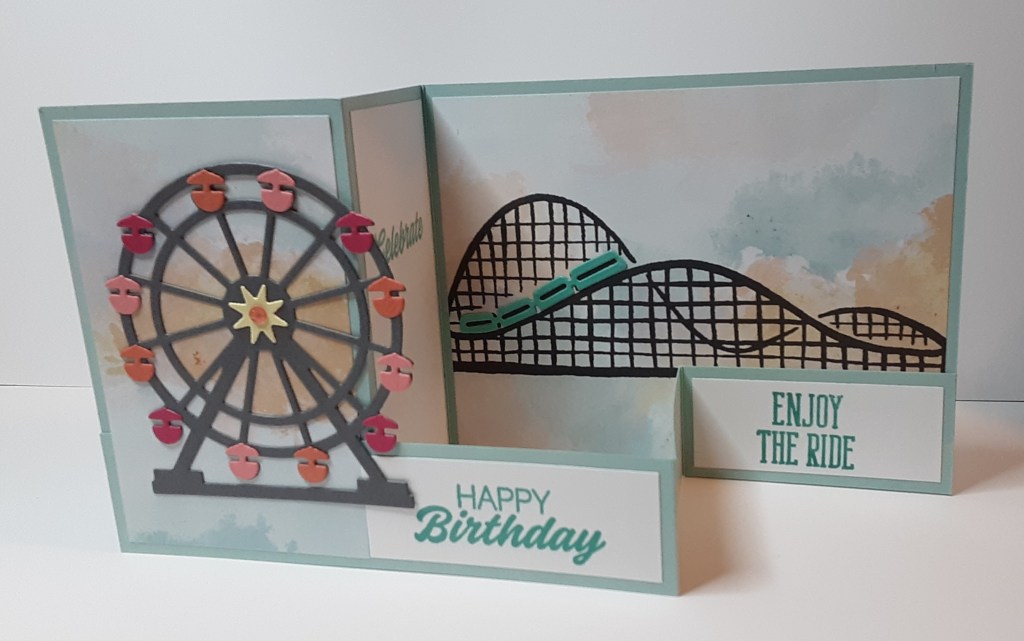
For the die cutting, I die cut the Ferris wheel contained in the Boardwalk Fun Bundle from Basic Gray cardstock on my Stampin’ Cut & Emboss Machine. I cut the gondolas from Melon Mambo cardstock, Flirty Flamingo cardstock, and Calypso Coral cardstock. I tried to coordinate my Ferris wheel with the one on the DSP. I also cut the coaster cars from Summer Splash cardstock. Finally, I cut the middle-sized starburst from Lemon Lolly cardstock.
With Summer Splash ink, I stamped Happy Birthday on one of the smaller white pieces and Enjoy the Ride on the other. Both stamps are in the Boardwalk Fun Bundle. On the larger white piece, I stamped Celebrate.


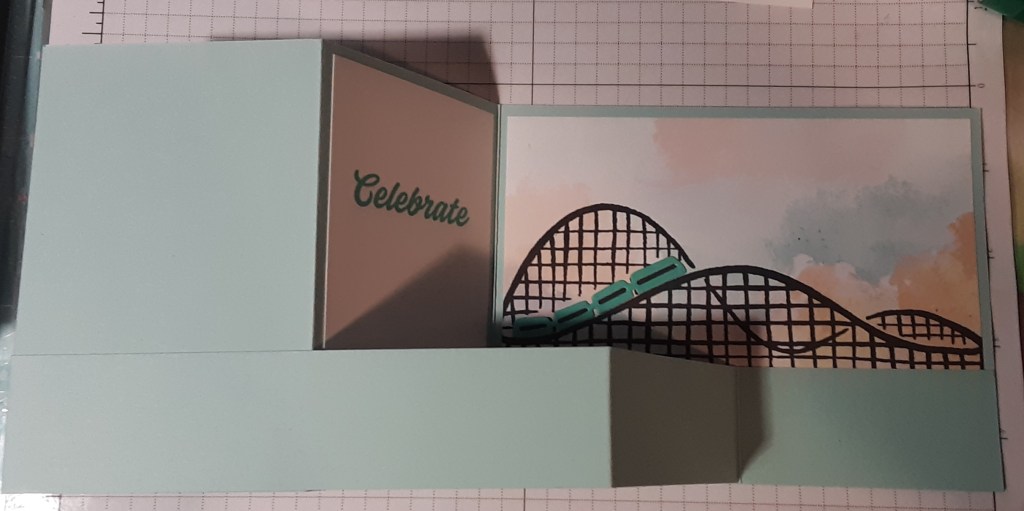
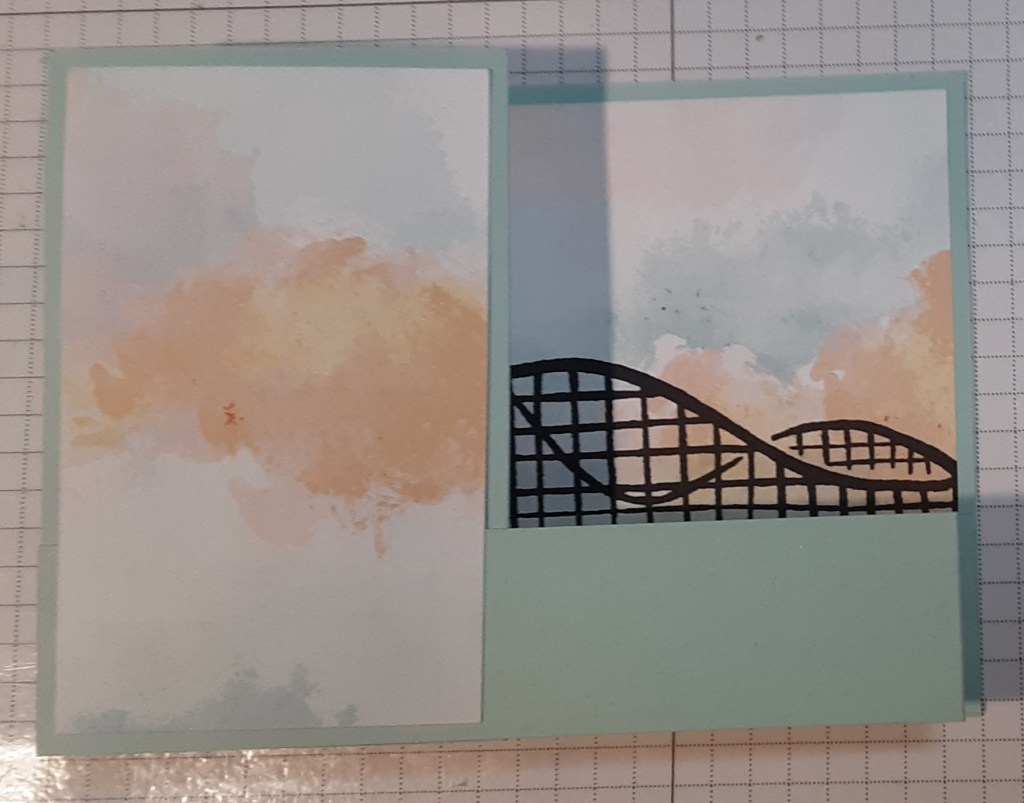
I stamped the Roller Coaster with Momento Tuxedo Black ink on the DSP panel. I also adhered the coaster cars to the track using my favorite adhesive (Multipurpose Liquid Glue or Stampin’ Seal).

I assembled my die cuts for the Ferris Wheel. I alternated the color on my gondolas. For a bit of sparkle, I added a gem from the Strawberry Slush & Pretty in Pink Gems.

To assemble the card, I added the DSP panel and the larger white sentiment to my card base. I also added the 1″ strip to make the Z-fold.
I added my second DSP piece to the front of the card.
I adhered the sentiment piece to the front of the card.

I added the Ferris wheel to the front. When adding adhesive, make sure you don’t put any on the Ferris wheel that extends past the fold.

I added the second small sentiment strip to the inside of the card. It is hidden behind the front piece when the card is closed.
I hope you liked this fun card!
For the complete supply list, click here.
Images © Stampin’ Up!
