
It’s Saturday and I have a simple card for you that has minimal supplies. We are well into January and many of us have completed the first week back to work after a week or so off for our Holiday break. Getting back into the swing of things can be challenging. This card is colorful and, I hope, optimistic during these dreary days of winter. There are plenty of things to look forward to! Don’t forget that Stampin’ Up! is having Bonus Days. Now through February 2, you can earn a $5 coupon for every $50 you spend! This is in addition to the usual rewards Stampin’ Up! offers.

You can add the Product of the Month for just $5 more with a $75 purchase.
Now let’s get to the card.
To make the card base, I cut a piece of Azure Afternoon cardstock to 5½” x 8½” on my Paper Trimmer, scored and folded at 4¼”, and burnished with my Bone Folder. I cut a piece of Pretty in Pink cardstock to 3¾” x 5″ to act as a mat for my focal layer. I cut a piece of Basic White cardstock to 3⅝” x 4⅞” to stamp my focal image.
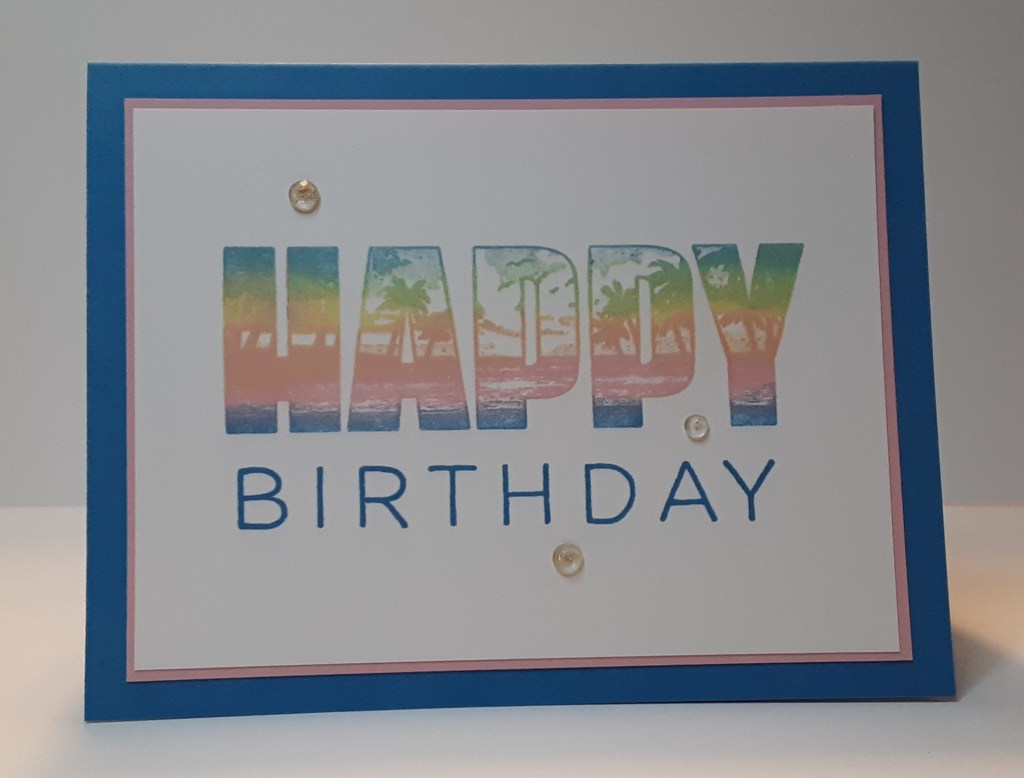
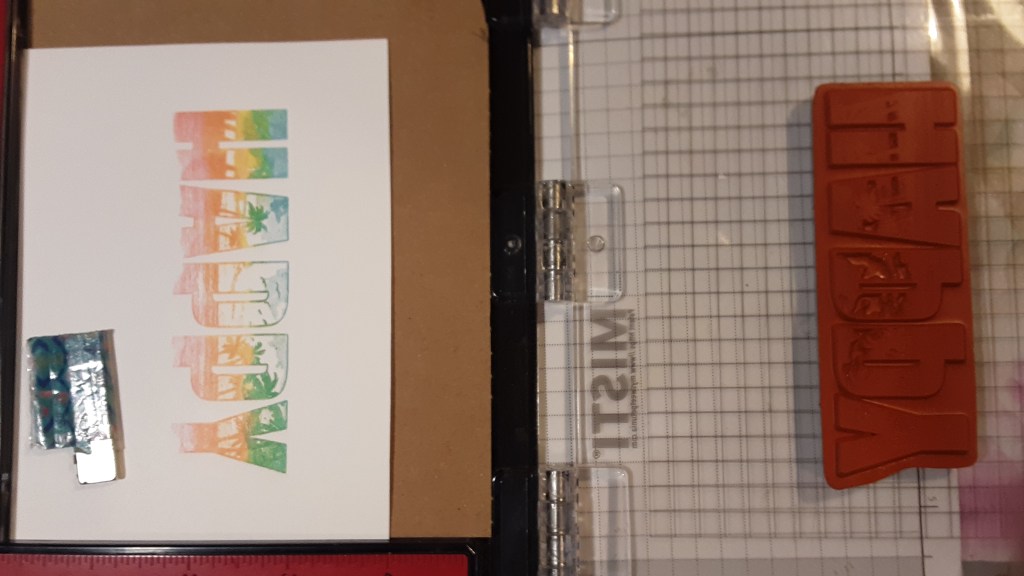
To stamp the focal point, I used the Happy Place stamp set. Thank you to Diane for lending me her stamp set! To make the stamping easier, I used my MISTI stamping platform. You can use any platform you want, but I do recommend using one. If you need to restamp a color, it makes it easier. With my cardstock in the corner of the MISTI, I mounted the stamp to the lid. I began with the top of the stamp and used a Sponge Dauber to add Balmy Blue ink. I did not cover the entire stamp, just about the top ⅜” or so.
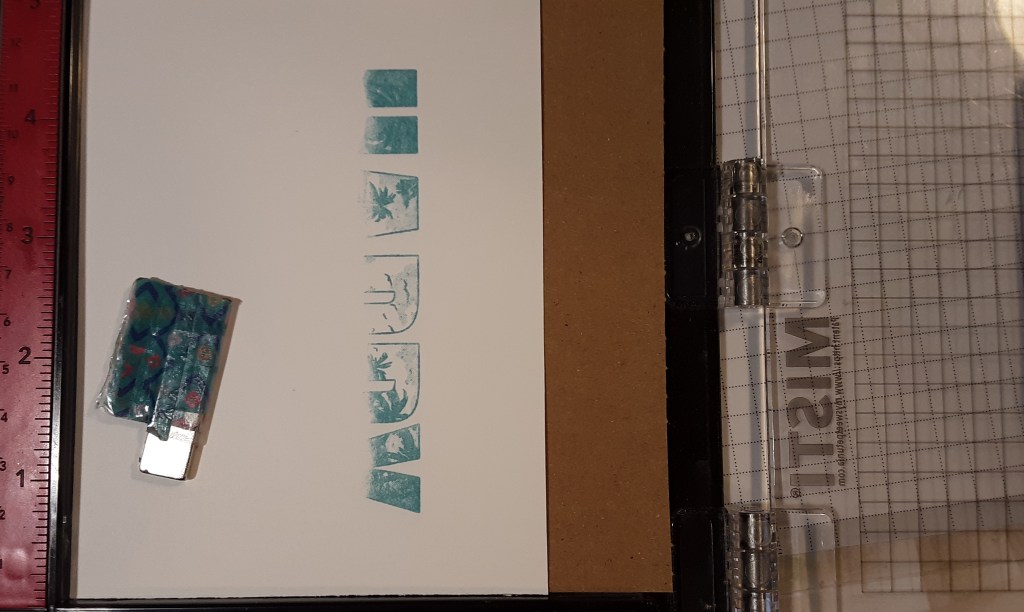
I cleaned off the stamp before adding Lemon Lolly ink. I didn’t want to contaminate my yellow ink pad with the blue ink. When applying the ink with the dauber, I purposely overlapped where I had put my blue ink. This will blend the two colors where they overlap when you stamp.
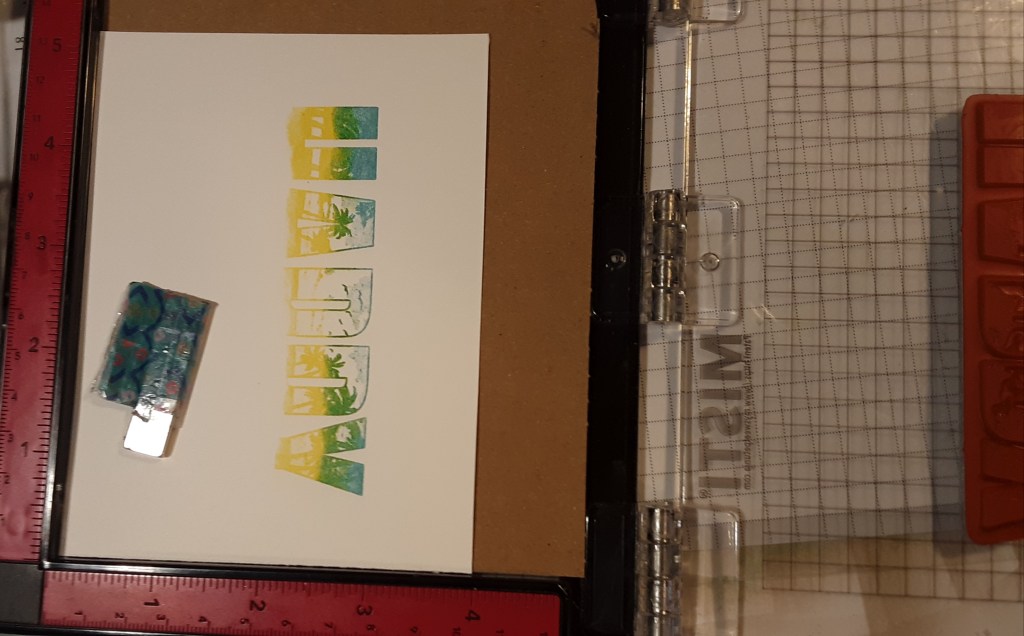
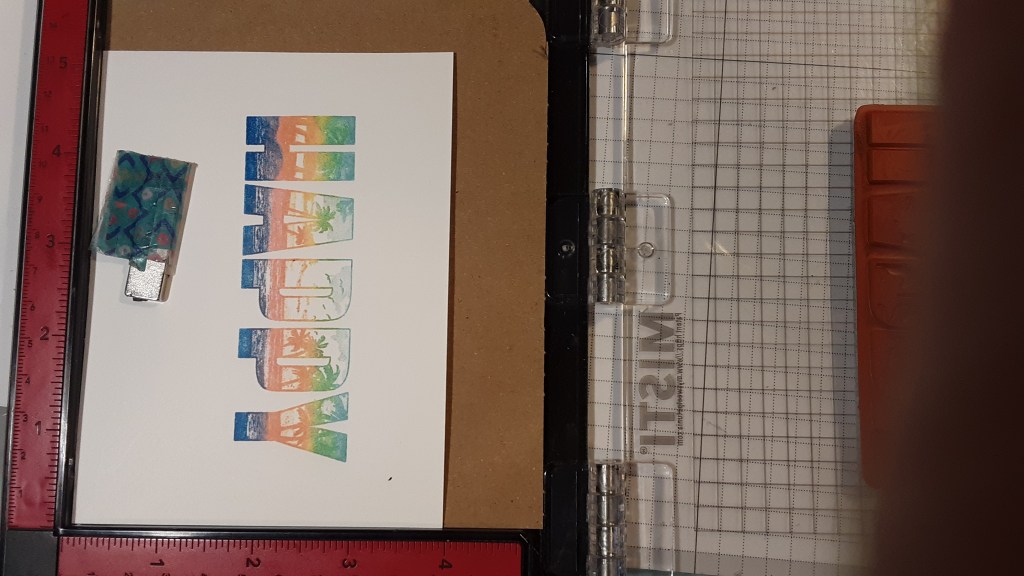
Next, I applied Pretty in Pink ink almost to the bottom of the stamp, again overlapping a little where I had put the yellow.
Finally, I carefully applied Azure Afternoon ink to the bottom of the stamp. I didn’t want it to overlap the pink too much.
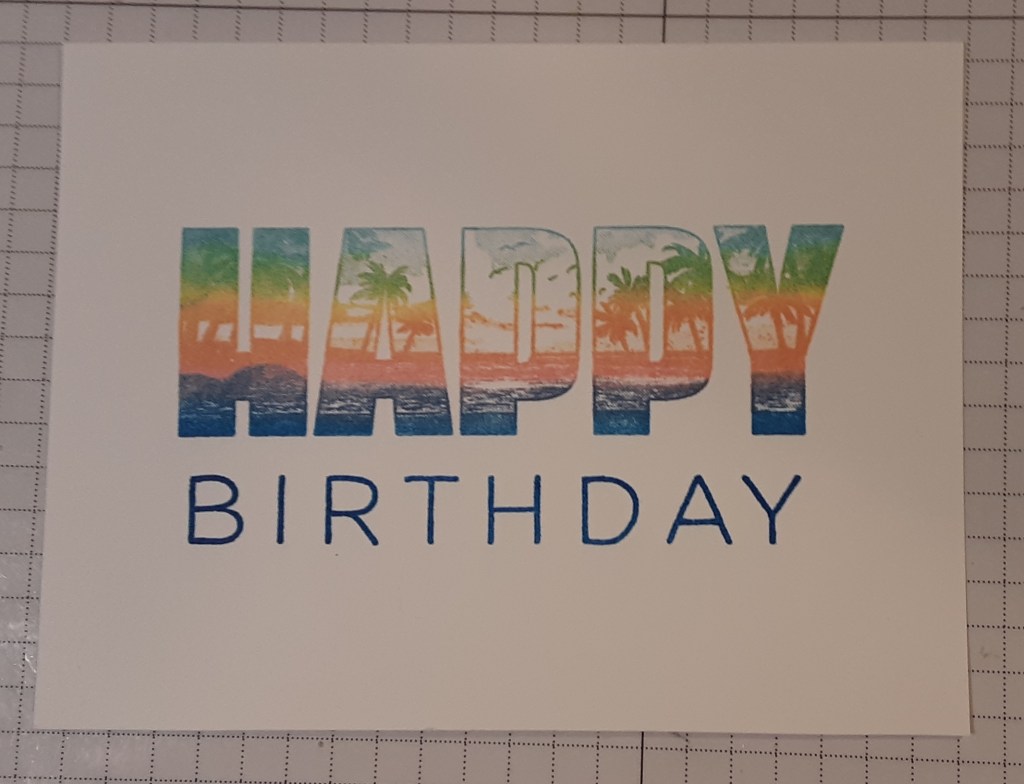
I really liked the rainbow effect the three colors created and the more intense blue at the bottom really grounded the image. I added BIRTHDAY with Azure Afternoon ink under HAPPY. You could also make this a retirement card by simply changing the sentiment. There are several to choose from.
I adhered my focal image to my pink mat with my favorite adhesive (Multipurpose Liquid Glue or Stampin’ Seal). I glued this panel to my card base.
I added three of the clear Strawberry Slush and Pretty in Pink Gems to my card.
I stamped a sentiment on a 4” x 5¼” piece of Basic White cardstock and glued it inside the card.
I hope you liked this cheerful card!
For the complete supply list, click here.
Images © Stampin’ Up!
