
Only one week left before Christmas! Where does the time go? I hope you are all caught up on your preparations for the holidays. I wish I were. I wonder how I got everything done when my children were young, with working full-time and activities. I don’t miss the scramble, but I do miss the time with the kids.
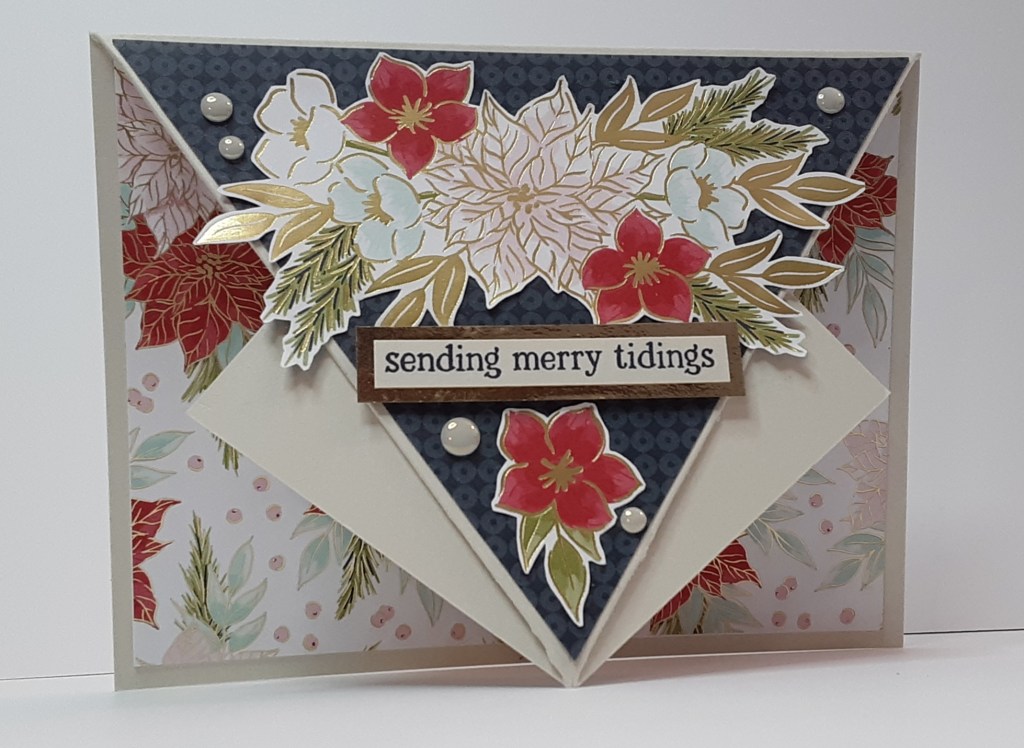
This card came together pretty easily. I used a tried-and-true fun fold, some gorgeous DSP, and voila! a pretty card. I used supplies I had on hand and had used before with other cards. So, let’s get started!
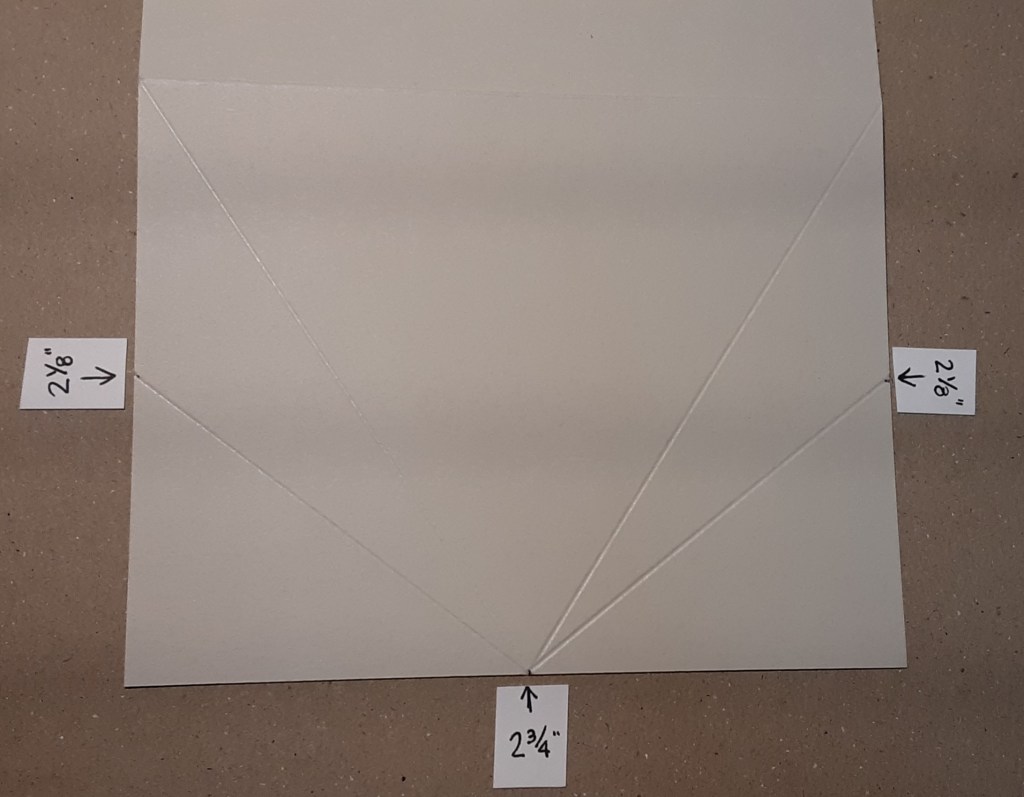
To make the card base, I cut a piece of Basic Beige cardstock to 5½” x 8½” on my Paper Trimmer, scored and folded at 4¼”, and burnished with my Bone Folder. I scored four additional score lines. I decided which side would be my card front and I marked at the halfway point (2⅛”) with my pencil on each 4¼” side. I then found the center of the bottom of the card front (2¾”) and marked it with a pencil. You can use the scoring blade on your paper trimmer or use your Simply Scored Scoring Board. I scored from the fold line to the center bottom from both sides. I scored again from the 2⅛” mark to the bottom center on both sides. If you’ve never scored at an angle before, you line up the pencil marks with the trough in your trimmer before scoring. To facilitate lining it up on my scoring board, I draw a line with a Sharpie in the trough at 5½” or 6″. That way you can see where the trough is under your paper.
To fold these score lines, I folded the longer score line in a mountain fold and the shorter one in a valley fold. I burnished these fold lines very well with my bone folder.

To secure my folds, I used my favorite adhesive (Multipurpose Liquid Glue or Stampin’ Seal). I flipped my card base over and added glue to the longer flaps and secured them. I had tucked the shorter flaps under.
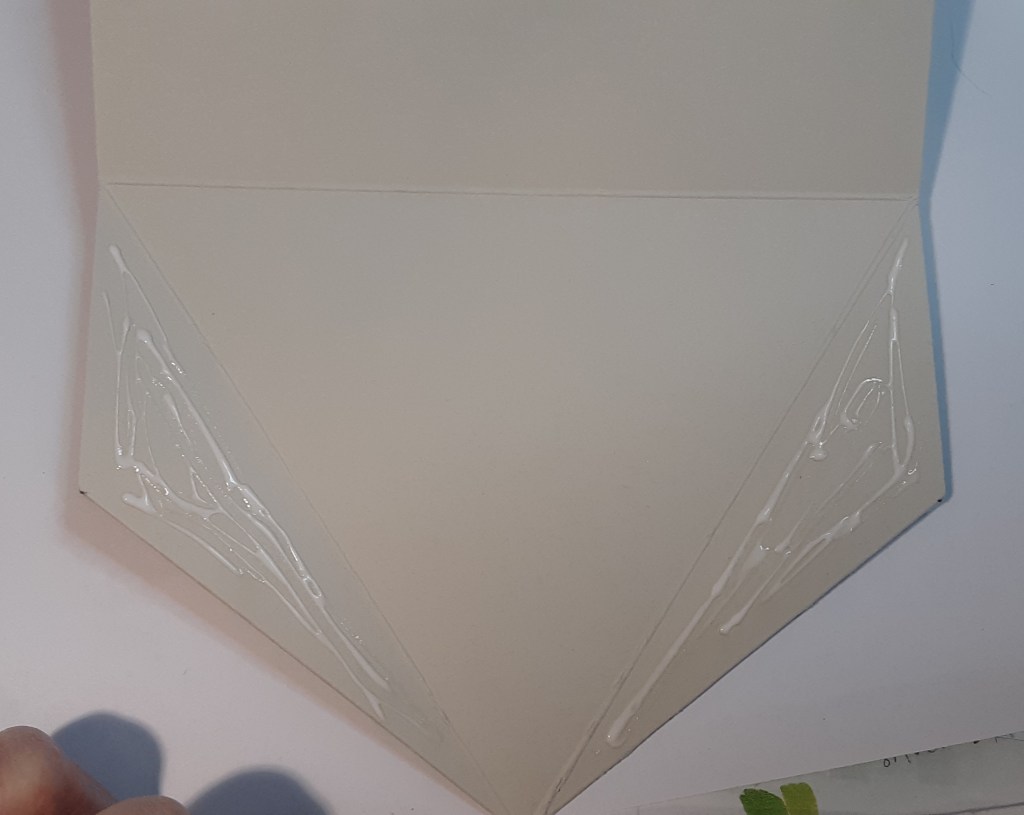
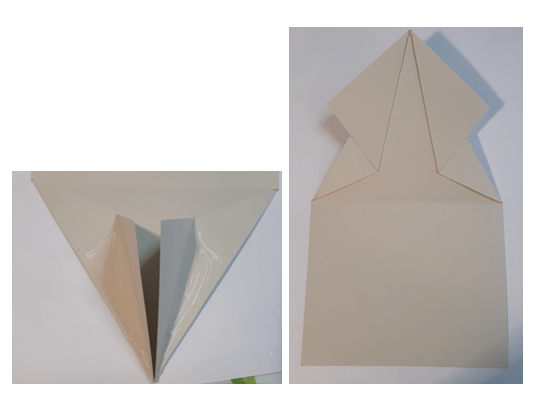
Because the shorter flaps have an open area that doesn’t get glue, I made sure not to put glue on the entire flap. The picture’s perspective doesn’t show how big the shorter flaps are. They do extend beyond the other flap. I folded these down and secured them. The picture below is a view from inside the card.
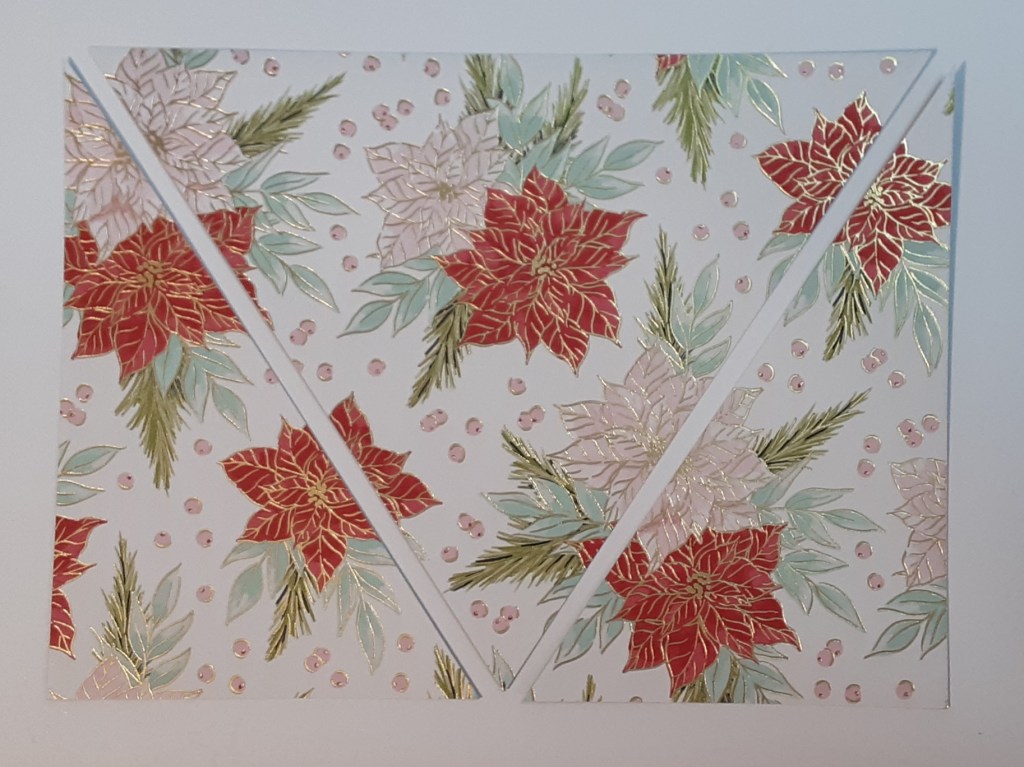
I set my card base aside and got a piece of the Traditions of Christmas DSP, a Last Chance product. I cut it to 4″ x 5¼”. I marked the middle (2⅝”) of the bottom of the piece.

I cut from the upper corner to the middle on both sides.
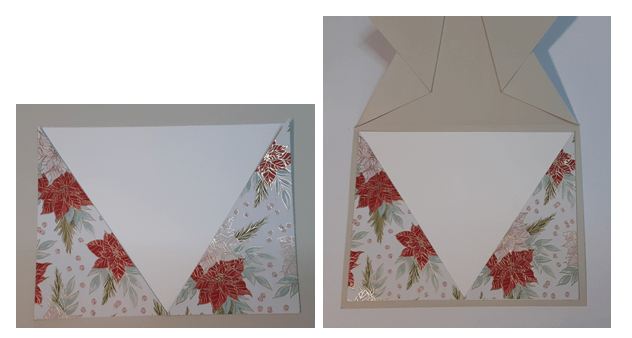
I cut a piece of Basic White cardstock to 4″ x 5¼”. I adhered my corner DSP pieces to the bottom corners of my white piece. If you want to stamp a greeting inside, this is when you might want to do it. I adhered this panel inside the card.
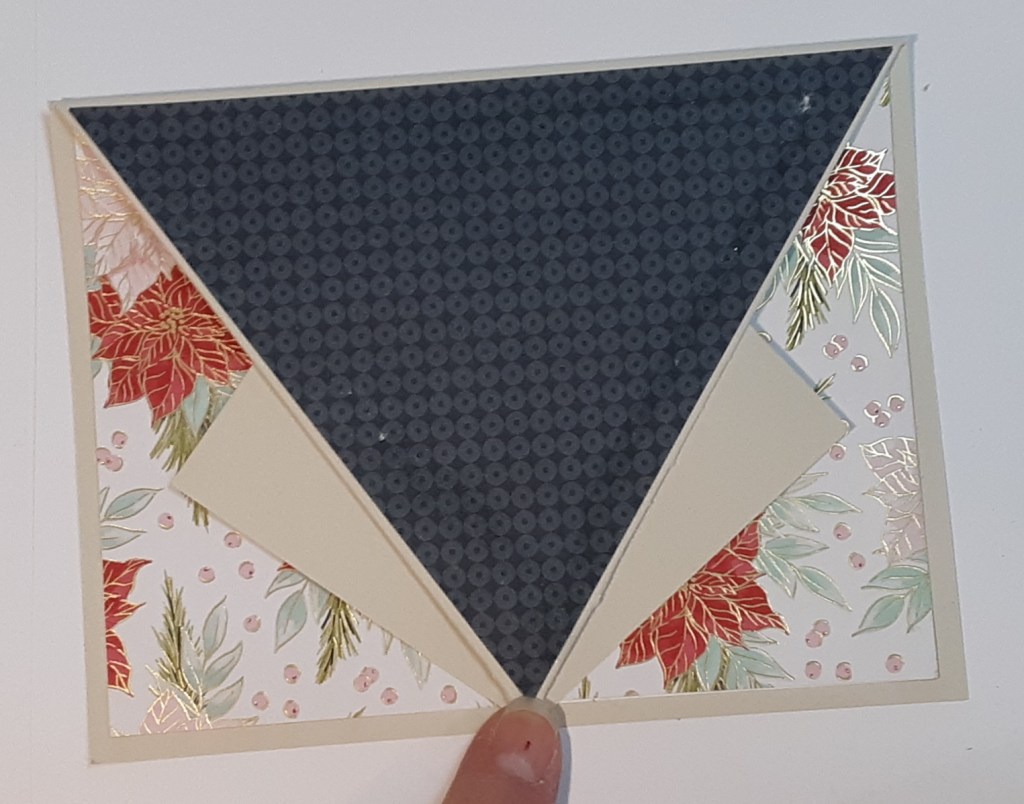
For a bit of contrast, I used the reverse side of the DSP from the card front. You may be able to see where I accidentally almost glued it with the same side of the DSP up. I covered that up (mostly) later. To get the excess glue from my DSP, I used a gum eraser. Be careful not to scrub too hard or you’ll get a scuff mark like I did. Better yet, don’t glue it down wrong on the first go!
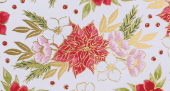
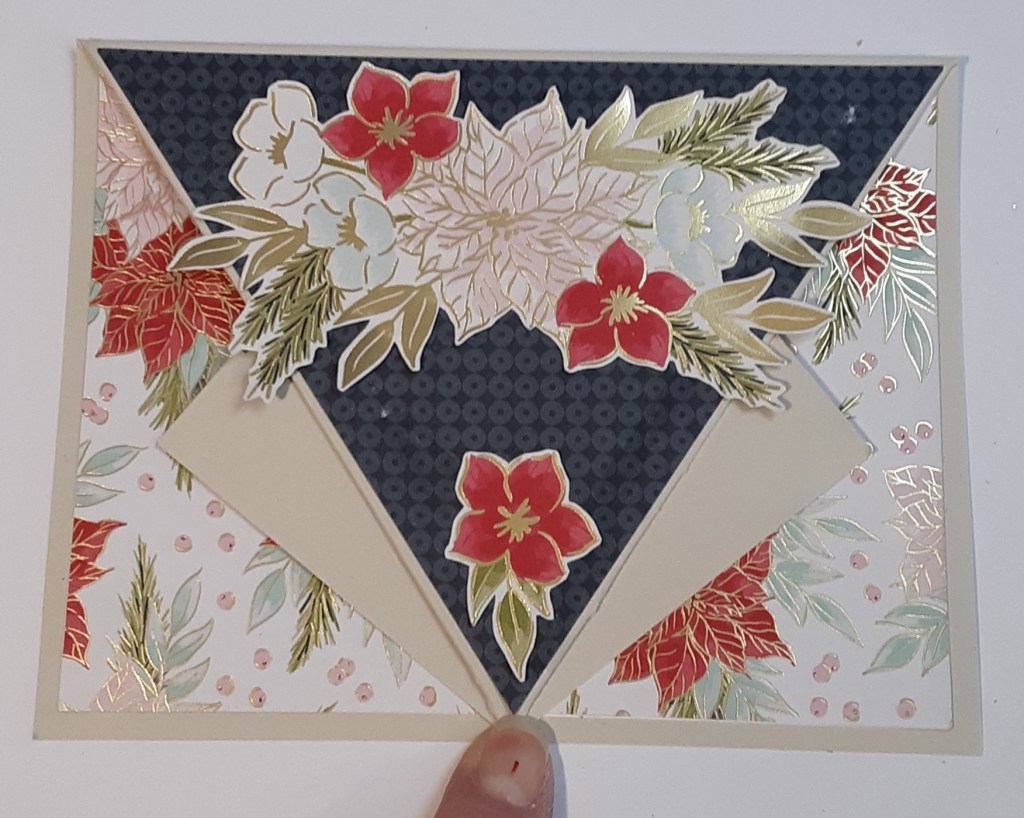
I fussy cut the spray of flowers from the DSP. I also cut an additional poinsettia bloom.
I adhered my flowers flat to my card.
From the Jolly Delivery stamp set (Last Chance product!), I stamped sending merry tidings with Night of Navy ink on a strip of Basic Beige cardstock. I trimmed this down. I adhered this to a ½” strip of Gold Foil Sheets and trimmed off the excess. I added this to my card with Stampin’ Dimensionals. To cover up my earlier mistake, I added some Antique Pearls. I think Rhinestones would also be pretty with their subtle sparkle.
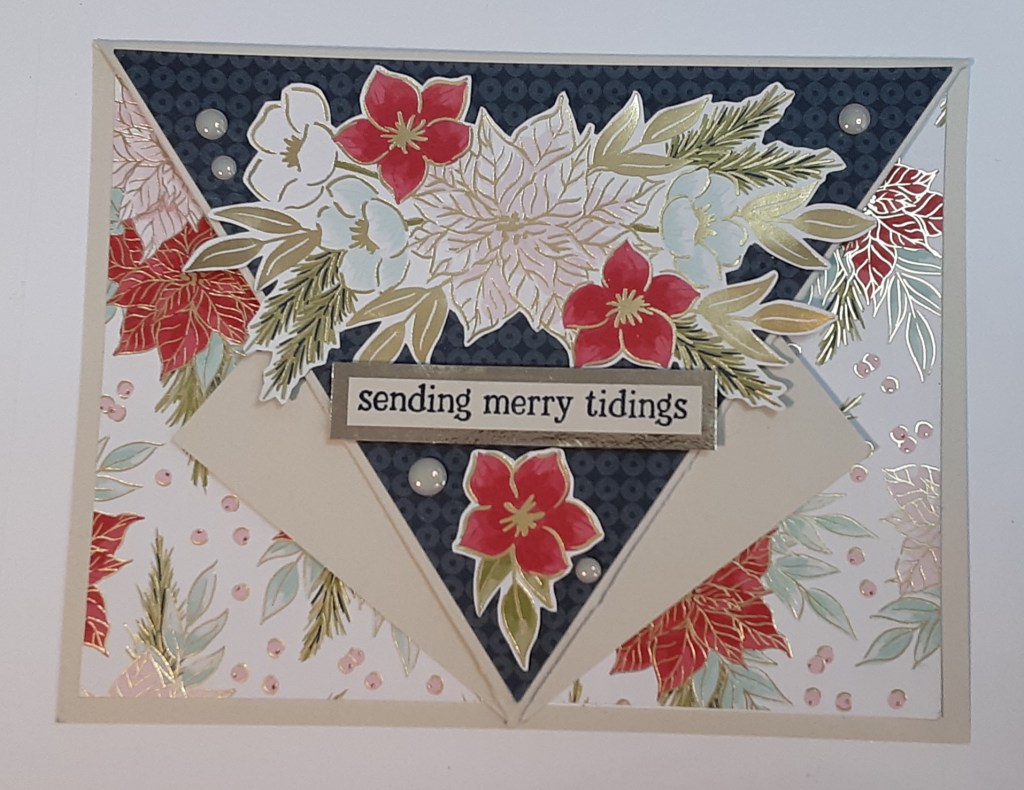
I hope you liked this card!
For the complete supply list, click here.
Images © Stampin’ Up!
