Happy December! Here in southwest Ohio, we received 4″ of snow overnight Monday into Tuesday. First snow day of the year! I hope everyone enjoyed the snow and are feeling the Christmas spirit. It’s amazing how the weather influences our moods. It reminds me of pre-internet days, when we would sit by the radio listening to see if our school was called off. The list was LONG in the later 70s when we had so much snow. Remember how they were predicting we were entering a new ice age? It certainly seemed possible at the time.

With a new month, we have new promotions. The first one is the Product of the Month. This is an ongoing promotion that is replacing Sale-abration. If you love exclusive products, you’re going to love Product of the Month, a promotion centered around a special product release every month. The Product of the Month items are specially designed to be some of the best items Stampin’ Up! has to offer that aren’t available in any of our catalogs or our Online Exclusives. Every month we’ll release a new item that is only available for purchase once per account. These items will be limited quantity and are likely to sell out quickly—once they’re sold out, they’re gone for good!
CURRENT PRODUCT OF THE MONTH

True Blue Florals 12″ x 12″ (30.5 x 30.5 cm) Designer Series Paper
Feeling blue never felt so good! Whether you’re making a card, a scrapbook spread, or some other kind of paper craft, this monochromatic patterned paper is sure to inspire you. Click here to shop!
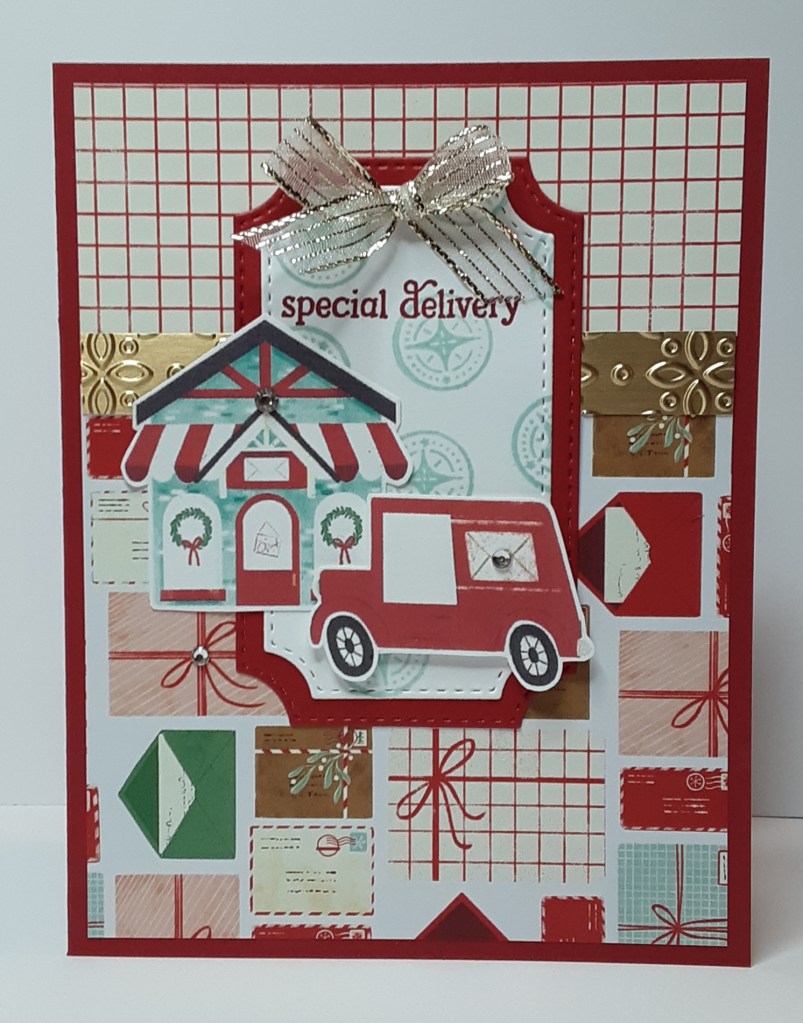
Also, the Last Chance List has been updated. Click here to check out all the new selections! Some of the products I used today is on the list for a great price. Now on to the card!
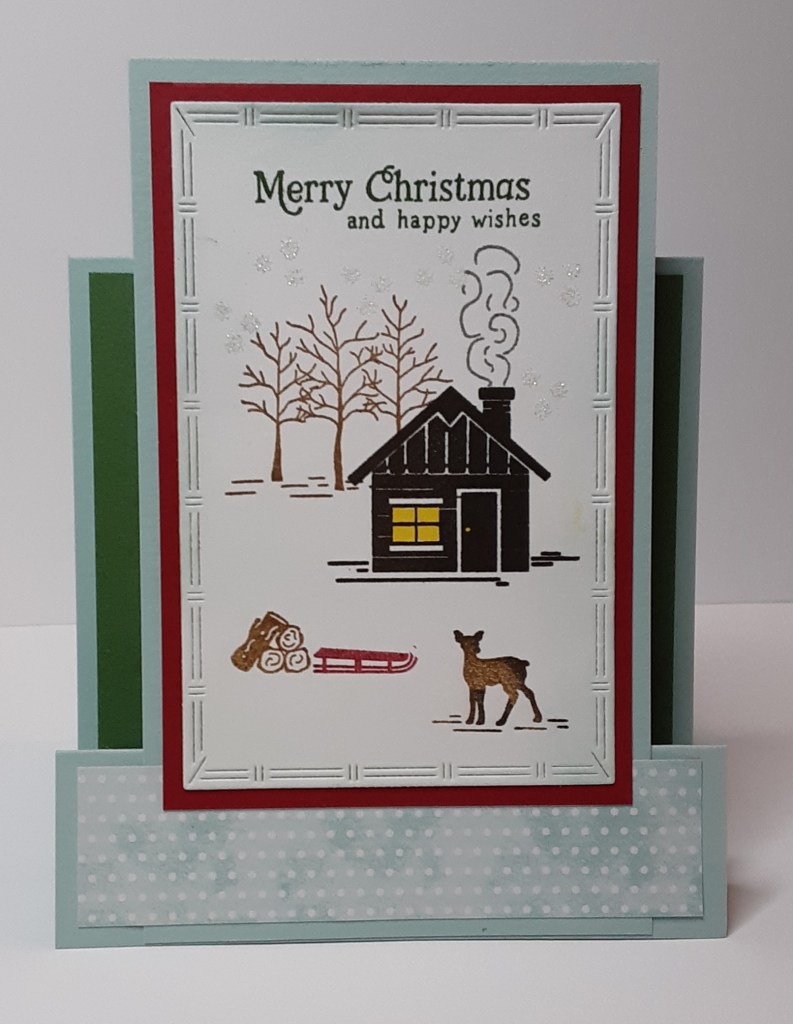
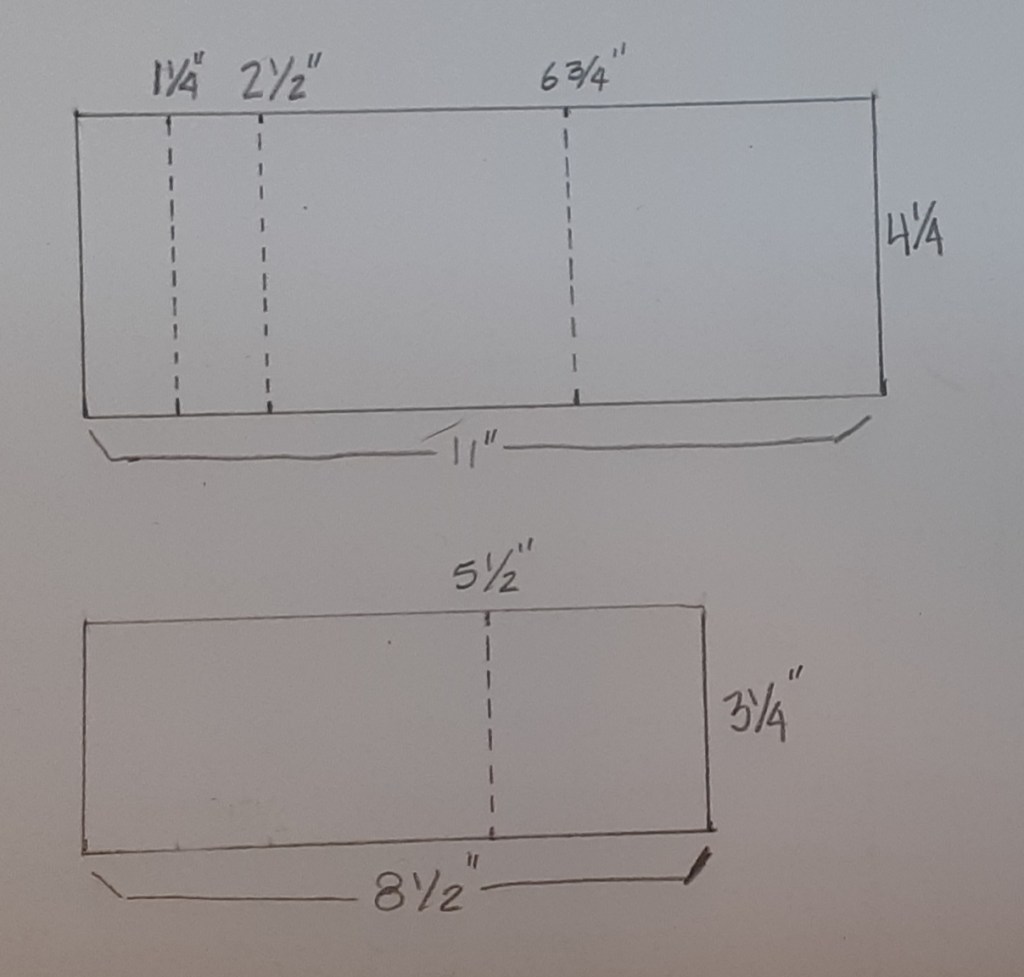
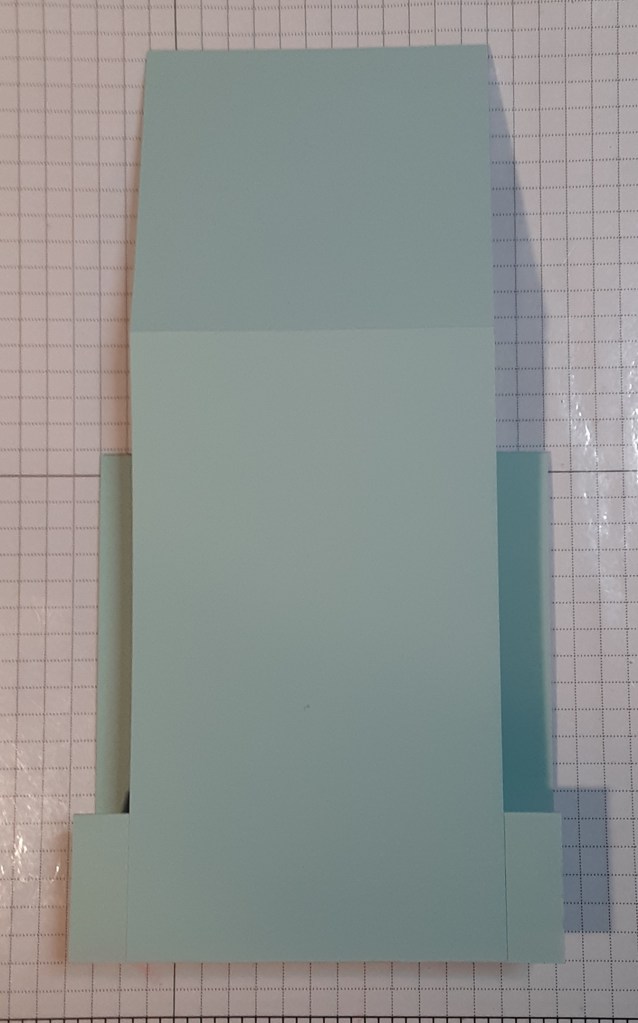
To make the card base, I cut a piece of Pool Party cardstock to 4¼” x 11”, scored and folded at 1¼” (mountain fold), 2½” (valley fold), and 6¾” (mountain fold) with my Paper Trimmer, and burnished with my Bone Folder. I cut another piece of Pool Party cardstock to 3¼” x 8½”, scored and folded at 5½”. Below is a diagram of the two pieces with score lines marked.
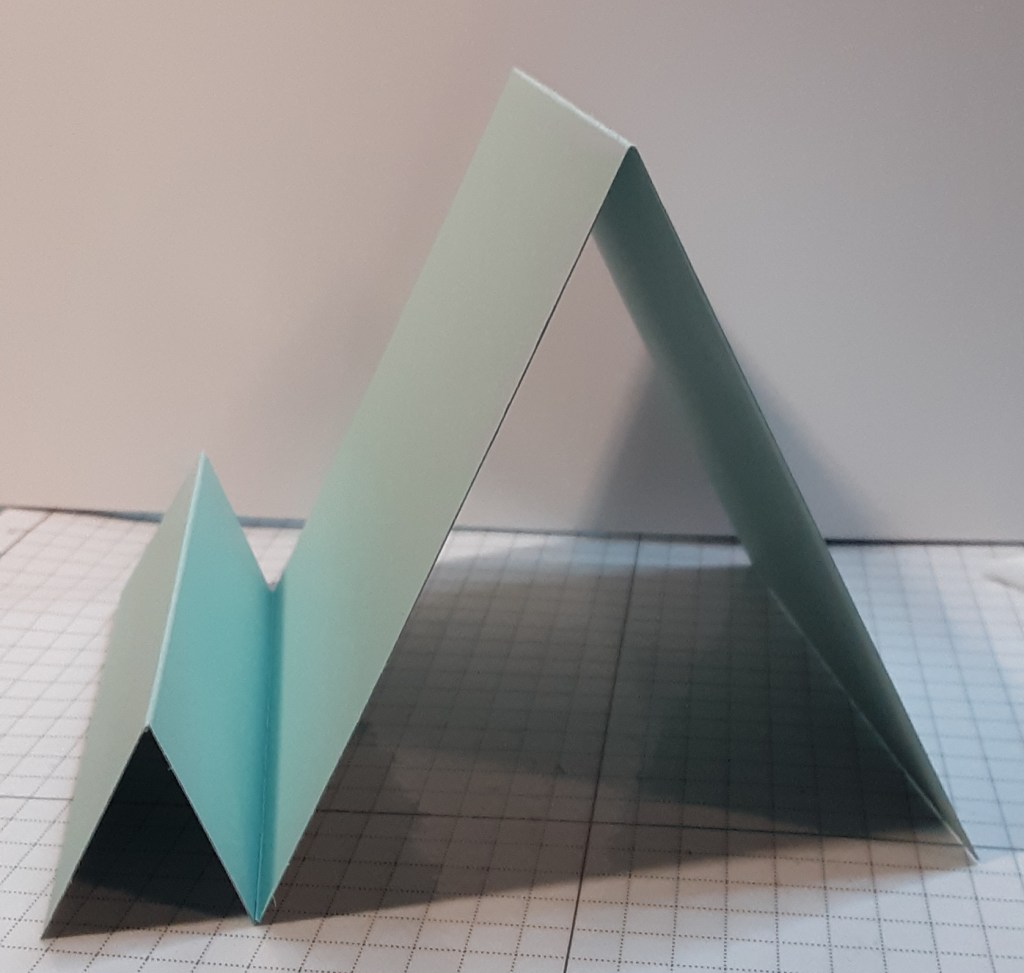
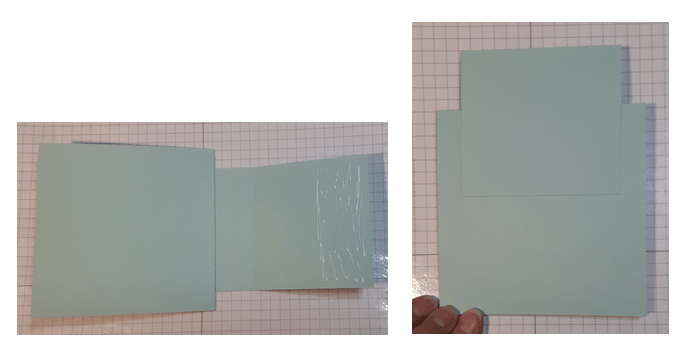
Here is a picture of the card base folded.
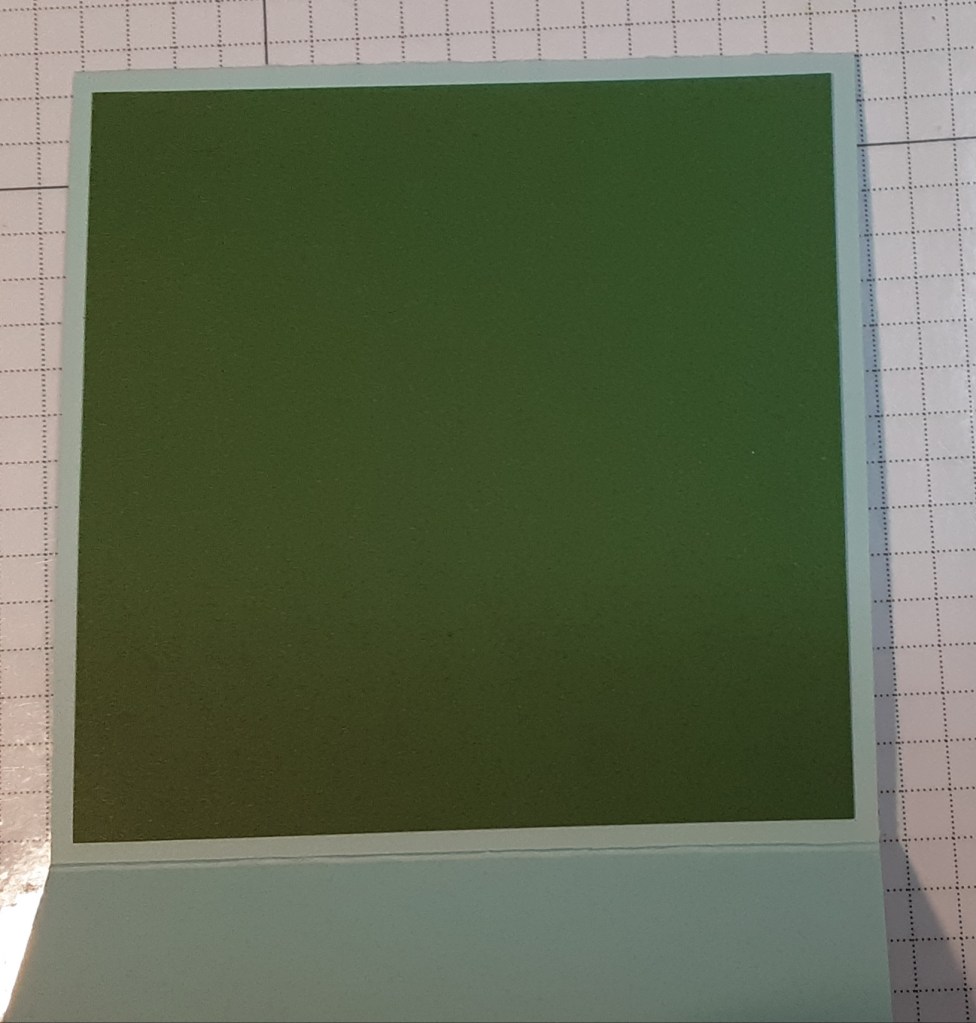
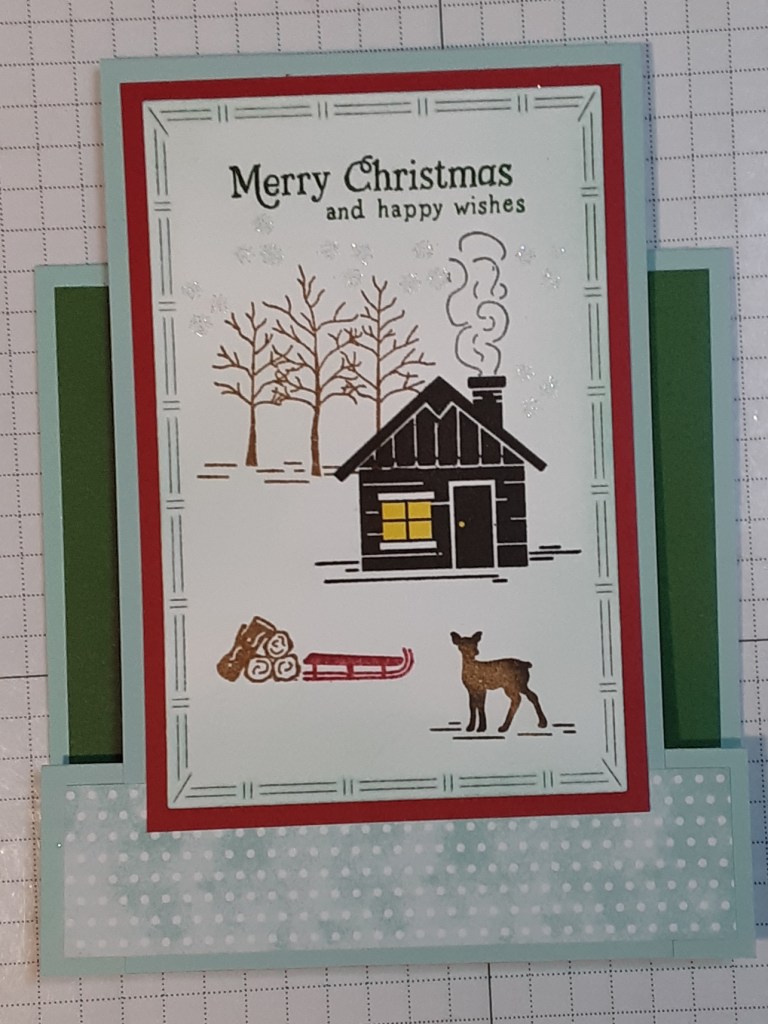
I cut a piece of Garden Green cardstock to 4″ x 4″. I cut a piece of Real Red cardstock to 3″ x 4½” to act as a mat. I die cut a piece of Basic White cardstock using the Textured Notes dies on my Stampin’ Cut & Embossing Machine. This was for my focal image. Finally, I cut a piece of North Pole Delivery DSP to 1″ x 4″. This is a Last Chance product!

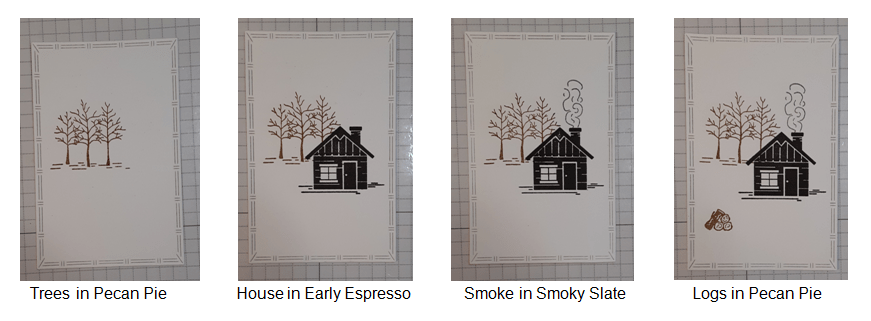
Using the Woodland Scenery stamp set (Last Chance product!) to stamp the focal image, I used Pecan Pie ink, Early Espresso ink, and Smoky Slate ink.
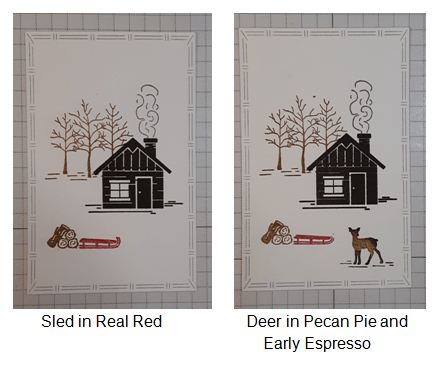
I used Real Red ink for the sled. I covered the lines behind the sled on the stamp with a post-it note so that I wouldn’t get ink on them. I removed the post-it before stamping. I inked the deer with Pecan Pie ink and then daubed on a little Early Espresso ink on the edges with a Sponge Dauber before stamping.
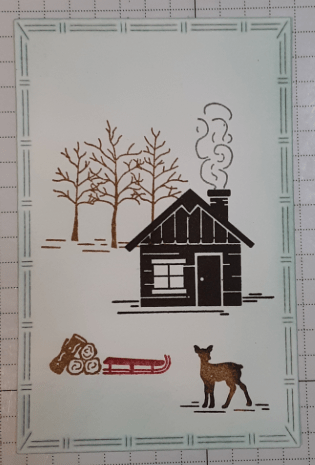
With a Small Blending Brush, I added Pool Party ink around the edges of my piece. Remember to tap off the ink before applying to avoid a blob.
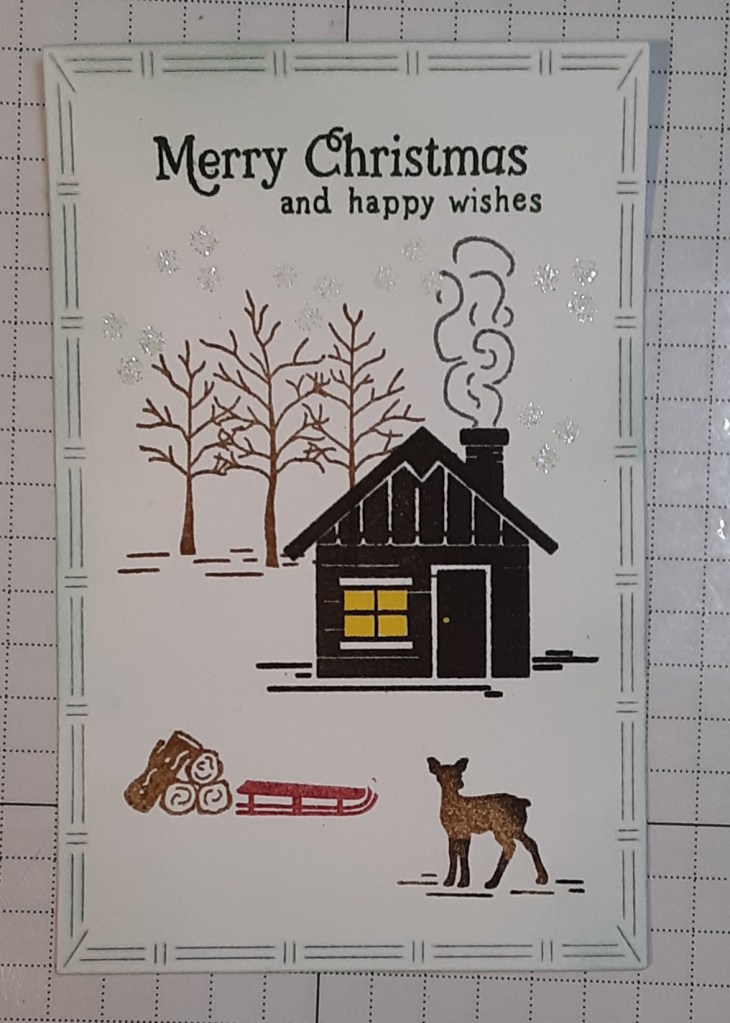
Finally, I added my sentiment from Jolly Delivery stamp set (Last Chance product!) with Garden Green ink. You may notice a bit of sparkle in the background. I stamped the snowflakes with White Craft ink, but I couldn’t really see them. So, I added some iridescent ice embossing powder that I had in my stash from years ago.
I mounted this on my red mat piece with my favorite adhesive ( Multipurpose Liquid Glue or Stampin’ Seal).

To assemble my card, I added my green piece to my card base behind the steps.
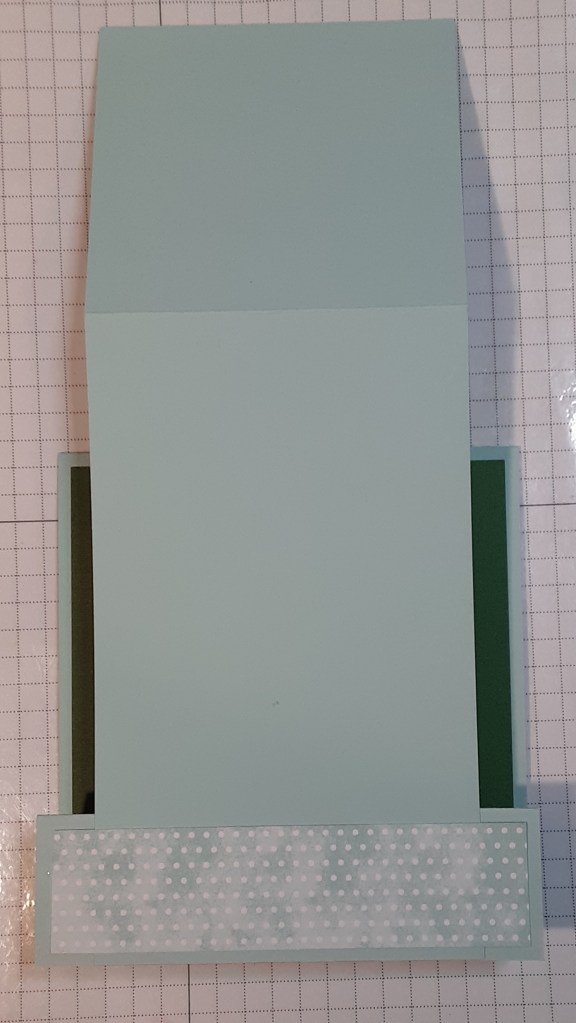
Next, I adhered the 3¼” x 8½” panel to the front of the card being sure to only add glue where it would touch the front step and flush with the bottom. I used my Grid Paper to make sure it was straight. Wet glue helps make it easier to wiggle into place. In the photo the green is not shown because I decided it would be easier to adhere the green panel before the longer panel.
I added my strip of DSP to the bottom of the card.
I flipped the card over and added some glue to the flap and folded it back to glue it to the back of the card. When adding glue, be careful not to add glue above the top of the card base fold.
I added my focal image panel to the front of the card. I colored in the windows with my Daffodil Delight Stampin’ Blend.
To finish the card, I stamped the greeting from Jolly Delivery stamp set on a 4″ x 4″ piece of Basic White cardstock and glued it inside the card. The card opens nicely to accommodate this.
I hope you liked this card!
For the complete supply list, click here.
For further inspiration: