
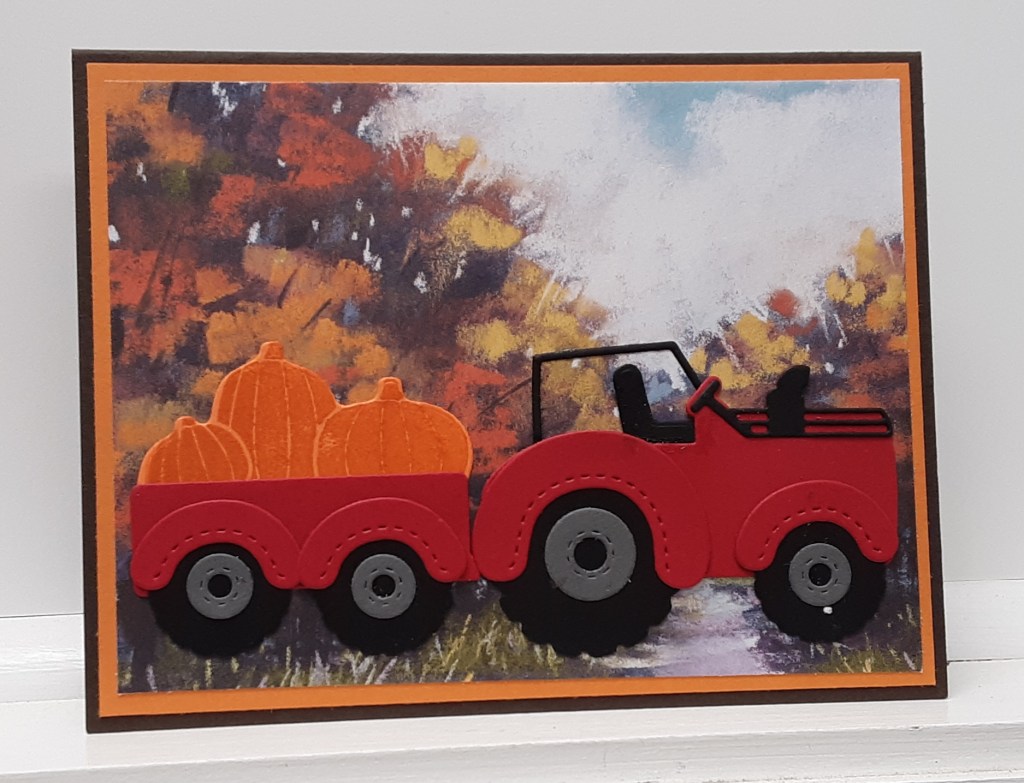
It’s finally fall! This week we are finally experiencing the cooler evening temperatures here in southwest Ohio. The days are getting shorter and soon the leaves should begin to change. The walnut trees by my driveway are shedding their nuts and the squirrels are busy collecting them. Fall reminds me of the Halloween weekend campouts with the kids. We participated in nature scavenger hunts and hayrides. This card reminds me of the tractor pulling us around the campground. So much fun! Marilyn here with another card.
To make the card base, I cut a piece of Early Espresso cardstock to 5½” x 8½” on my Paper Trimmer, scored and folded at 4¼”, and burnished with my Bone Folder. I cut a piece of Timid Tiger cardstock to 4” x 5¼”. Lastly, I cut a piece of Splendid Autumn DSP to 3¾” x 5”.

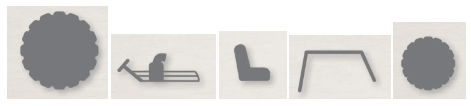
With the Tractor & Co bundle, I die cut the tractor and wagon pieces on my Stampin’ Cut & Emboss Machine. From Basic Black cardstock I cut both sets of tires, tractor seat, and frame. I was able to die cut almost all the pieces in one pass, though I did need to cut two additional smaller tires.
From Real Red cardstock, I cut the body of the tractor and the trailer, and the fenders. I cut two additional smaller fenders.

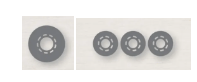
From Smoky Slate cardstock I cut the wheel hubs.
I stamped the pumpkins from Tractor & Co bundle with Timid Tiger ink on a scrap of Timid Tiger cardstock. I cut this out with the coordinating die. You could save a little paper and cut it from the center of the matte piece. This also helps reduce bulk from your card. Now I had all the pieces and could assemble the card.
I began assembling the tractor by adhering the frame, seat, and front piece to my tractor base with my favorite adhesive (Multipurpose Liquid Glue or Stampin’ Seal). You could also use Adhesive Sheets before die cutting.
I adhered the gray hubs to the black tires. I adhered the larger tire to the left side of the tractor body. I glued the smaller tire to the right side. I added the fenders. I repeated this with the trailer. I added the pumpkins to the trailer.
I glued my orange matte piece to my card base. I added the DSP piece. I adhered the tractor and trailer together to the card.
I didn’t add a sentiment, but you easily could. The stamp set includes a variety of sentiments to choose from.
To finish the card, I glued a 4” x 5¼” piece of Basic White cardstock inside the card. You could stamp a sentiment on the cardstock before adhering.
I hope you liked this card and weren’t intimidated by the die cuts. Putting multiple dies on the plate at one time really reduces the number of passes.
For the complete supply list, click here.
