It’s Wednesday and today I have a fun fold card! I’ve done this fold before, but it is so easy and the results are so pretty, that I decided to do it again. As a reminder, don’t forget to sign up for Stampin’ Up’s World Card Making Day on October 4. It should be fun to see what clever things Stampin’ Up! comes up with. Now on to today’s card.
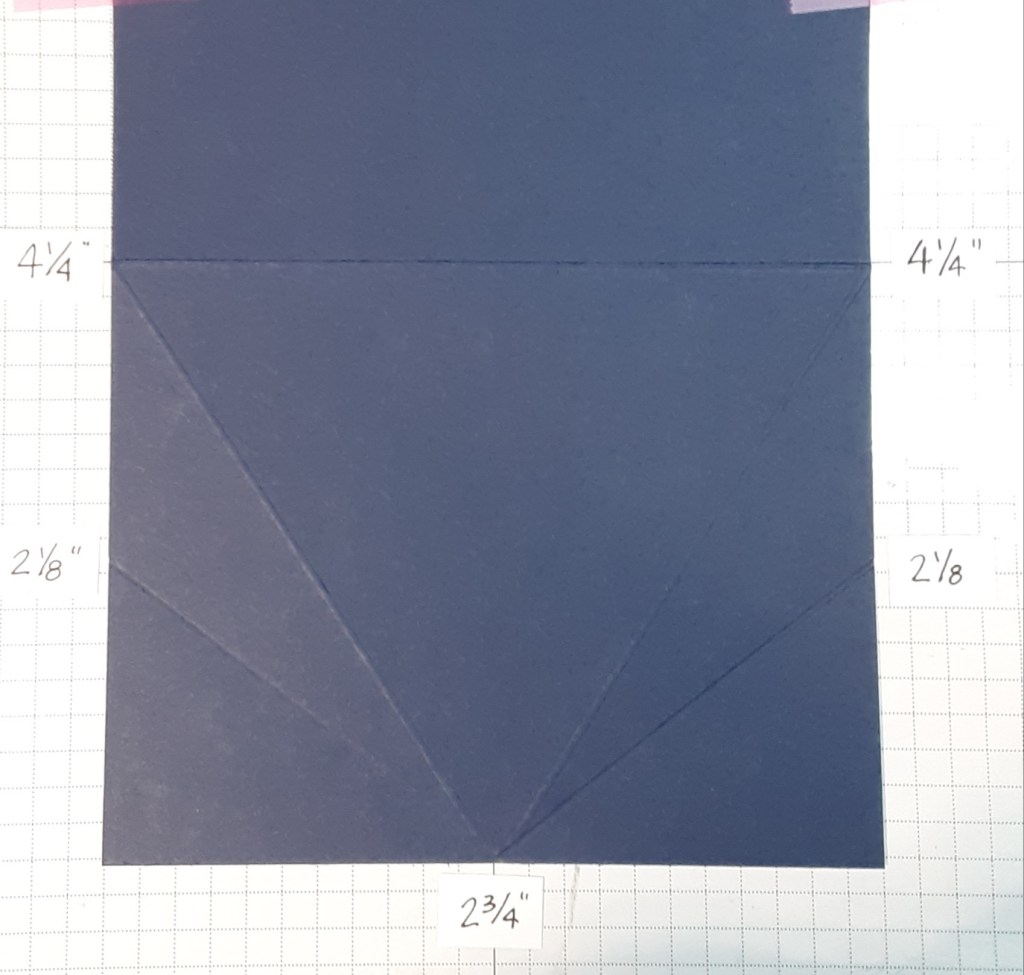
For the card base, I cut a piece of Night of Navy cardstock to 5½” x 8½” on my Paper Trimmer, scored and folded at 4¼”, and burnished with my Bone Folder. I then marked the front of my card at the center point of each unfolded side, 2⅛” for the sides and 2¾” for the bottom.
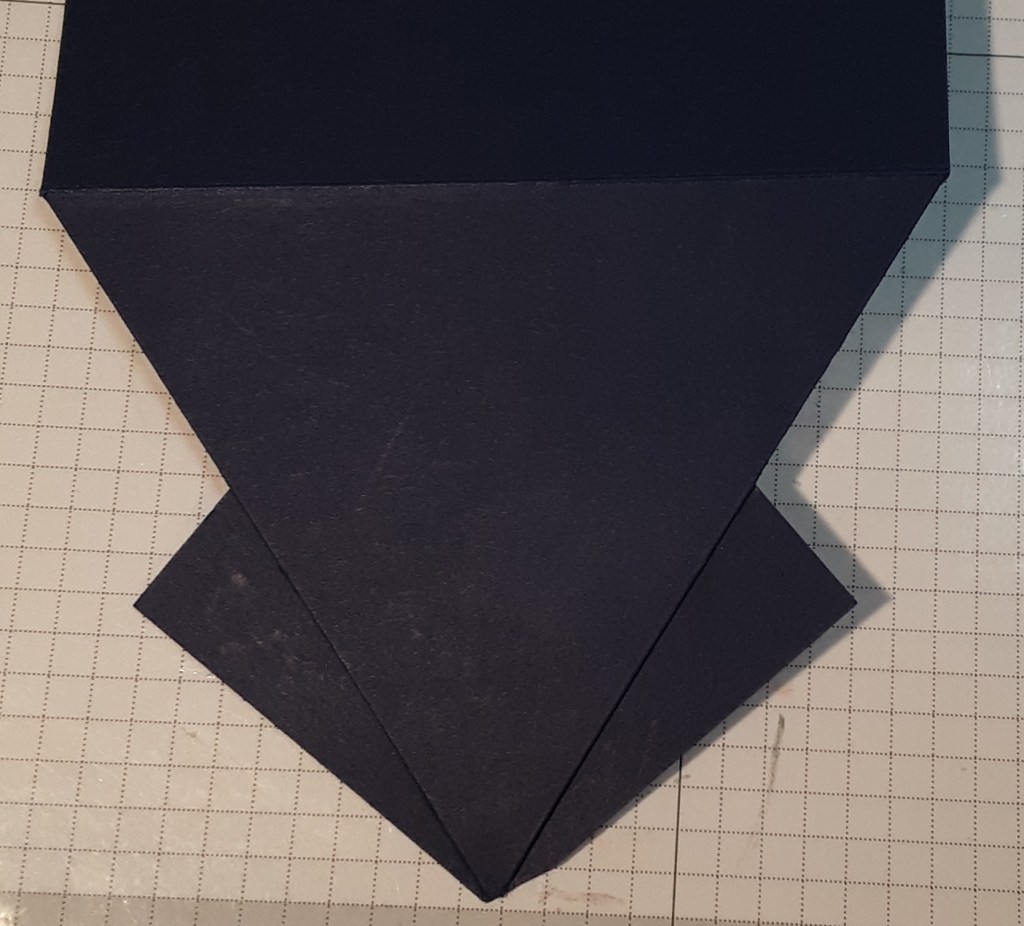
I used a ruler and a stylus (or Take Your Pick Tool) to make the score lines. You could also use the scoring blade on your paper trimmer. I thought the stylus & ruler gave me a little more control. I do have a silicon mat under the paper. You’ll also want to hold the ruler down. In the photo I’m not because I only have two hands. 🙂

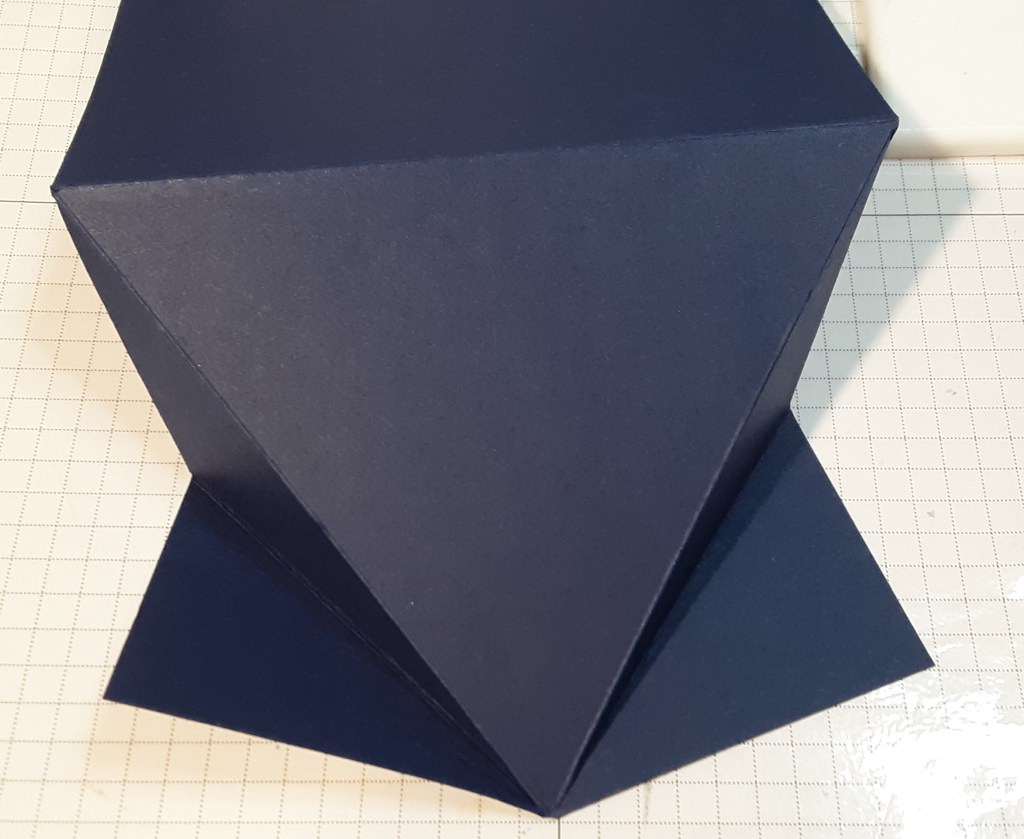
I folded the longer fold in toward the card. (Mountain) I folded the shorter fold out. I burnished both folds with my bone folder.
From the inside of the card, I applied glue (Multipurpose Liquid Glue. You could also use Stampin’ Seal) to the flap and adhered this part to the inside.
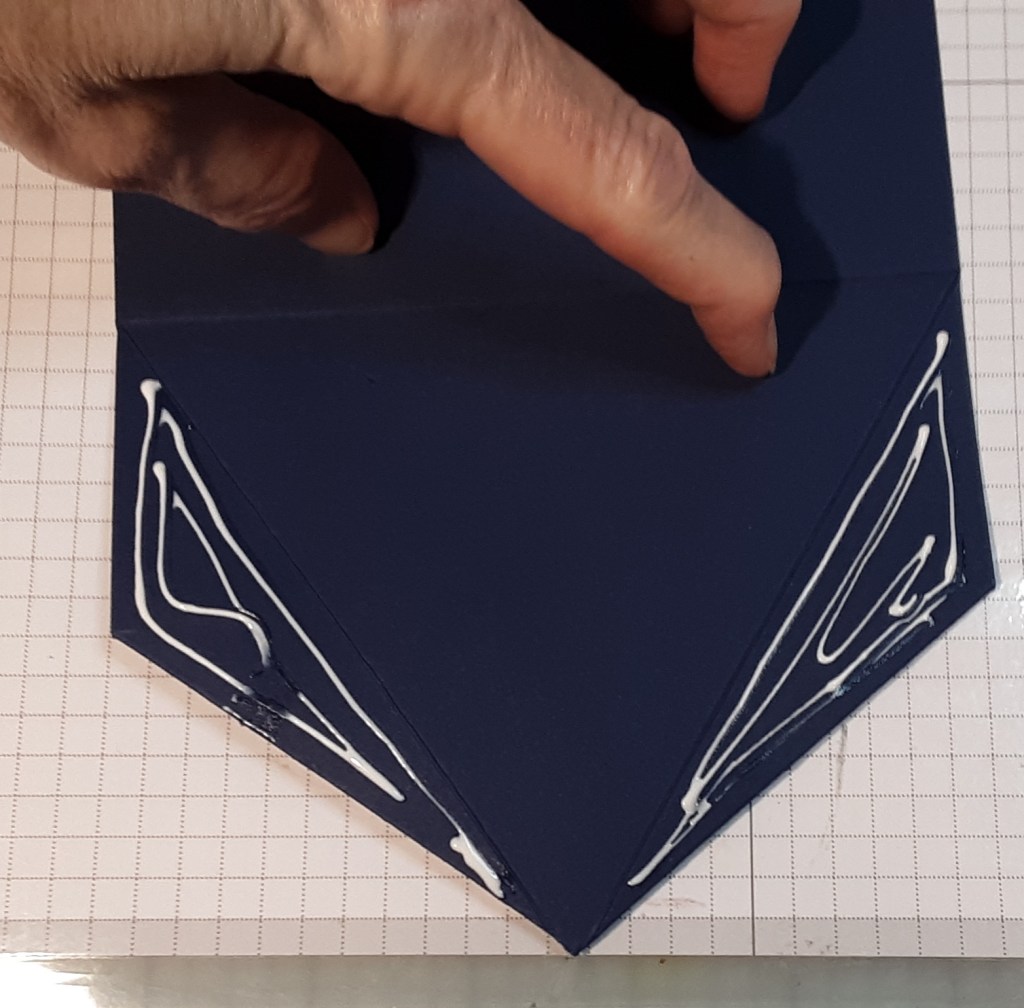
I glued the smaller wings being careful not to apply glue where there was nothing to stick to it.
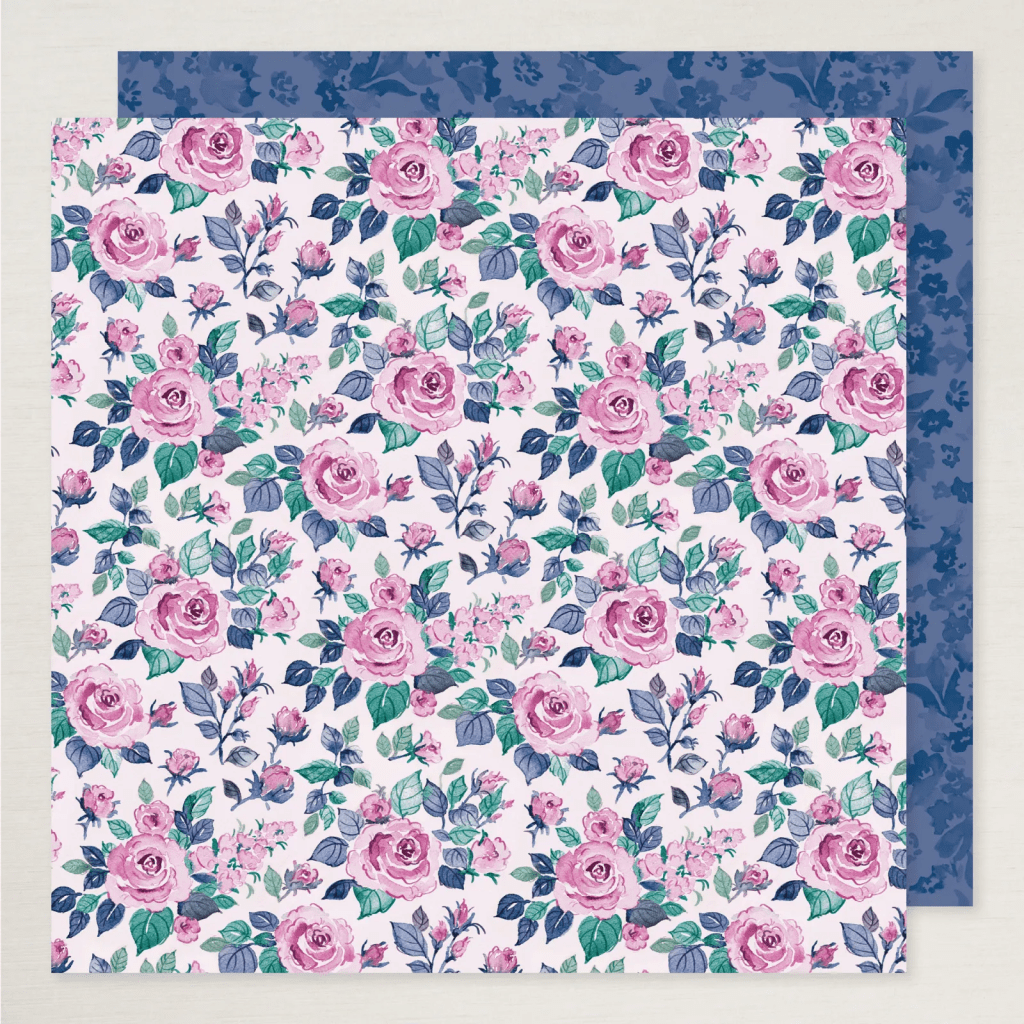
I cut a piece of Floral Charm DSP to 4” x 5¼”. I chose the floral design with the Night of Navy design on the back. Be cognizant of the direction of the design before cutting. I used the piece in a landscape position.
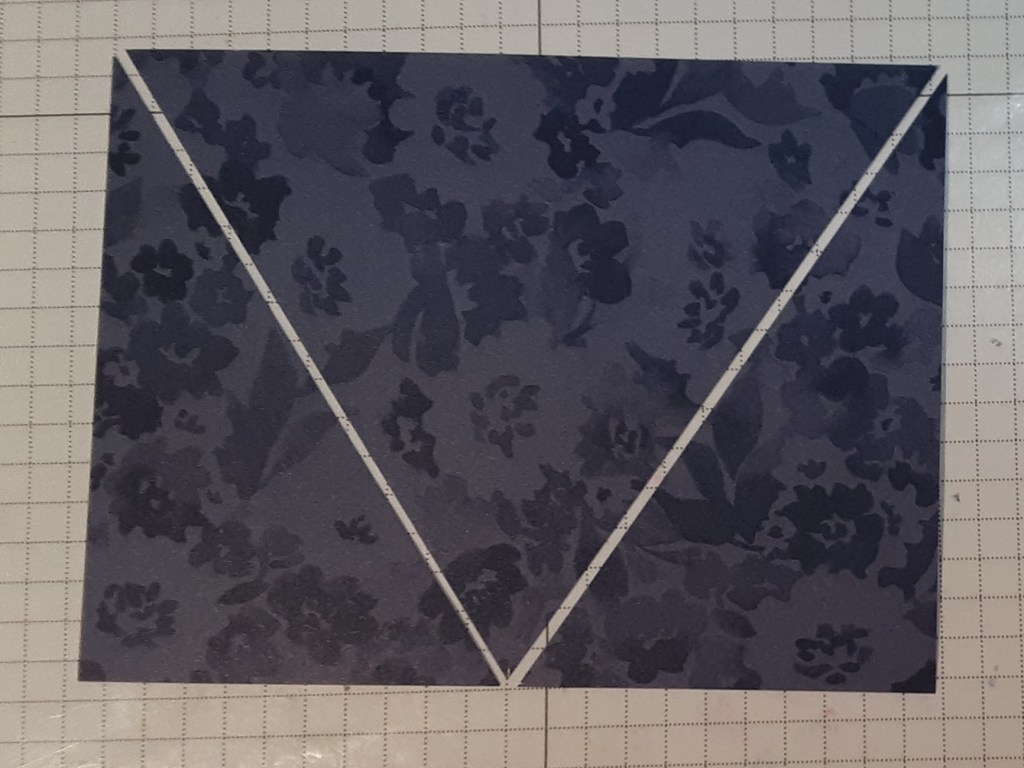
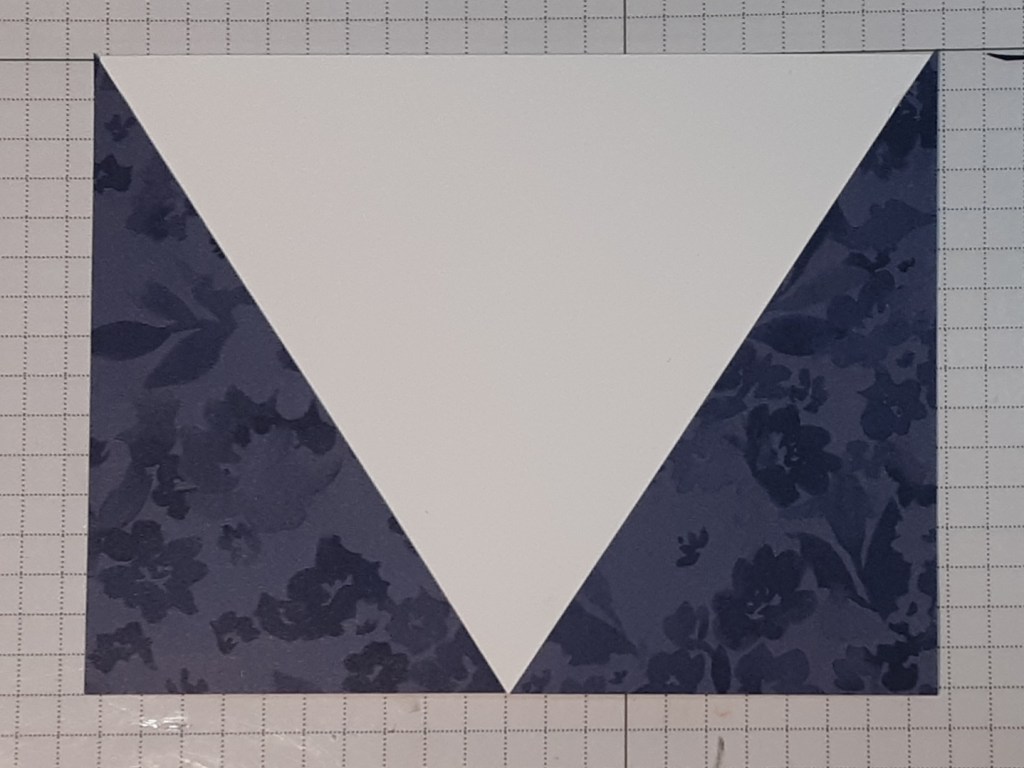
On the blue side, I marked the bottom center at 2⅝” with a pencil. I lined the upper corner with my pencil mark in my trimmer and cut diagonally from the corner to the pencil mark.

I cut from the other corner to the center bottom. Your cut pieces should look like this:
I flipped the center piece and my DSP pieces are ready to add to my card. You could keep all three facing the same direction if you prefer.
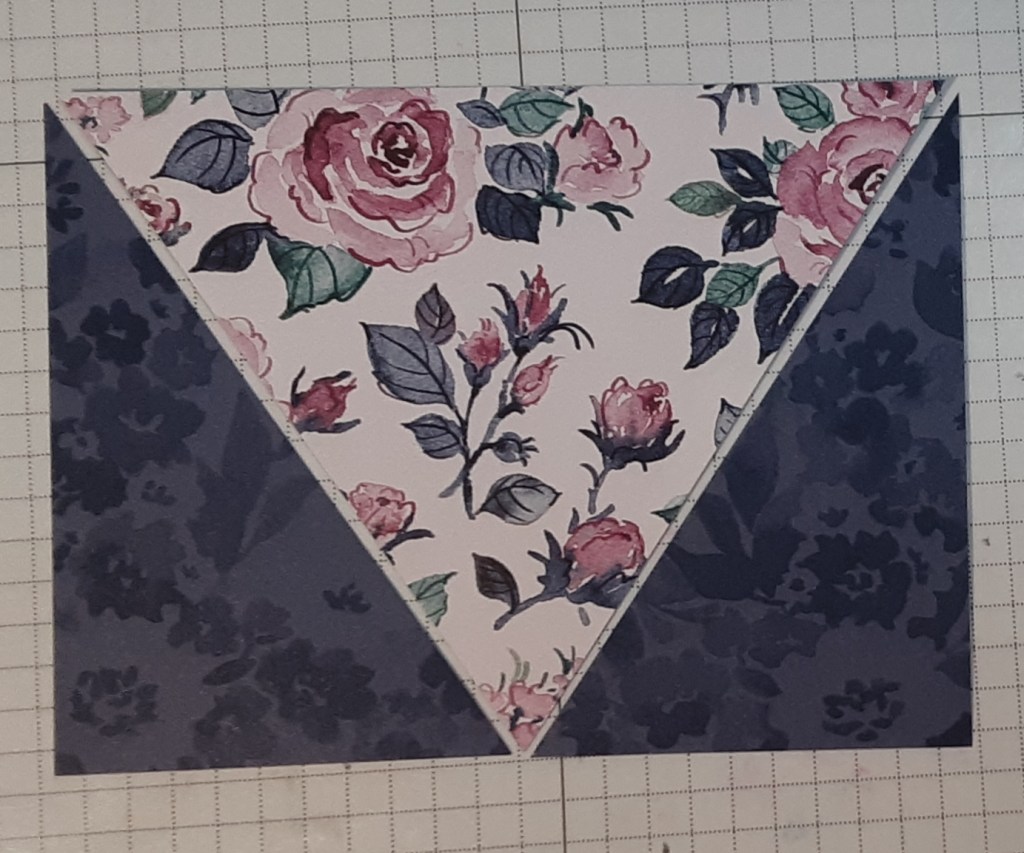
I cut a piece of Basic White cardstock to 4” x 5¼”. I adhered the two blue pieces to the corners of my white piece. You can stamp a sentiment on the white portion at this time.
I adhered this inside my card.

I adhered the center panel to the triangle on the front of my card.

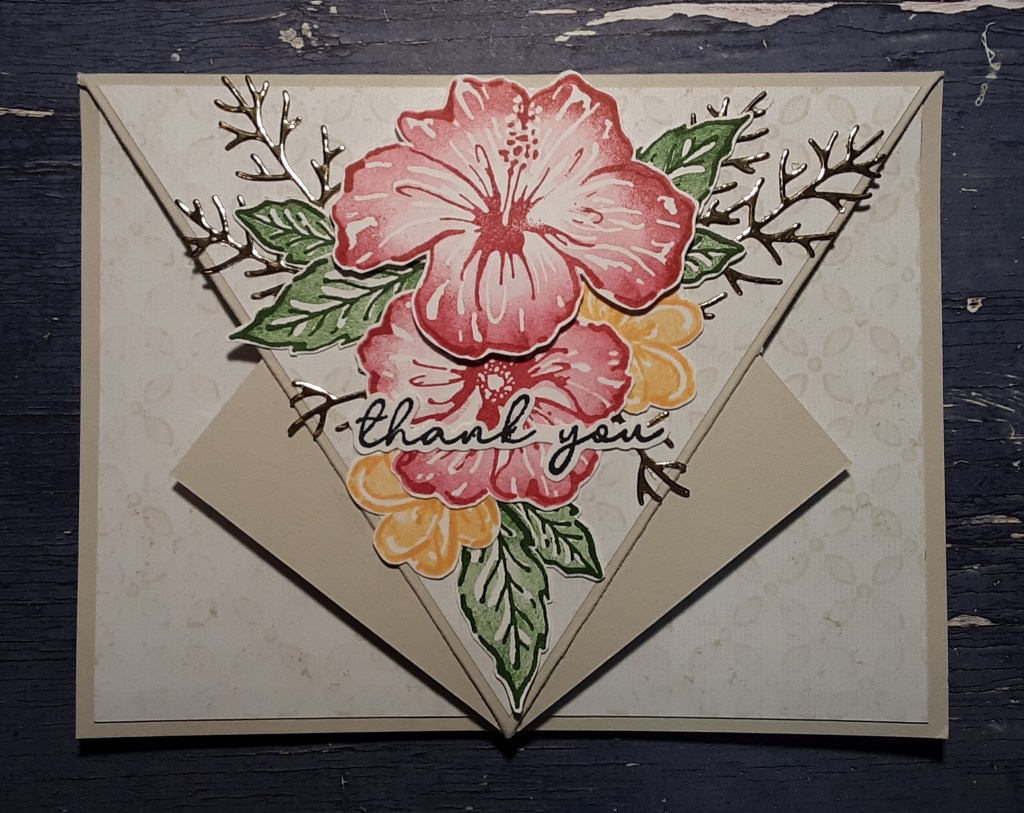
I stamped the larger floral design from Charming Day Bundle on Basic White cardstock with Momento Tuxedo Black ink. I then colored it in with Stampin’ Blends: Pretty Peacock, Night of Navy, Berry Burst, and Bubble Bath to coordinate with the DSP colors. I die cut the image with the coordinating dies in the bundle on my Stampin’ Cut & Emboss Machine. I adhered this to my card front.
I stamped Happy Birthday from the stamp set in Night of Navy ink. I trimmed it down to ¾” x 2½”. I die cut the banner out of Night of Navy cardstock with the Stylish Shapes dies. I cut a ¼” x 3½” strip of Berry Burst cardstock. I layered these pieces and glued them above my floral image.
For a little sparkle, I added two smaller Rhinestones to either side of the sentiment and one large one to the center of the bigger flower.
I hope you liked this card!
For the complete supply list, click here.
For further inspiration: