
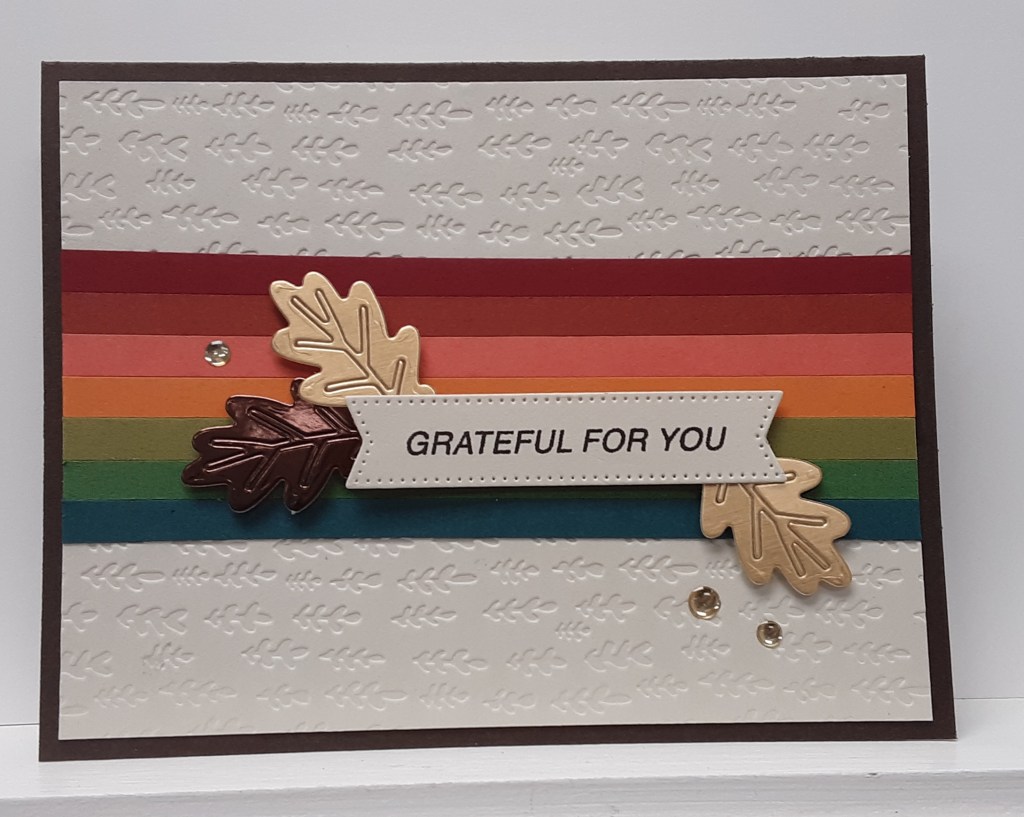
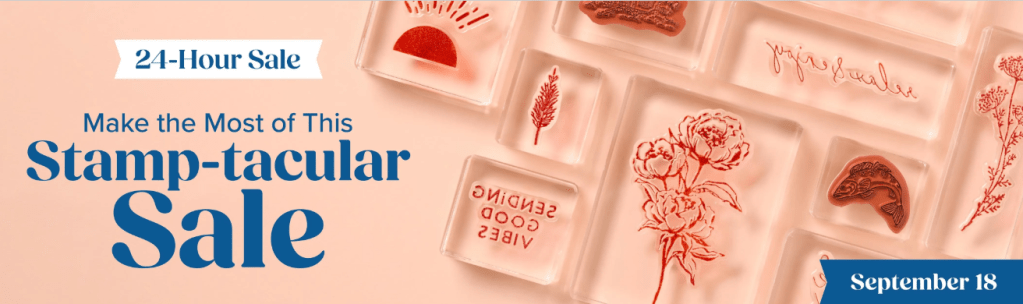
Today I have a colorful fall card in anticipation of the beginning of autumn. It is just around the corner, beginning officially on September 22. Though some may disagree, this card is not difficult to make. I also wanted to give you a heads up that tomorrow, Stampin’ Up! is having a 24-hour sale. Have you ever found yourself staring at multiple stamp sets and stamp tools unable to decide which one to get? Well, we’ve got great news for you! On September 18, you can get all the stamps and stamp tools you’ve been wanting at an amazing 15% discount. Act fast—this stamp-tacular sale only lasts for one day! See and shop all qualifying products in the online store. This sale covers stamps, not bundles, and tools related to stamping, such as stamp cleaner, shammy, acrylic blocks, and grid paper.
Now on to the card. To make the card base, I cut a piece of Early Espresso cardstock to 5½” x 8½” on my Paper Trimmer, scored and folded at 4¼”, and burnished with my Bone Folder. I cut a piece of Basic Beige cardstock to 4¼” x 5½” and ran it through the Gathering Leaves Embossing Folder on my Stampin’ Cut & Emboss Machine. I also cut ¼” x 5½” strips of Cherry Cobbler cardstock, Cajun Craze cardstock, Calypso Coral cardstock, Pumpkin Pie cardstock, Old Olive cardstock, Garden Green cardstock, and Pretty Peacock cardstock.
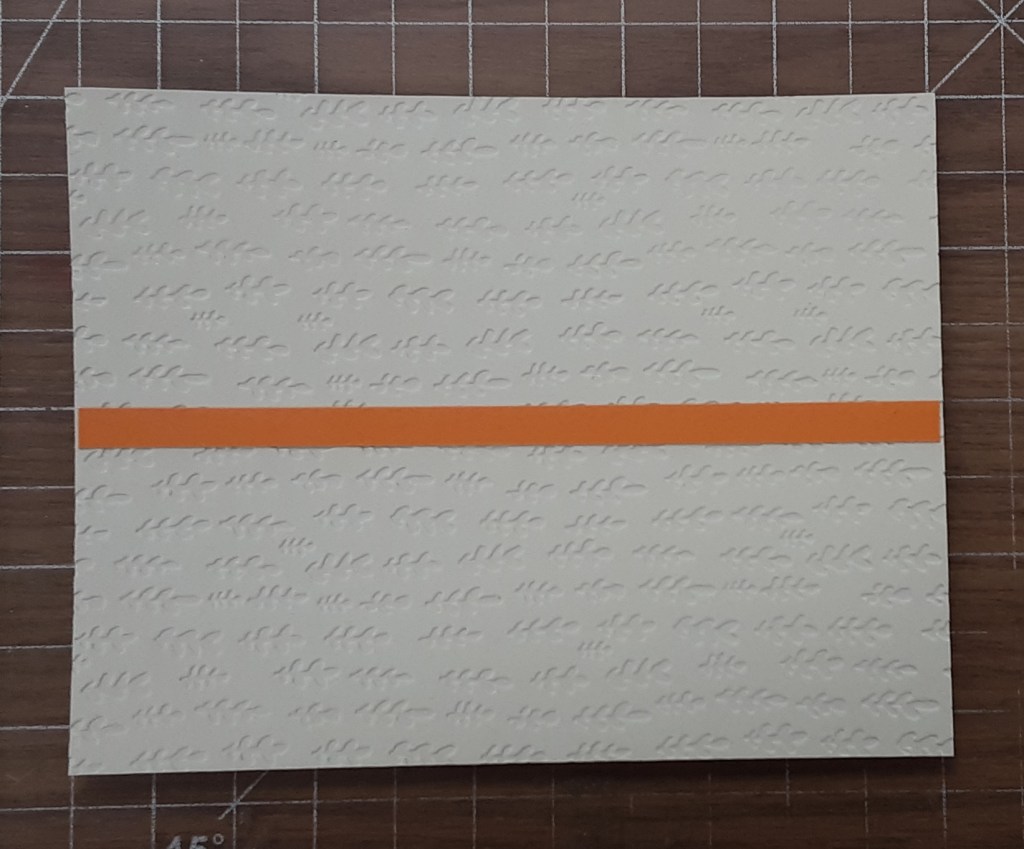
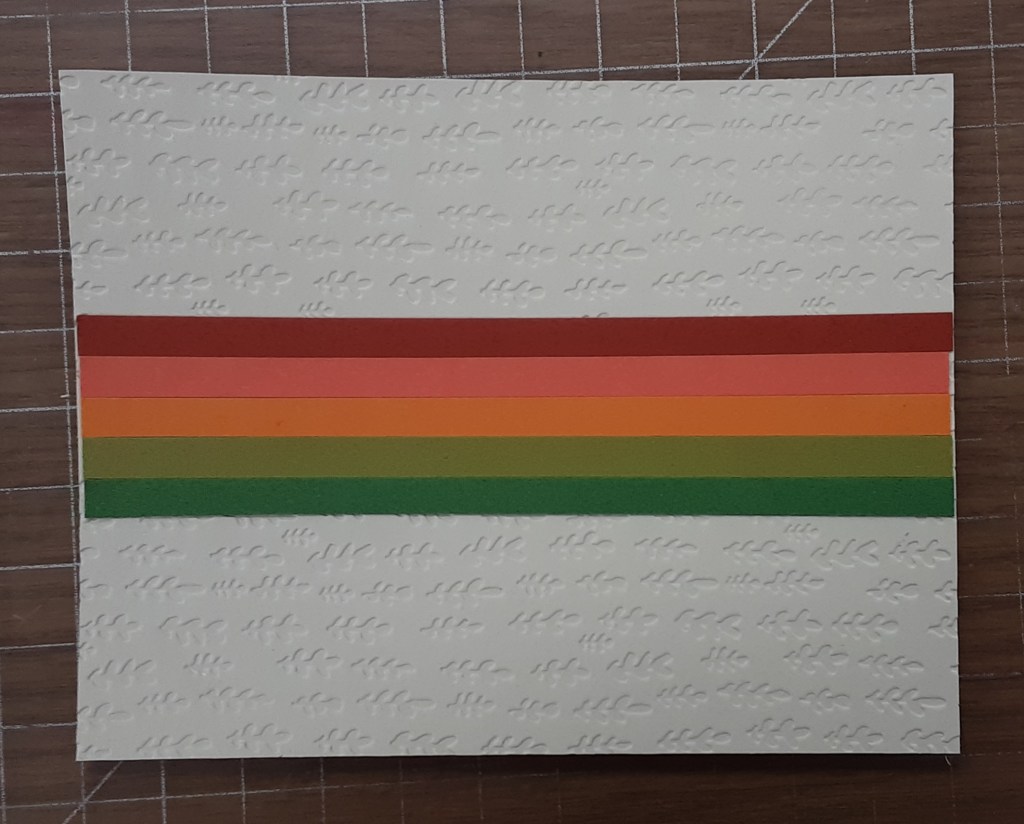
To add the strips to the card, I started with the center one: Pumpkin Pie. I used the debossed side of the Basic Beige where the embossed images are recessed. I glued this strip 2″ from the top in the landscape position using my favorite adhesive (Multipurpose Liquid Glue or Stampin’ Seal). This puts it in the center.
I then was able to add the next two pieces, Calypso Coral and Old Olive and butted them up closely to the Pumpkin Pie. Using wet glue actually gives you a bit a wiggle room.
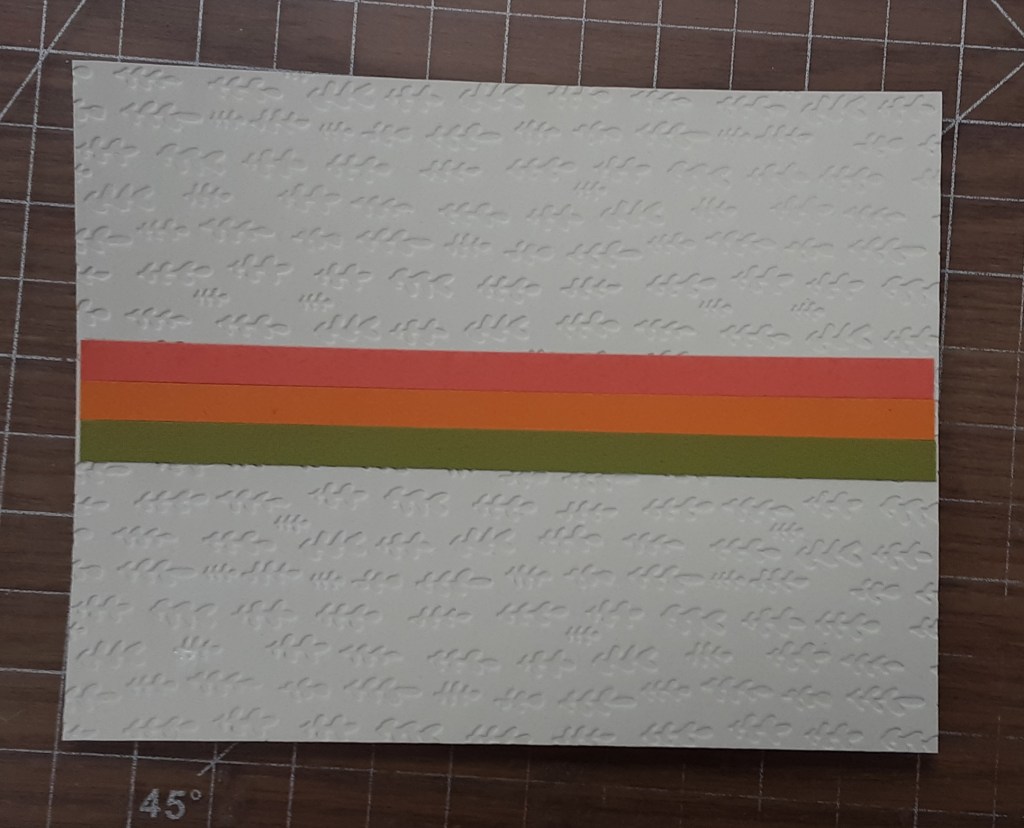
Notice that even though I cut my strips to 5½”, they don’t meet up with the edges of the panel. We’ll take care of that later. Next up was Cajun Craze and Garden Green.
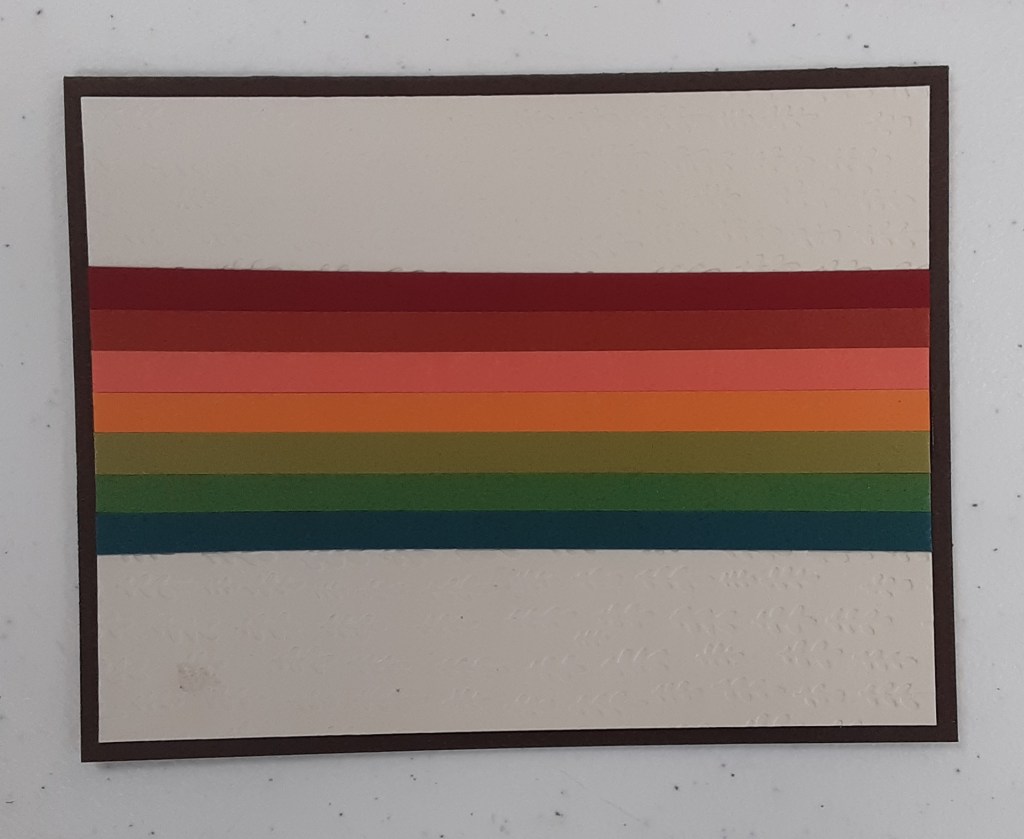
Finally, I added Cherry Cobbler and Pretty Peacock.

I cut this piece down to 4” x 5¼”, taking about ⅛” from each side. Sending cardstock through an embossing folder tends to change the sizing of the piece and I like my borders to be even. This also cleans up the edges. I glued this panel to my Early Espresso card base.
I stamped Grateful for You from Amber Autumn bundle with Early Espresso ink on Basic Beige cardstock. I die cut the sentiment out with my Stylish Shapes dies. I cut two leaves from Gold Foil Sheets and one from Earthen Tone Metallics. I saved the vein cut out piece and taped it in on the back of the leaves. I positioned these around the sentiment. You could add additional foliage if you prefer.
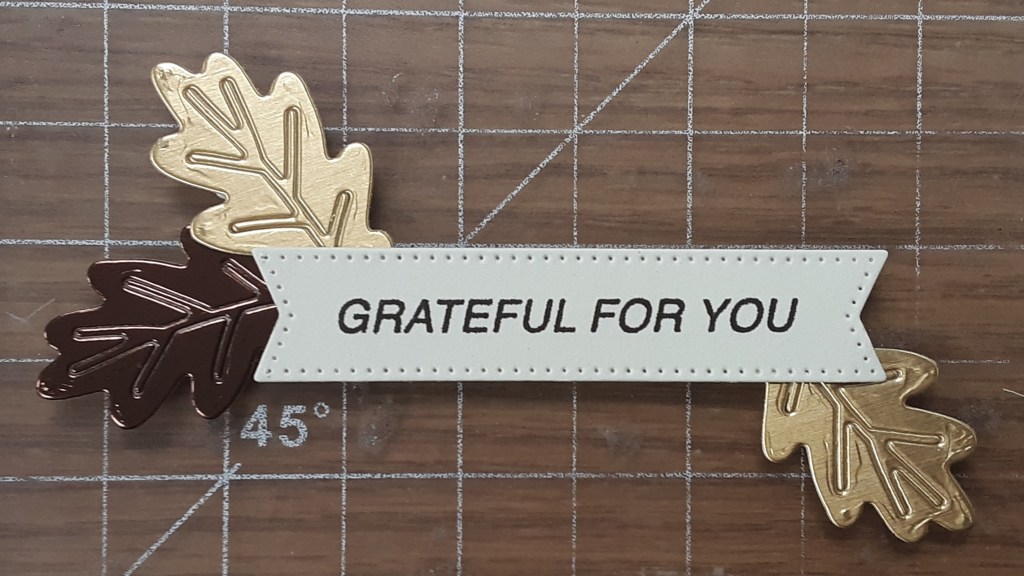
With Stampin’ Dimensionals, I adhered the sentiment to my card. I added some Low-Profile Dots for a bit of shine.
To finish the card, I glued a 4” x 5¼” piece of Basic White cardstock to the inside of the card. If you would like to add a sentiment inside the card, stamp it before gluing.
I hope you liked this clean and simple card that uses up some scraps!
For the complete supply list, click here.
Don’t forget to leave a comment and be entered to win a $25.00 gift card to Terry’s Cards and Gifts! I am hoping to announce the winner on Saturday.
