
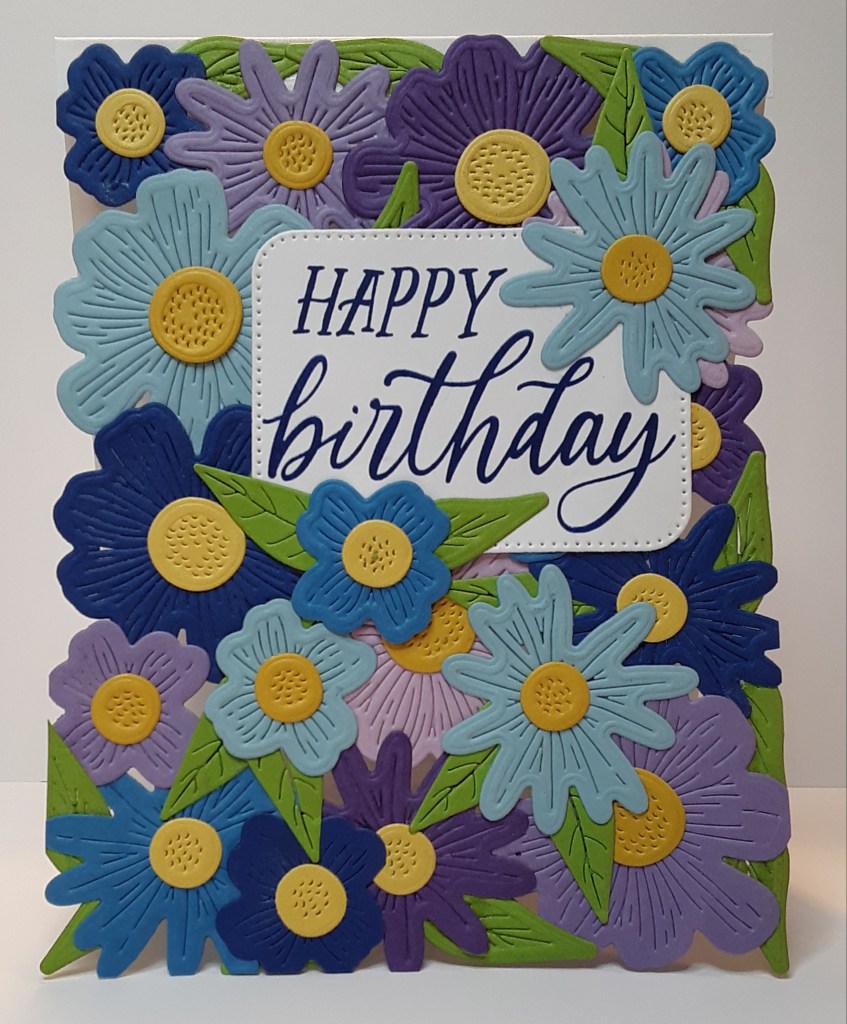
Today I have a fun card with the entire card front made of die cuts. This is a great technique for using up all those extra die cuts. I decided to use the Impressions Abloom die set because it offers a variety of flowers to choose from. Some of the flowers are larger and help fill the space more quickly. I also like how the dies offer an inside die to add texture to the blossom. Since pink is my very favorite color and I tend to favor it, I decided to go rogue and switch up my color palette and use blues and purples. The construction of this card is not for the faint of heart! It is a die cutter’s dream. It does take a bit to assemble, but I think the result is definitely worth the effort. Save this card for a special recipient!
As a reminder, Stampin’ Up! is offering all products featuring the 2025-2027 In Colors for 15% off through August 31, 2025. Also, beginning today, all Stampin’ Write Markers will be on the Last Chance list, since they will be discontinued when the current supply runs out. If there is a marker you really must have, grab it today! They will also stop making cling stamps, beginning with the Online Exclusives in November. Any current cling stamp images and designs will be discontinued by the advent of the new annual catalog, if not before.
To make the card base, I cut a piece of Thick Basic White to 4¼” x 5⅞” on my Paper Trimmer, scored and folded at 5½”, and burnished very well with my Bone Folder. You want a thick piece of cardstock to act as your base so that it doesn’t have any problem standing up. You will have a ⅜” flap at the top. I tried it with ¼” but I didn’t think it provided enough real estate for the focal panel to attach to.
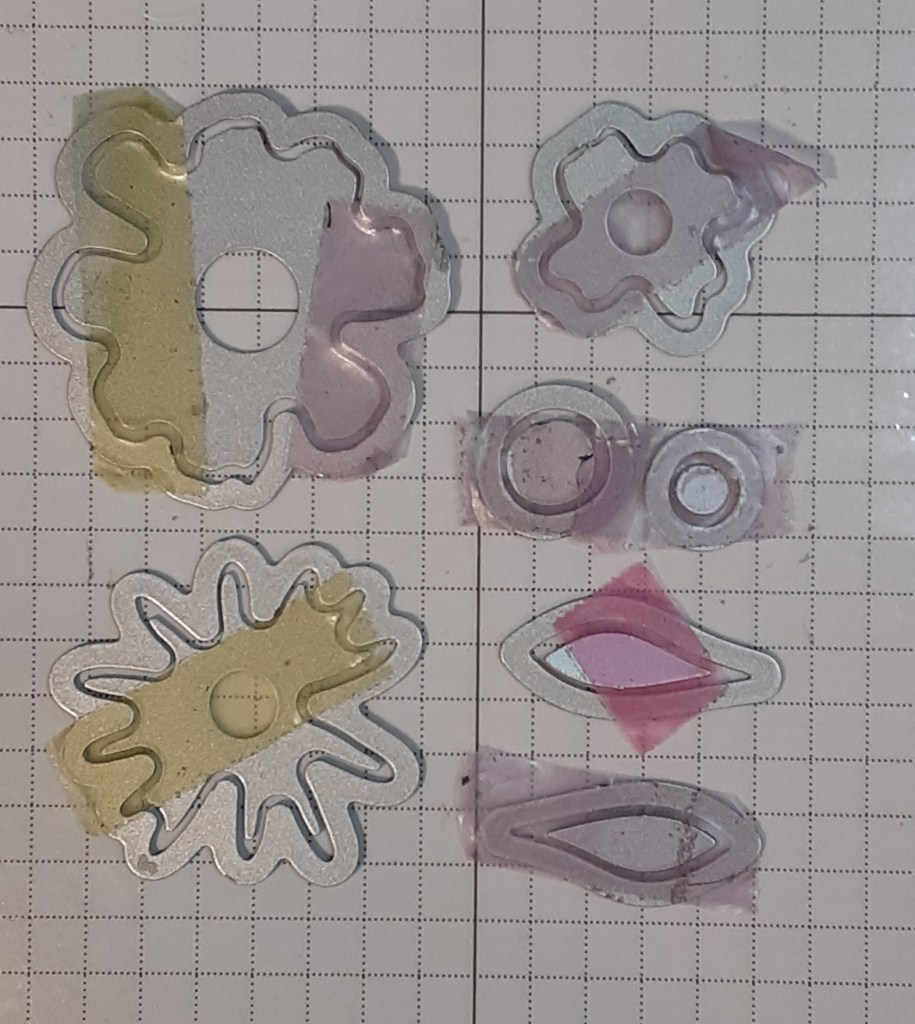
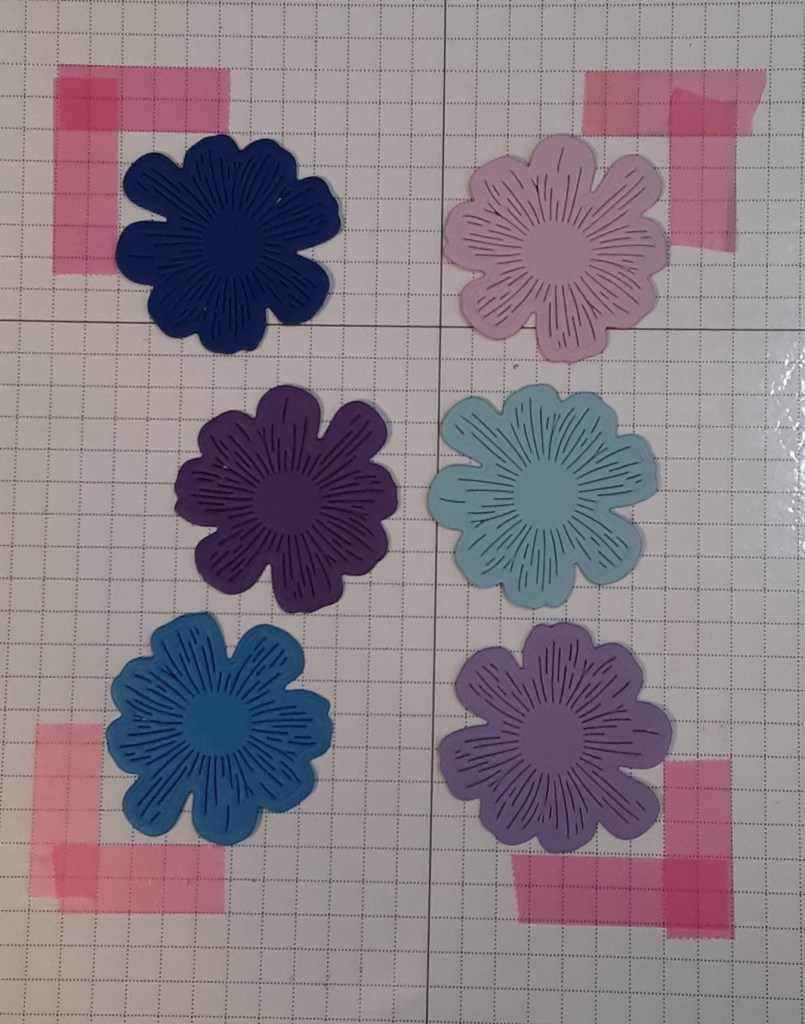
Next, I pulled out my Impressions Abloom dies and began die cutting (on my Stampin’ Cut & Emboss Machine) the flowers, centers, and leaves from these cardstocks: Blueberry Bushel, Azure Afternoon, Balmy Blue, Gorgeous Grape, Highland Heather, Fresh Freesia, Daffodil Delight, Crushed Curry, and Granny Apple Green. I paired the Daffodil Delight centers with the darker colors and the Crushed Curry centers with the lighter colors. I cut multiples of each color and type of flower, and I filled my platform with different dies and cardstock so I didn’t have to make as many passes on my machine. I used Easy See tape (Amazon) to keep my dies together. I took this picture after I had made dozens of die cuts using these dies. The tape held up nicely and are ready to do some more!
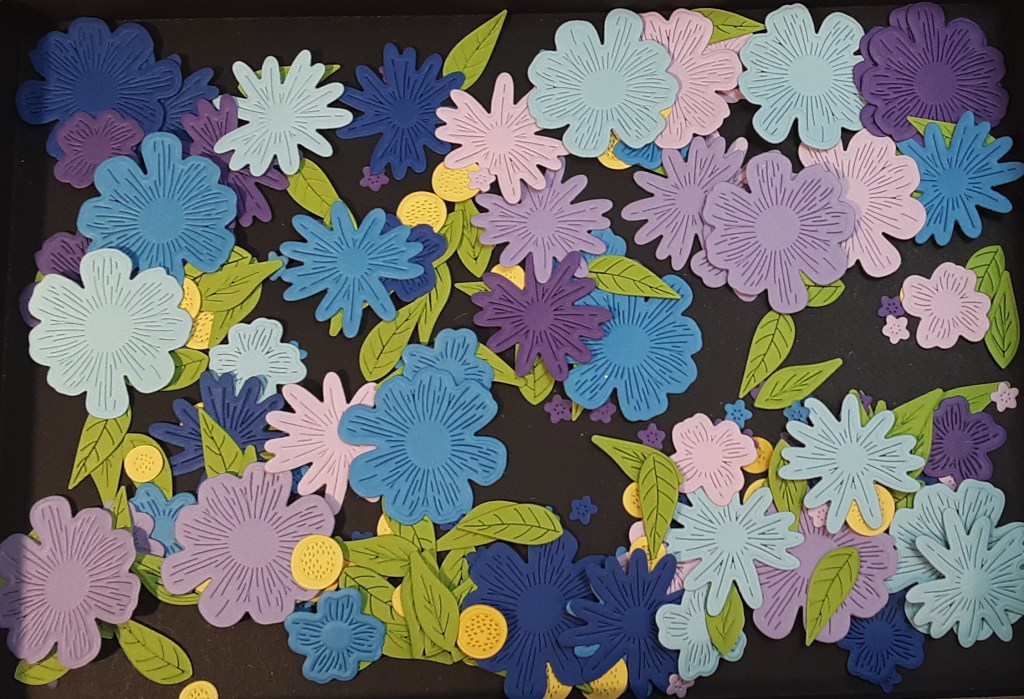
When I finished die cutting (not really, I did additional die cuts as I needed them), I had a box of beautiful florals. I thought about sponging the edges with a sponge dauber and coordinating ink but decided to keep it simple. 🙂 I know I tend to go over the top.
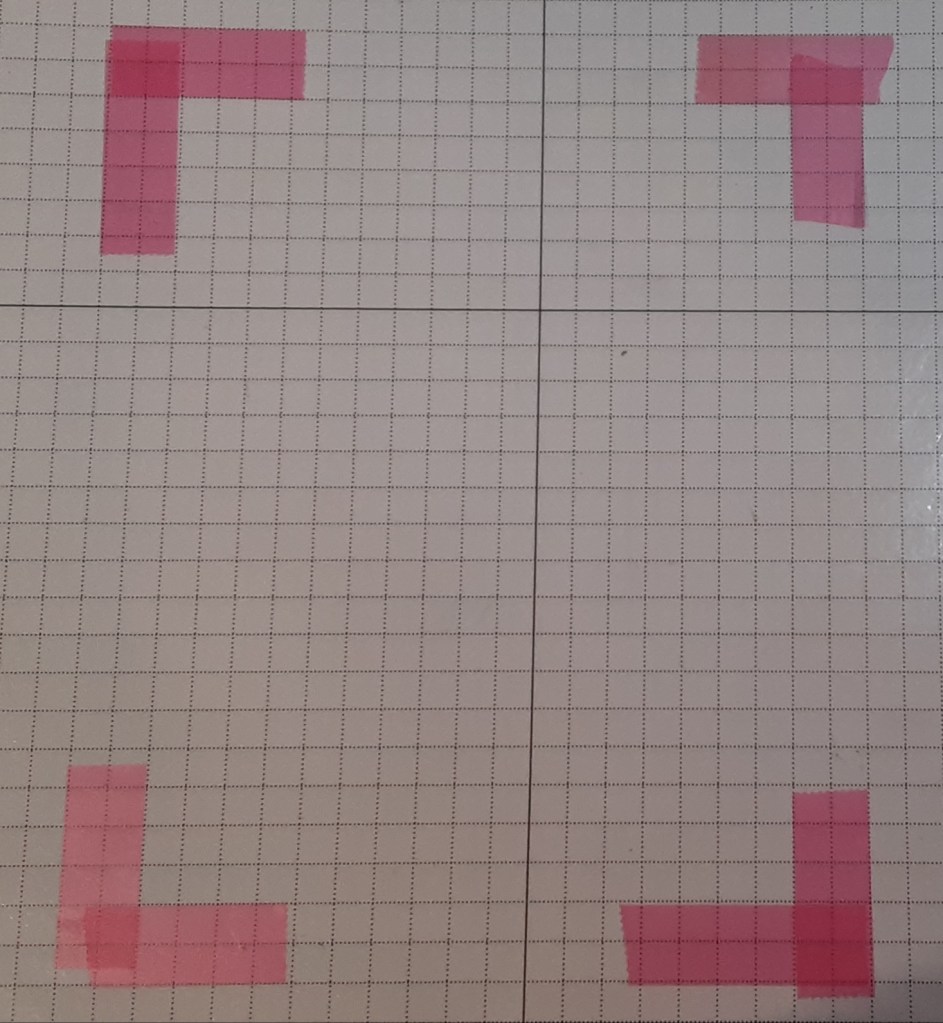
To help make the design stay within the 4¼” x 5½” parameters, I put some tape down on my Grid Paper to delineate the corners. I laminated my grid paper and use it over and over.
I started by laying some flowers down and went from there, adding and moving them as I went. They slide on the laminated surface, so I did put some temporary tape on the backs. If you look at the final card, you will see that these pieces got moved quite a bit.
When I was satisfied with the placement of the flowers, I began gluing them together. Because I didn’t want the tacky mess of Multipurpose Liquid Glue, I used my Bearly Art glue (Amazon), which does not dry tacky and has a handy fine tip. Some of the flowers didn’t overlap much and you only want to add glue where they do. You will want to make sure you have the flowers or leaves all the way to the edge, particularly at the bottom, so your card sits level when on display. It took a little finagling, especially with the leaves. There are a few small gaps between flowers and that is okay.
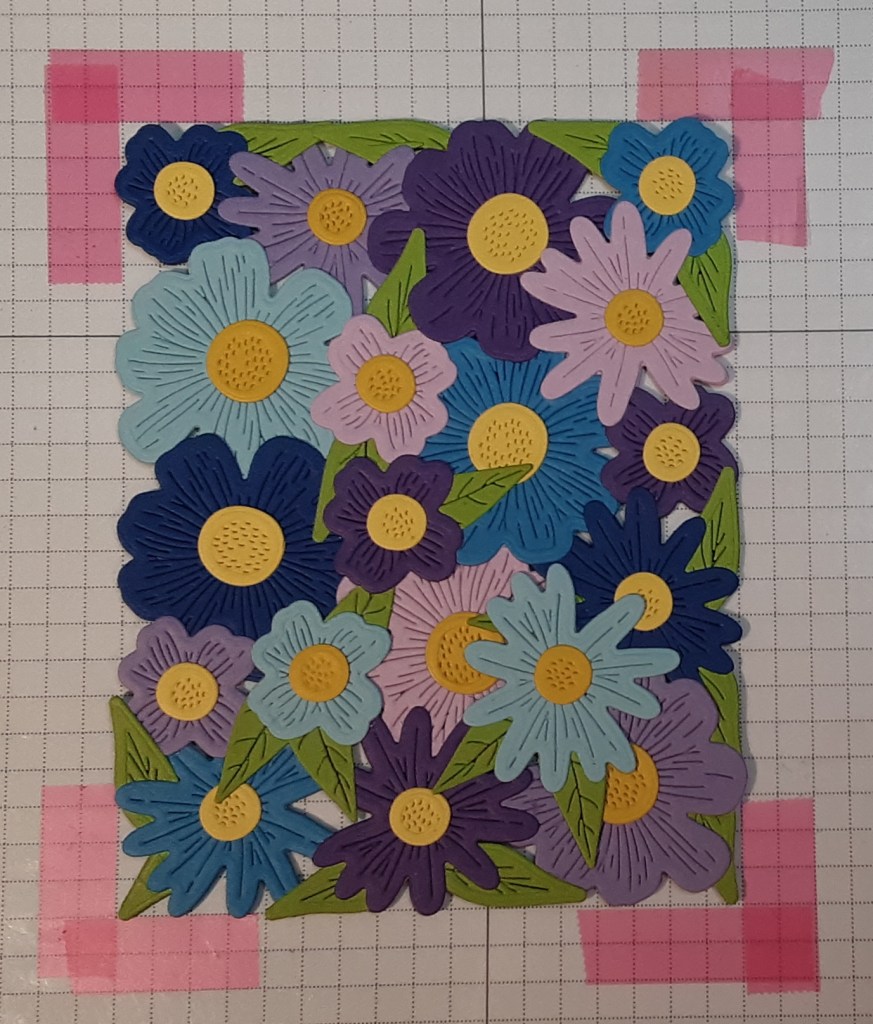
Once I had my flower panel all stuck together, I glued it to the card base on the little ⅜” flap. I laid the flower panel upside down next to my card base, so I knew how far down to put the glue. I put the glue on the flower part since there were gaps. The picture shows a ¼” flap but that was just too narrow and some glue oozed out and made a mess.

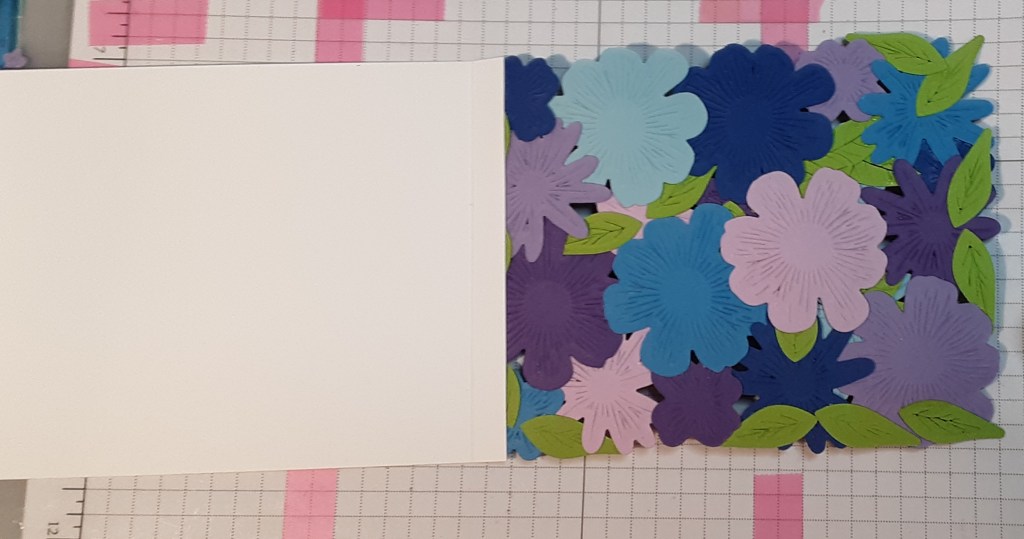
Below is a picture of the card opened up. If you have any stray bits hanging over the edges when closed, feel free to trim them even with the edge of the card base. I only had to make a few snips.
Next, I die cut one of the rectangles (about 2½” x 2) from Nested Essentials dies from Basic White cardstock. I stamped Birthday from Birthday Celebrations stamp set (Last Chance!) in Blueberry Bushel ink on the rectangle. Then, I stamped Happy about it. I found a place on the card that I liked, added a couple additional flowers, and glued everything down, being careful not to put glue where there were openings to the inside or it wouldn’t open properly.

To finish my card, I stamped a greeting under the more densely placed flowers toward the top of the card.
I hope you liked this card!
For the complete supply list, click here.
Some additional ideas for this technique would be to use different sporting balls and arrange them for an athlete, or fish swimming around for some sea life fun. It could be fun to add some of those underwater elements, too. Use your imagination and what you have on hand. To simplify the card, you could use a whole card base and just glue your flowers, or other images, to it. It won’t have the see-through effect, though, and you won’t see the backs of the flowers, etc. inside the card.
