It’s Simple Saturday and I have another simple card that use minimal supplies. I like combining stamp and die sets to stretch their usefulness and today’s card is an example of that. Sometimes I get stuck in a rut and can only envision sets being used the way they are depicted in the catalog. Today’s card features three separate stamp or die sets. I’ve used some before but today I have added a little twist. So let’s jump right in!
To make the card base, I cut a piece of Strawberry Slush cardstock to 4¼” x 11″ on my Paper Trimmer, scored and folded at 5½”, and burnished with my Bone Folder. I cut a piece of Lost Lagoon cardstock to 3⅞” x 5⅛” to act as a matte. Finally, I cut a piece of Basic White cardstock to 3¾” x 5¼”.
I die cut the 3″ from point-to-point hexagon from the Meant to Bee die set (a Last Chance product!) from stencil material I purchased from Amazon. I got the 12″ x 12″ sheet and cut it into 6″ squares. I centered the die on the square and ran it through my Stampin’ Cut & Emboss Machine. You may need to run it through twice to get a clean cut. I did need to help mine separate with a pair of scissors. If you don’t have stencil sheets, you could use a piece of cardstock instead. The stencil sheet is good because you can tap off your ink on it and pick it back up if you need it. But I’m getting ahead of myself.
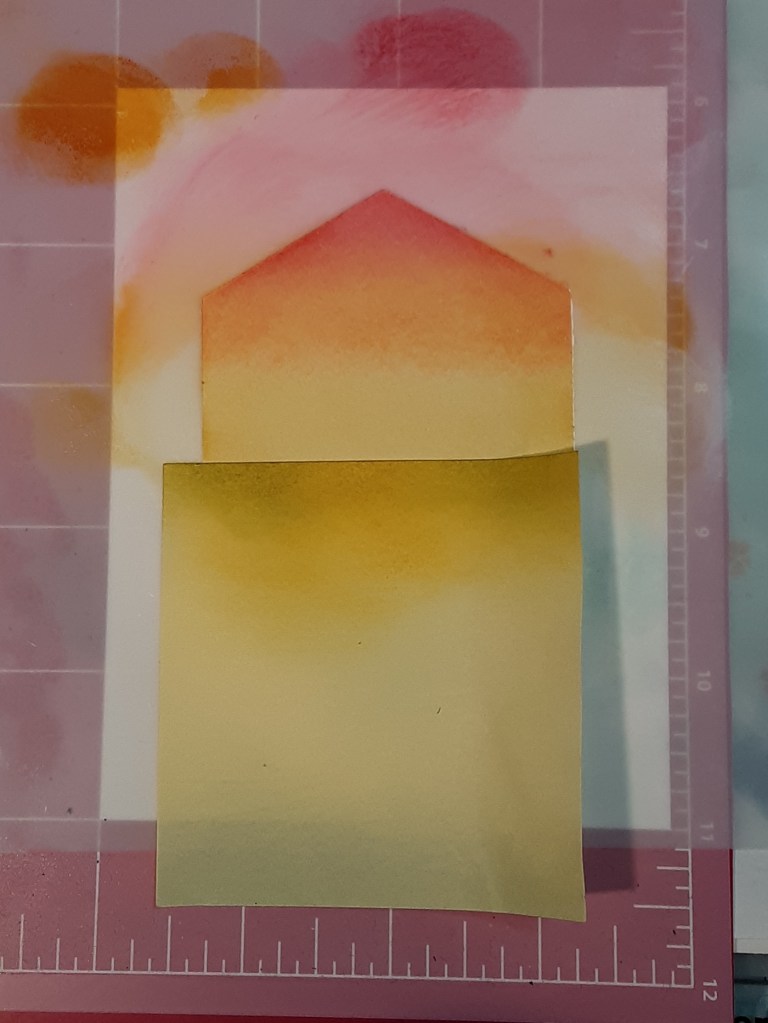
I stuck my white piece on a sticky mat. I made my sticky mat from a Cricut mat that I cut down to a more convenient size. The handmade stencil sticks to the sticky mat and secures it while I ink blend. I put a post-it note where I wanted my water line to be. Starting at the top, I ink blended with a Small Blending Brush in Strawberry Slush ink. In the picture you can see where I tapped off the ink before blending it on with a LIGHT hand. I could pick up more color if I needed it. I make multiple cards, and this was not my first attempt as you can tell by the various ink smudges on the stencil.
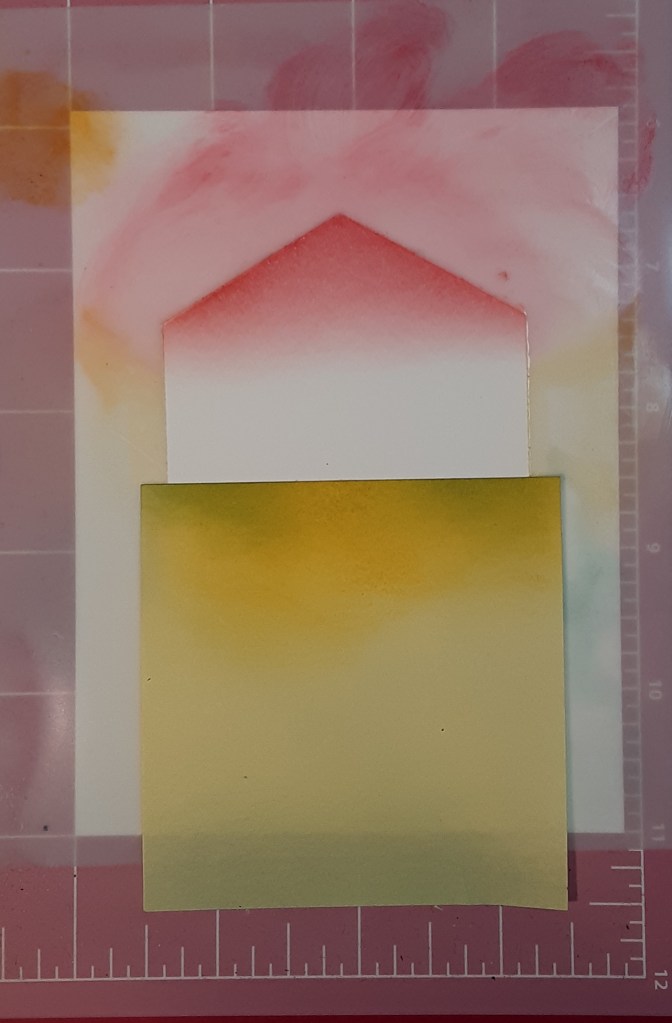
Next, I ink blended Pumpkin Pie ink. Once again, I tapped off the bulk of the ink on my stencil before blending. I overlapped the orange with the pink.
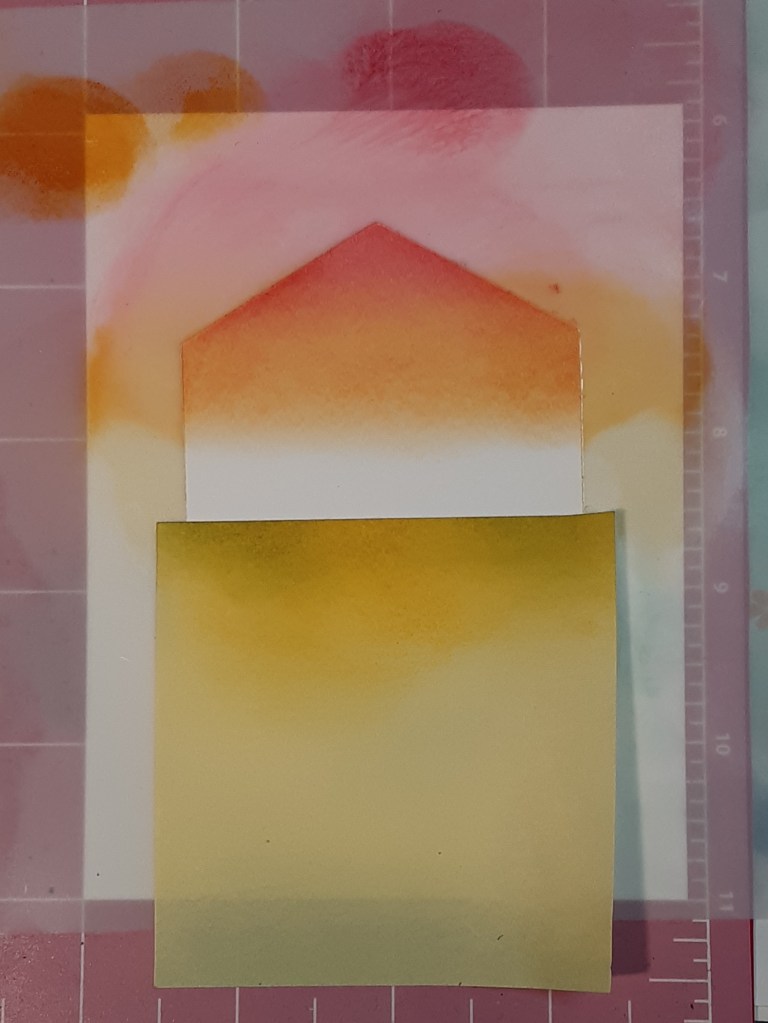
Then, I used Daffodil Delight ink. I overlapped the yellow with the orange to create a continuous line of shading.
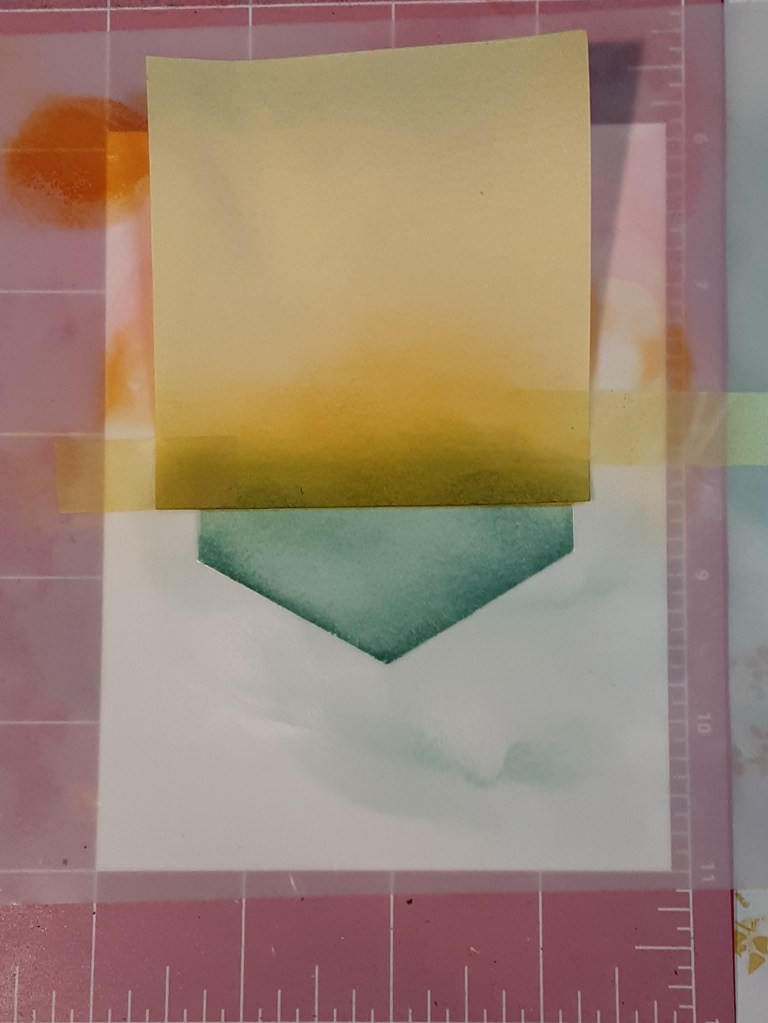
I removed the post-it note to work on the water. Because I was impatient and couldn’t wait for the previous inks to dry, I needed to secure the post-it note with some yellow Easy-See tape (Amazon). I used Lost Lagoon ink for the water. I pulled the stencil off the sticky mat with no problem. To keep from tearing your ink-blended piece, bend the sticky mat back away from the paper. This helps minimize the surface area that is sticking to the mat, and it is easier to remove the paper.
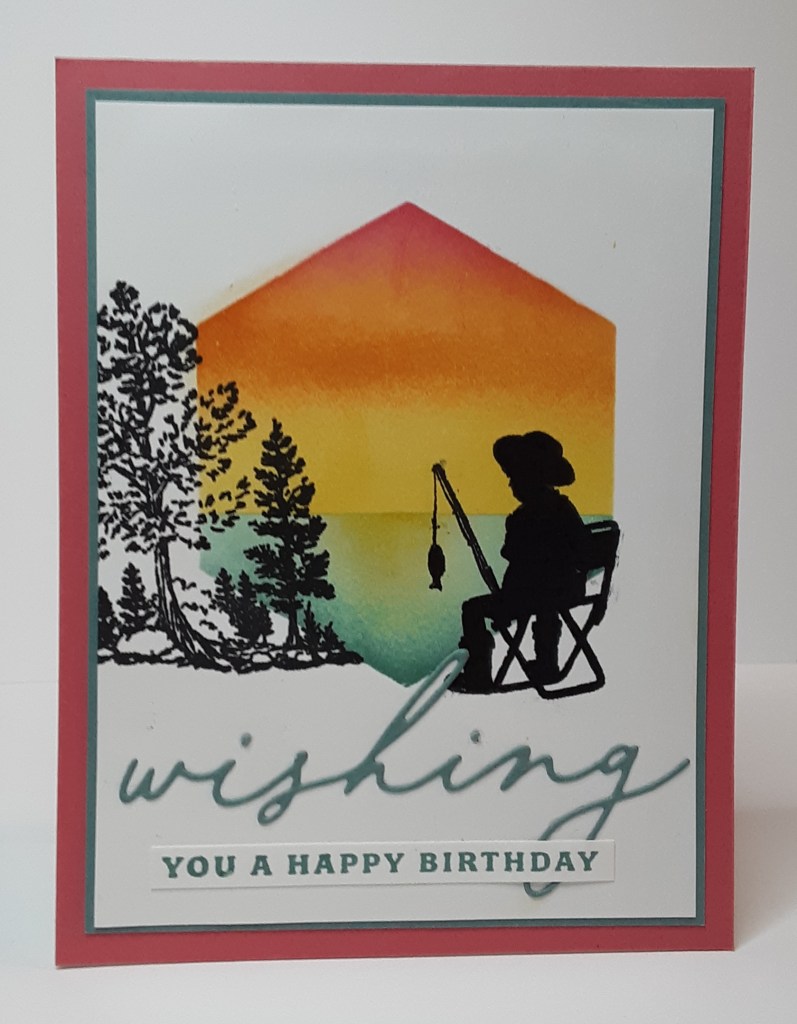
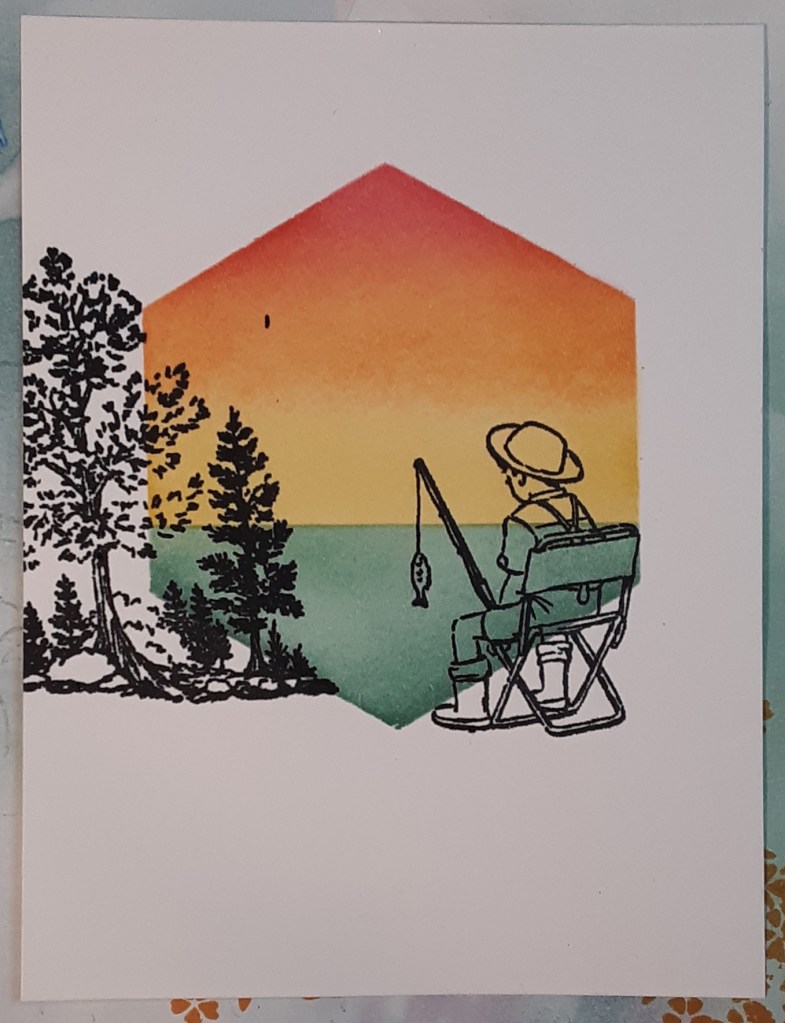
I stamped the boy fishing and the trees from Peaceful Pier stamp set onto my focal layer with Momento Tuxedo Black ink. I did use my MISTI stamp positioner to repeat stamp the tree image to make it a solid black.
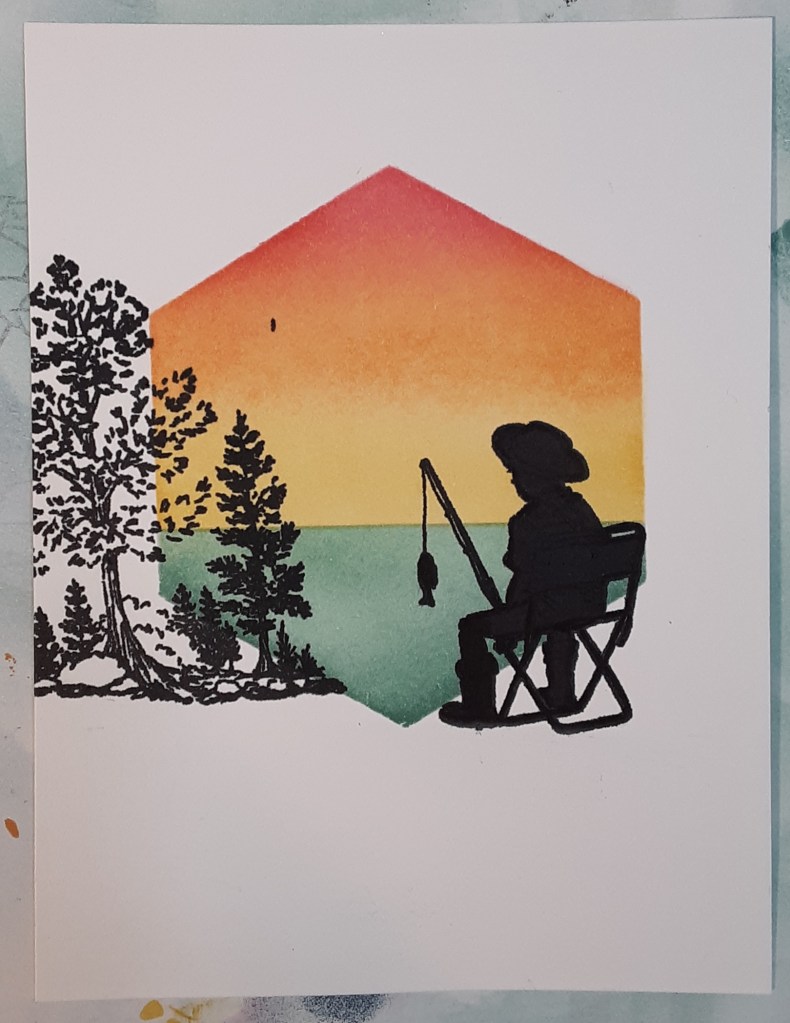
To make the boy a silhouette, I used a Black Marker to fill in the image. I did refer back to the stamp to make sure I colored in the right areas. Once you start filling in with the black, it can get a little confusing knowing which lines should be colored and not. Plus, the background inking adds to the confusion.
I die cut the word Wishing (Delightful Wishes bundle) from the middle of my Lost Lagoon piece. No sense in wasting another bit of paper. Don’t forget to save the dots for the i’s.

I glued the word Wishing to my focal layer using Bearly Art glue (Amazon). It dries without being tacky and has a fine point for easier application. You could also use adhesive sheets.

I adhered my ink blended piece to my Lost Lagoon matte with my favorite adhesive (Multipurpose Liquid Glue or Stampin’ Seal) leaving a narrow margin. I adhered this to my pink card base.
I stamped You a Happy Birthday (Delightful Wishes bundle) with Lost Lagoon ink on a strip of Basic White cardstock and trimmed it close to the words. I glued it to my card under Wishing.
I stamped a sentiment on a 4” x 5¼” piece of Basic White cardstock and adhered it inside my card.
I hope you liked this card.
For the complete supply list, click here.
Don’t forget that Stampin’ Up! has all products using the 2025-2027 In Colors on sale for 15% off! That includes the Strawberry Slush ink pad and cardstock!