

Today I paired the Notes & Totes bundle with the Perennial Postage dies. I like the variety of colors. You could choose other colors, including some of the new In Colors. They are on sale 15% off through August 31. The sale includes cardstock, inks, DSP, two-tone cardstock, markers, and more! Click here to go to the sale on my website. ½” ¼” ¾” ⅛” ⅜” ⅝” ⅞”
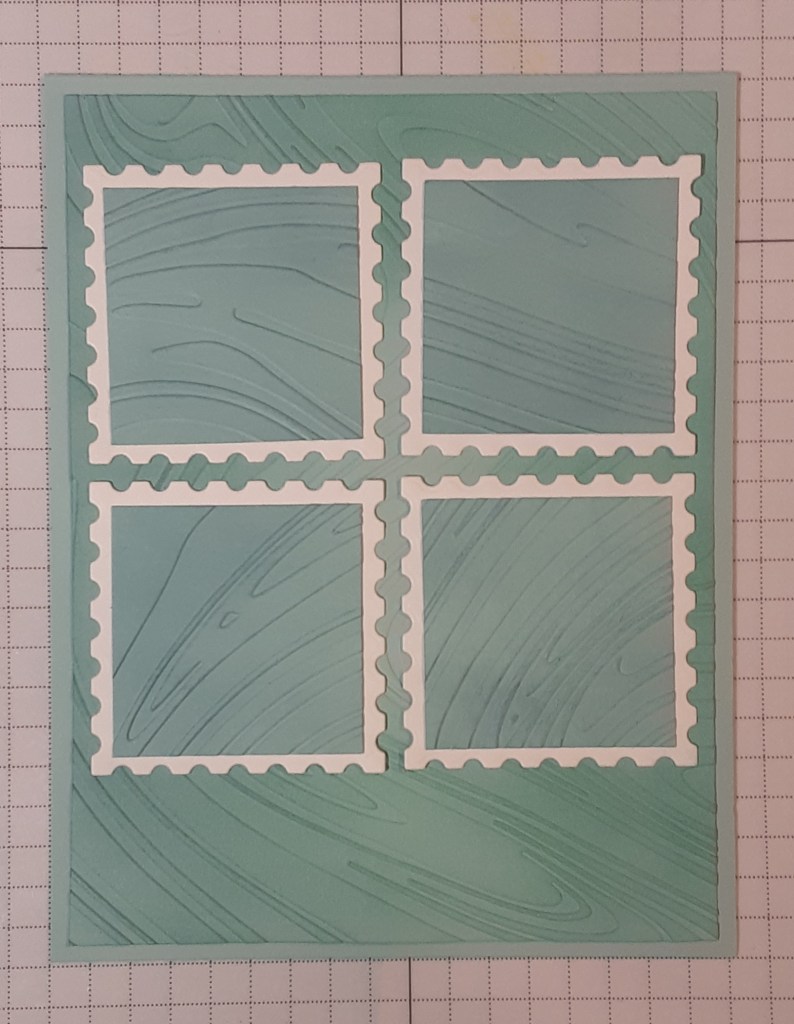
Now on to the card. I cut my card base from Pool Party cardstock to 4¼” x 11″ on my Paper Trimmer, scored and folded at 5½”, and burnished with my Bone Folder. I cut an additional piece of Pool Party cardstock to 4″ x 5¼” and ran this through my So Swirly Embossing Folder on my Stampin’ Cut & Emboss Machine. I cut four 1-9/16″ squares from Pool Party cardstock. I know this is an oddball measurement, but it fits perfectly in the postage stamps. I ran these through my embossing folder, also. I die cut the 1⅞” square postage stamp from the Perennial Postage dies from Basic White cardstock.
I die cut the water bottle from the Notes & Totes bundle from Fresh Freesia cardstock. I cut the cap from Silver Foil Sheets. I didn’t need the whole bottle, so I just cut the top. The die cut has cut lines, that I just extended. I added some Fresh Freesia ink to the edges of the water bottle with a sponge dauber. I glued the trimmed lid to my bottle using my favorite adhesive (Multipurpose Liquid Glue or Stampin’ Seal). I also added the handle with a tiny bit of non tacky glue (Bearly Art Glue comes with a fine tip that works great in those tight spaces.) You could also use adhesive sheets. These go on the back of you cardstock before die cutting.
I cut the sunglasses from Night of Navy cardstock and Melon Mambo cardstock. I used my fine tip glue to adhere the pink frames to the navy base.
I cut the lotion bottle from Pumpkin Pie cardstock and Basic White cardstock. I stamped the flowers from Notes & Totes bundle with Pumpkin pie ink on the orange piece. I trimmed the top off the orange piece and glued it to the white base bottle.

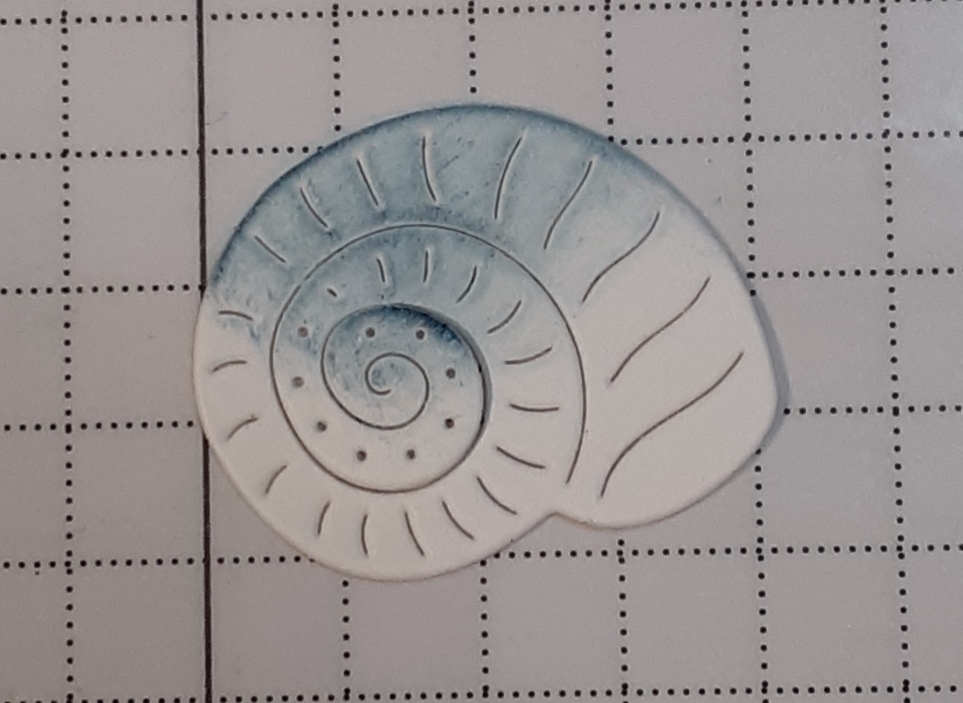
I cut the starfish from Peach Pie cardstock and the seashell from Basic White cardstock. I added Peach Pie ink to the edges of the starfish with a sponge dauber. You tell in the picture the starfish without the inking.

I added some Misty Moonlight ink to my shell with a sponge dauber. I added additional Fresh Freesia ink with a dauber.
Lastly, I cut the suntan lotion tube from Daffodil Delight cardstock and Basic White cardstock. I stamped the sun stamp from the set with Daffodil Delight ink on the white tube. I cut off the top and bottom from the tube so that the yellow would show. I used scraps for all my pieces and was able to load most of the die cuts on my plate for one pass through my machine.
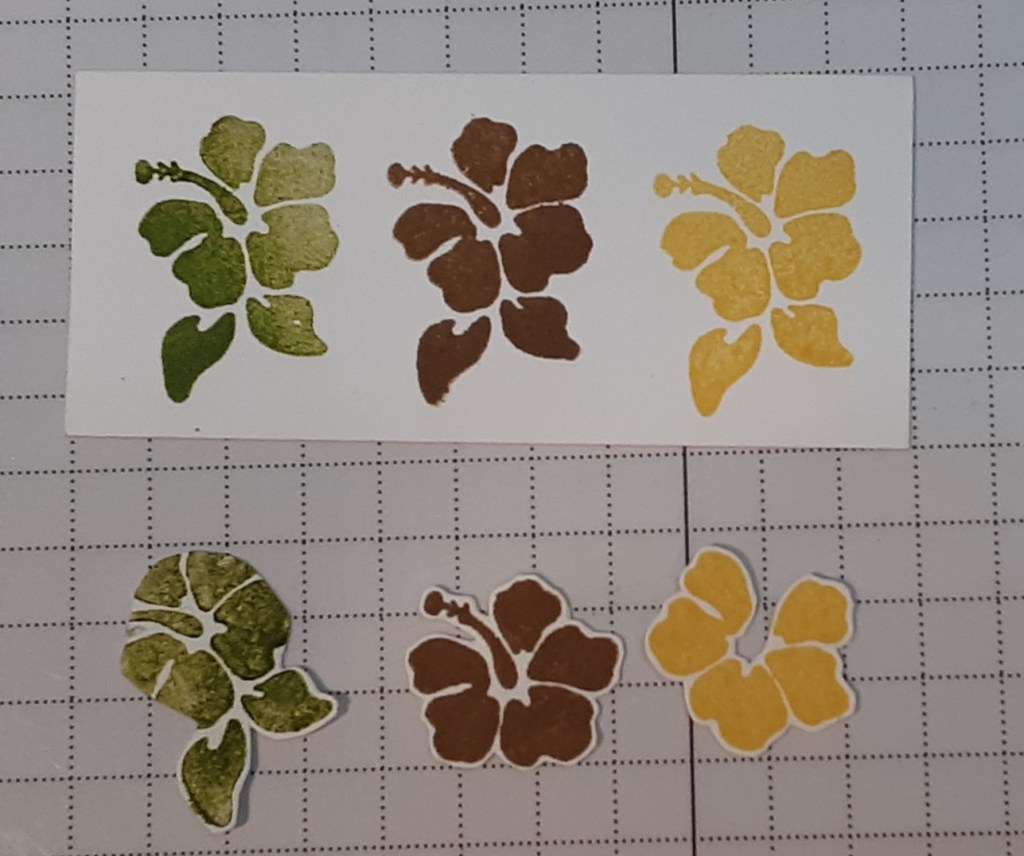
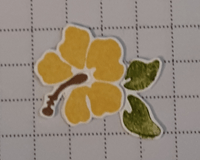
I stamped the hibiscus flower three times, in Pecan Pie ink, Daffodil Delight ink, and Granny Apple Green ink. I cleaned the stamp before switching colors! I cut the pieces out with my snips. I glued the brown piece to the green piece first . Then I glued the yellow piece on top.
I stamped Relax & Enjoy from the stamp set in the bundle in Pool Party ink and fussy cut it out.
To help the pattern stand out on my embossed pieces, I applied Pool Party ink with a Blending Brush.
I adhered my embossed and inked panel to my card base. I adhered my Pool Party squares to the die cut postage squares. I placed my squares on my card before gluing to get the placement even.
Next, I laid out my various pieces to decide on placement. I glued all the pieces down with the exception of the seashell. I added a Mini Dimensional to the center of the shell and some glue around the edges to give it a little dimension.
I adhered the greeting under the focal image.
To finish the card, I stamped a sentiment on a 4″ x 5¼” piece of Basic White cardstock and glued it inside my card.
I hope you liked this card and will give it a try!
For the complete supply list, click here.
For additional inspiration:

