

Today’s card features the Scenic Adventure bundle. I’ve had it a couple of weeks and couldn’t wait to use it. It takes some playing with to get the scene you want to build. I combined it with the Sunrise Sailing bundle. I thought it would be so pleasant to sail on the water, so I had to add the sailboat.

Stampin’ Up! also has a new promotion! Save 15% on 2025-2027 In Color products. This includes ink, paper, DSP, ribbon, embellishments, markers, kits, and more! Click here to go directly to the page showing what is included in this offer. If you live in Ohio, you can also tax advantage of our tax-free holiday through August 14! You’ll want to keep your order under $500 to take advantage of the tax-free holiday. You can split orders if you need to. 🙂 Now on to our card!
To make the card base, I cut a piece of Pecan Pie cardstock to 5½” x 8½” on my Paper Trimmer, scored and folded at 4¼”, and burnished with my Bone Folder. I cut a piece of Early Espresso cardstock to 4″ x 5¼” to act as my matte. I cut a piece of Pool Party cardstock to 3⅞” x 5⅛”. I will build my scene on this piece.
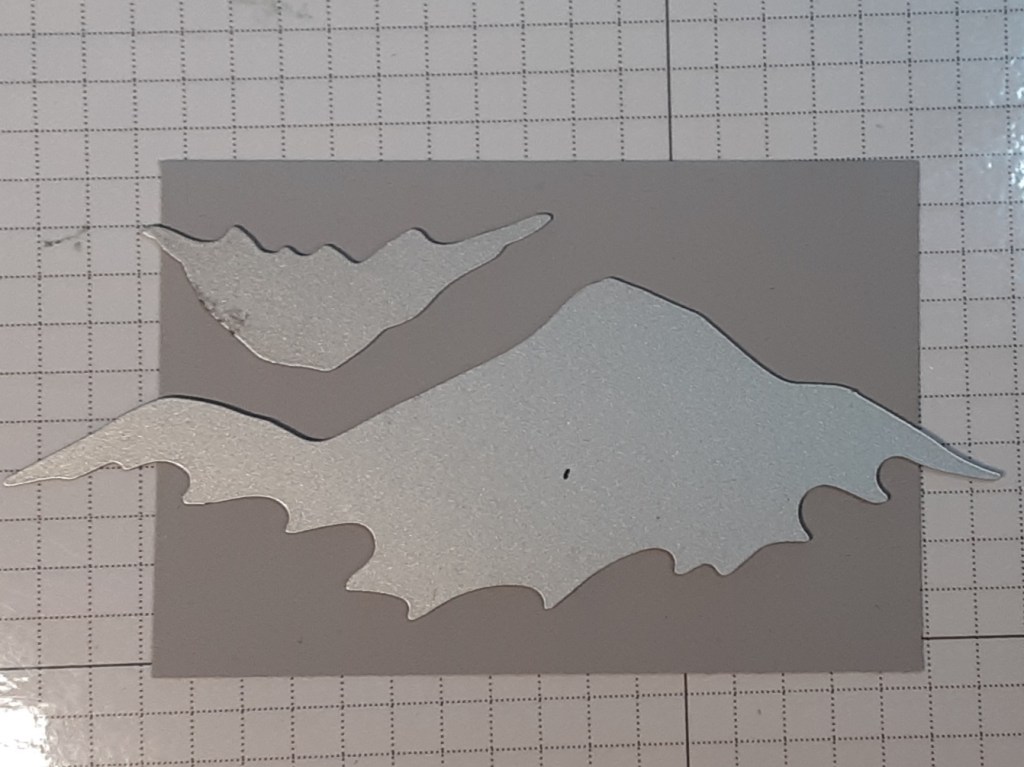
With a 4″ wide piece of Smoky Slate cardstock, I die cut the large mountain die and the rock die from the Scenic Adventure bundle on my Stampin’ Cut & Emboss Machine. The die does not cut the bottom off of the cardstock, so you can choose how much cardstock you want below the mountain. You can always trim it down. The small rock piece does not cut all the way through the way I have it positioned on my cardstock. I just used my snips to trim it off.
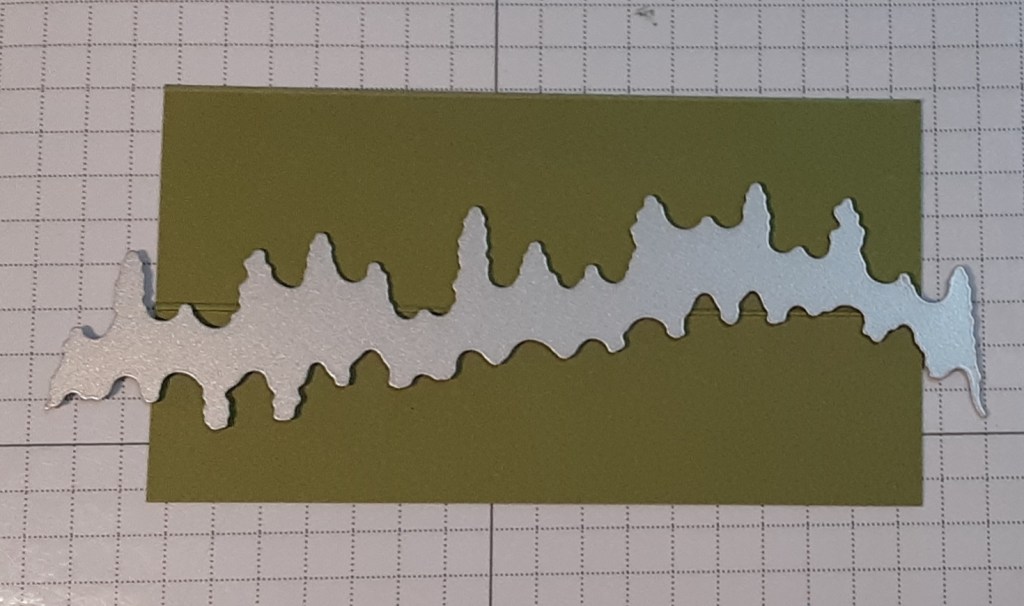
I die cut the tree line from a 4″ wide piece of Old Olive cardstock. When positioning the die on the cardstock, be aware of the direction the trees are going. They are also on a slant, so try to put the die so the trees are parallel to the edge of the cardstock.
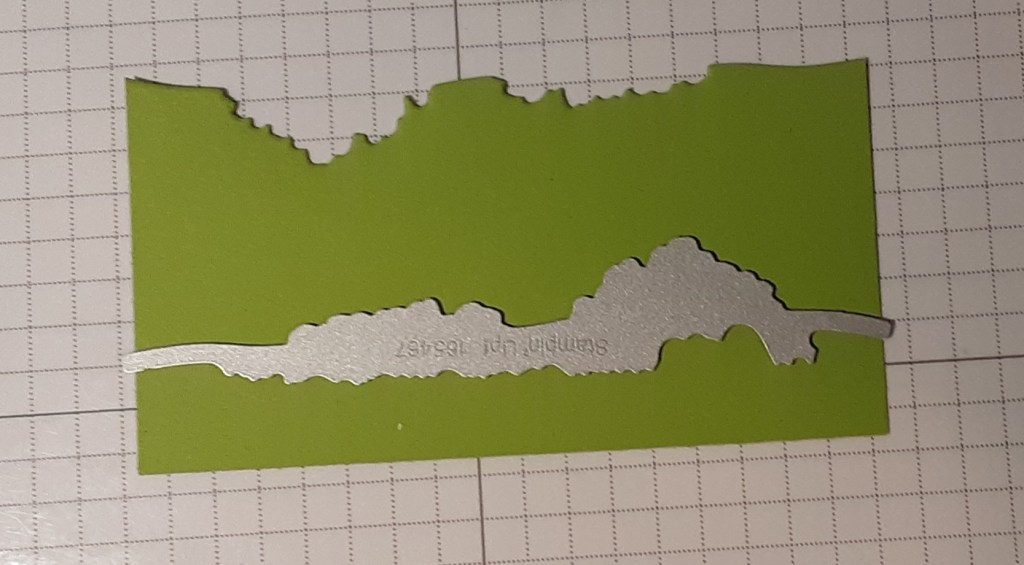
I die cut the bushes from a 4″ wide piece of Granny Apple Green cardstock.
I cut the evergreen trees from Garden Green cardstock.
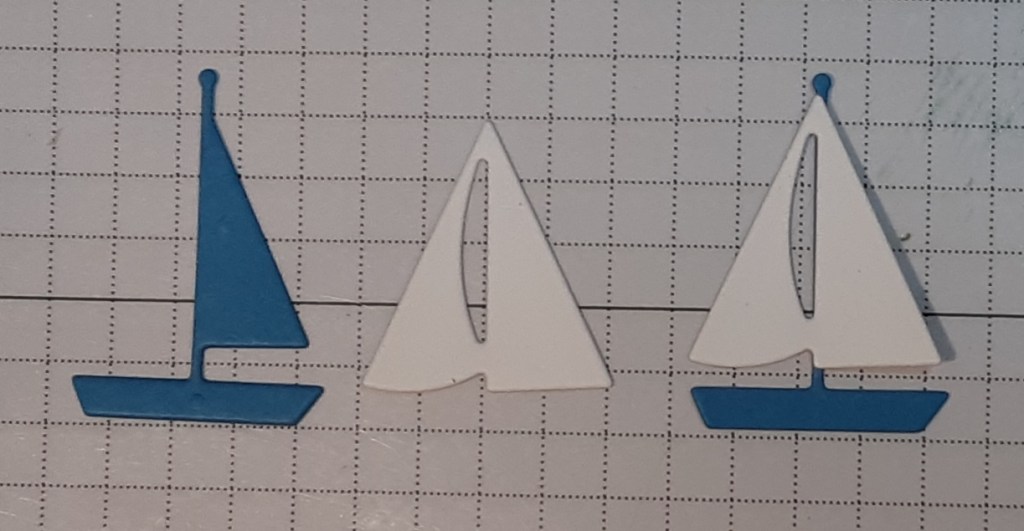
I cut the sails for the sailboat from Sunrise Sailing bundle from Basic White cardstock and the sailboat and mast from Azure Afternoon cardstock. I cut the birds in the set from Basic Black cardstock.
To prepare the background, I stamped the clouds from Scenic Adventure bundle with Pool Party ink at the top of my Pool Party piece. I stamped the water stamp where I thought my water line would be. I had to stamp it twice to make it fit all the way across.

I turned my stamp upside down and added another row of water. I ended up with three rows to make the water.

To give my die cuts a bit of texture and add perspective, I used Small Blending Brushes to add color to them.
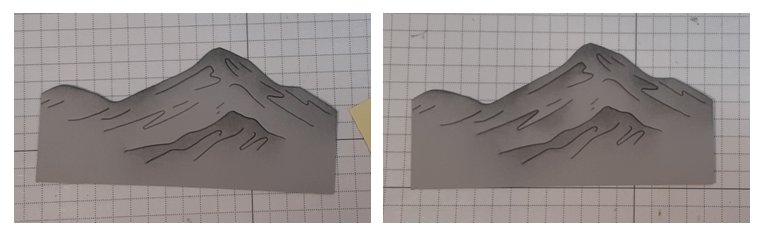
I added Smoky Slate ink to my mountain range. I tapped off the excess ink so that I wouldn’t get a blob at the top of my mountain. I blended the ink along the top edge. I stuck a Post-it note in the opening created by the die to add some shading to the lower peak. Notice in the second picture that I started on the Post-it note and pushed the brush down toward the peak. Be careful by the edges so that you don’t accidentally make an inky line along the edge of the Post-it note. (Ask me how I know this!)

You can use the Post-it in some of the other openings, also. I think it really adds to the look of dimension. For the rock, I just added ink to the top edge.
I used Mossy Meadow ink to ink blend on my row of trees. I focused more on the trees but did put some ink on the cardstock below the trees.
I ink blended with Garden Green ink along the edges of the tree. I put some in the middle of the double tree die cut.
I added Garden Green ink to the edge of the shrubbery, more at the top and less at the bottom.
The sailboat is easy to assemble. The white sail fits on the blue sail part. I glued mine on with my favorite adhesive (Multipurpose Liquid Glue or Stampin’ Seal). You could also add a smidgen of Smoky Slate ink to the edges of the sails.
I recommend laying out all your pieces on your Pool Party background piece before adhering. You may need to trim some of the pieces or move them around. I did cut the left part of the shrubbery off and put it behind the rock on the right edge. Once all your pieces are secured, you can trim any overhang from the edges.
I adhered my focal image to my Early Espresso matte piece, leaving 1/16″ border all around. I adhered this panel to my card base.
I did not put a sentiment on the card because I thought it could be used for almost any occasion. I would recommend a narrow sentiment or one stamped and embossed on vellum. The stamp set has many great sentiments to choose from. I also did not stamp a sentiment on the inside panel of the card. When I decide to send it, I can easily add an appropriate sentiment.
I hope you liked this card! I had a lot of fun making it.
For the complete supply list, click here.
