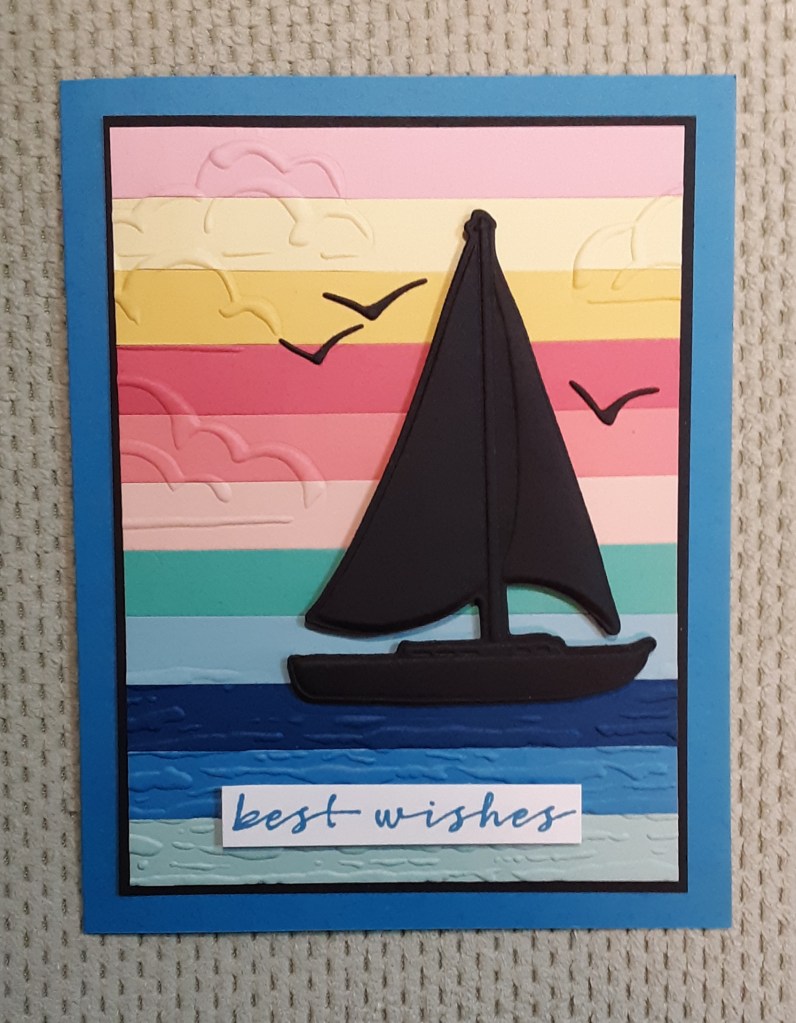
While I was working on the Darling Dino card last week, I had cut strips for three different colored cards, some blues, greens, and pinks. I had some extra strips all jumbled together and was struck by how pretty they all looked together. I decided I needed to combine some of these colors to make a pretty background and came up with a sunrise (or sunset, depending on which direction you’re facing) with water. And what better setting than the ocean? Of course, a sailboat was a necessity and Stampin’ Up! has the perfect bundle for this. Sometimes it’s the little things that inspire you.

Also, Stampin’ Up! is offering free shipping on orders over $75 today through Friday, July 25. Free shipping automatically applies to your cart after the qualifying amount has been met, which is $75 USD (before tax). Coupon codes and Stampin’ Rewards will lower your order’s retail amount. Orders must meet the qualifying amount to be eligible for free shipping. Prepaid 3-, 6-, and 12-month Paper Pumpkin subscriptions and month-to-month subscriptions do not qualify for free shipping. Refills, past kits and add-ons do qualify toward free shipping, but you must be a subscriber to purchase. Subscriptions billed and shipped this month will be charged for the normal amount ($27.00 USD shipping included) + tax. Free shipping saves you at least 11% on your order. Now on to our card!
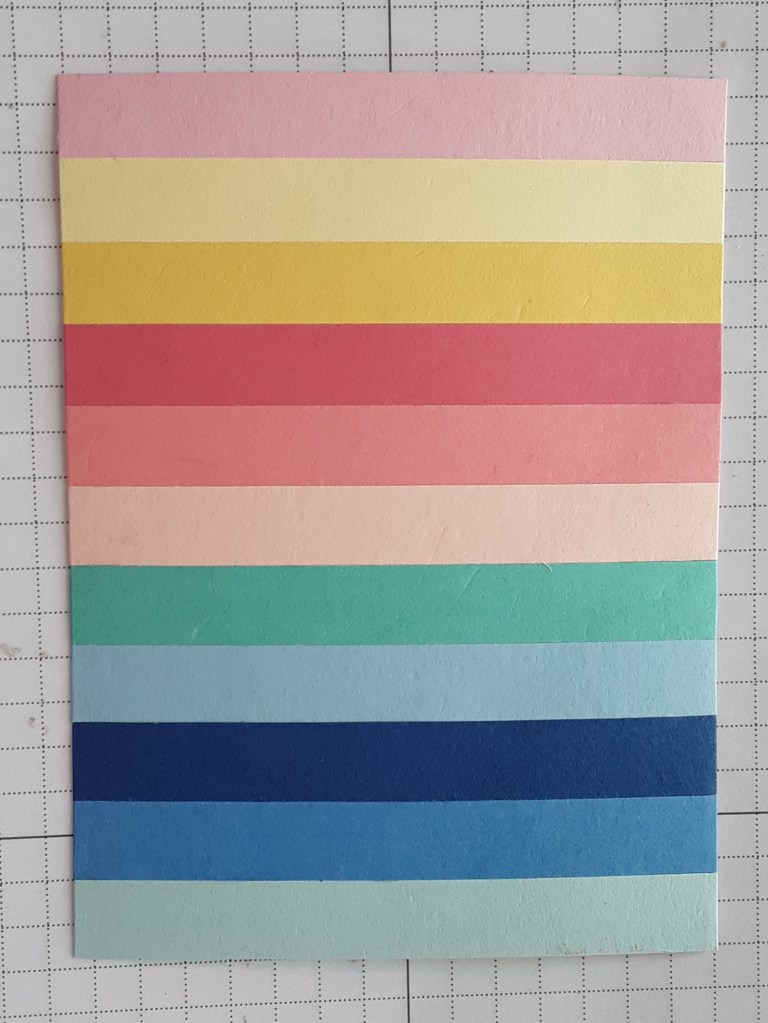
To make the card base, I cut a piece of Azure Afternoon cardstock to 4¼” X 11″ on my Paper Trimmer, scored and folded at 5½”, and burnished with my Bone Folder. I cut 7/16″ x 3¾” strips from Pretty in Pink cardstock, Lemon Lolly cardstock, Daffodil Delight cardstock, Strawberry Slush cardstock, Flirty Flamingo cardstock, Petal Pink cardstock, Summer Splash cardstock, Balmy Blue cardstock, Blueberry Bushel cardstock, Azure Afternoon cardstock, and Pool Party cardstock. In order to use all 11 colors, I had to figure out how wide the strips could be. Half an inch was too big to leave a border, so I settled on 7/16″, a tiny notch below ½”.

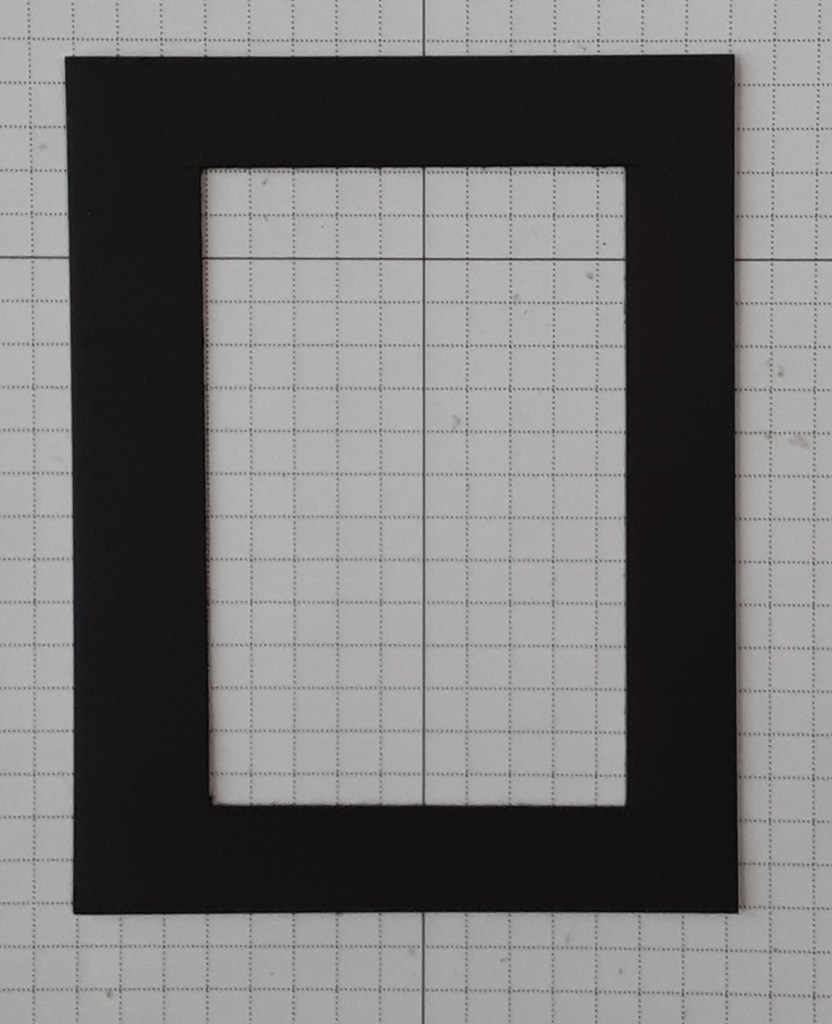
I cut a 3¾” x 5″ matte from Basic Black cardstock.
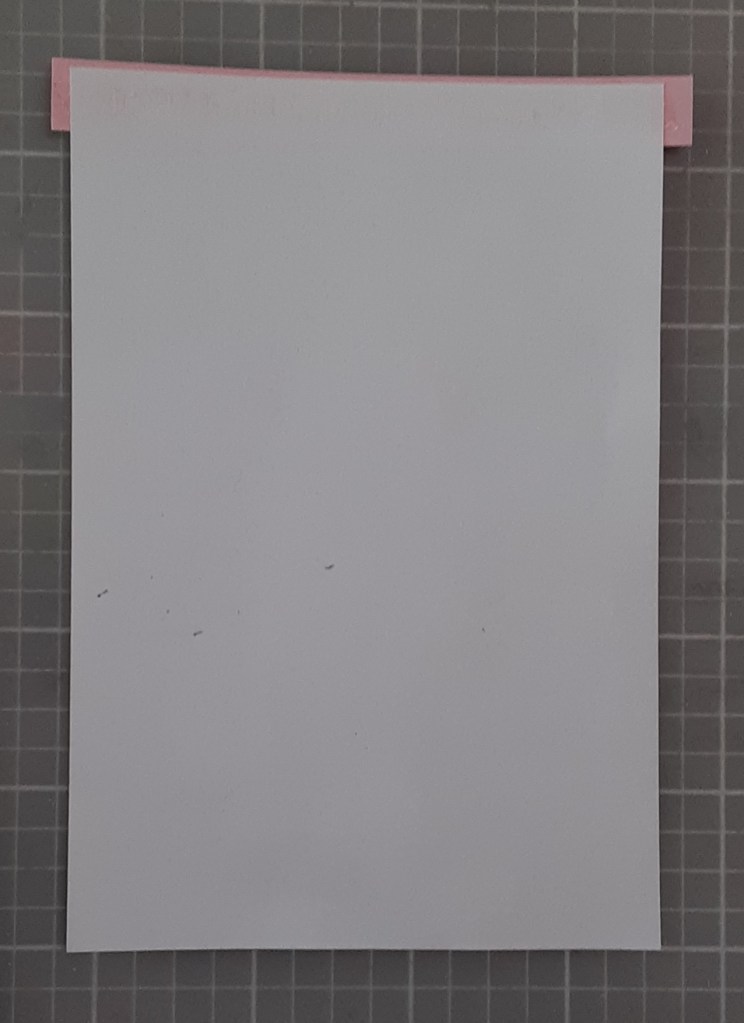
With a 3½” x 4¾” piece of copy paper, I began glueing my strips on it with my favorite adhesive (Multipurpose Liquid Glue or Stampin’ Seal). I put some wet glue on the Pretty in Pink strip and added the copy paper, leaving a narrow border at the top and equal sides. I wanted to keep this as straight as possible.
I flipped it over and added my strips one at a time with wet glue, snugging each strip up next to the previous one in the order that I cut them (see above). Make sure not to leave any gaps. They will show. When I finished gluing, I trimmed the sides down to make the striped panel 3⅝” wide and to even up the sides. The length should be 4⅞”.
I let my glue dry to prevent sliding in the embossing folder. Next, I placed the striped panel in my Sunrise Sailing 3D Embossing folder from the Sunrise Sailing bundle, being careful to line up the sailboat with the water. Also, I wanted my clouds to be above the water line. Make sure the Stampin’ Up! logo is on top or the image will be debossed instead of embossed.

Because I wanted to make several cards, I put Easy See tape on the outside of my embossing folder where the corner of my card would be in subsequent cards so that I knew where to position it each time. The Easy See tape is easy to remove and doesn’t leave a sticky residue. I ran this through my Stampin’ Cut & Emboss Machine.

Next, I cut the center from my black matte with the drop-down blade on my trimmer, leaving a ⅝” inch border. I used the cut out piece to create my sailboat and birds. I cut it out because I wanted to emboss the sailboat as I cut it out using the dies and embossing folder. You could skip this step and just use another piece of black cardstock. I was just saving paper.
To die cut and emboss at the same time, place the die into the embossing folder on the top (Stampin’ Up!) side. The die should fit snugly without sliding around in the folder.

Place the center cut piece of black cardstock over the die and close the folder. Run this through your machine like a regular 3D embossing folder with the gray specialty plate and the platform.

Another way to cut the sailboat is to die cut it first from black cardstock and line the die cut image with the sailboat in the embossing folder and then run it through your machine.

With the leftover black cardstock, die cut the birds.
Assembling the card is easy! The hard work is done. I glued my striped panel to my black matte after checking that the borders are even. If not, trim to adjust.
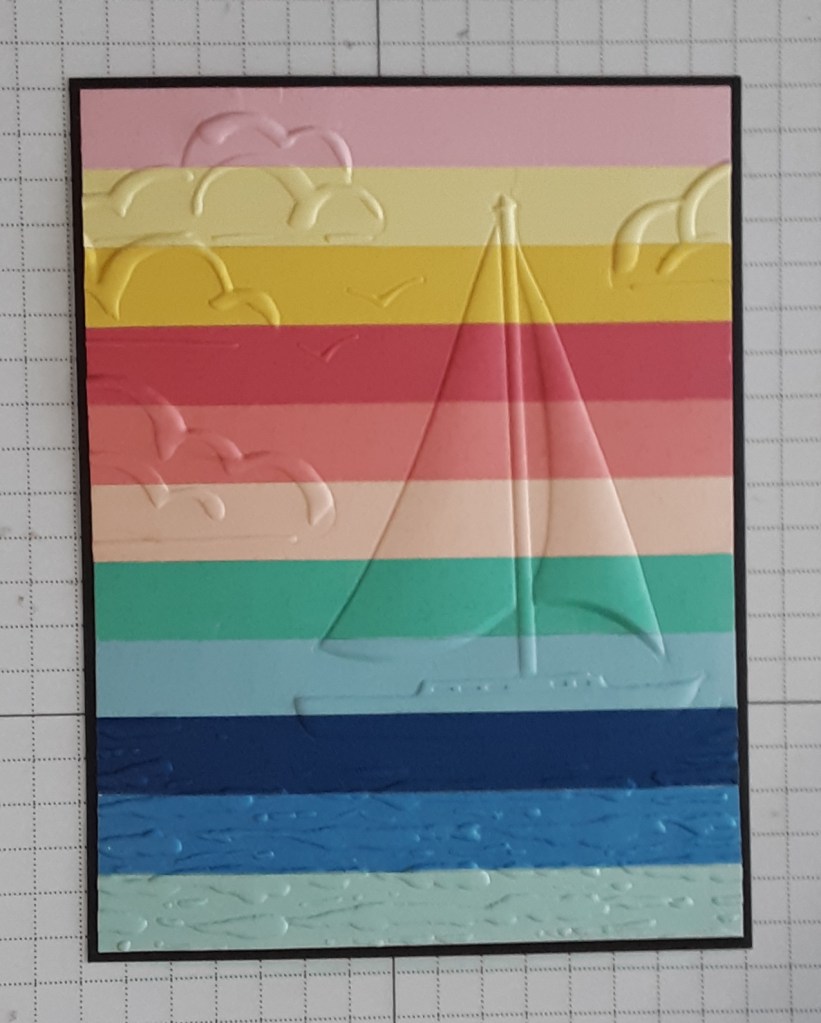
I glued this panel to my card base. I added the sailboat with Stampin’ Dimensionals. I put the sailboat directly on the embossed sailboat. Next, I glued on the birds. There are two embossed places to add the birds, so I took advantage of that. I added the third bird to the right of the sailboat.
I stamped Best Wishes from the Sunrise Sailing stamp set in the bundle with Azure Afternoon ink on a Basic White cardstock strip and trimmed it down to ¼” wide. I added this to the bottom of my card with MIni Stampin’ Dimensionals. There are other sentiments in the stamp set that would also work.
To finish the card, I stamped a sentiment on a 4″ x 5¼” piece of Basic White cardstock and glued it inside the card.
I hope you liked this colorful card!
For the complete supply list, click here.
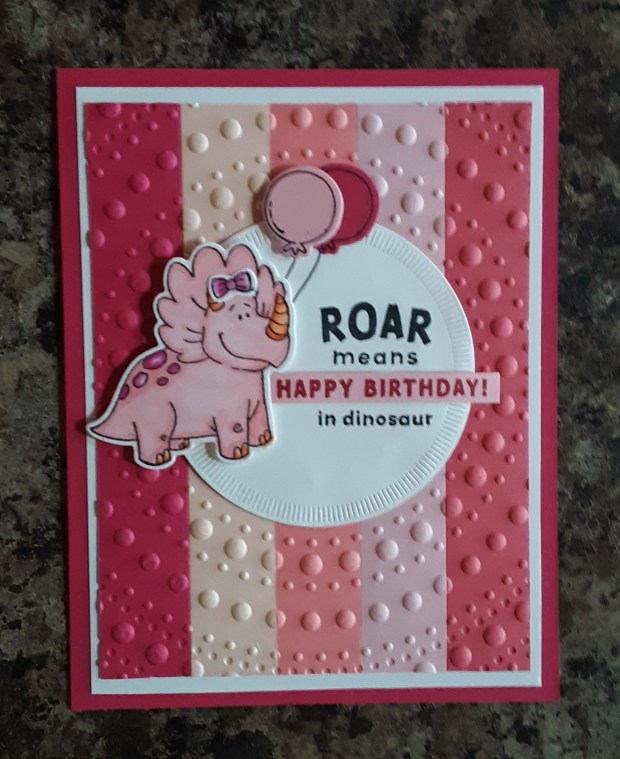
Here is the dino card from last week.