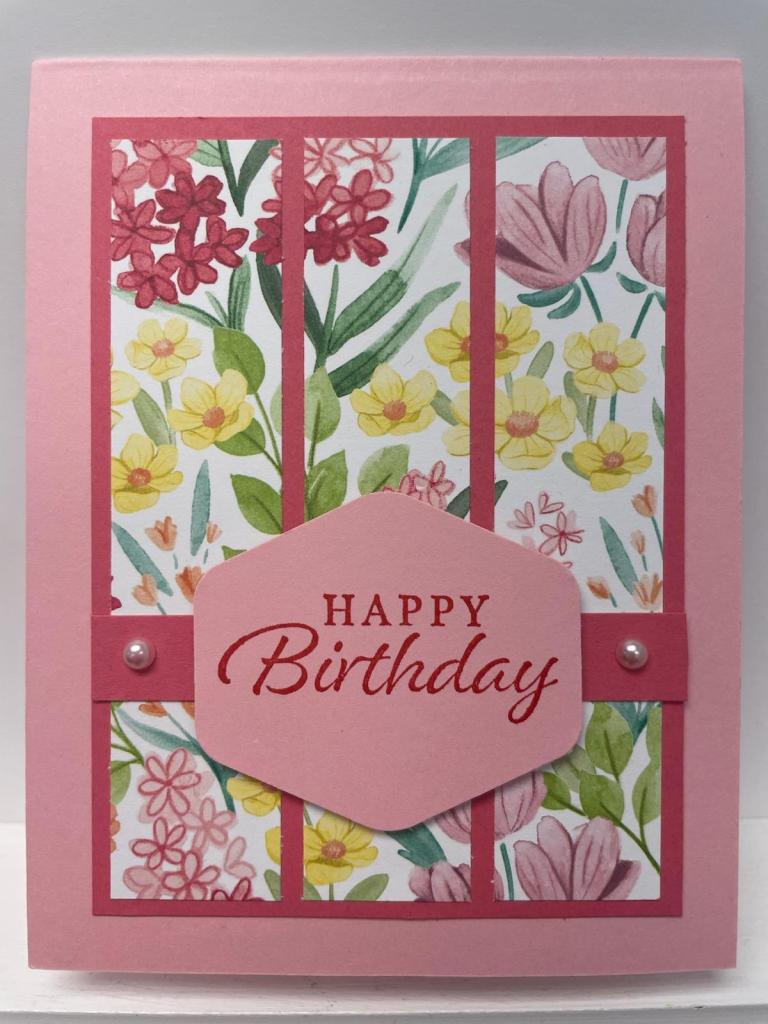
It’s Saturday so today I have a simple card for you. Following the simple layout makes the card quick and easy. The strips of DSP give the illusion that I used a bigger piece of the patterned paper. This covers more of the background and conserves the paper so we can make more cards. The direction of the pattern also helps you use almost the whole sheet of paper, because there is no specific direction! Win-win! Now on to the card.
To make the card base, I cut a piece of Pretty in Pink cardstock on my Paper Trimmer, scored and folded at 5-1/2″, and burnished with my Bone Folder. I cut an additional piece to 2-1/8″ x 2-7/8″. I cut a piece of Strawberry Slush cardstock to 3-1/2″ x 4-3/4″. I cut three strips from the Florals in Bloom DSP pack to 1″ x 4-1/2″.

From Basic White cardstock, I die cut from the Perennial Postage dies the 2″ x 2-3/4″ rectangle on my Stampin’ Cut & Emboss Machine.
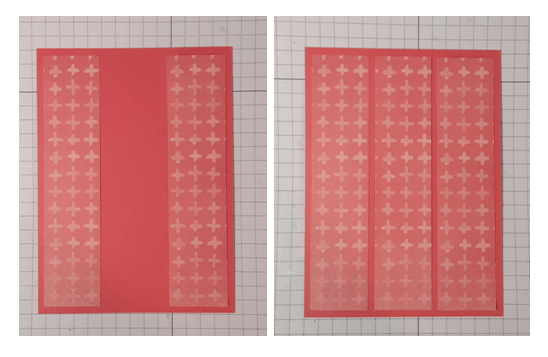
I glued my DSP strips to my Strawberry Slush matte using my favorite adhesive (Multipurpose Liquid Glue or Stampin’ Seal). I was careful with the direction of the pattern, but I wasn’t as concerned about getting them in a particular order. I started with the two outside pieces before adding the center piece, making sure it was centered. I glued this panel to my card base.
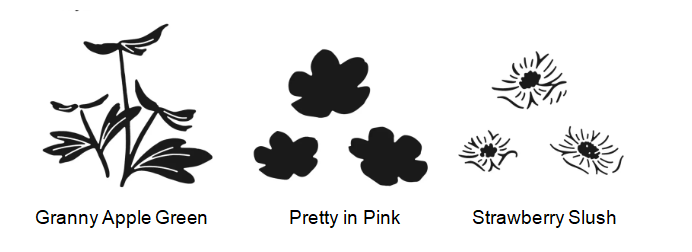
On the piece I cut with Perennial Postage die, I stamped the leaves and stems from Pretty Florals Stamp Set with Granny Apple Green ink. Next, I stamped the solid flower image with Pretty in Pink ink. Lastly, I stamped the detail image in Strawberry Slush ink.
I adhered this focal image to my Pretty in Pink matte. There is a narrow border with just a little pink peeking out from behind it.
I stamped Happy Birthday from Simply Said stamp set (I use this A LOT!) with Strawberry Slush ink on a scrap of Pretty in Pink cardstock. I trimmed close to the lettering for a narrow 1/4″ strip.
I added these two pieces to my card using Stampin’ Dimensionals. For a bit of sparkle, I added three gems from the Strawberry Slush and Pretty Pink Gems. I chose gems from the middle section.
To finish the card, I stamped a sentiment on a 4″ x 5-1/4″ piece of Basic White cardstock and glued it inside the card. You could jazz it up by stamping some additional flowers.
I hope you liked this card!
For the complete supply list, click here.
Here is a previous post using the same DSP pack and card layout.