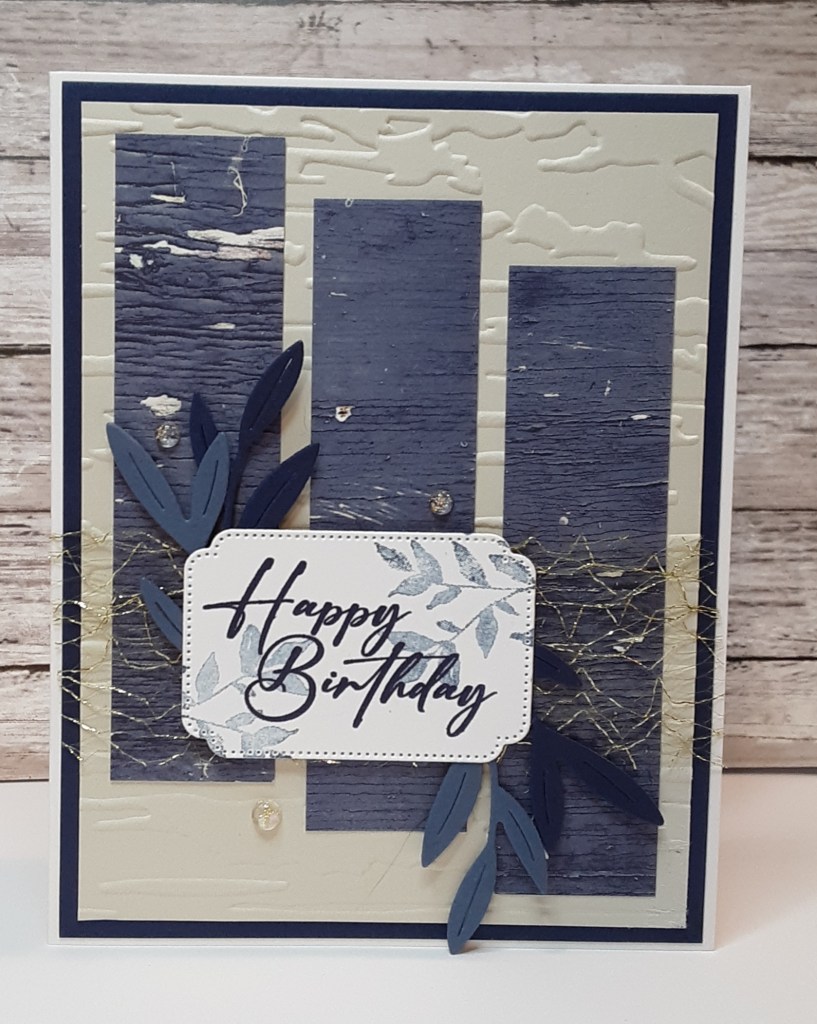
I don’t know about you, but when I make a card, I might have an idea in my head before I begin. Marilyn here with my process for designing a card. The card usually has a couple similarities to what I envisioned, but what I come up with is always different. Today’s card is one such card. I knew I wanted to use the layout of three strips of DSP, but I really didn’t know what my focal image would be. I also wanted it to have Night of Navy as the main color with Misty Moonlight supporting. I went through my stash of papers and found the Country Woods DSP and it had the color I was looking for. Next, I had to figure out the sentiment. The Unbounded Love set has beautiful sentiments, so that is what I reached for. I also wanted to use the Textured Notes set, but I ended up using just one of the stamps. I do like my final product. So, let’s make a card!
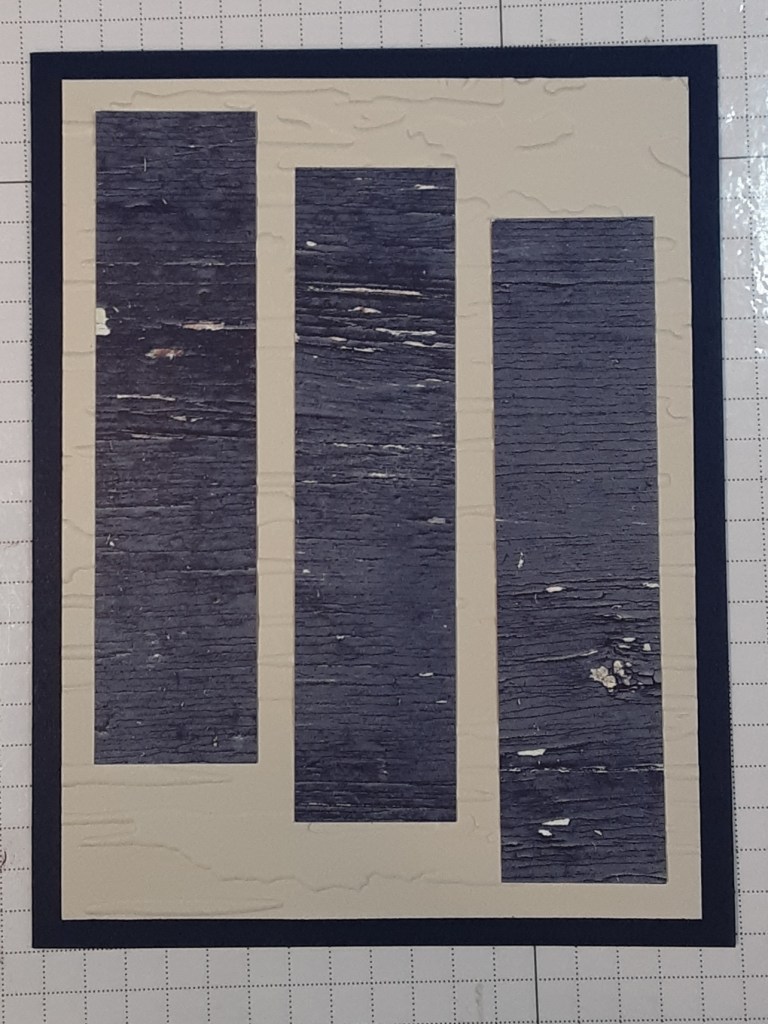
To make the card base, I cut a piece of Night of Navy cardstock to 5-1/2″ x 8-1/2″ on my Paper Trimmer, scored and folded at 4-1/4″, and burnished with my Bone Folder. I cut a piece of Basic Beige cardstock to 3-7/8″ x 5-3/8″ and ran it through my Birch Wood Embossing Folder on my Stampin’ Cut & Emboss Machine. I die cut a label from Unbounded Love dies (bundle) from Basic White cardstock. This one has stitching around the edges.
Finally, I cut a 3″ x 4″ piece from Country Woods DSP, and then, cut this into three 1″ x 4″ strips.
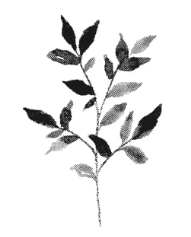
I die cut the leaves from the Pretty Floral dies out of Night of Navy cardstock and Misty Moonlight cardstock. I experimented with the leaves from Unbounded Love, but they didn’t have the look I was going for.

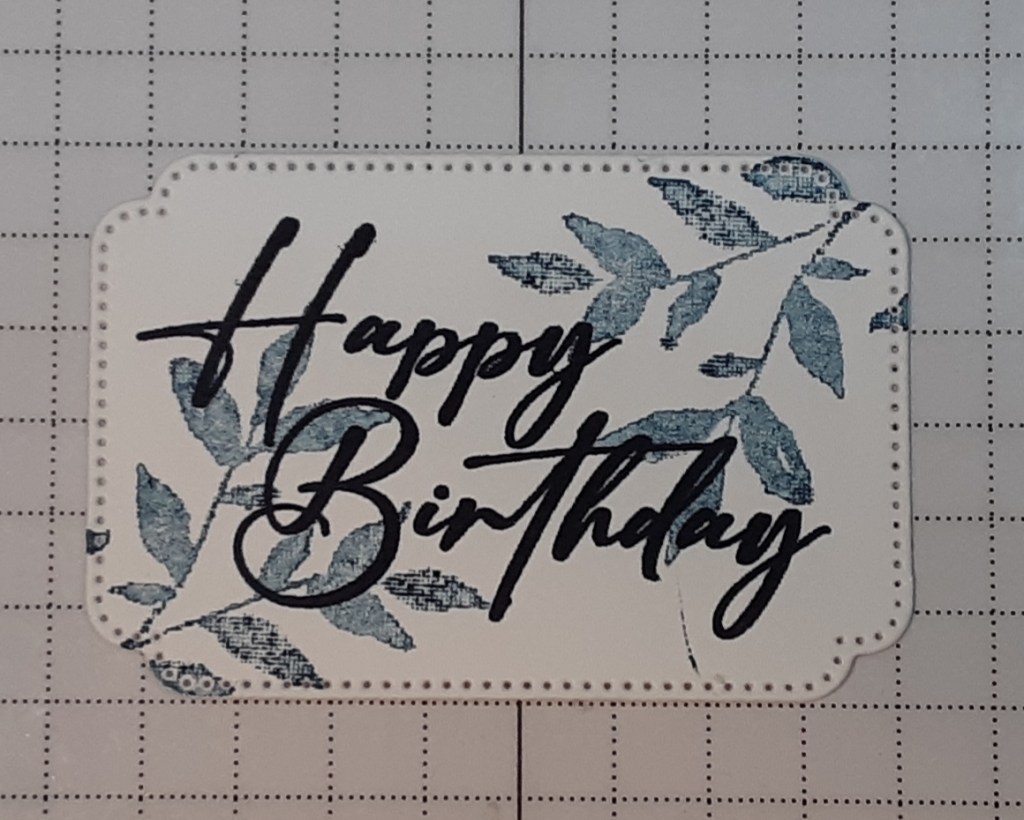
I stamped Happy Birthday from Unbounded Love stamp set (bundle) with Night of Navy ink on my label. Then, I stamped the daintier leaf sprig from Textured Notes stamp set with Misty Moonlight ink. My Misty Moonlight ink was really juicy, so I tried stamping off once. I ended up stamping off twice to get the subtle color I wanted. I didn’t try it with Night of Navy ink, since it will be out, but you could!
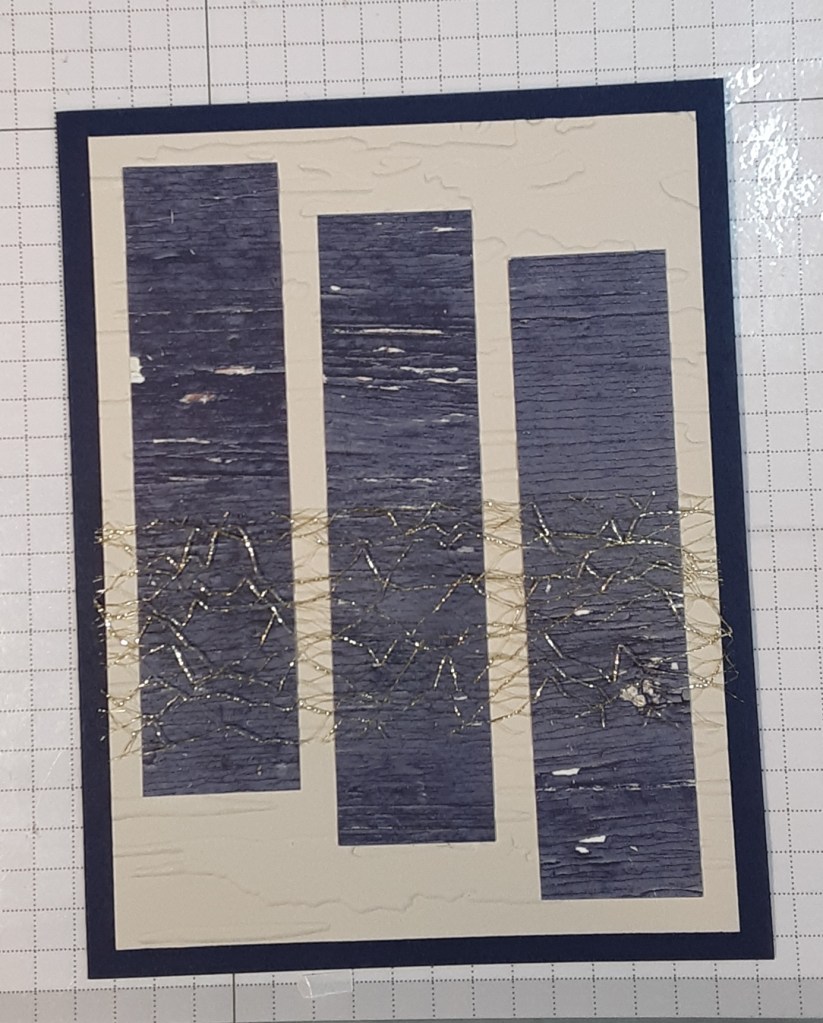
I cut a piece of Open Weave Trim to 4″.
Now that I have all my bits and pieces, it’s time to assemble. I adhered my embossed Basic Beige piece to my card base with my favorite adhesive (Multipurpose Liquid Glue or Stampin’ Seal). The liquid glue works great because it doesn’t tear my embossed panel and fills the nooks created by the embossing folder. I adhered the three strips to my card. The first in the upper left-hand corner and the second in the lower right corner. It is easier to center the middle panel when the other two are already placed.
I put a small (1″) strip of tape runner where I thought my ribbon would go AND under where my label would sit. I was able to adjust the placement of my ribbon because I didn’t get carried away with my adhesive. I just needed to tack it down in the middle. I love the subtle shine this ribbon gives my card.
I cut my leaf sprigs to vary the color a bit behind my label.
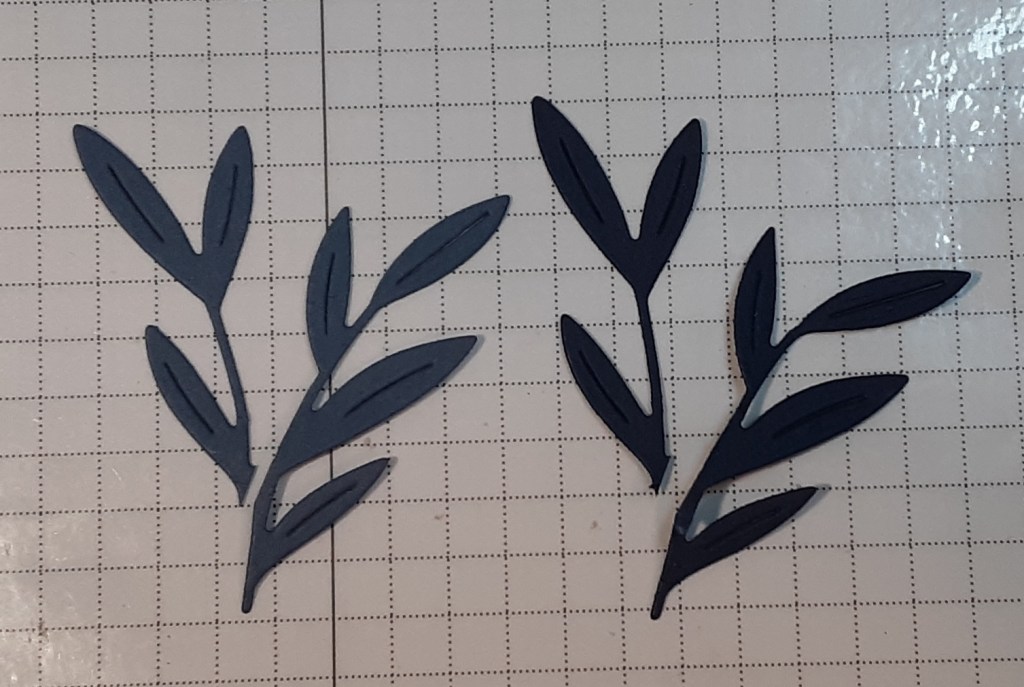
I adhered them to the back of my label. I checked the placement before permanently affixing them.

I used Stampin’ Dimensionals to adhere my label to my card. I cut some in half to put behind the leaves. I didn’t want them flopping around and snagging on the envelope.
For a final bit of sparkle, I added Iridescent Foil Gems. This embellishment has just enough gold sparkle to coordinate with the gold mesh. I thought it was perfect for this masculine card.
To finish the card, I stamped a sentiment on a 4″ x 5-1/4″ piece of Basic White cardstock and glued it inside my card. You could also stamp the leaves in the corners, or along the bottom of the panel before glueing.
This card would also make a pretty sympathy card or any greeting, really. The Unbounded Love stamp set has several to choose from.
I hope you liked this card!
For the complete supply list, click here.
For additional inspiration using some of the products I used in this card, see below for previous postings.
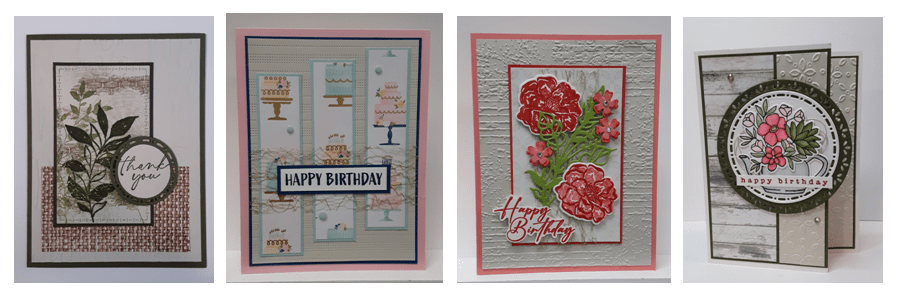
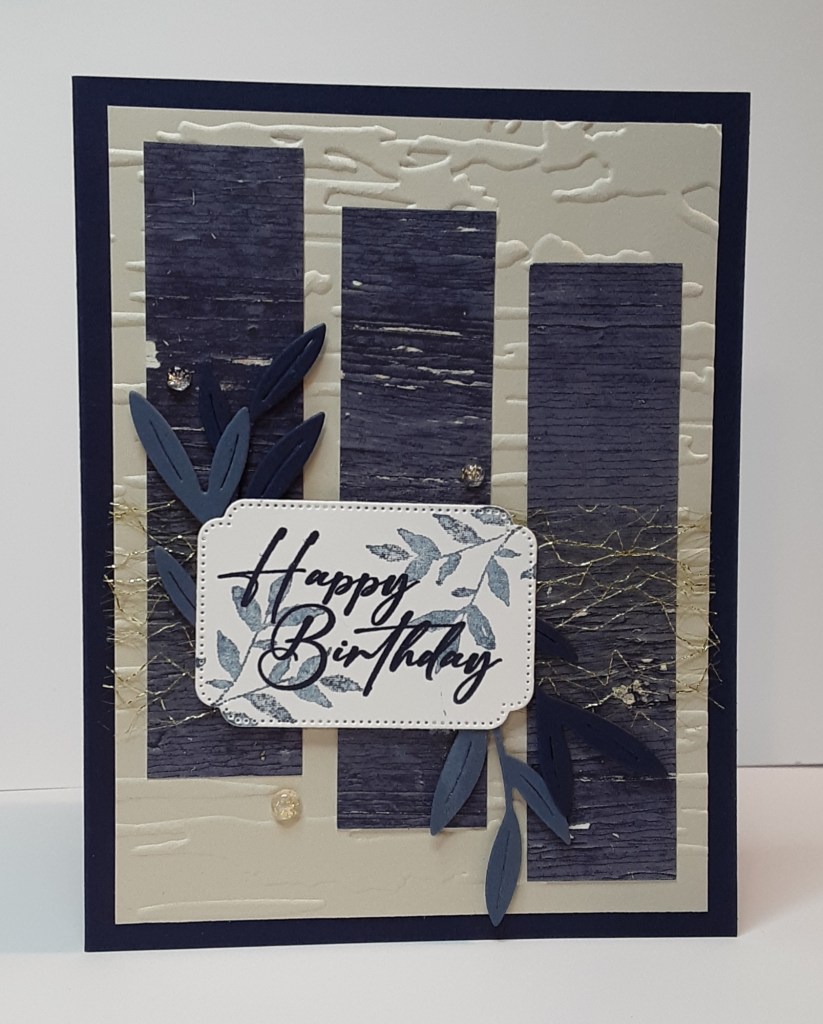
A slight variation with a white card base: